@zhangyy
2021-06-29T08:20:21.000000Z
字数 7675
阅读 1425
greenplum 最新版本6.16.2部署
greenplum系列
一: greenplum 的使用
1.1 greenplum的概述:
Greenplum。该公司成立于2003年,2006年推出了首款产品,其主营业务关注在数据仓库和商业智能方面,Greenplum DW/BI软件可以在虚拟化x86服务器上运行无分享(shared-nothing)的大规模并行处理(MPP)架构当前使用的 OLTP程序中,用户访问一个中心数据库,如果采用SMP系统结构,它的效率要比采用MPP结构要快得多。而MPP系统在决策支持和数据挖掘方面显示了优势,可以这样说,如果操作相互之间没有什么关系,处理单元之间需要进行的通信比较少,那采用MPP系统就要好,相反就不合适了。greenplum 的企业版本下载:https://network.pivotal.io/products/vmware-tanzu-greenplum
1.2 mpp系统
Greenplum的架构采用了MPP(大规模并行处理)。在 MPP 系统中,每个 SMP节点也可以运行自己的操作系统、数据库等。换言之,每个节点内的 CPU 不能访问另一个节点的内存。节点之间的信息交互是通过节点互联网络实现的,这个过程一般称为数据重分配(Data Redistribution) 。与传统的SMP架构明显不同,通常情况下,MPP系统因为要在不同处理单元之间传送信息,所以它的效率要比SMP要差一点,但是这也不是绝对的,因为 MPP系统不共享资源,因此对它而言,资源比SMP要多,当需要处理的事务达到一定规模时,MPP的效率要比SMP好。这就是看通信时间占用计算时间的比例而定,如果通信时间比较多,那MPP系统就不占优势了,相反,如果通信时间比较少,那MPP系统可以充分发挥资源的优势,达到高效率。
1.3 greenplum的体系架构

Greenplum 由三部分组成:Master Host、Segment、Interconnect。Master Host:Master Host 节点是访问系统的入口,数据库侦听进程 (postgres),处理所有用户连接,建立查询计划,协调工作处理过程,管理工具,系统目录表和元数据(数据字典)并不存放任何用户数据。segment节点:每段(Segment)存放一部分用户数据,一个系统可以有多段,用户不能直接存取访问,所有对段的访问都经过 Master,数据库监听进程(postgres)监听来自 Master 的连接InterconnectGreenplum 数据库之间的连接层,进程间协调和管理,基于千兆以太网架构,属于系统内部私网配置,并支持两种协议:TCP or UDP
1.4 greenplum的表的分布策略
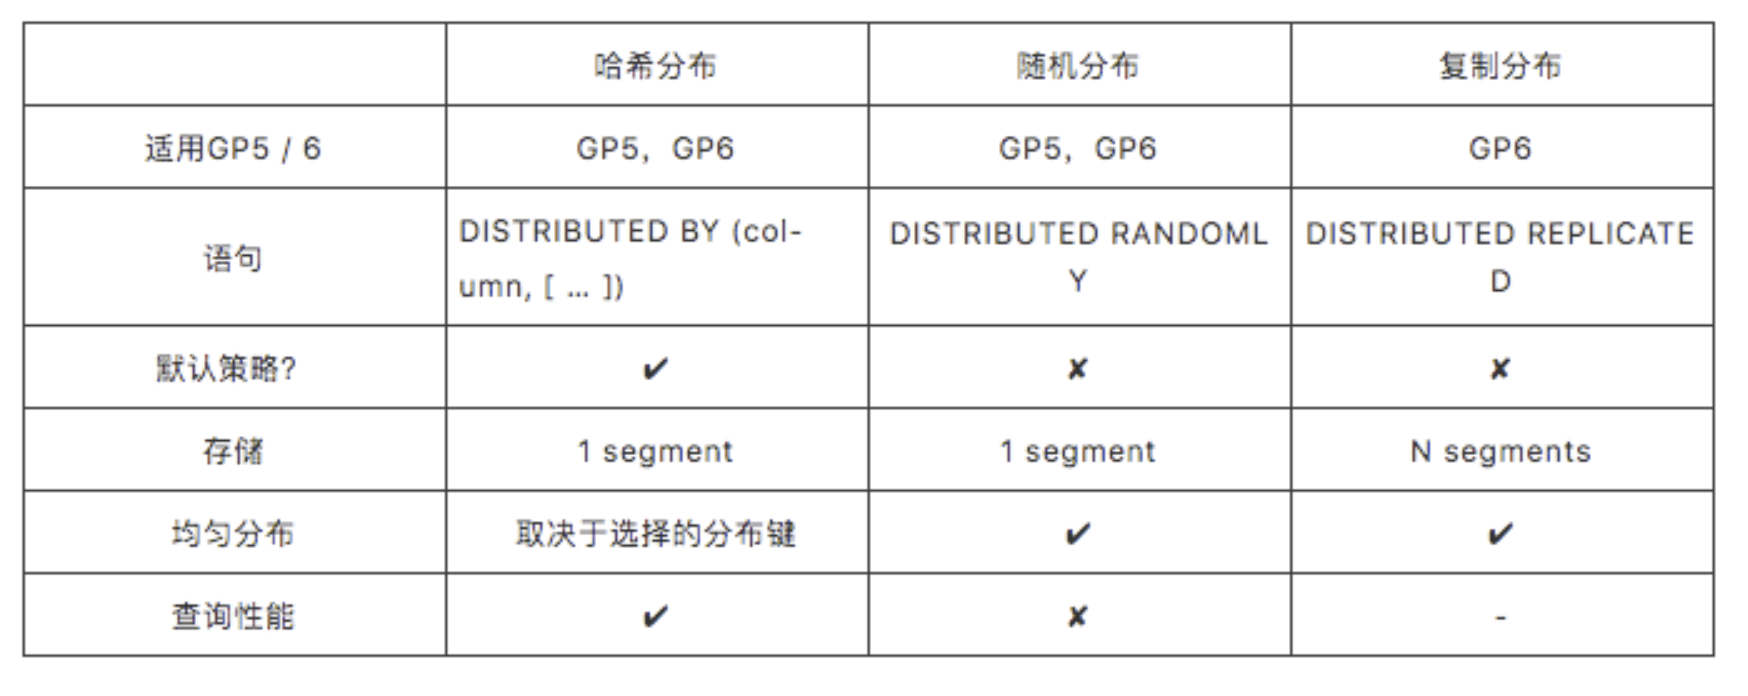
在Greenplum 5中,有2种分布策略:哈希分布,随机分布在Greenplum 6中,添加了另一个策略:哈希分布,随机分布,复制分布数据表的单个行会被分配到一个或多个segment上.
二: greenplum 的安装:
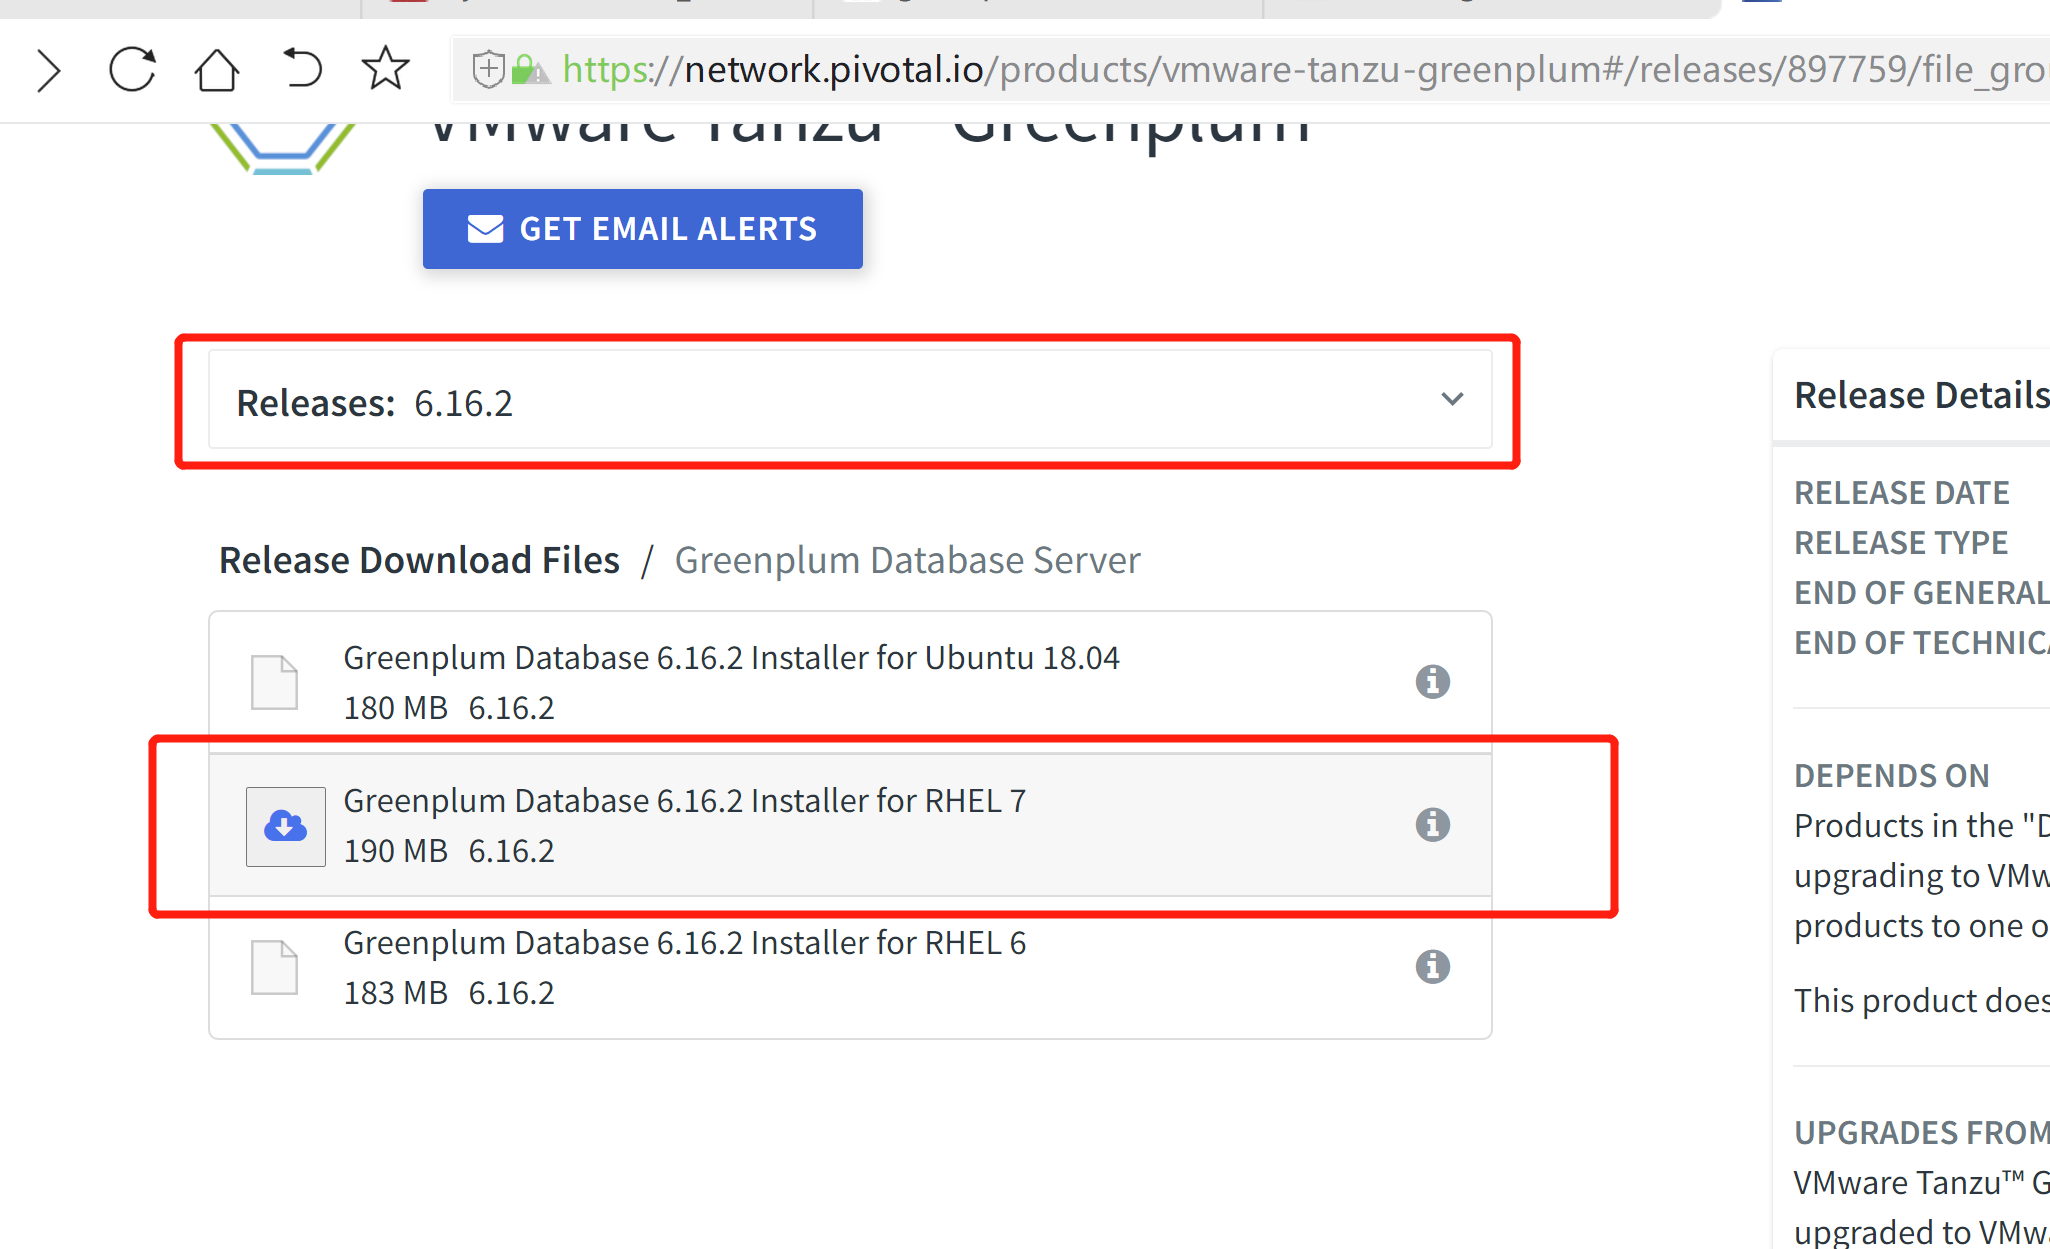
2.1 greenplum 的下载
greenplum开源版本其官方手册 https://greenplum.org/documentation/其下载介质地址 https://github.com/greenplum-db/gpdb/releasesgreenplum商业版本(注:下载介质必须要付费,官方手册可以在线或离线看)其官方手册 http://gpdb.docs.pivotal.io/570/main/index.html其下载介质地址 https://network.pivotal.io/products/pivotal-gpdb/本次安装收费版本:
2.2 安装greenplum系统环境准备:
1. 系统:CentOS7.9x64----2. 部署环境:master 一台standby 一台segment 三台3. 系统主机名配置:cat /etc/hosts----192.168.100.11 node01.flyfish.com192.168.100.12 node02.flyfish.com192.168.100.13 node03.flyfish.com192.168.100.14 node04.flyfish.com192.168.100.15 node05.flyfish.com192.168.100.16 node06.flyfish.com192.168.100.17 node07.flyfish.com192.168.100.18 node08.flyfish.com192.168.100.19 node09.flyfish.com----本次安装前五台机器:部署greenplum 建议生产使用实体机器,greenplum 的最小环境为,master 一台standby 一台 segment 三台
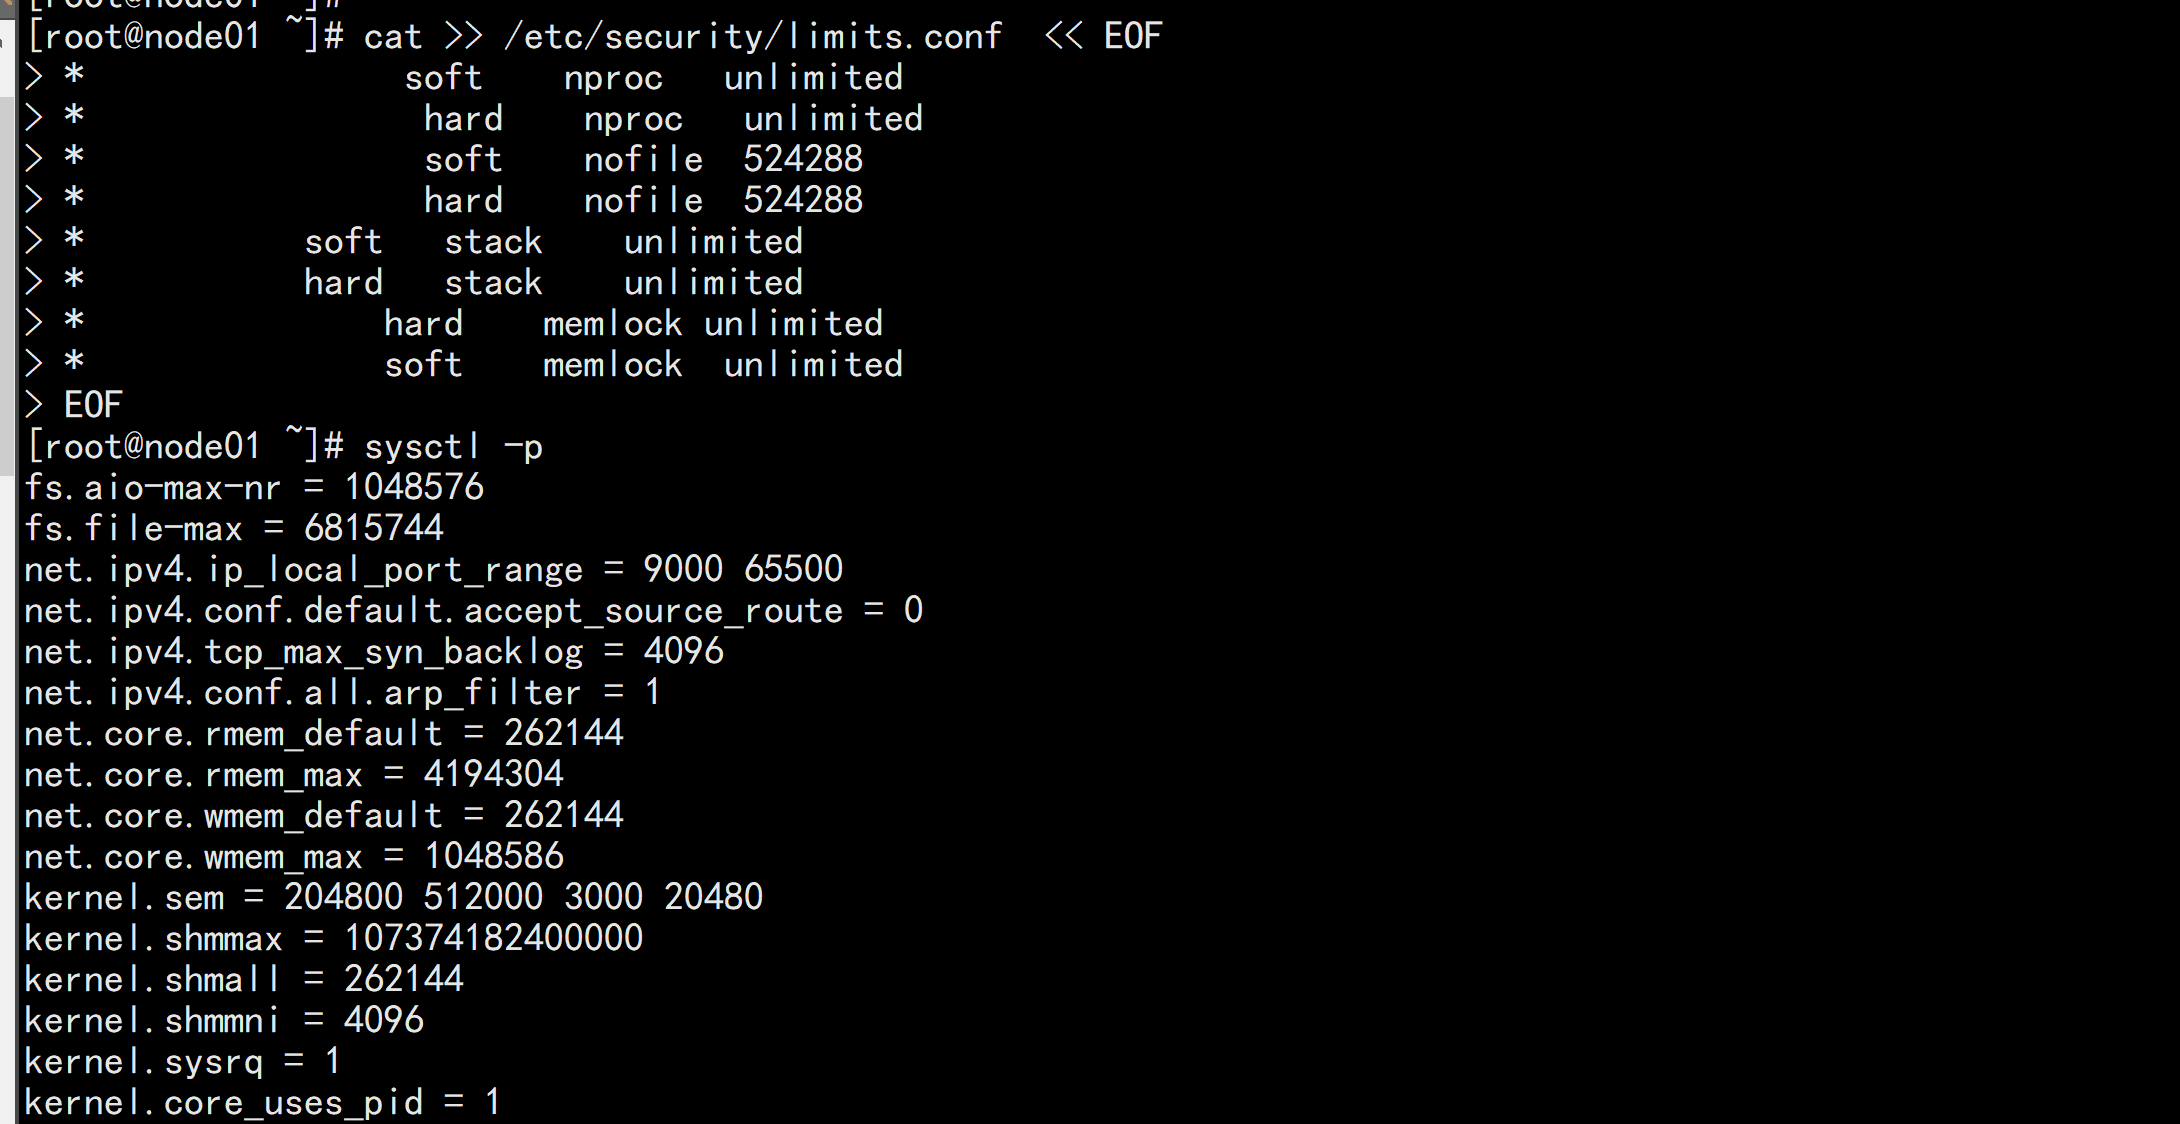
4. 系统环境初始化:(所有主机)vim /etc/sysctl.conf---vm.swappiness = 0kernel.sysrq = 1net.ipv4.neigh.default.gc_stale_time = 120# see details in https://help.aliyun.com/knowledge_detail/39428.htmlnet.ipv4.conf.all.rp_filter = 0net.ipv4.conf.default.rp_filter = 0net.ipv4.conf.default.arp_announce = 2net.ipv4.conf.lo.arp_announce = 2net.ipv4.conf.all.arp_announce = 2# see details in https://help.aliyun.com/knowledge_detail/41334.htmlnet.ipv4.tcp_max_tw_buckets = 5000net.ipv4.tcp_syncookies = 1net.ipv4.tcp_max_syn_backlog = 1024net.ipv4.tcp_synack_retries = 2net.ipv4.tcp_slow_start_after_idle = 0fs.aio-max-nr = 1048576fs.file-max = 6815744net.ipv4.ip_local_port_range = 9000 65500net.ipv4.conf.default.accept_source_route = 0net.ipv4.tcp_max_syn_backlog = 4096net.ipv4.conf.all.arp_filter = 1net.core.rmem_default = 262144net.core.rmem_max = 4194304net.core.wmem_default = 262144net.core.wmem_max = 1048586kernel.sem = 204800 512000 3000 20480kernel.shmmax = 107374182400000kernel.shmall = 262144kernel.shmmni = 4096kernel.sysrq = 1kernel.core_uses_pid = 1kernel.msgmnb = 65536kernel.msgmax = 65536kernel.msgmni = 2048vm.swappiness = 10vm.overcommit_memory = 2vm.overcommit_ratio = 95vm.zone_reclaim_mode = 0vm.dirty_expire_centisecs = 500vm.dirty_writeback_centisecs = 100vm.dirty_background_ratio = 3vm.dirty_ratio = 10#64g-#vm.dirty_background_ratio = 3#vm.dirty_ratio = 10#64g+#vm.dirty_background_ratio = 0#vm.dirty_ratio = 0#vm.dirty_background_bytes = 1610612736#vm.dirty_bytes = 4294967296----sysctl -p
资源句柄数限制:cat >> /etc/security/limits.conf << EOF* soft nproc unlimited* hard nproc unlimited* soft nofile 524288* hard nofile 524288* soft stack unlimited* hard stack unlimited* hard memlock unlimited* soft memlock unlimitedEOF
系统优化启动:echo "session required pam_limits.so" >> /etc/pam.d/logincat /etc/pam.d/loginecho "RemoveIPC=no" >> /etc/systemd/logind.confservice systemd-logind restart
系统关闭firewalld,iptables,selinuxecho "SELINUX=disabled" > /etc/selinux/configsetenforce 0systemctl stop firewalld.servicesystemctl disable firewalld.servicesystemctl status firewalld.servicesystemctl set-default multi-user.target
系统最大透明页yum install numactlvim /etc/default/grubGRUB_CMDLINE_LINUX="crashkernel=auto rhgb quiet numa=off transparent_hugepage=never elevator=deadline"grub2-mkconfig -o /etc/grub2.cfgnumastatnumactl --shownumactl --hardware

硬盘读写优化XFS:rw,noatime,inode64,allocsize=16mcat /etc/fstab/dev/mapper/centos-root / xfs rw,noatime,inode64,allocsize=16m 0 0UUID=df6d5e29-33c8-4d43-ae34-5573447ef51e /boot xfs defaults 0 0UUID=f8097a9d-74ed-45b7-ae1b-c0467cbf235d swap swap defaults 0 0echo "blockdev --setra 65536 /dev/sda " >> /etc/rc.d/rc.localecho deadline > /sys/block/sda/queue/scheduler

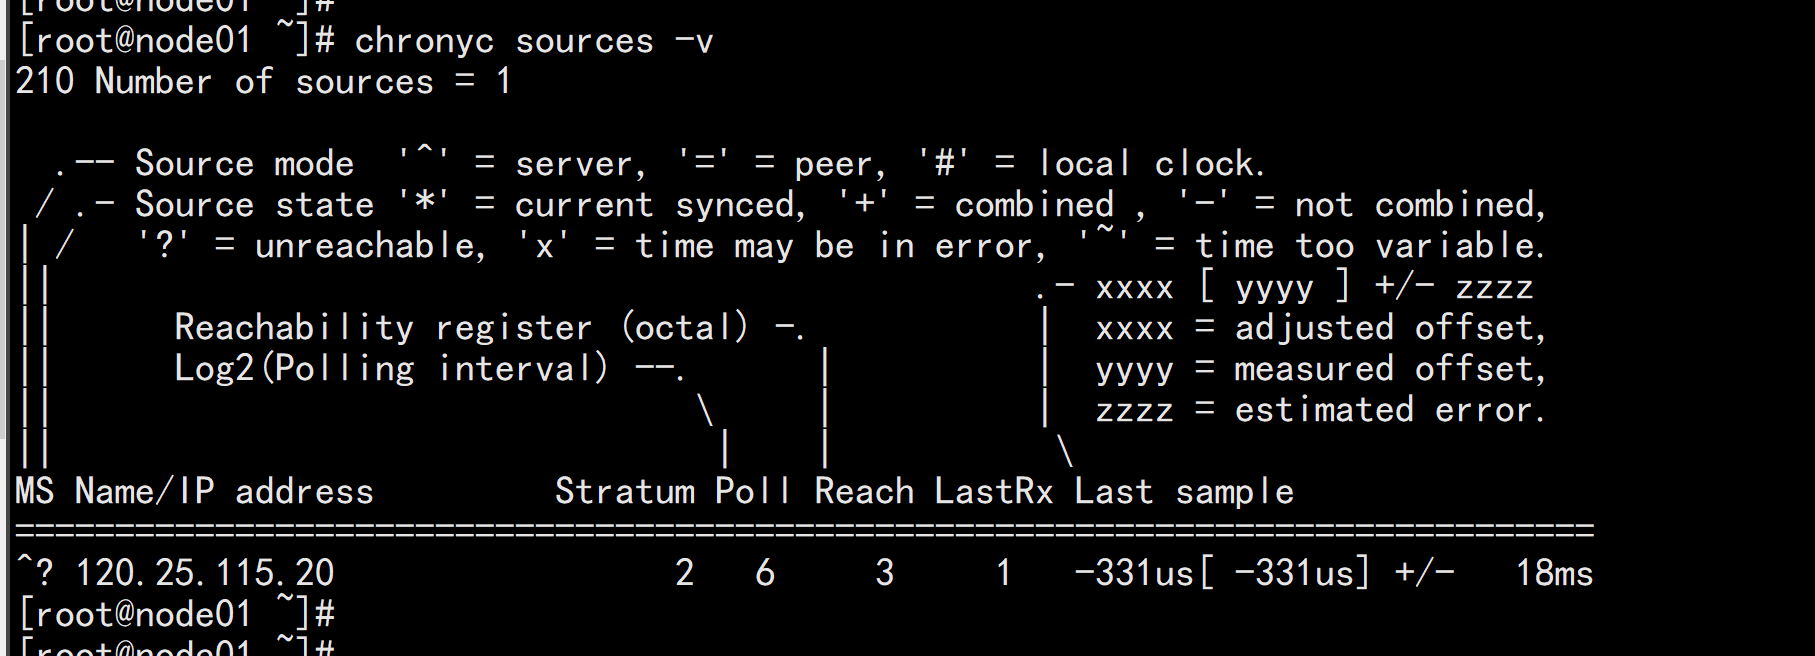
系统时间同步问题:(所有节点同步阿里云时间服务器)vim /etc/chrony.conf----server ntp1.aliyun.com iburst----service chronyd stopservice chrnoyd start
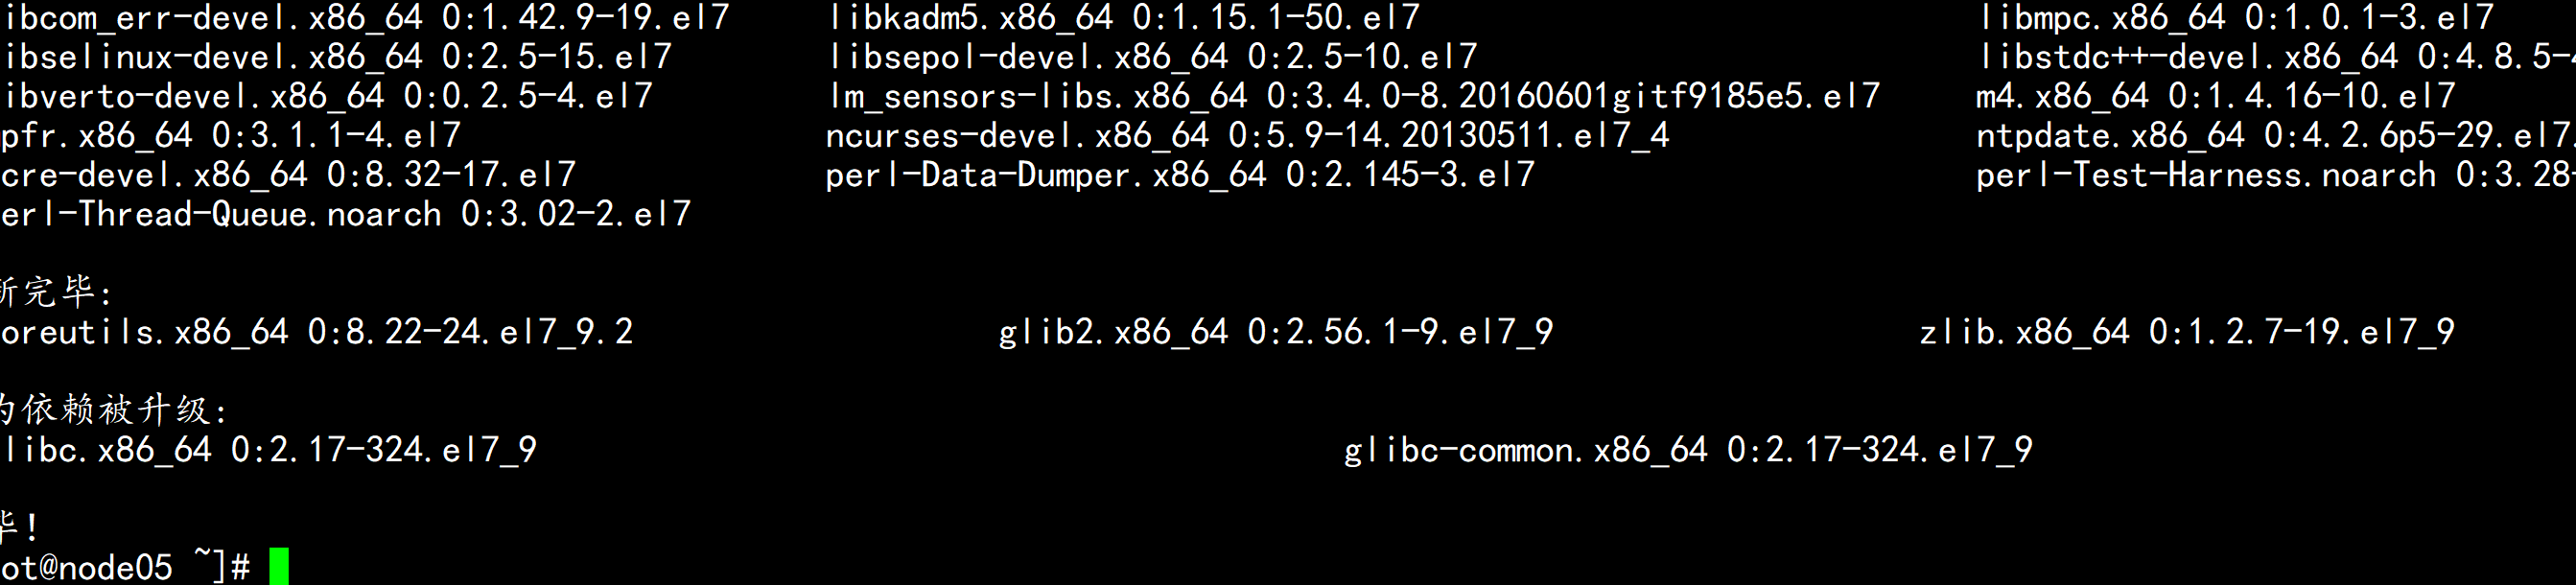
2.3 greenplum 的依赖包
yum -y install openssh-clients gcc gcc-c++ make automake autoconf libtool krb5-devel perl rsync coreutils glib2 ed lrzsz sysstat e4fsprogs xfsprogs ntp readline-devel zlib zlib-devel unzip bzip2 libyaml zip libevent
2.4 greenplum 安装环境
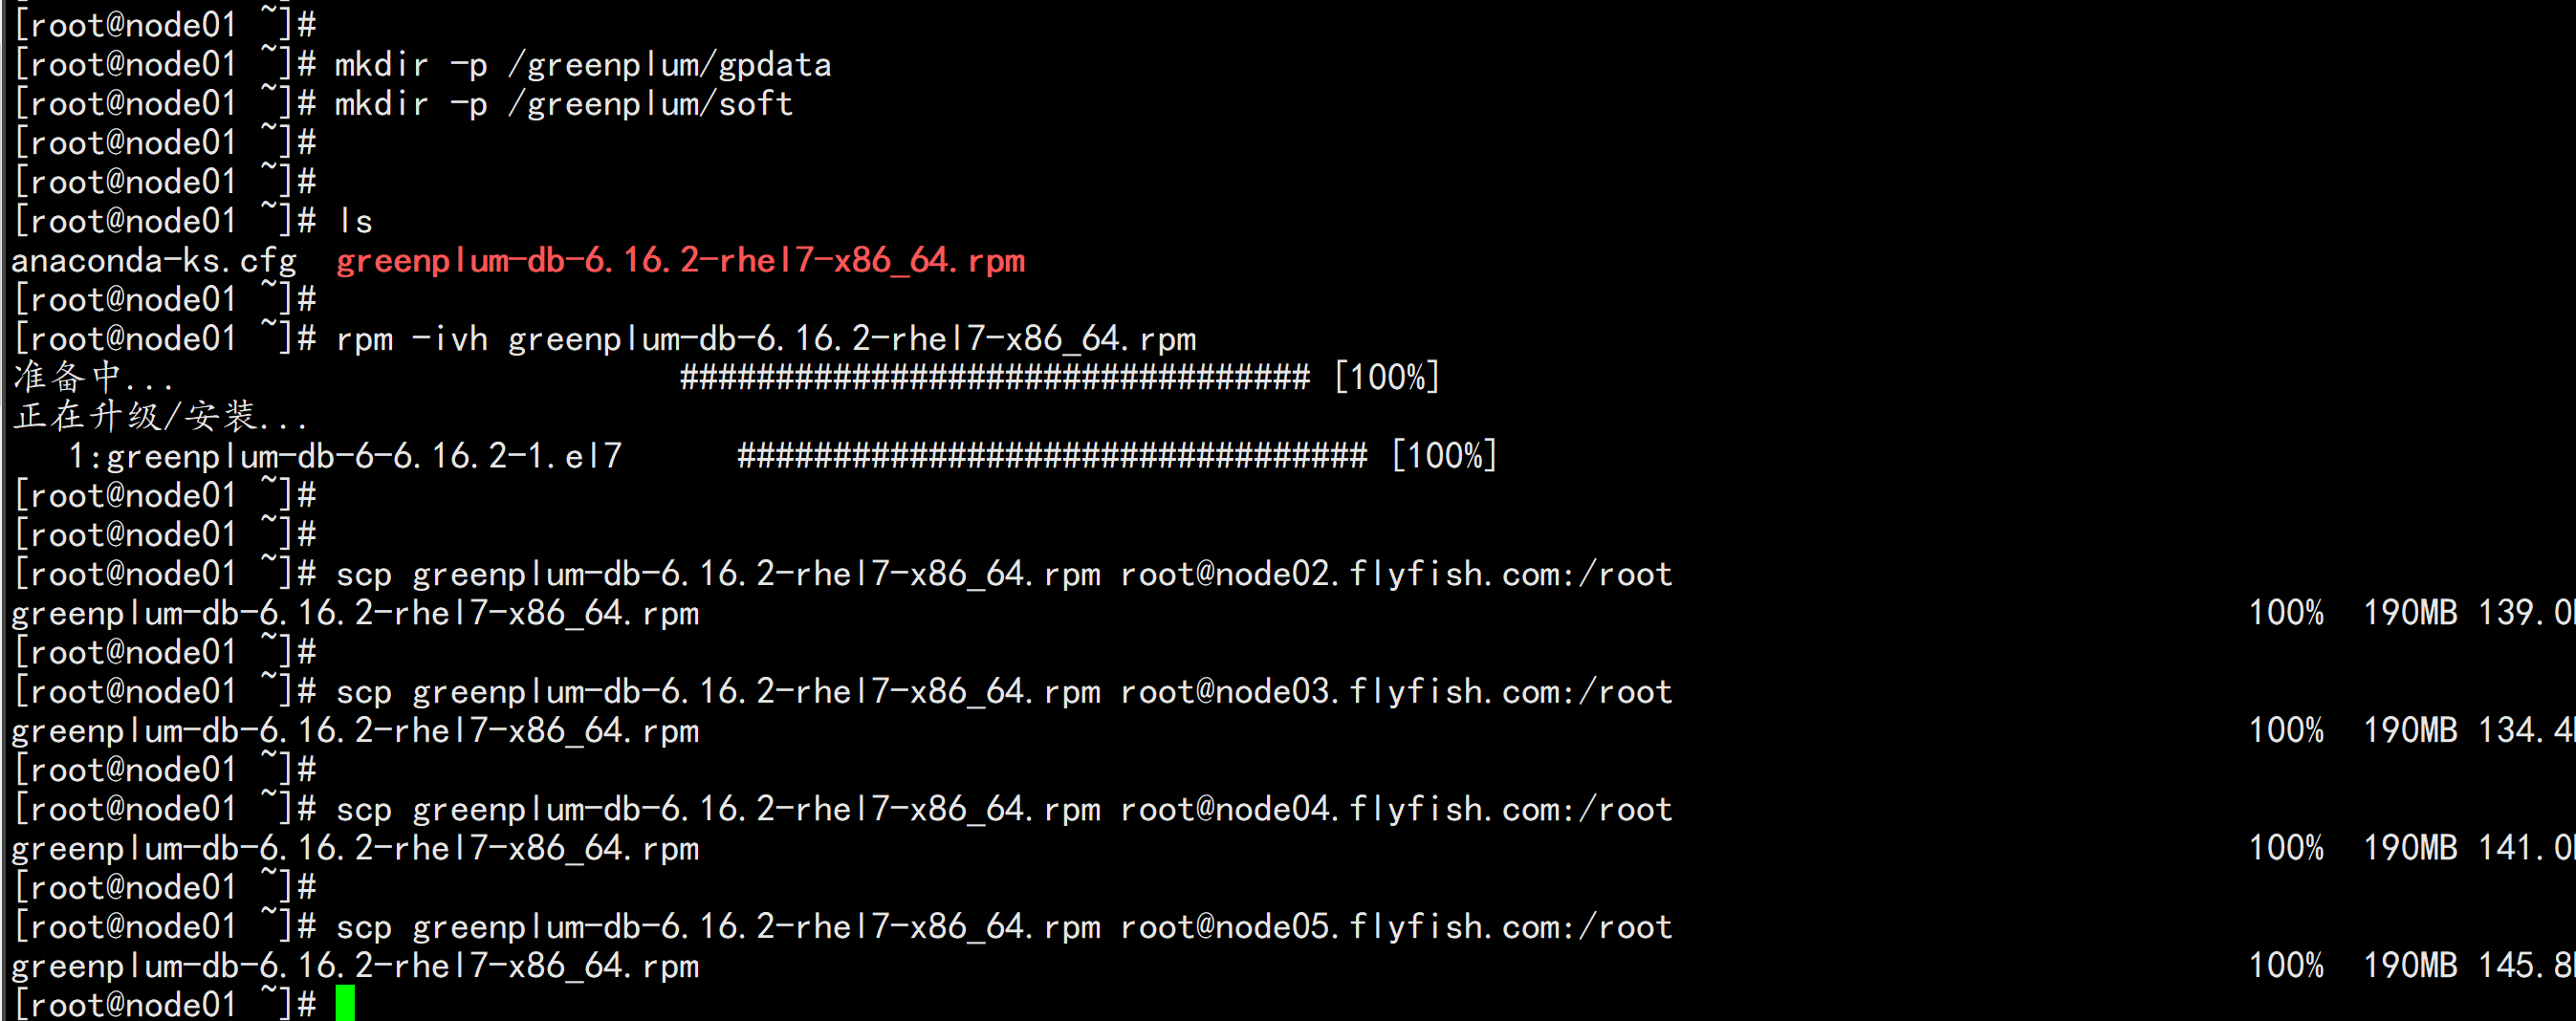
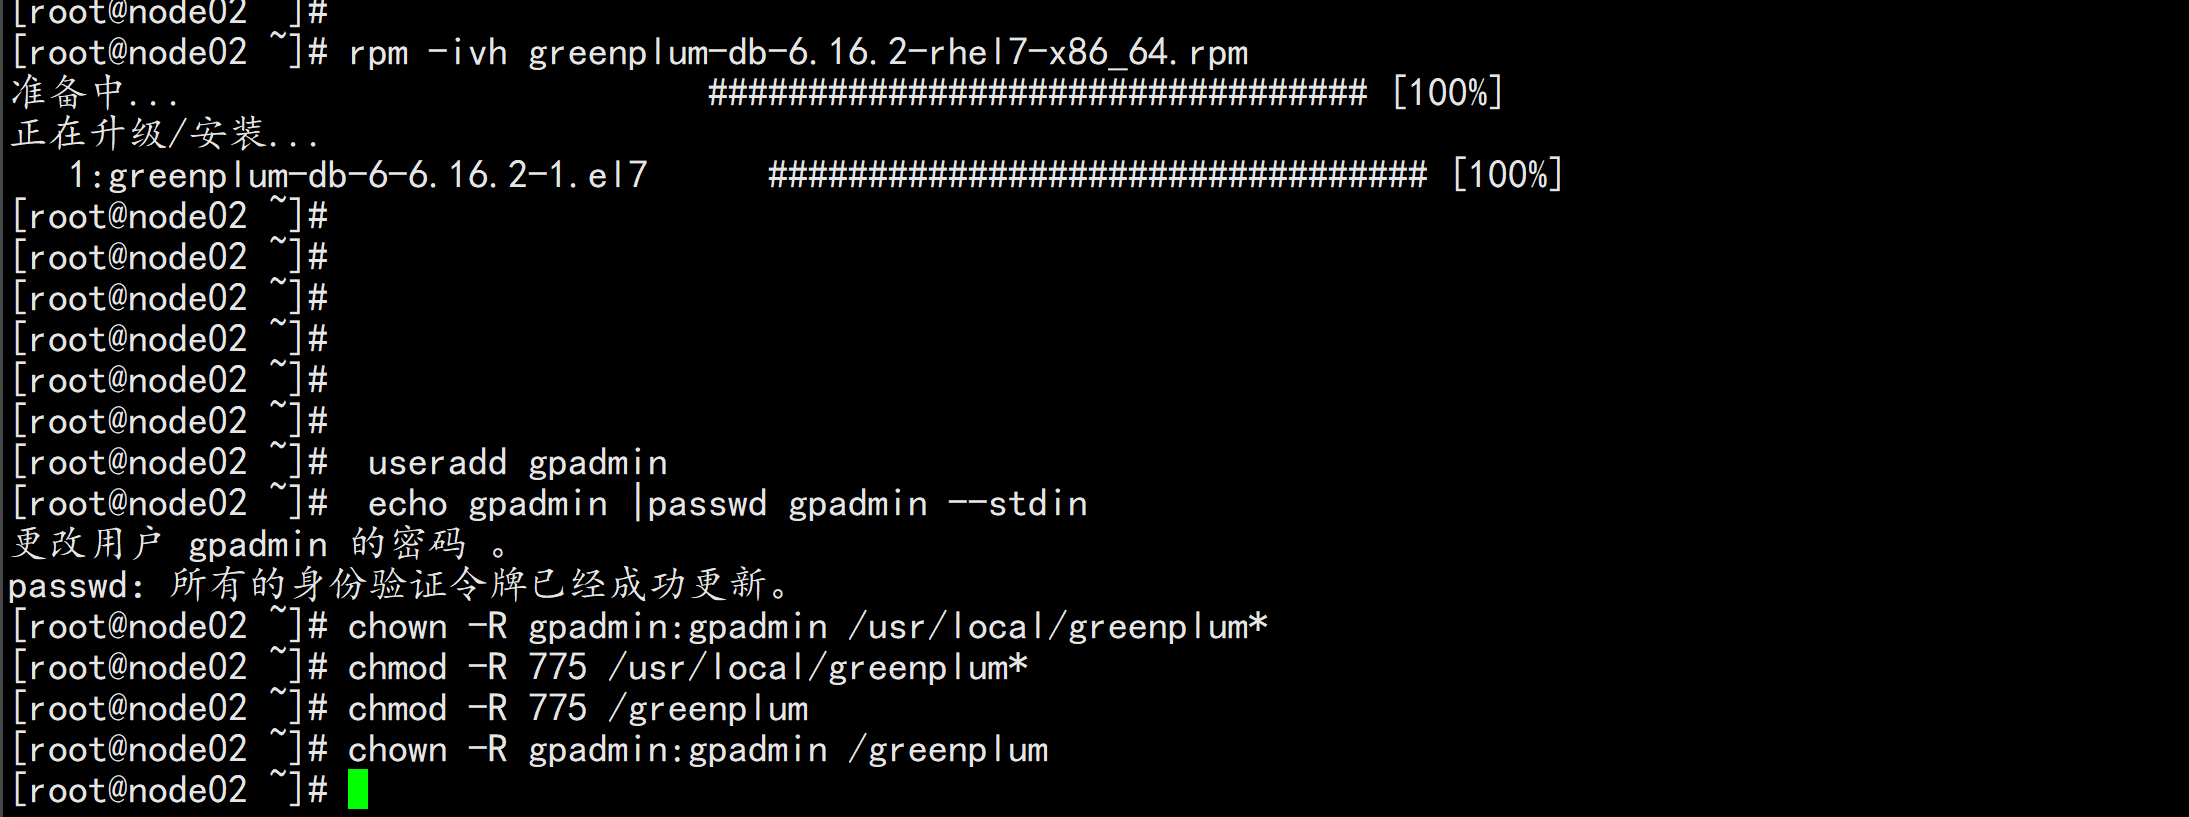
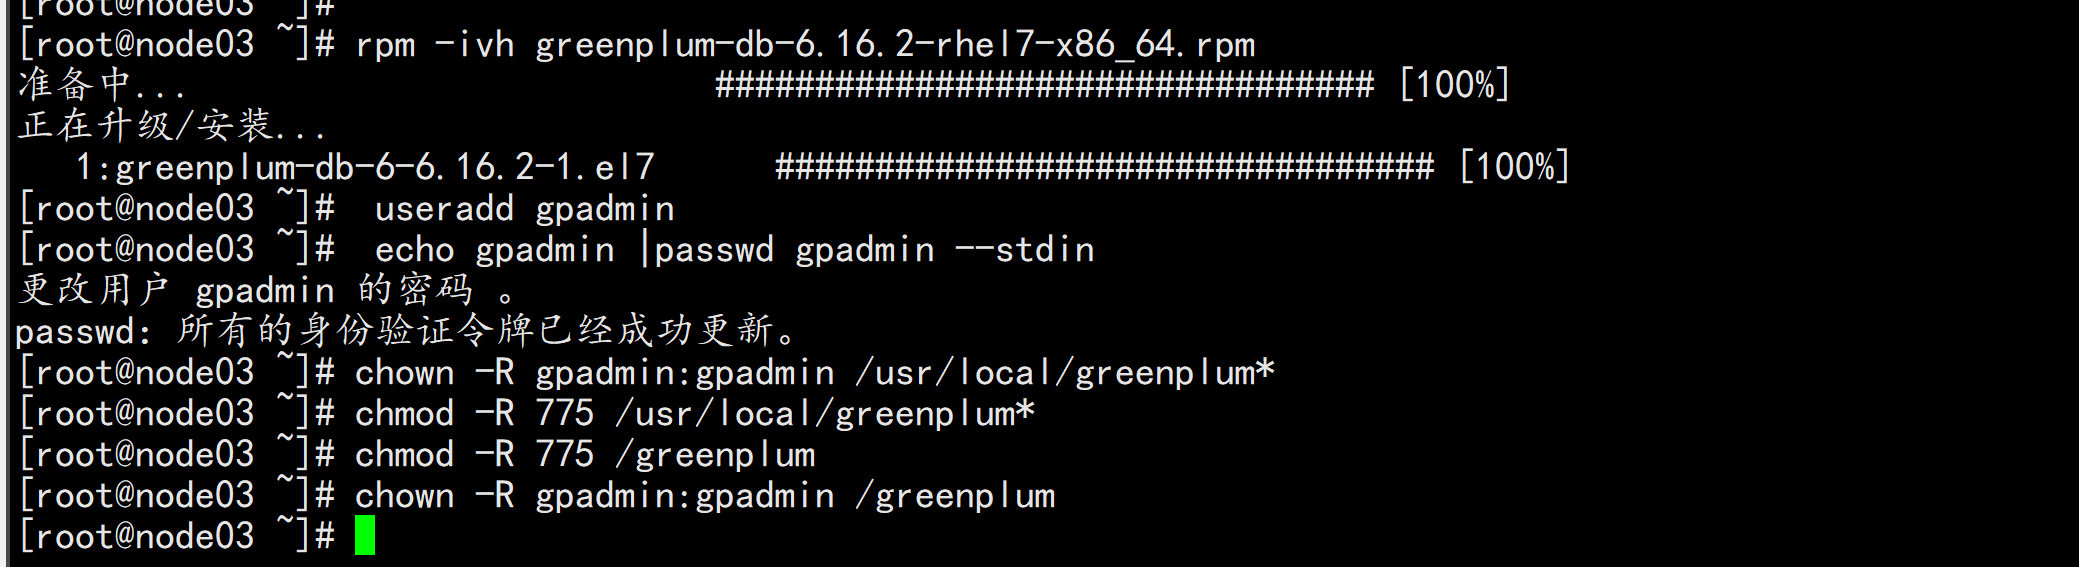
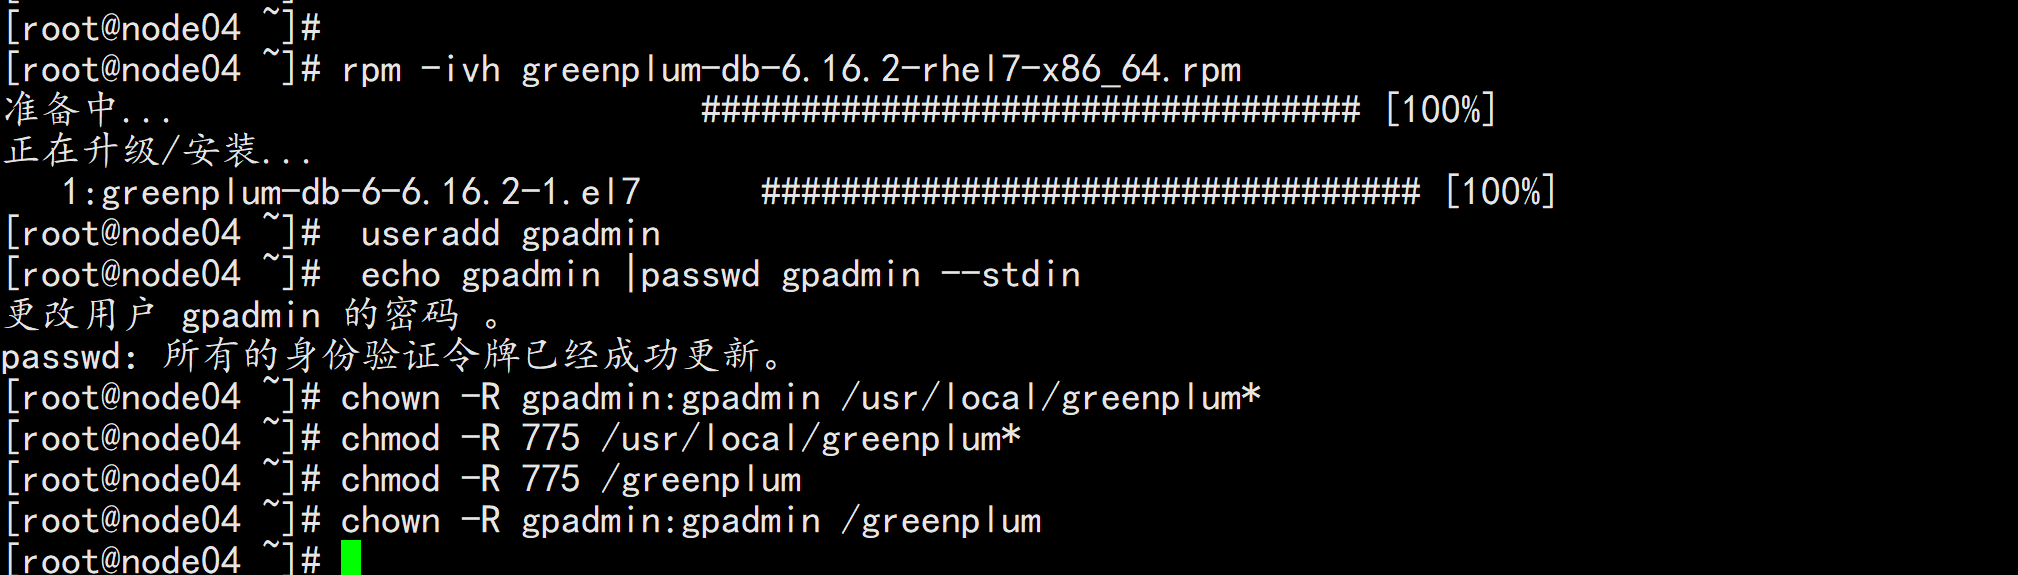
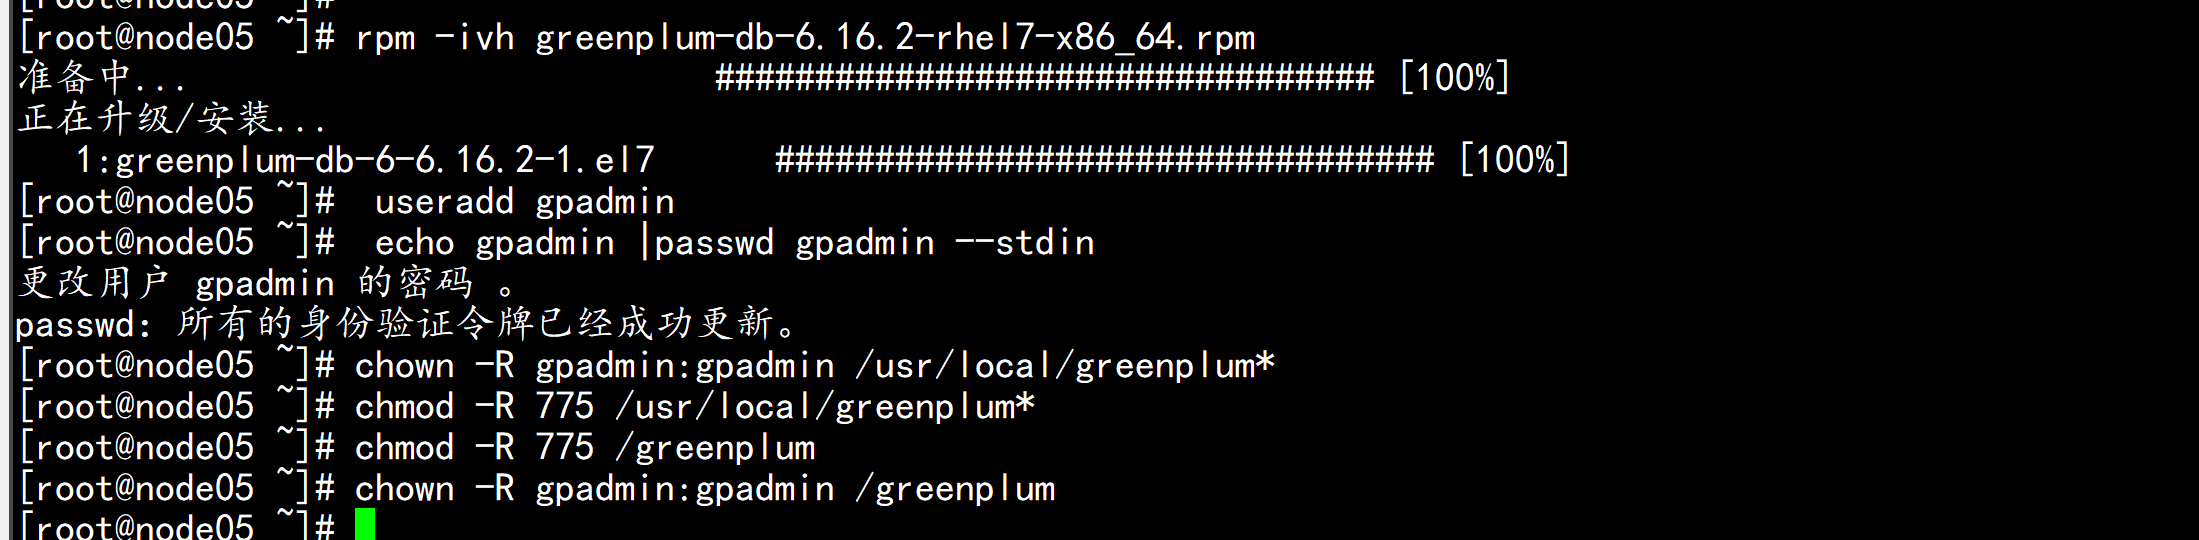
下载安装包(官方下载)全部节点配置:安装目录:/usr/local/greeplum-dbmkdir -p /greenplum/gpdatamkdir -p /greenplum/soft安装rpm 安装rpm -ivh greenplum-db-6.16.2-rhel7-x86_64.rpm

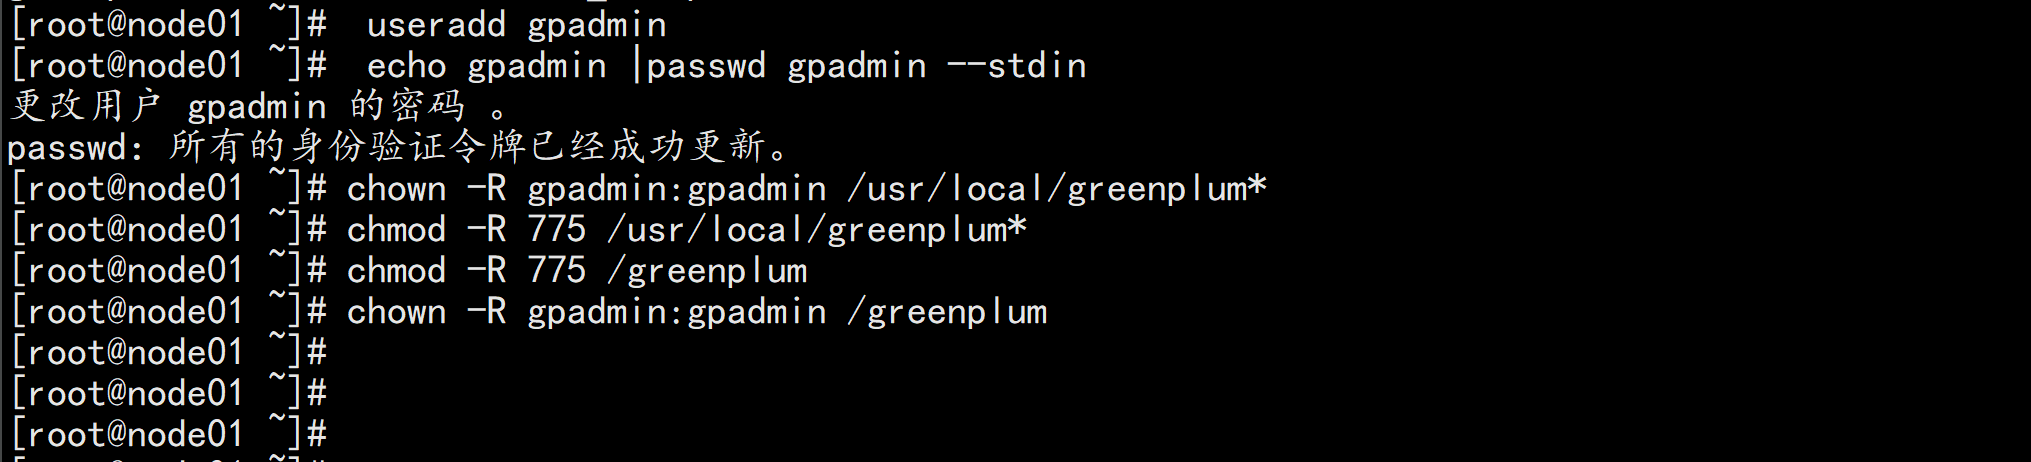
设置greenplum 的安装用户: (所有节点)useradd gpadminecho gpadmin |passwd gpadmin --stdin设置安装目录权限:chown -R gpadmin:gpadmin /usr/local/greenplum*chmod -R 775 /usr/local/greenplum*chmod -R 775 /greenplumchown -R gpadmin:gpadmin /greenplum
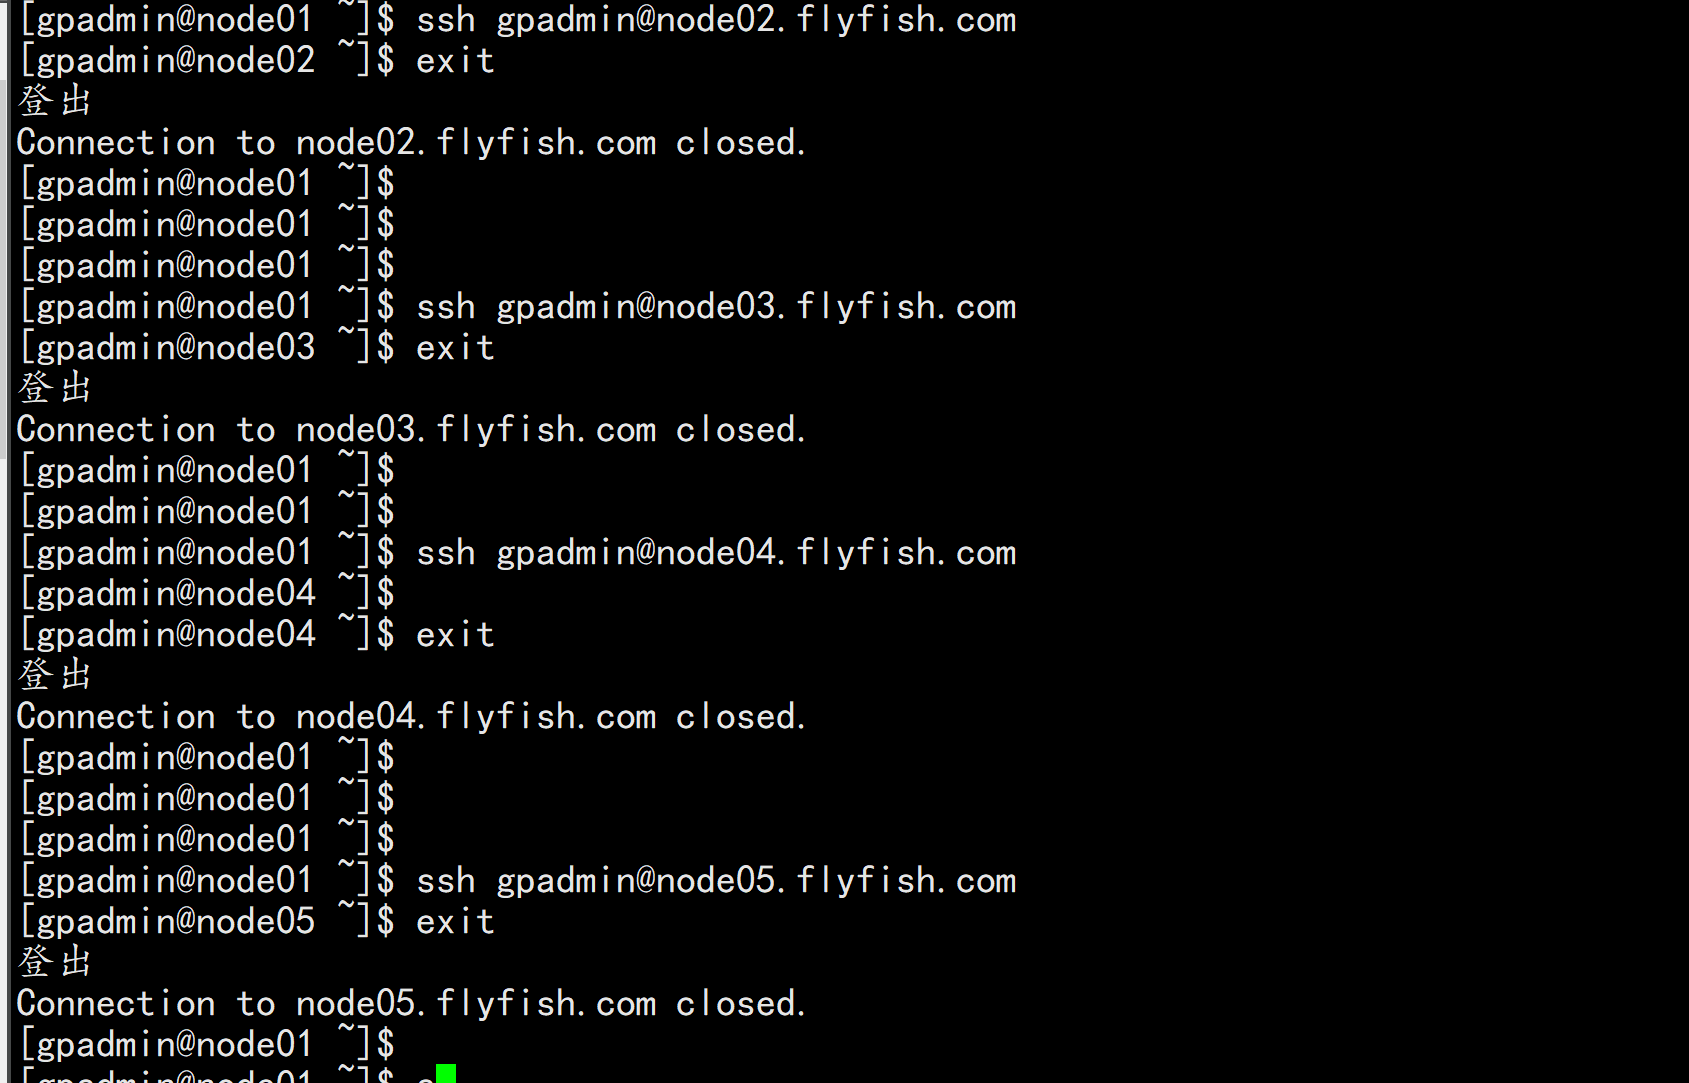
需要做gpadmin用户的无密钥登录:su - gpadminssh-keygen ---一直敲回车到最后cat id_rsa.pub >> authorized_keyschmod 600 authorized_keys将所有的公钥导入authorized_keys 分发到 所有的 机器的.ssh/ 下面然后测试
设置主机名配置: (在master节点配置)su - gpadminmkdir /usr/local/greenplum-db/configvim /usr/local/greenplum-db/config/all_hosts.txt----node01.flyfish.comnode02.flyfish.comnode03.flyfish.comnode04.flyfish.comnode05.flyfish.com----
vim /usr/local/greenplum-db/config/all_seg.txt---node03.flyfish.comnode04.flyfish.comnode05.flyfish.com---
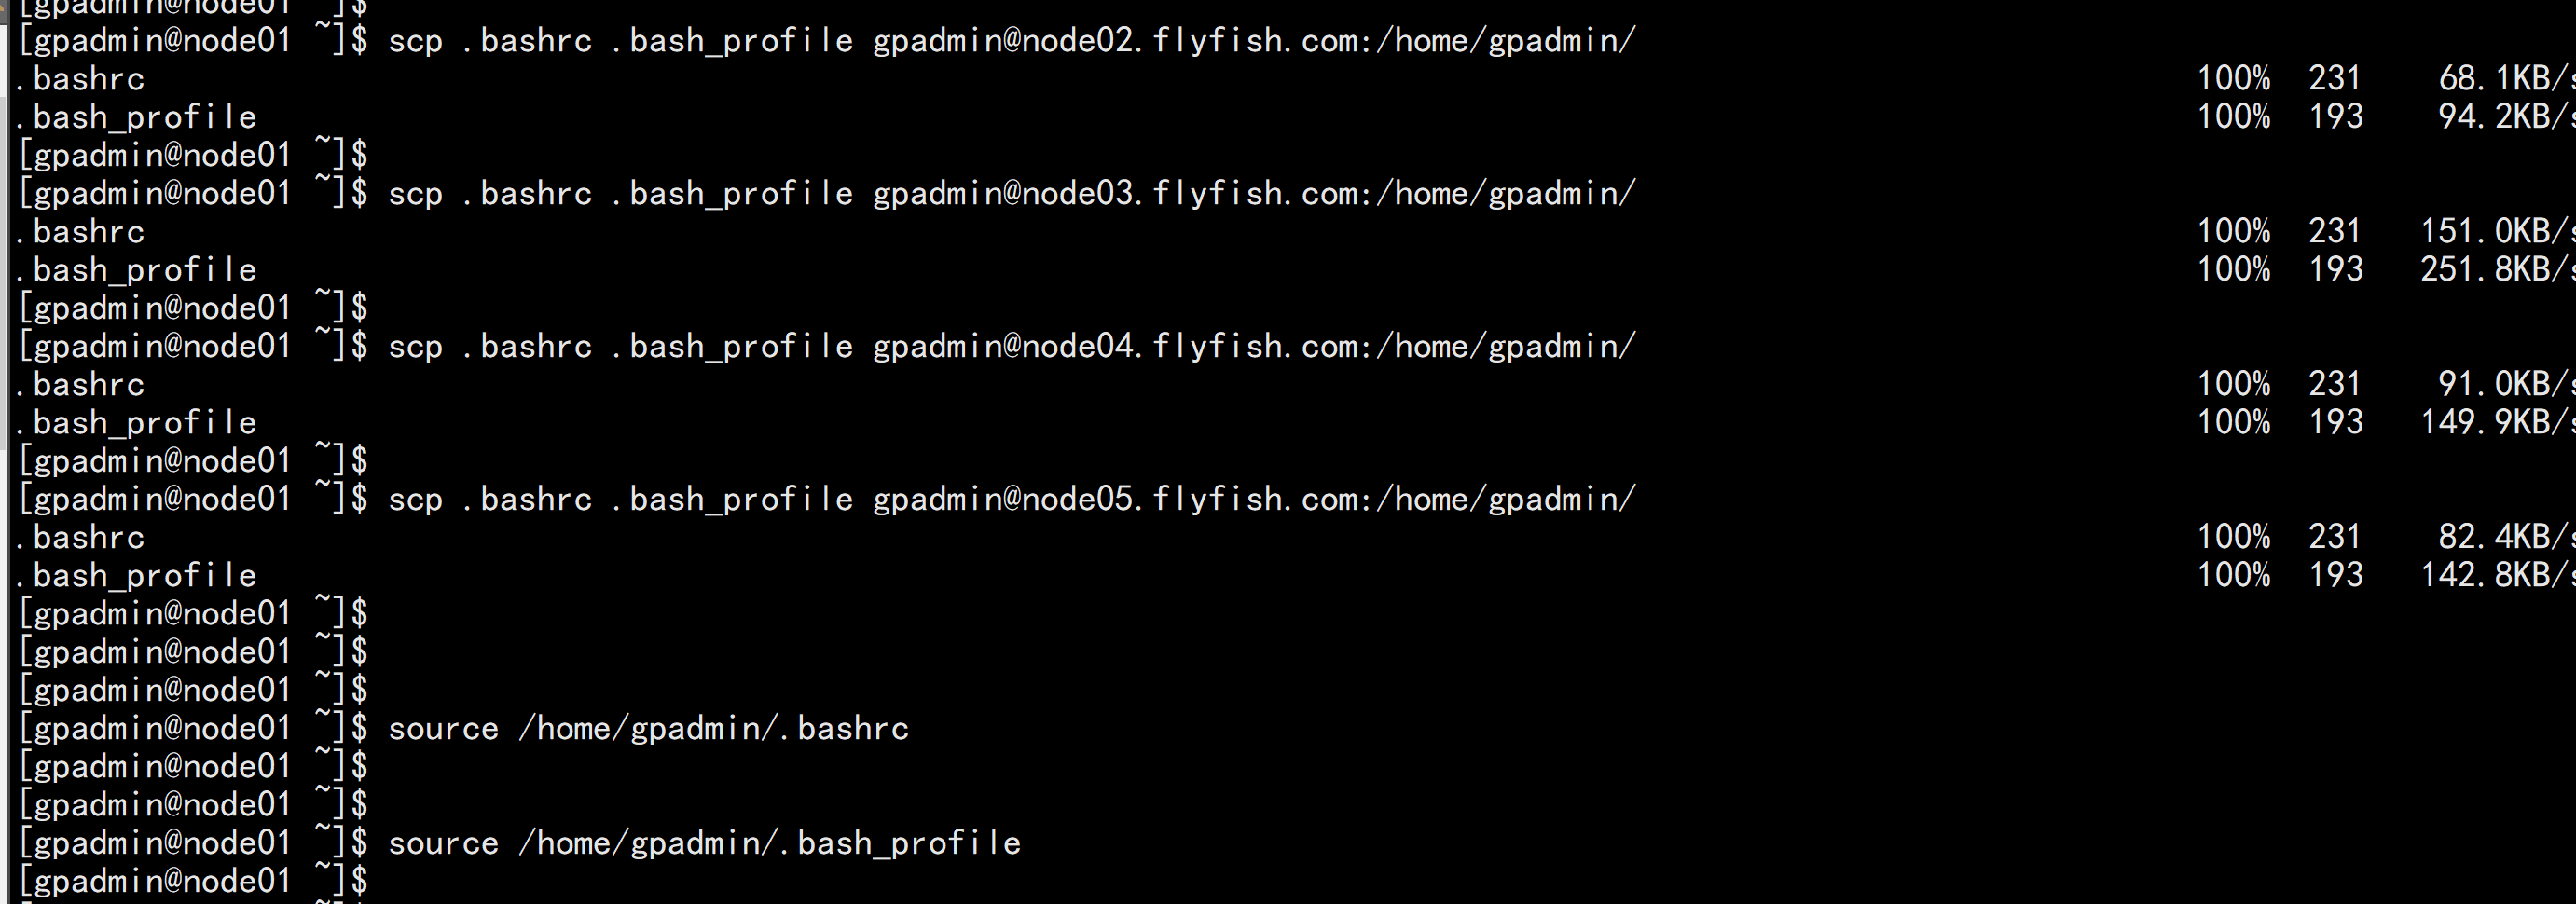
设置gpadmin的环境变量 (全部节点)su - gpadminvim .bash_profile----source /usr/local/greenplum-db/greenplum_path.sh#source /greenplum/greenplum-cc-6.3.1/gpcc_path.shexport MASTER_DATA_DIRECTORY=/greenplum/gpdata/master/gpseg-1export PGHOME=/usr/local/greenplum-dbexport PGPORT=5432export PGDATABASE=postgresexport PGUSER=gpadmin----
vim .bashrc----source /usr/local/greenplum-db/greenplum_path.sh#source /greenplum/greenplum-cc-6.3.1/gpcc_path.shexport MASTER_DATA_DIRECTORY=/greenplum/gpdata/master/gpseg-1export PGHOME=/usr/local/greenplum-dbexport PGPORT=5432export PGDATABASE=postgresexport PGUSER=gpadmin----source /home/gpadmin/.bashrcsource /home/gpadmin/.bash_profile
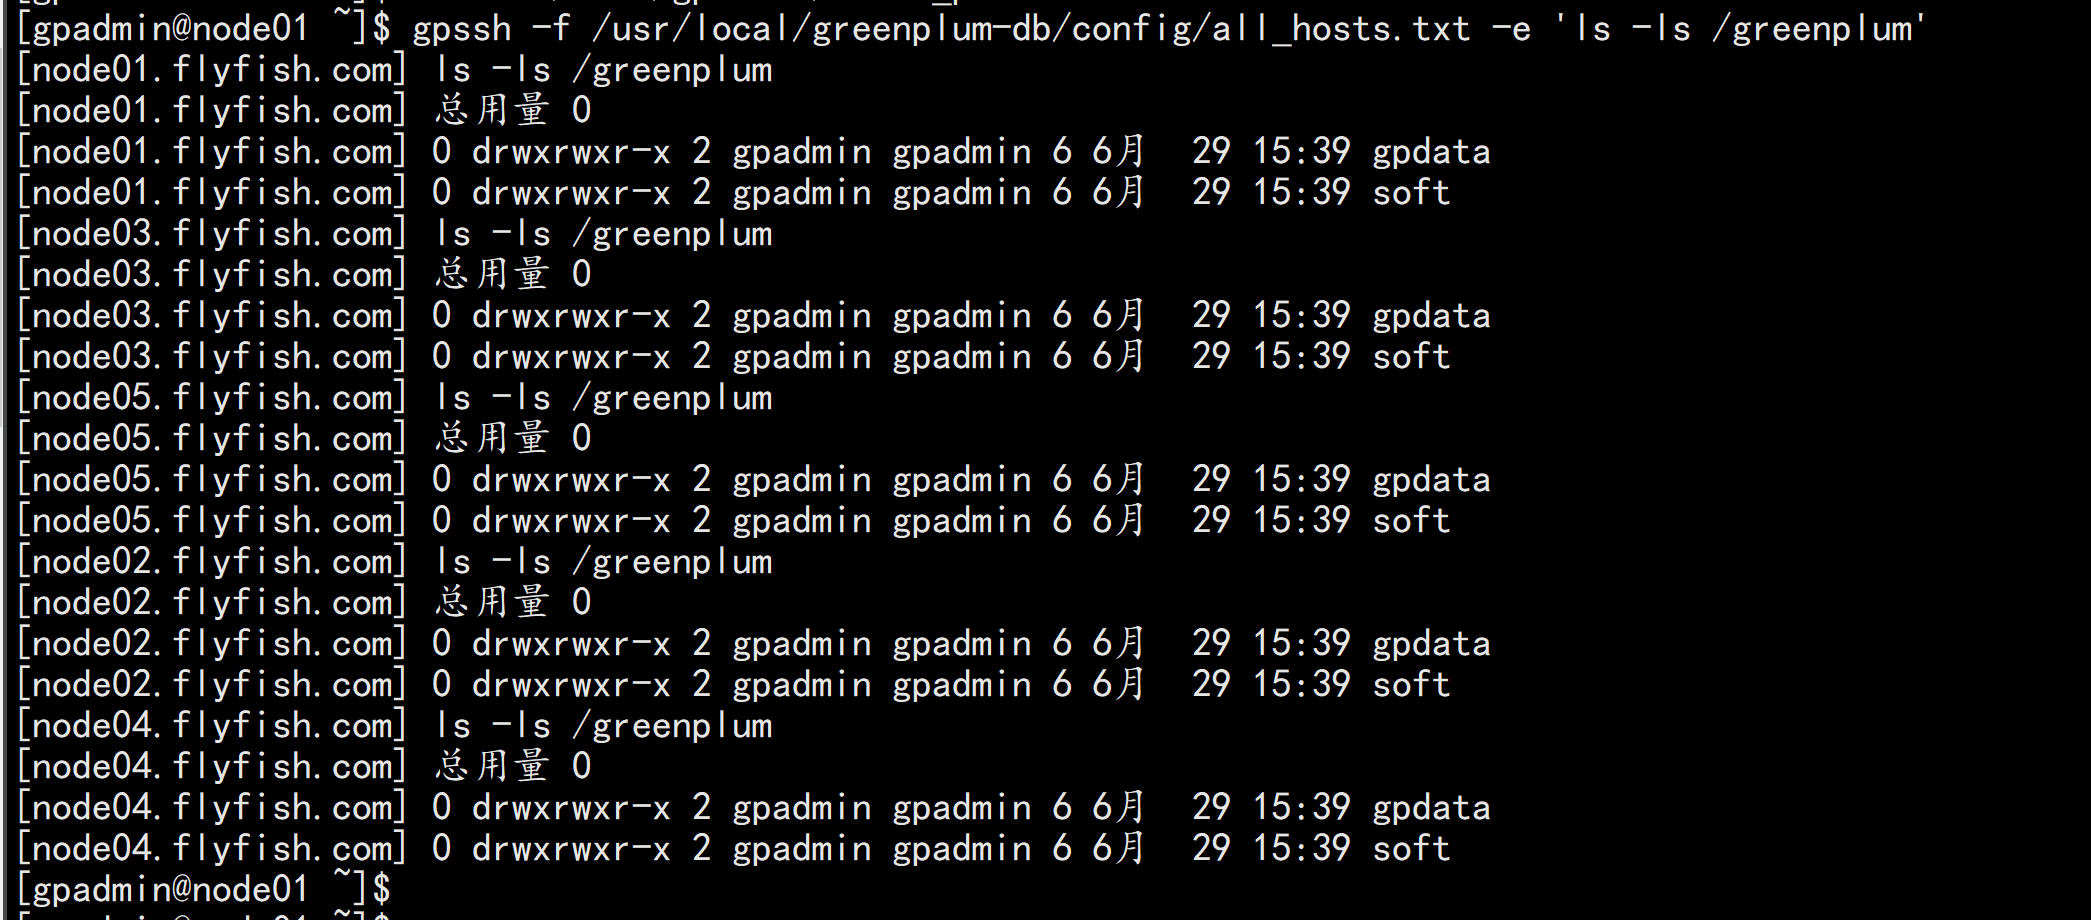
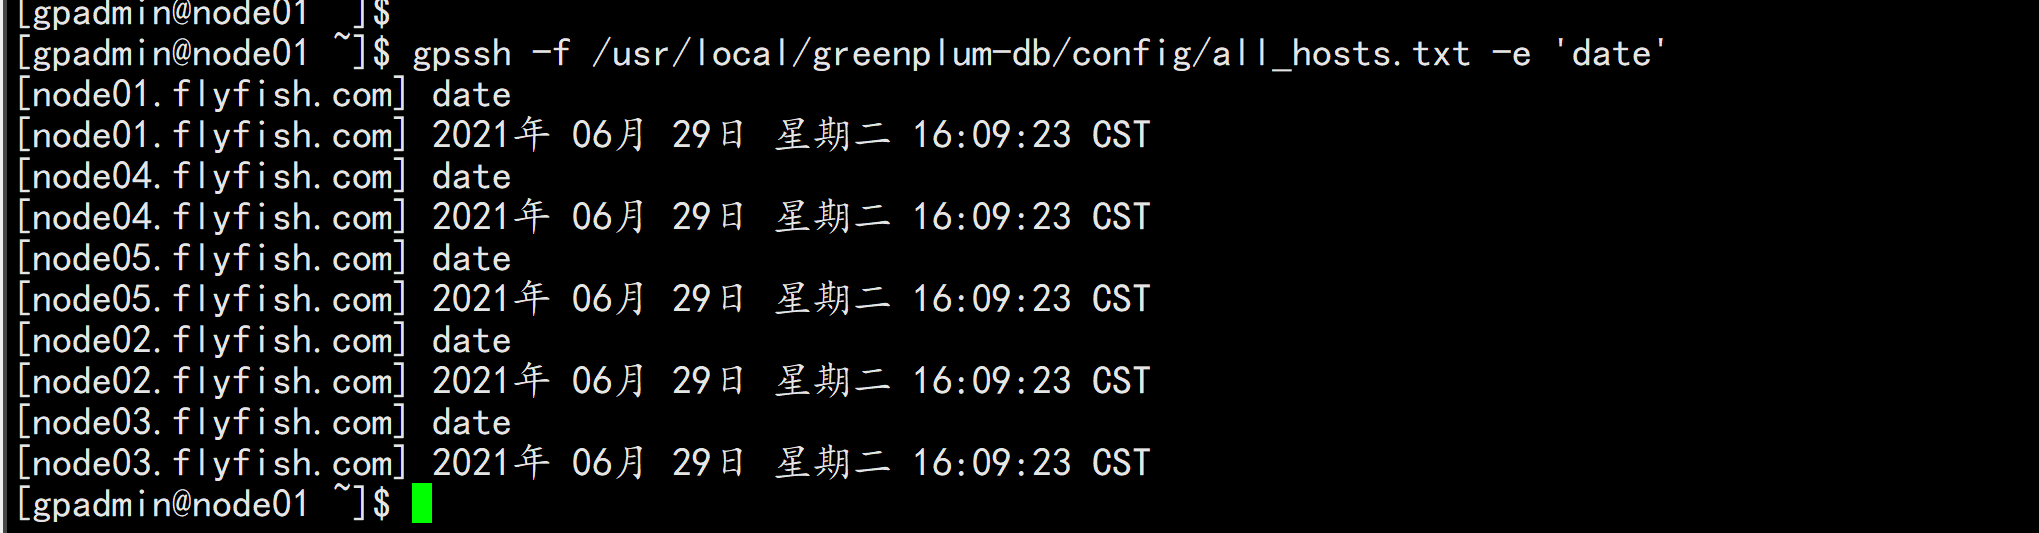
所有主机测试:gpssh -f /usr/local/greenplum-db/config/all_hosts.txt -e 'ls -ls /greenplum'gpssh -f /usr/local/greenplum-db/config/all_hosts.txt -e 'date'
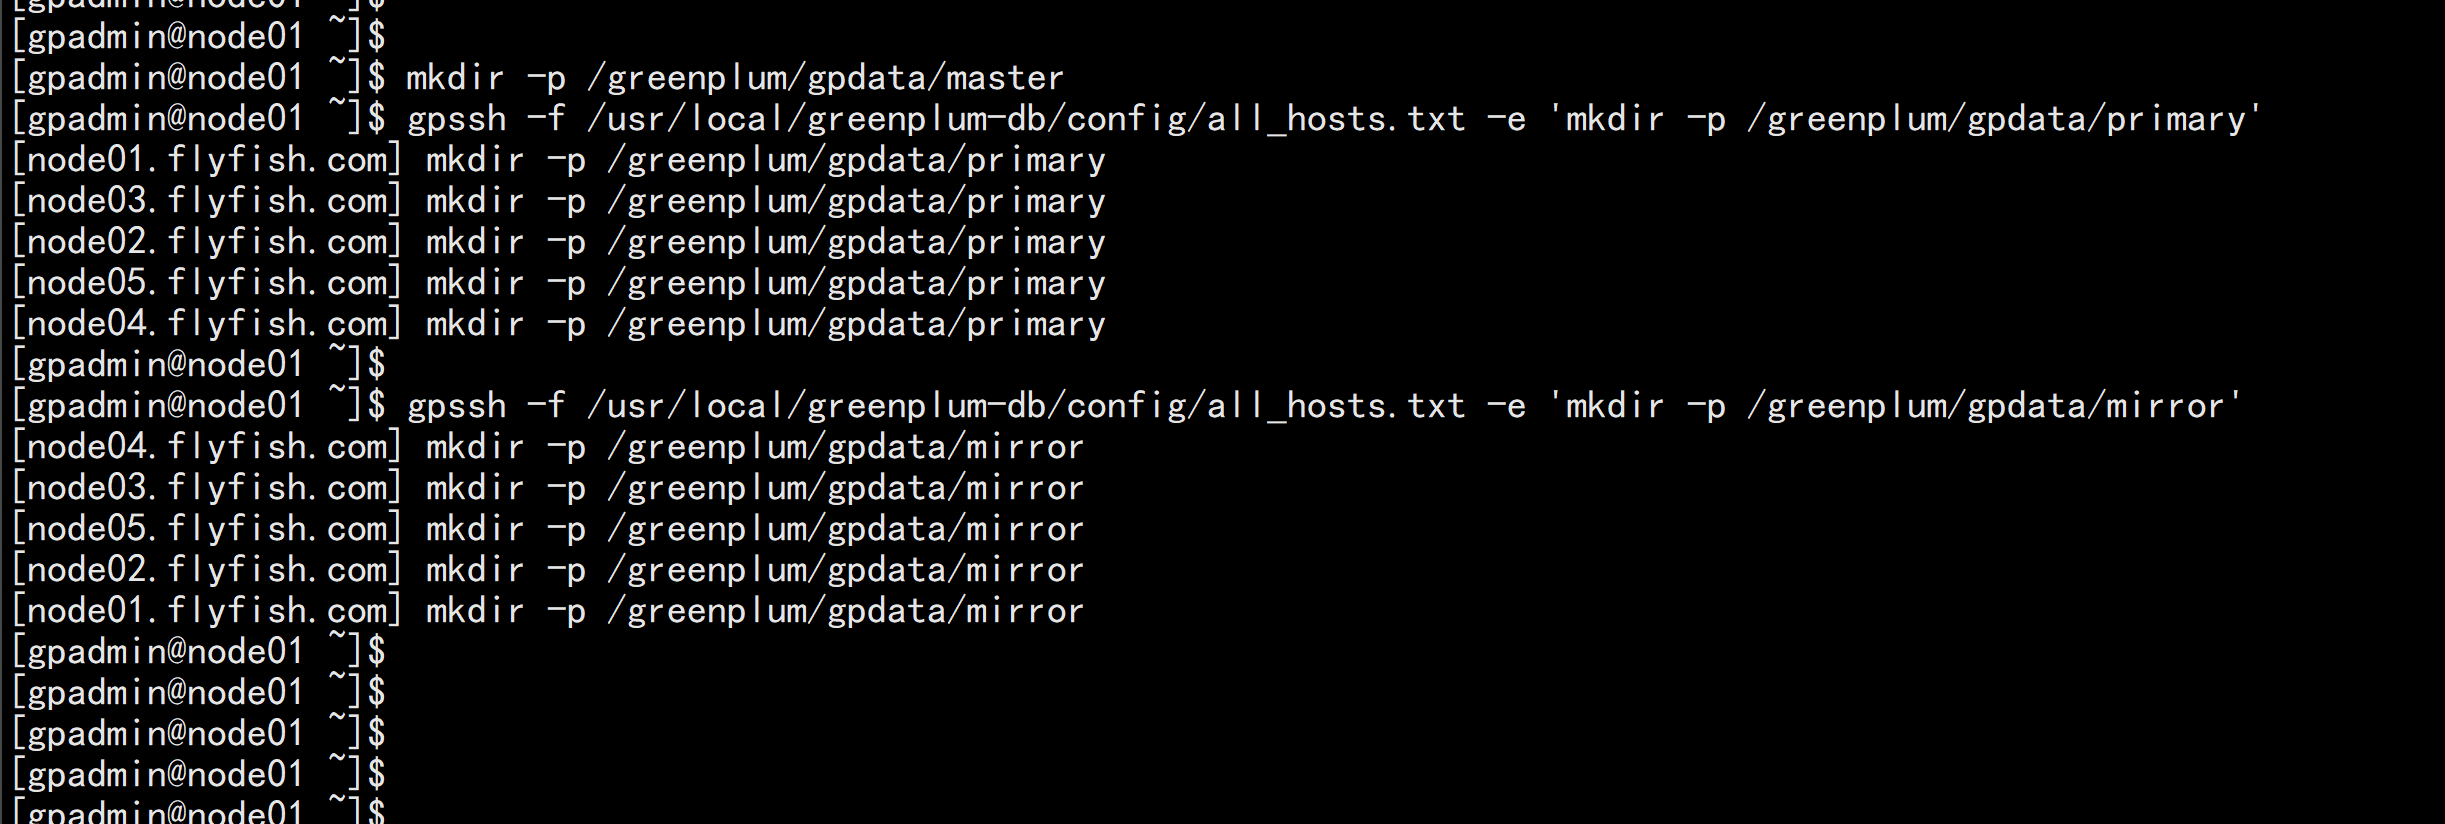
设置主机安装目录:su - gpadminmkdir -p /greenplum/gpdata/master (主节点与备份节点配置)gpssh -f /usr/local/greenplum-db/config/all_hosts.txt -e 'mkdir -p /greenplum/gpdata/primary'gpssh -f /usr/local/greenplum-db/config/all_hosts.txt -e 'mkdir -p /greenplum/gpdata/mirror'
集群节点安装vim /usr/local/greenplum-db/config/gpinitsystem_config---ARRAY_NAME="greenplum"SEG_PREFIX=gpsegPORT_BASE=55000declare -a DATA_DIRECTORY=(/greenplum/gpdata/primary /greenplum/gpdata/primary /greenplum/gpdata/primary)MASTER_HOSTNAME=node01.flyfish.comMASTER_DIRECTORY=/greenplum/gpdata/masterMASTER_PORT=5432MACHINE_LIST_FILE=/usr/local/greenplum-db/config/all_seg.txtTRUSTED_SHELL=sshCHECK_POINT_SEGMENTS=8ENCODING=UNICODEMIRROR_PORT_BASE=56000REPLICATION_PORT_BASE=57000MIRROR_REPLICATION_PORT_BASE=58000declare -a MIRROR_DATA_DIRECTORY=(/greenplum/gpdata/mirror /greenplum/gpdata/mirror /greenplum/gpdata/mirror)----

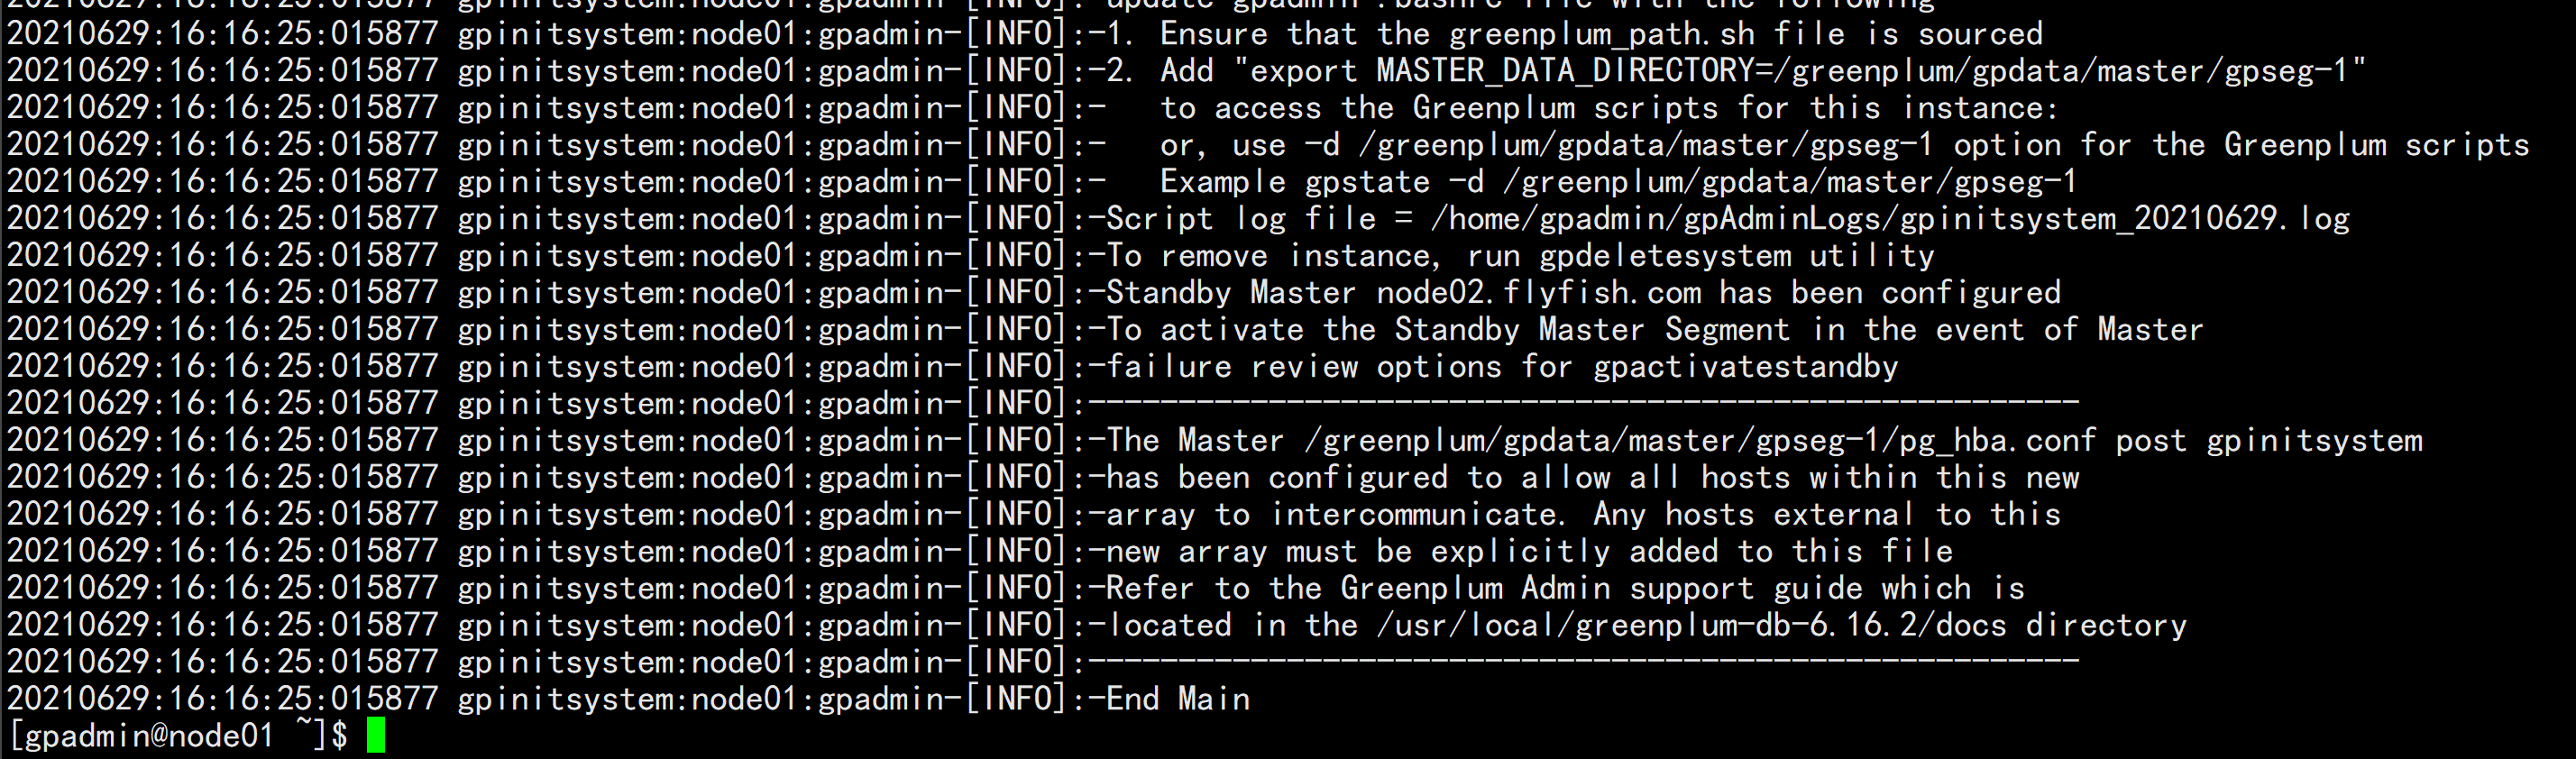
初始化集群:vim gpinit.sh----gpinitsystem -c /usr/local/greenplum-db/config/gpinitsystem_config -a -h /usr/local/greenplum-db/config/all_seg.txt -s node02.flyfish.com -D -B 2----chmod +x gpinit.sh./gpinit.sh

初始化到最后:
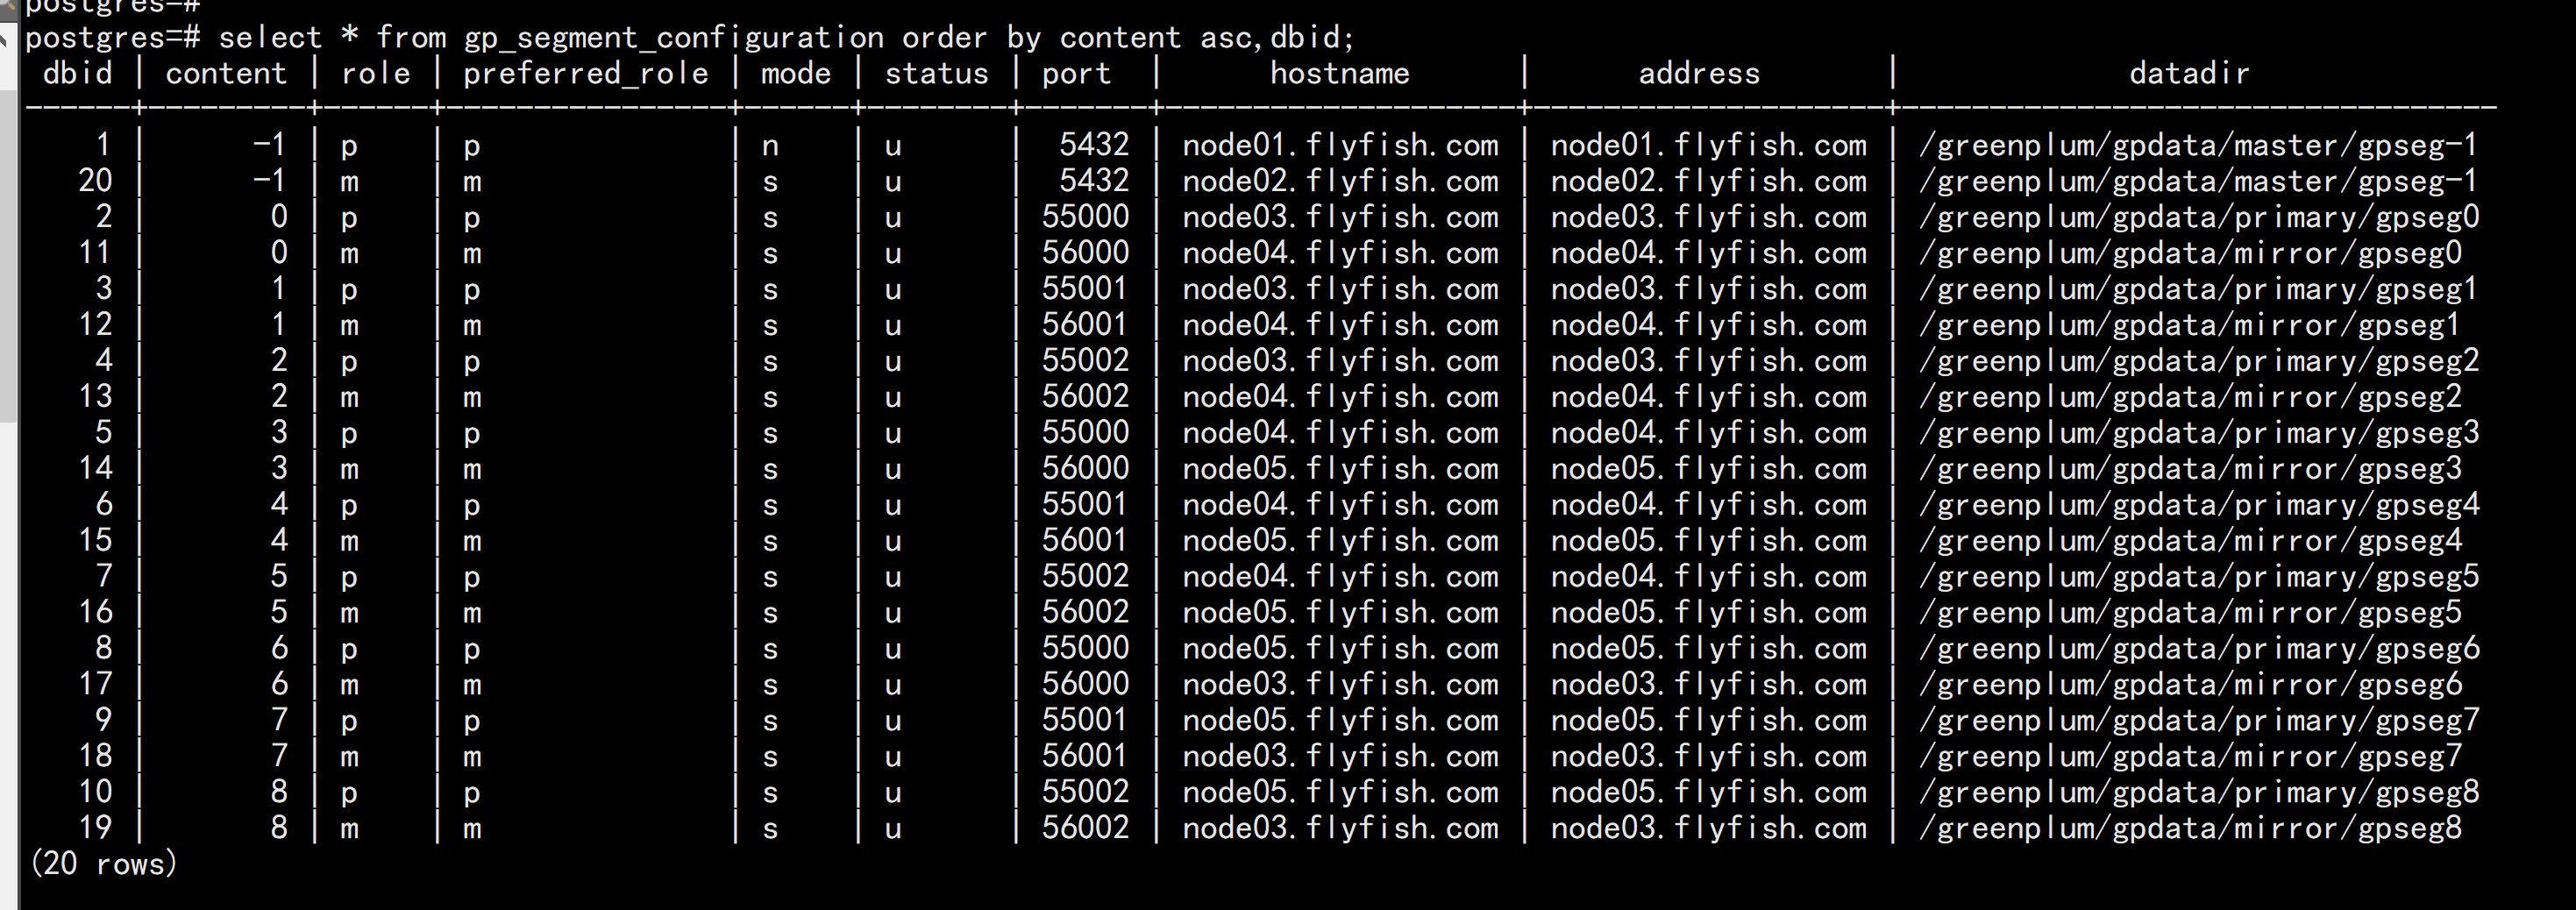
查看GP 的 分段情况:select * from gp_segment_configuration order by content asc,dbid;