@zhangyy
2020-07-07T02:11:28.000000Z
字数 6737
阅读 362
大数据平台CDH5.16.2 安装配置
大数据平台构建
- 一: 环境初始化
- 二: 安装CDH5.16.2
1.1: 系统环境介绍
系统: RHEL7.7X64cat /etc/hosts---172.17.100.21 rhel01.flyfish172.17.100.22 rhel02.flyfish172.17.100.23 rhel03.flyfish172.17.100.24 rhel04.flyfish-----本次 安装只配置其中三台机器: 172.17.100.21到 172.17.100.23
1.2: 关闭 firewalld,iptables 与 selinux
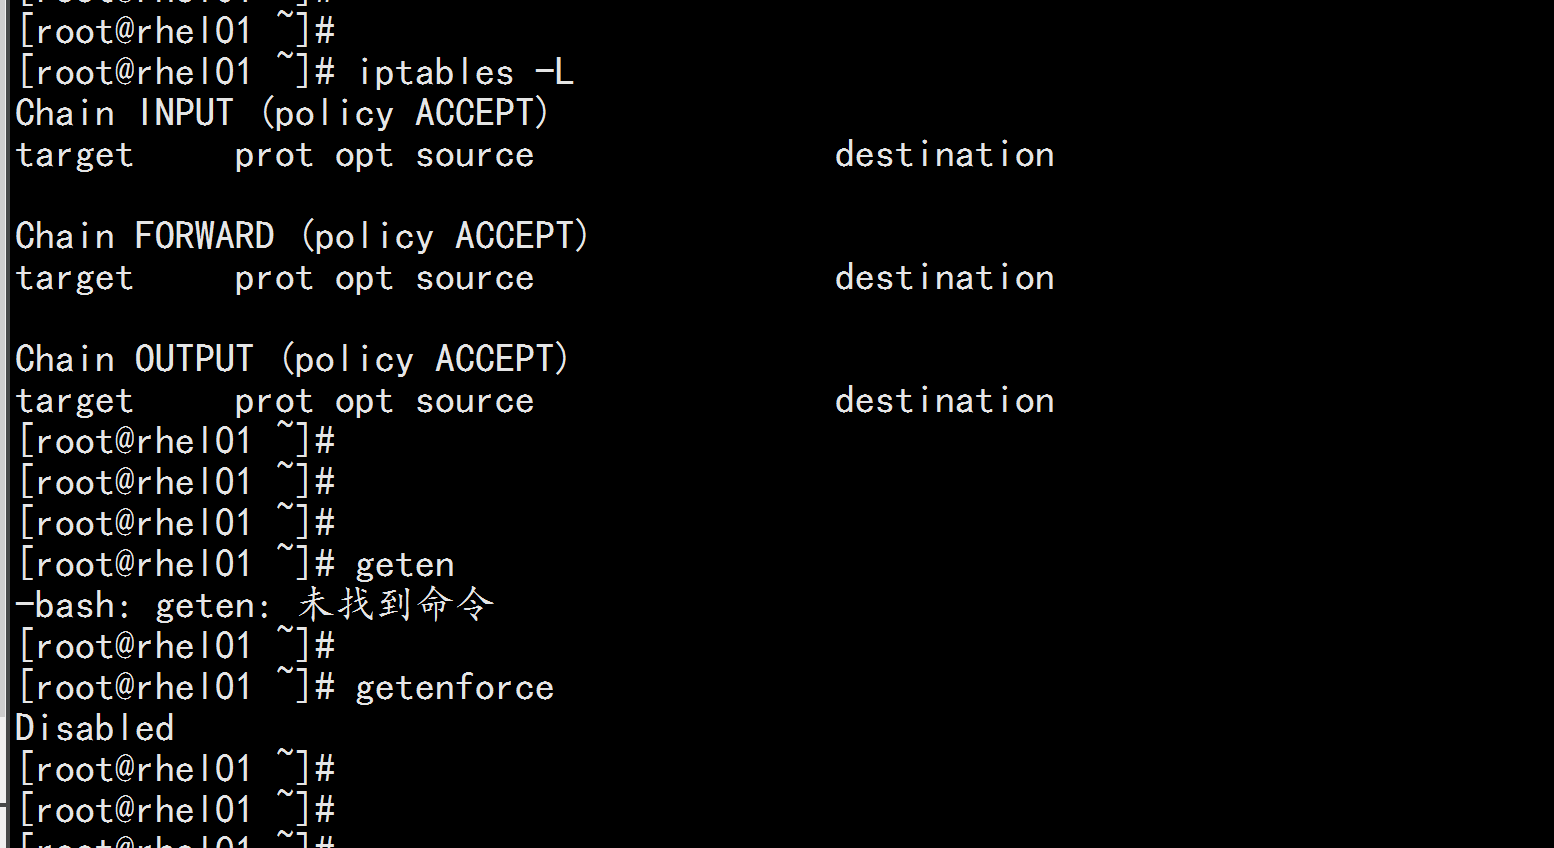
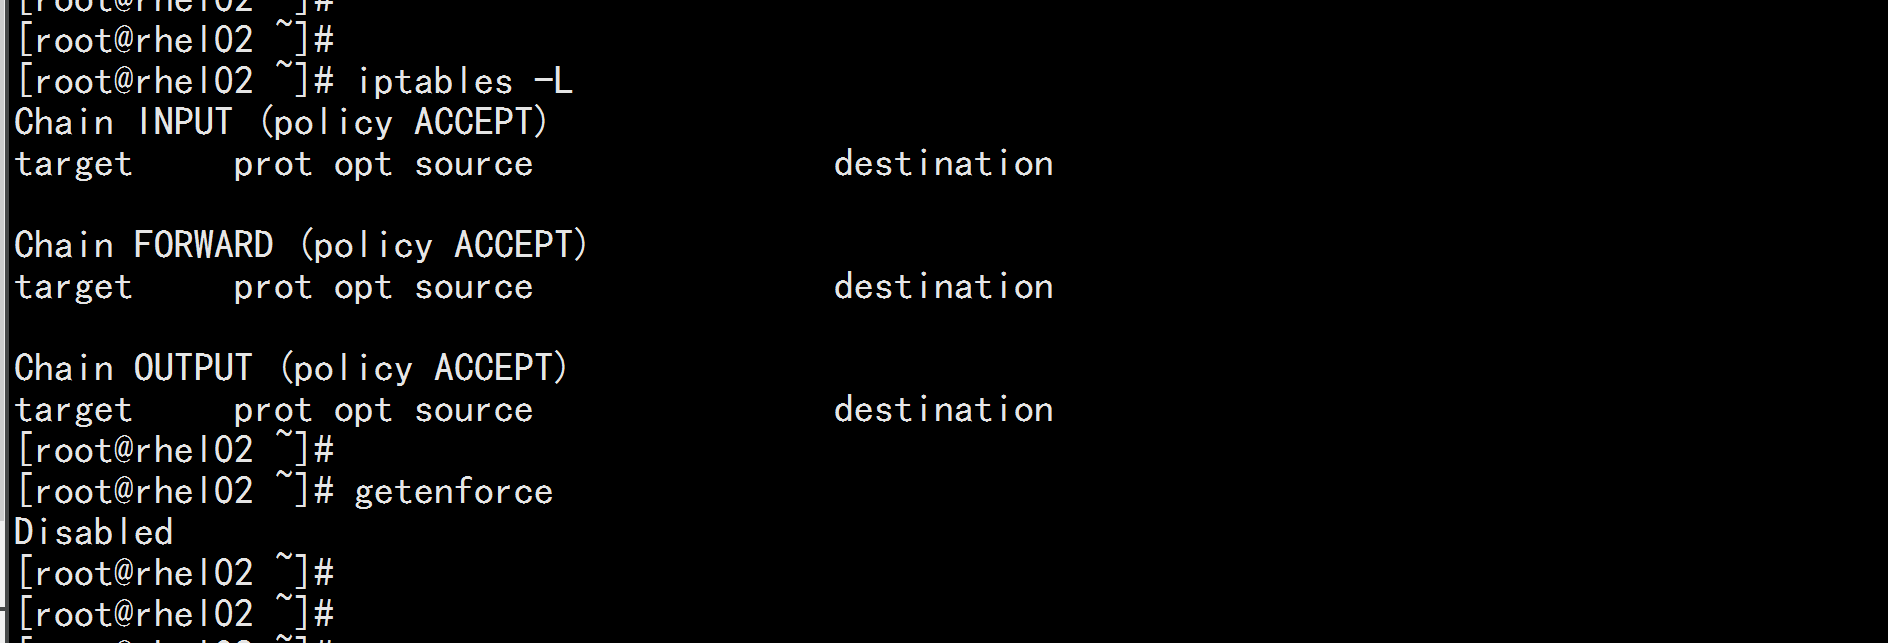
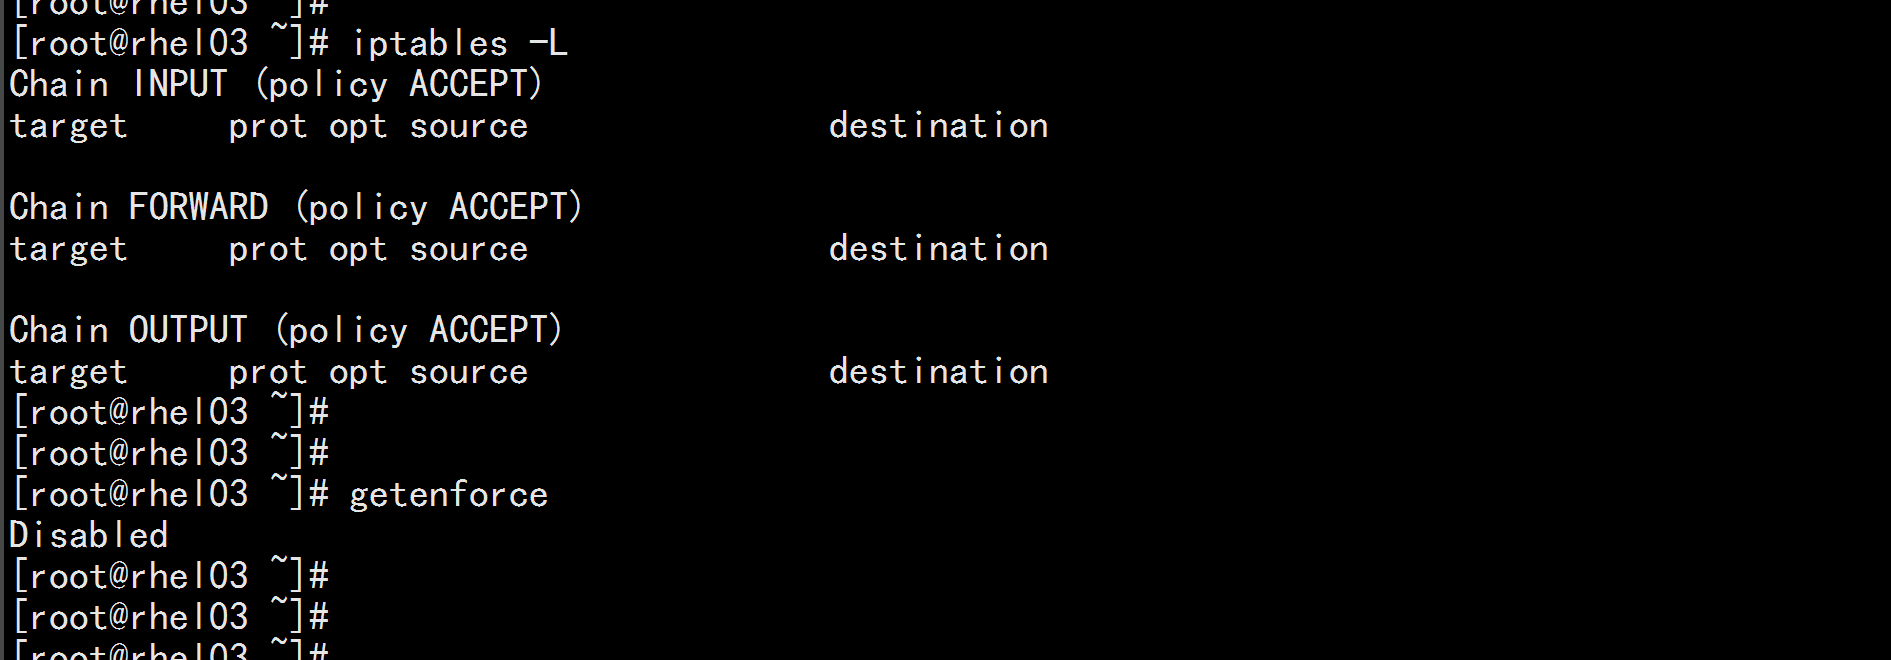
yum install -y firewall* iptable*(1) 关闭firewalldsystemctl stop firewalld.servicesystemctl disable firewalld.servicefirewall-cmd --state(2) 关闭iptablesiptables -Fsystemctl stop iptables.serviceservice iptables savesystemctl disable iptables.service(3) 禁用 selinuxsed -i '/SELINUX/s/enforcing/disabled/' /etc/selinux/configsetenforce 0getenforce 0sestatus重启机器reboot
1.3:无密钥登录配置
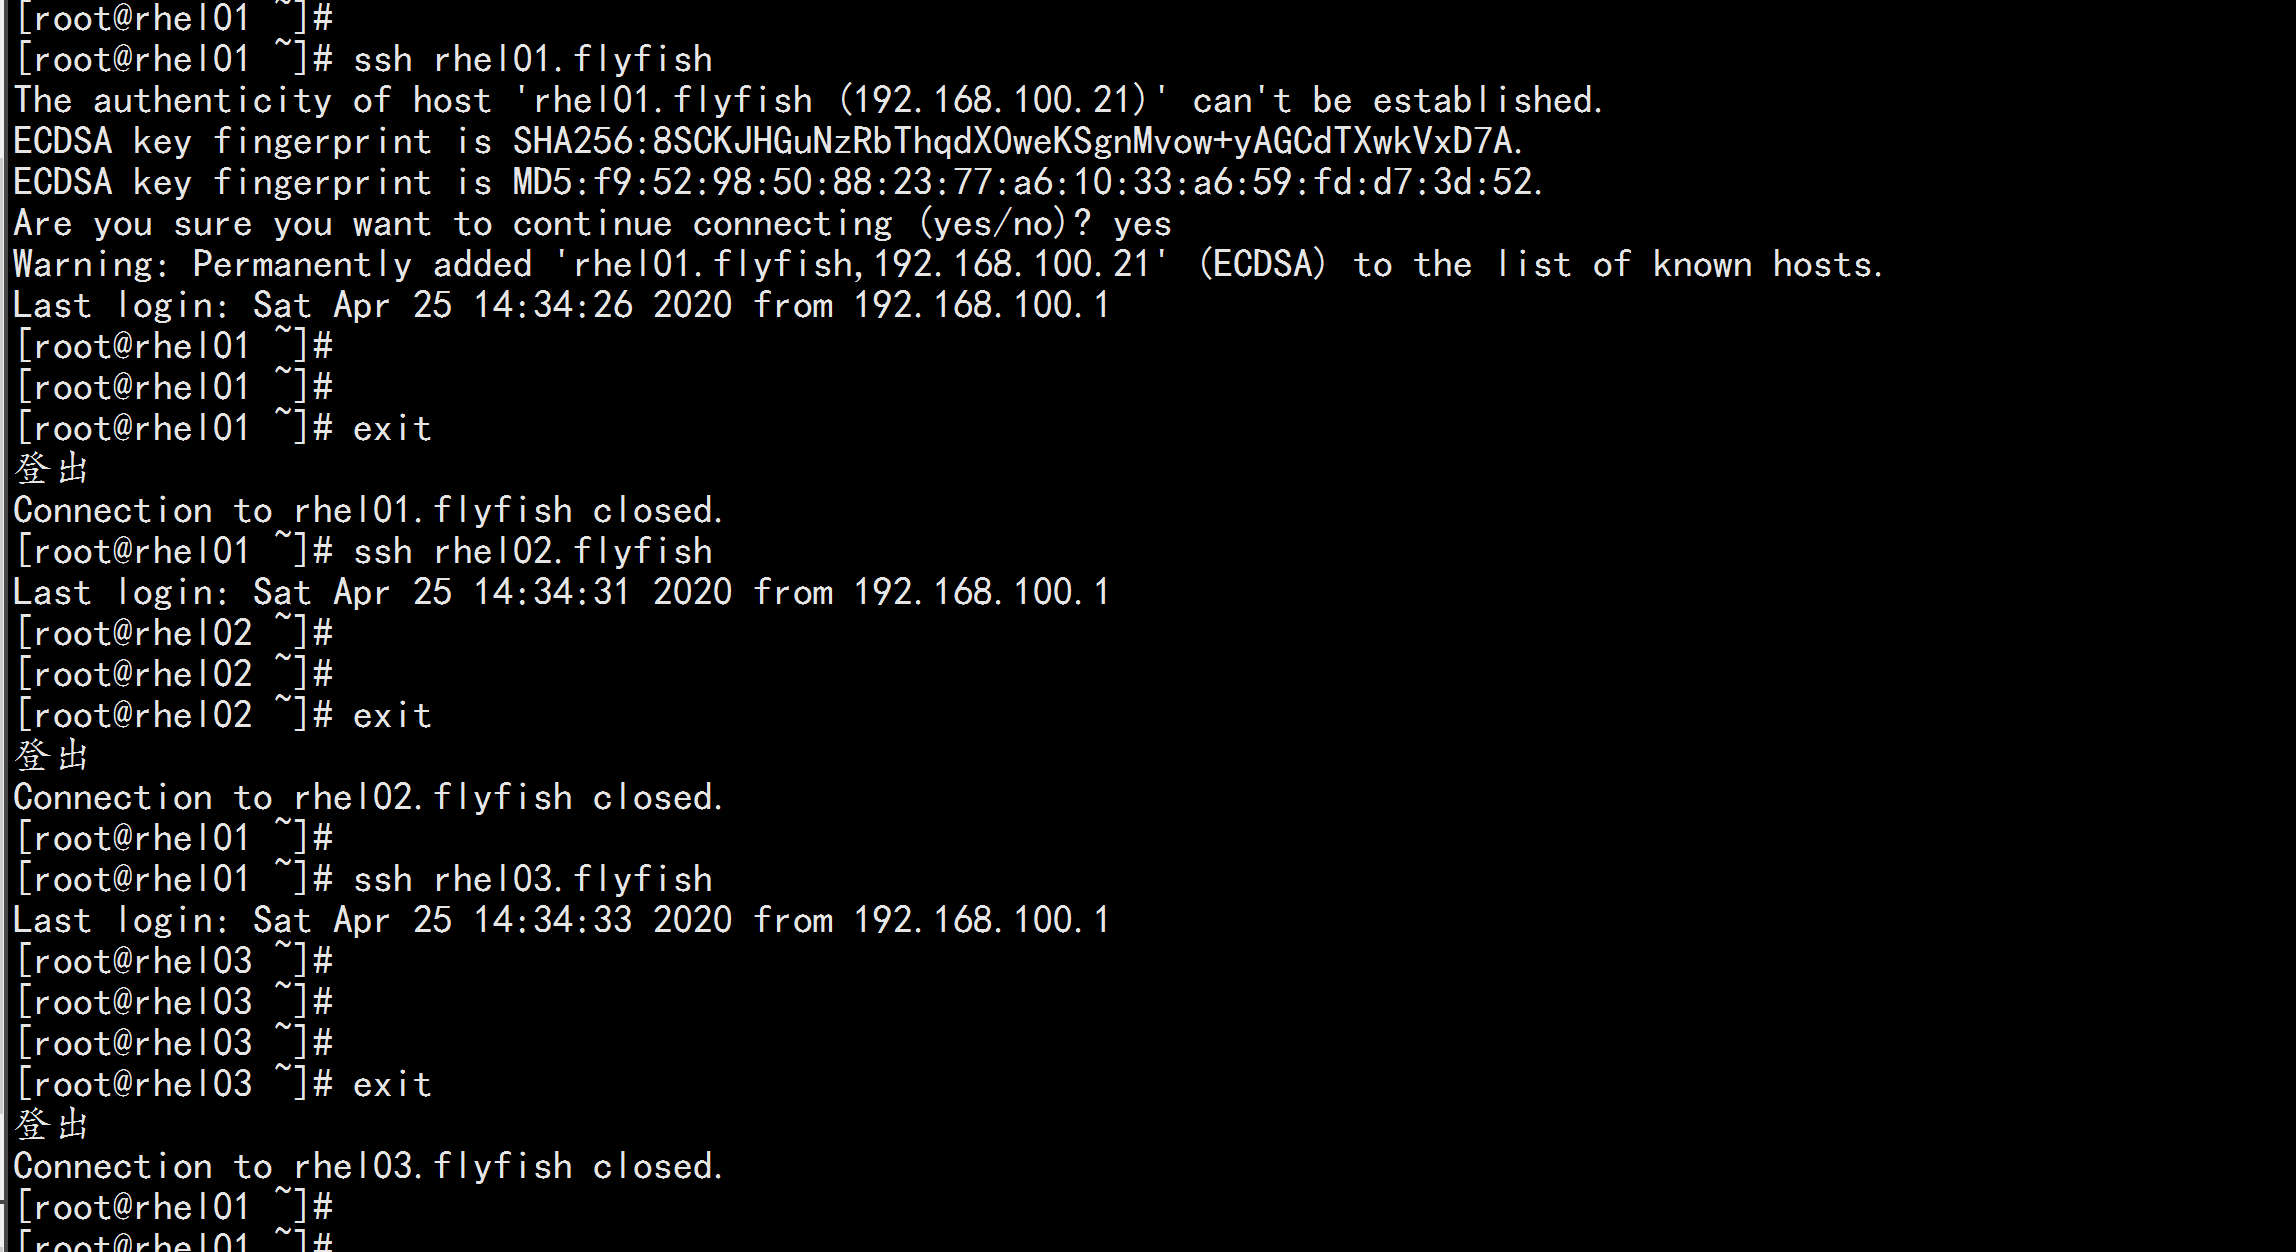
做root用户无密钥认证ssh-keygen ---一直敲回车到最后cat id_rsa.pub >> authorized_keys将所有的公钥导入authorized_keys 分发到 所有的 机器的.ssh/ 下面然后测试
1.4 配置jdk1.8环境 (所有机器都配置)
1): 卸载原来的jdkrpm -e java-1.8.0-openjdk-headless-1.8.0.242.b08-0.el7_7.x86_64 javapackages-tools-3.4.1-11.el7.noarch tzdata-java-2019c-1.el7.noarch python-javapackages-3.4.1-11.el7.noarch postgresql-jdbc-javadoc-9.2.1002-6.el7_5.noarch --nodeps2) 安装 jdk:rpm -ivh jdk-8u162-linux-x64.rpmvim /etc/profile最后增加:### JDK ####export JAVA_HOME=/usr/java/jdk1.8.0_162export CLASSPATH=.:$JAVA_HOME/jre/lib:$JAVA_HOME/lib:$JAVA_HOME/lib/tools.jarPATH=$PATH:$HOME/bin:$JAVA_HOME/bin---java -version


1.5:chrony 时间同步服务器
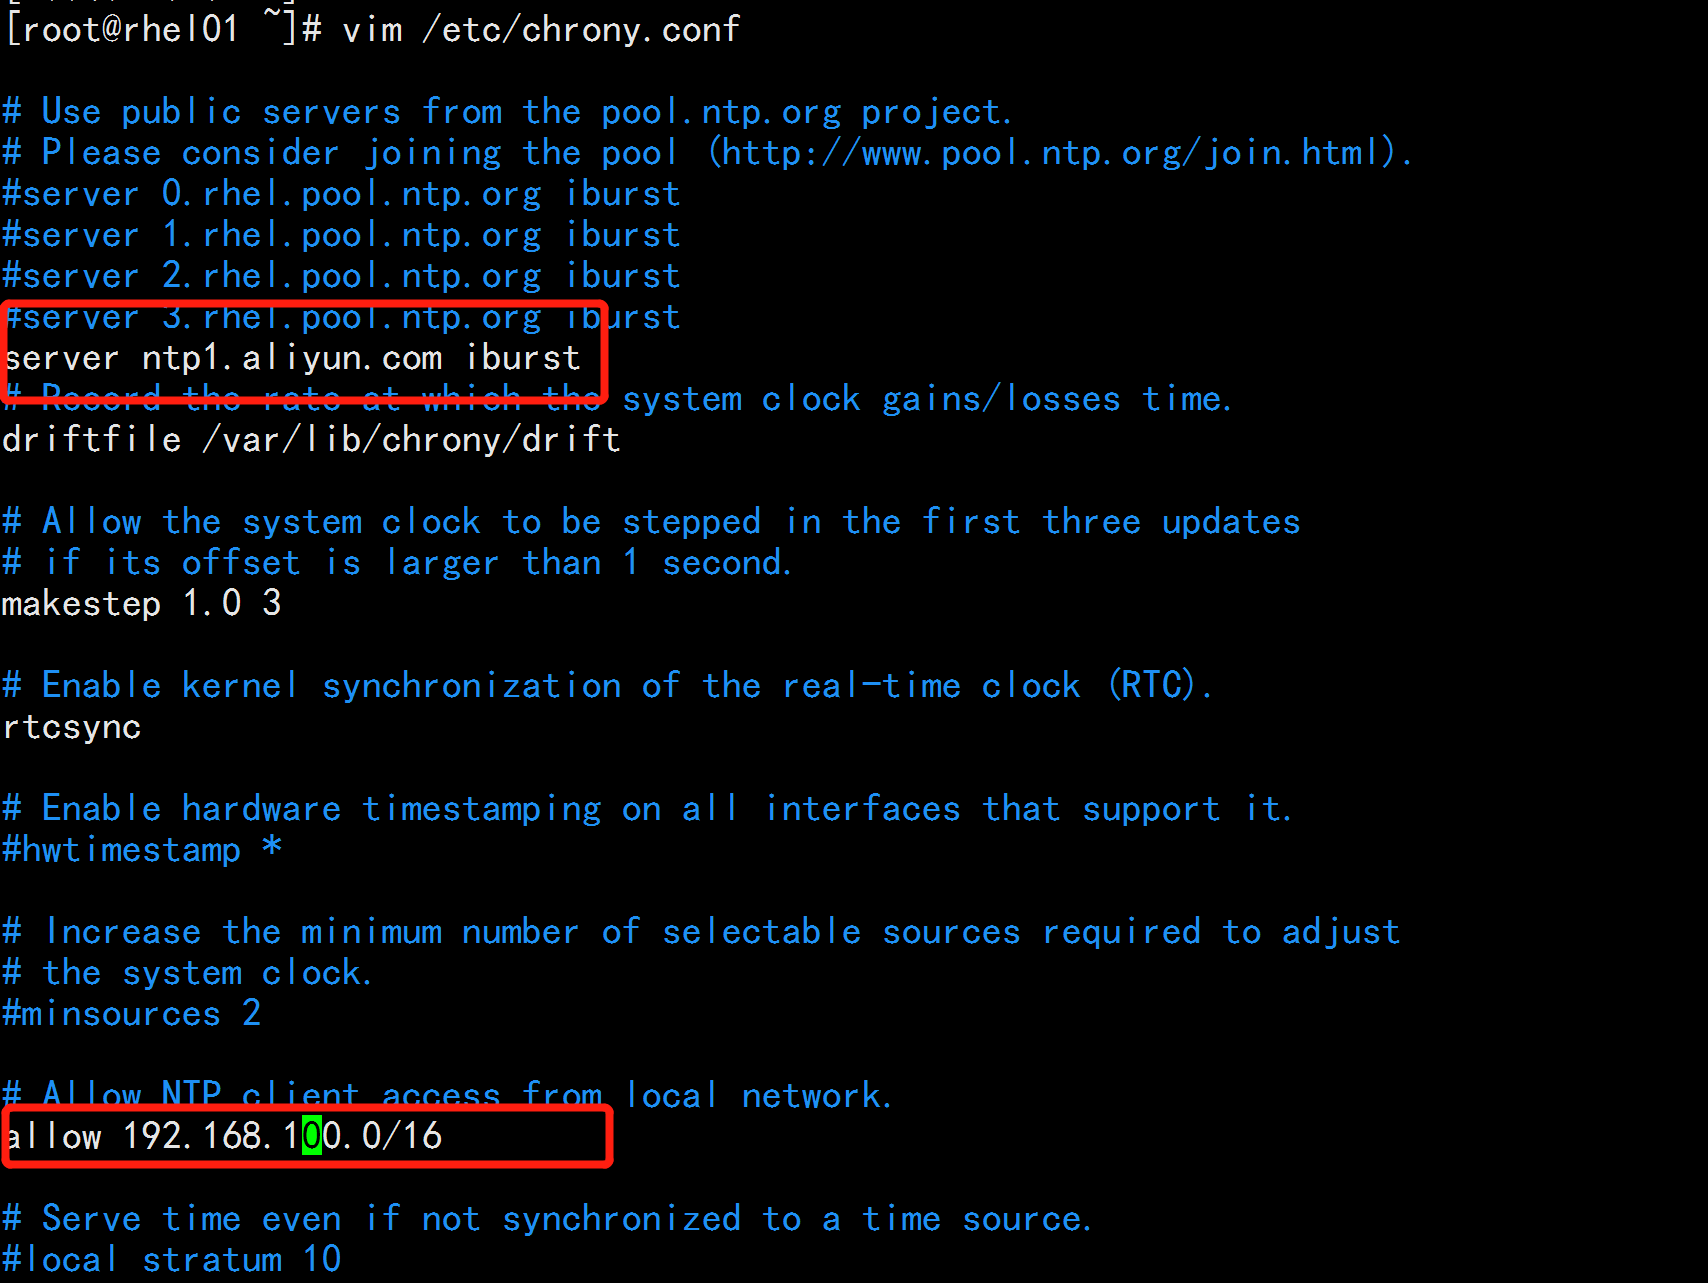
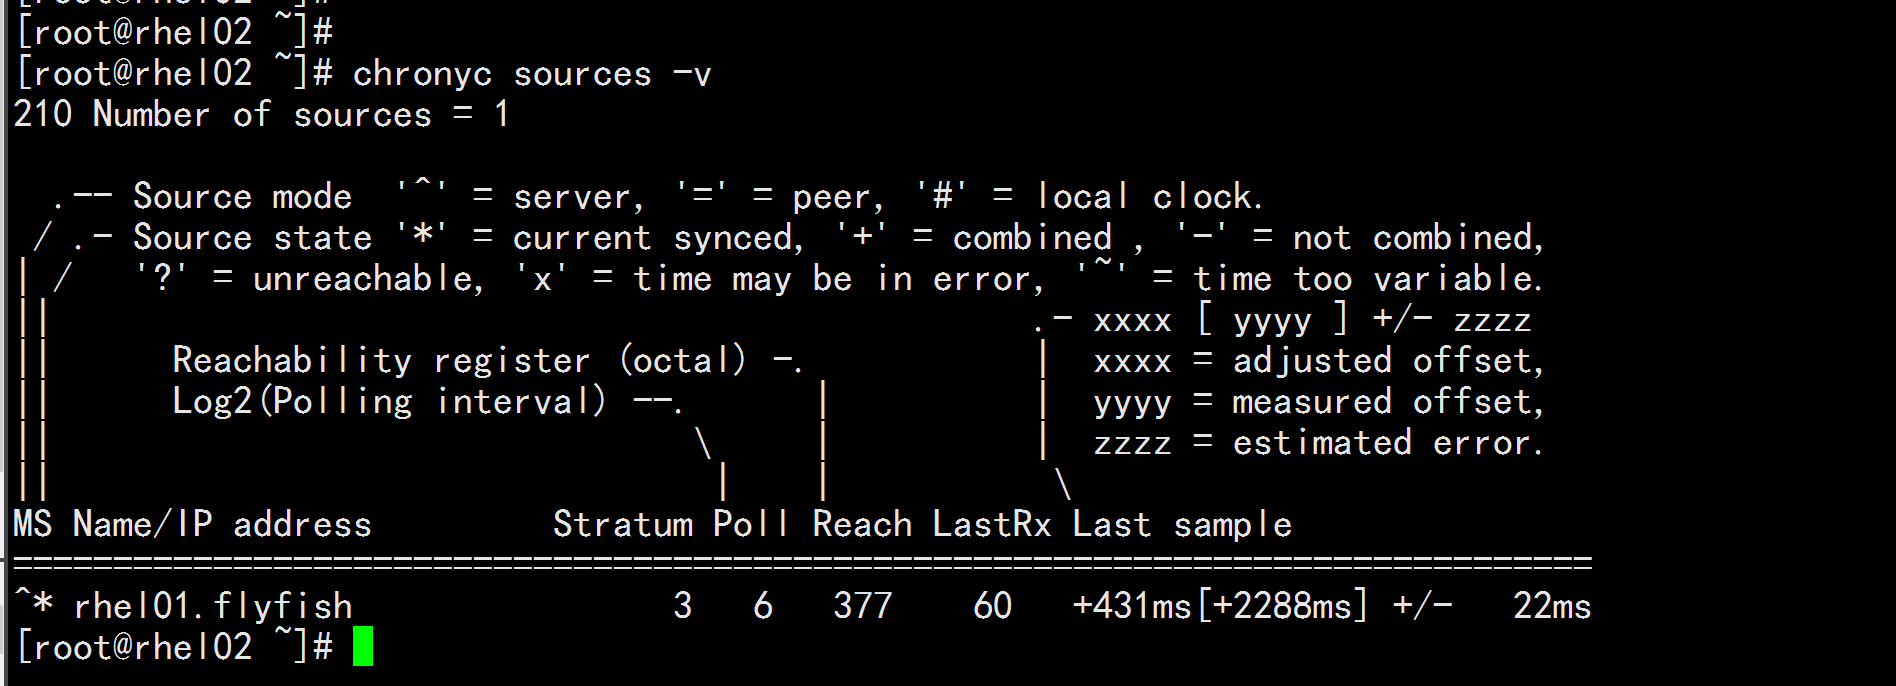
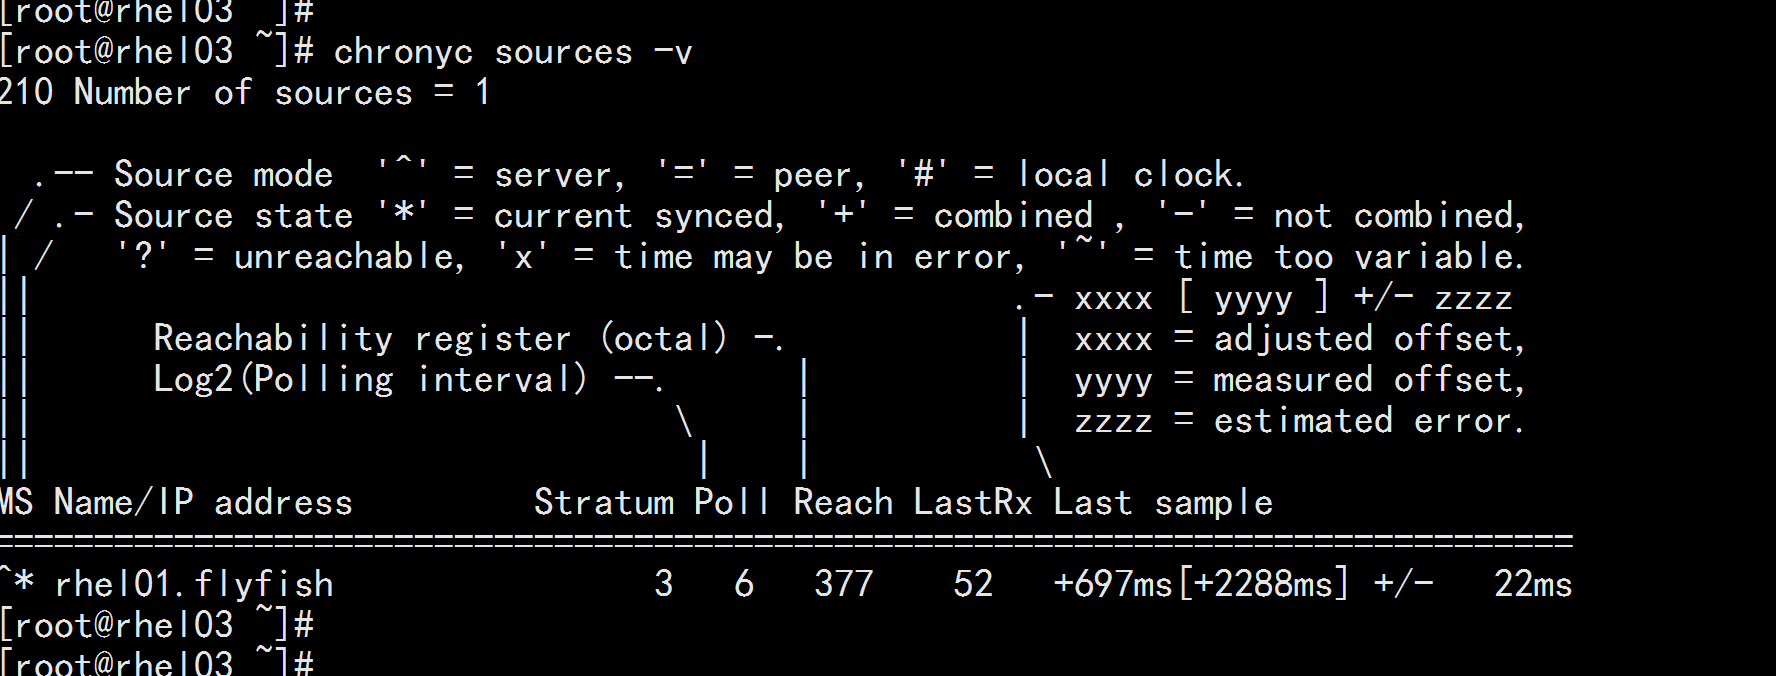
所有机器 yum install chrony*1. rhel01.flyfish:vim /etc/chrony.conf 增加----注释掉相关默认的serverserver ntp1.aliyun.com iburstallow 192.168.100.0.0/16service chronyd startchkconfig chronyd on2. rhel02.flyfish---rhel03.flyfish 同步rhel01.flyfishvim /etc/chrony.conf----注释掉默认的serverserver 192.168.100.21 iburst----service chronyd startchkconfig chronyd on
1.6: 安装maridb-server 数据库
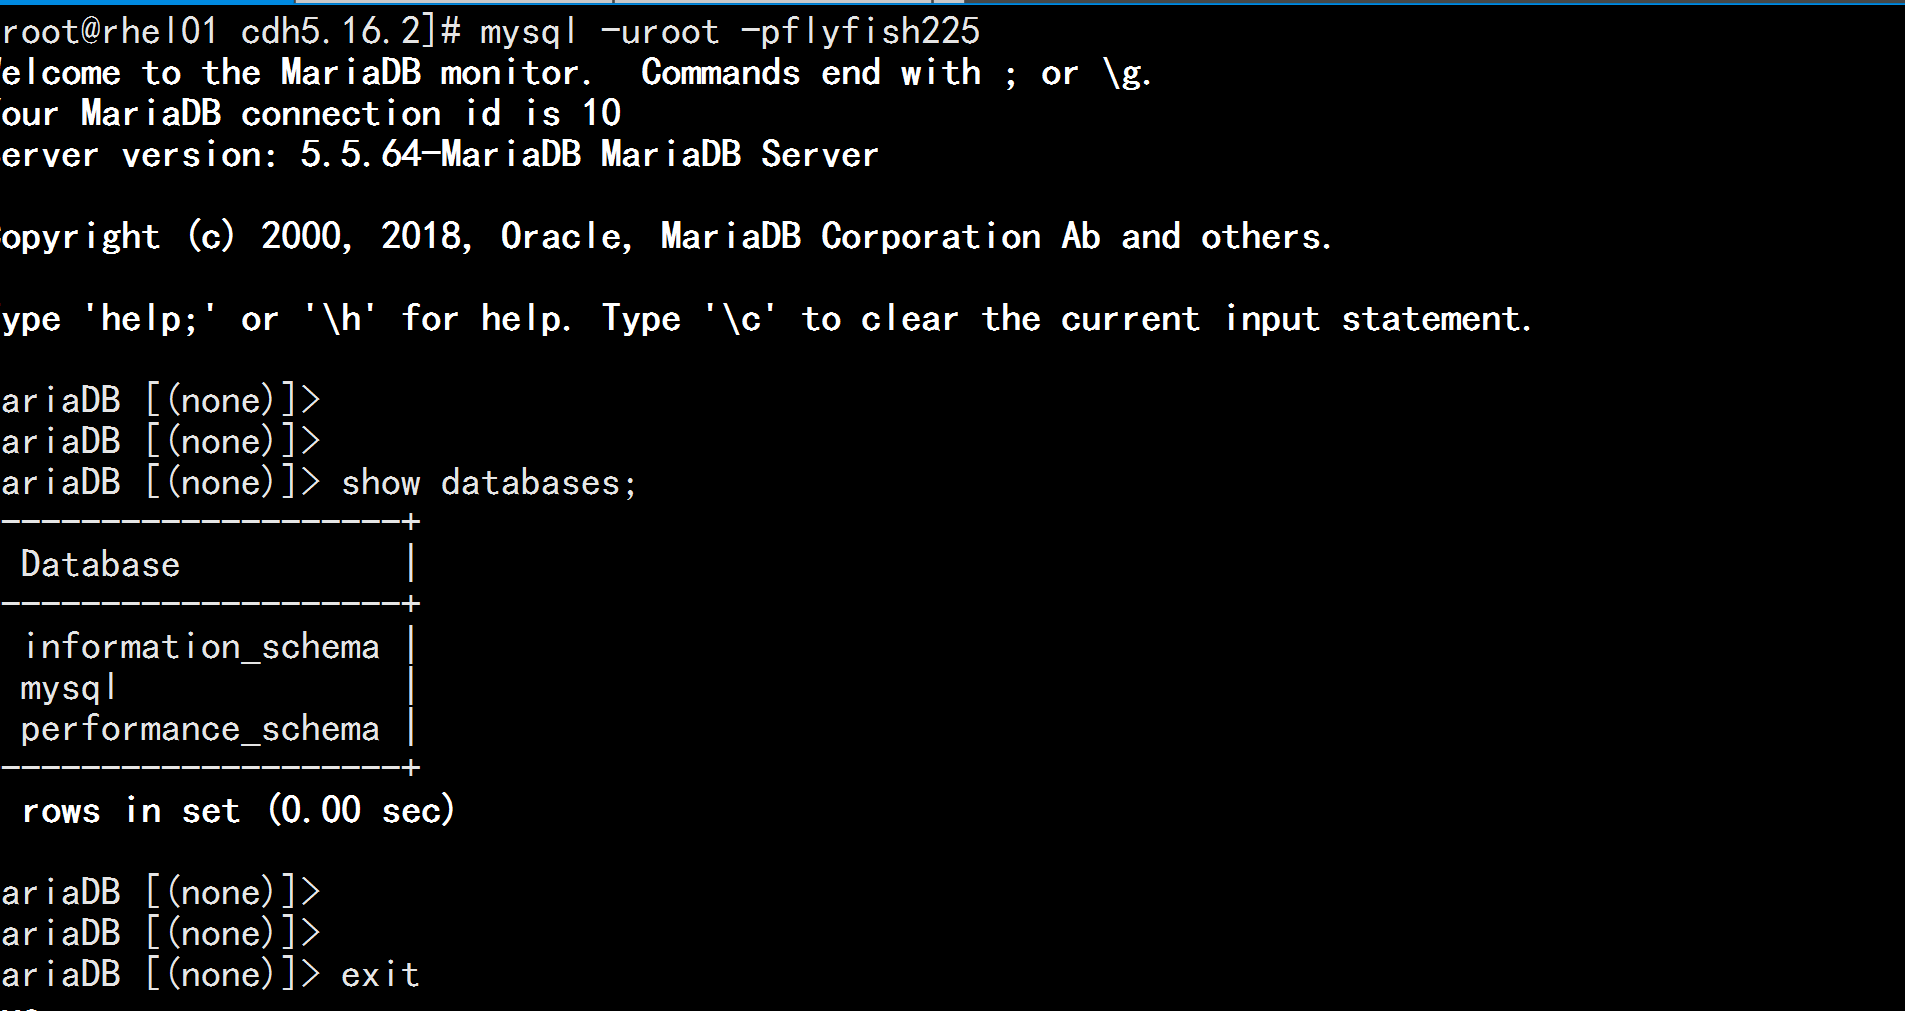
1)安装mariadb-serveryum install -y mariadb*2) 启动 mariadb-serverservice mariadb startchkcofig mariadb on3) 配置数据库密码:mysql_secure_installation4) 登录mariadb-server 数据库mysql -uroot -pflyfish225.com
1.8 关于系统参数配置
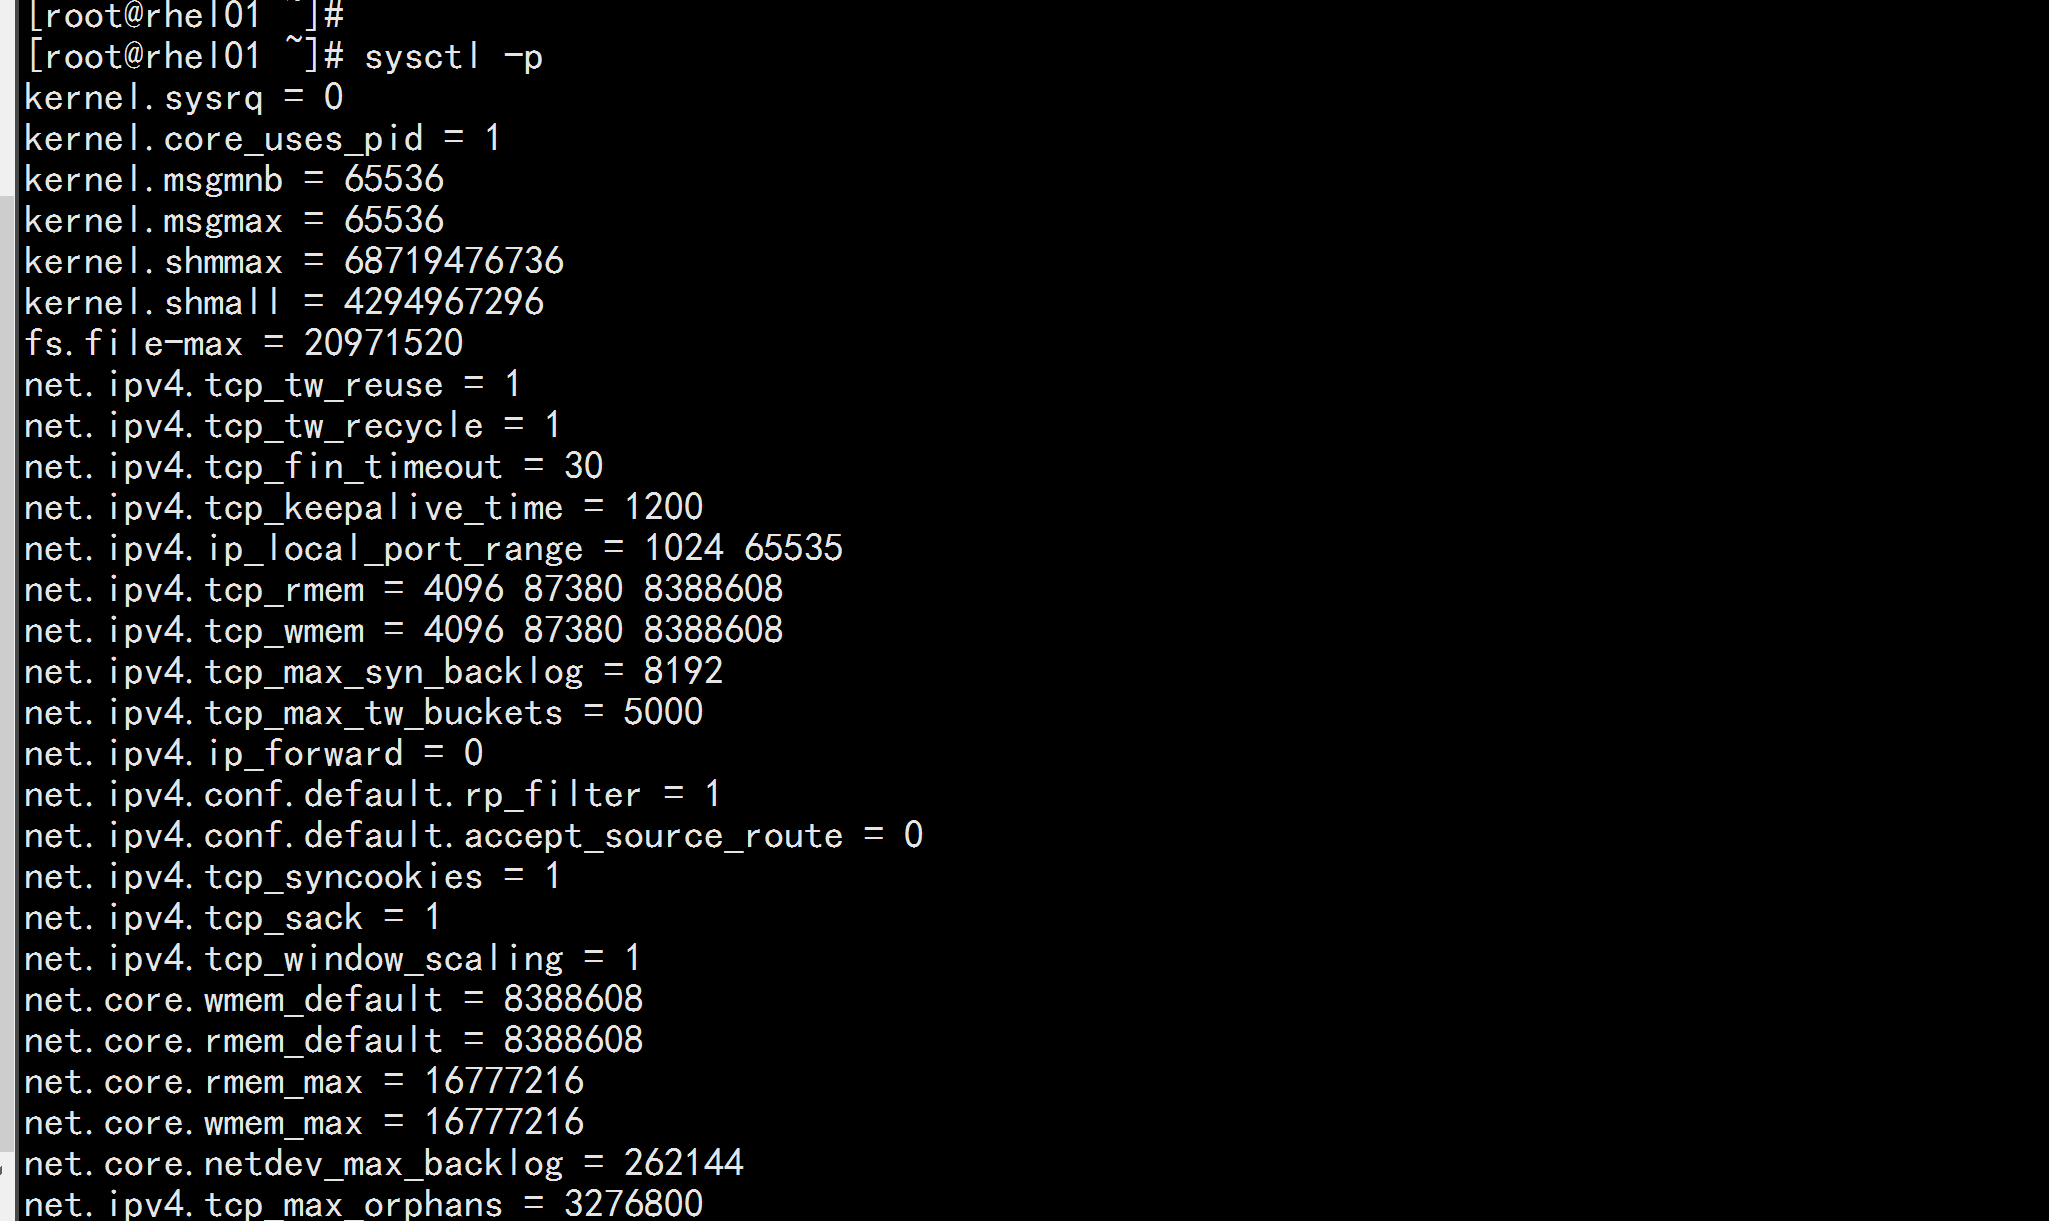
vim /etc/sysctl.conf---执行以下命令使参数生效:##内核默认参数kernel.sysrq = 0kernel.core_uses_pid = 1kernel.msgmnb = 65536kernel.msgmax = 65536kernel.shmmax = 68719476736kernel.shmall = 4294967296##打开文件数参数(20*1024*1024)fs.file-max= 20971520##WEB Server参数net.ipv4.tcp_tw_reuse=1net.ipv4.tcp_tw_recycle=1net.ipv4.tcp_fin_timeout=30net.ipv4.tcp_keepalive_time=1200net.ipv4.ip_local_port_range = 1024 65535net.ipv4.tcp_rmem=4096 87380 8388608net.ipv4.tcp_wmem=4096 87380 8388608net.ipv4.tcp_max_syn_backlog=8192net.ipv4.tcp_max_tw_buckets = 5000##TCP补充参数net.ipv4.ip_forward = 0net.ipv4.conf.default.rp_filter = 1net.ipv4.conf.default.accept_source_route = 0net.ipv4.tcp_syncookies = 1net.ipv4.tcp_sack = 1net.ipv4.tcp_window_scaling = 1net.core.wmem_default = 8388608net.core.rmem_default = 8388608net.core.rmem_max = 16777216net.core.wmem_max = 16777216net.core.netdev_max_backlog = 262144net.ipv4.tcp_max_orphans = 3276800net.ipv4.tcp_timestamps = 0net.ipv4.tcp_synack_retries = 1net.ipv4.tcp_syn_retries = 1net.ipv4.tcp_mem = 94500000 915000000 927000000##禁用ipv6net.ipv6.conf.all.disable_ipv6 =1net.ipv6.conf.default.disable_ipv6 =1##swap使用率优化vm.swappiness=0# sysctl -p同步到所有机器

1.7 修改文件句柄数
vim /etc/security/limits.conf---* soft nofile 65535* hard nofile 1029345* soft nproc unlimited* hard nproc unlimited* soft memlock unlimited* hard memlock unlimited---

二:安装CDH5.16.2 平台
2.1: 安装配置依赖包(全部节点都安装)
yum -y install chkconfig python bind-utils psmisc libxslt zlib sqlite cyrus-sasl-plain cyrus-sasl-gssapi fuse fuse-libs redhat-lsb postgresql* portmap mod_ssl openssl-devel python-psycopg2 MySQL-python

2.2:安装cloudera-server 与更改配置 (节点全部安装)
rpm -ivh cloudera-manager*rpm -ivh enterprise-debuginfo-5.14.3-1.cm5143.p0.4.el7.x86_64.rpm

2.3:在mariadb-server 当中创建CM 的库
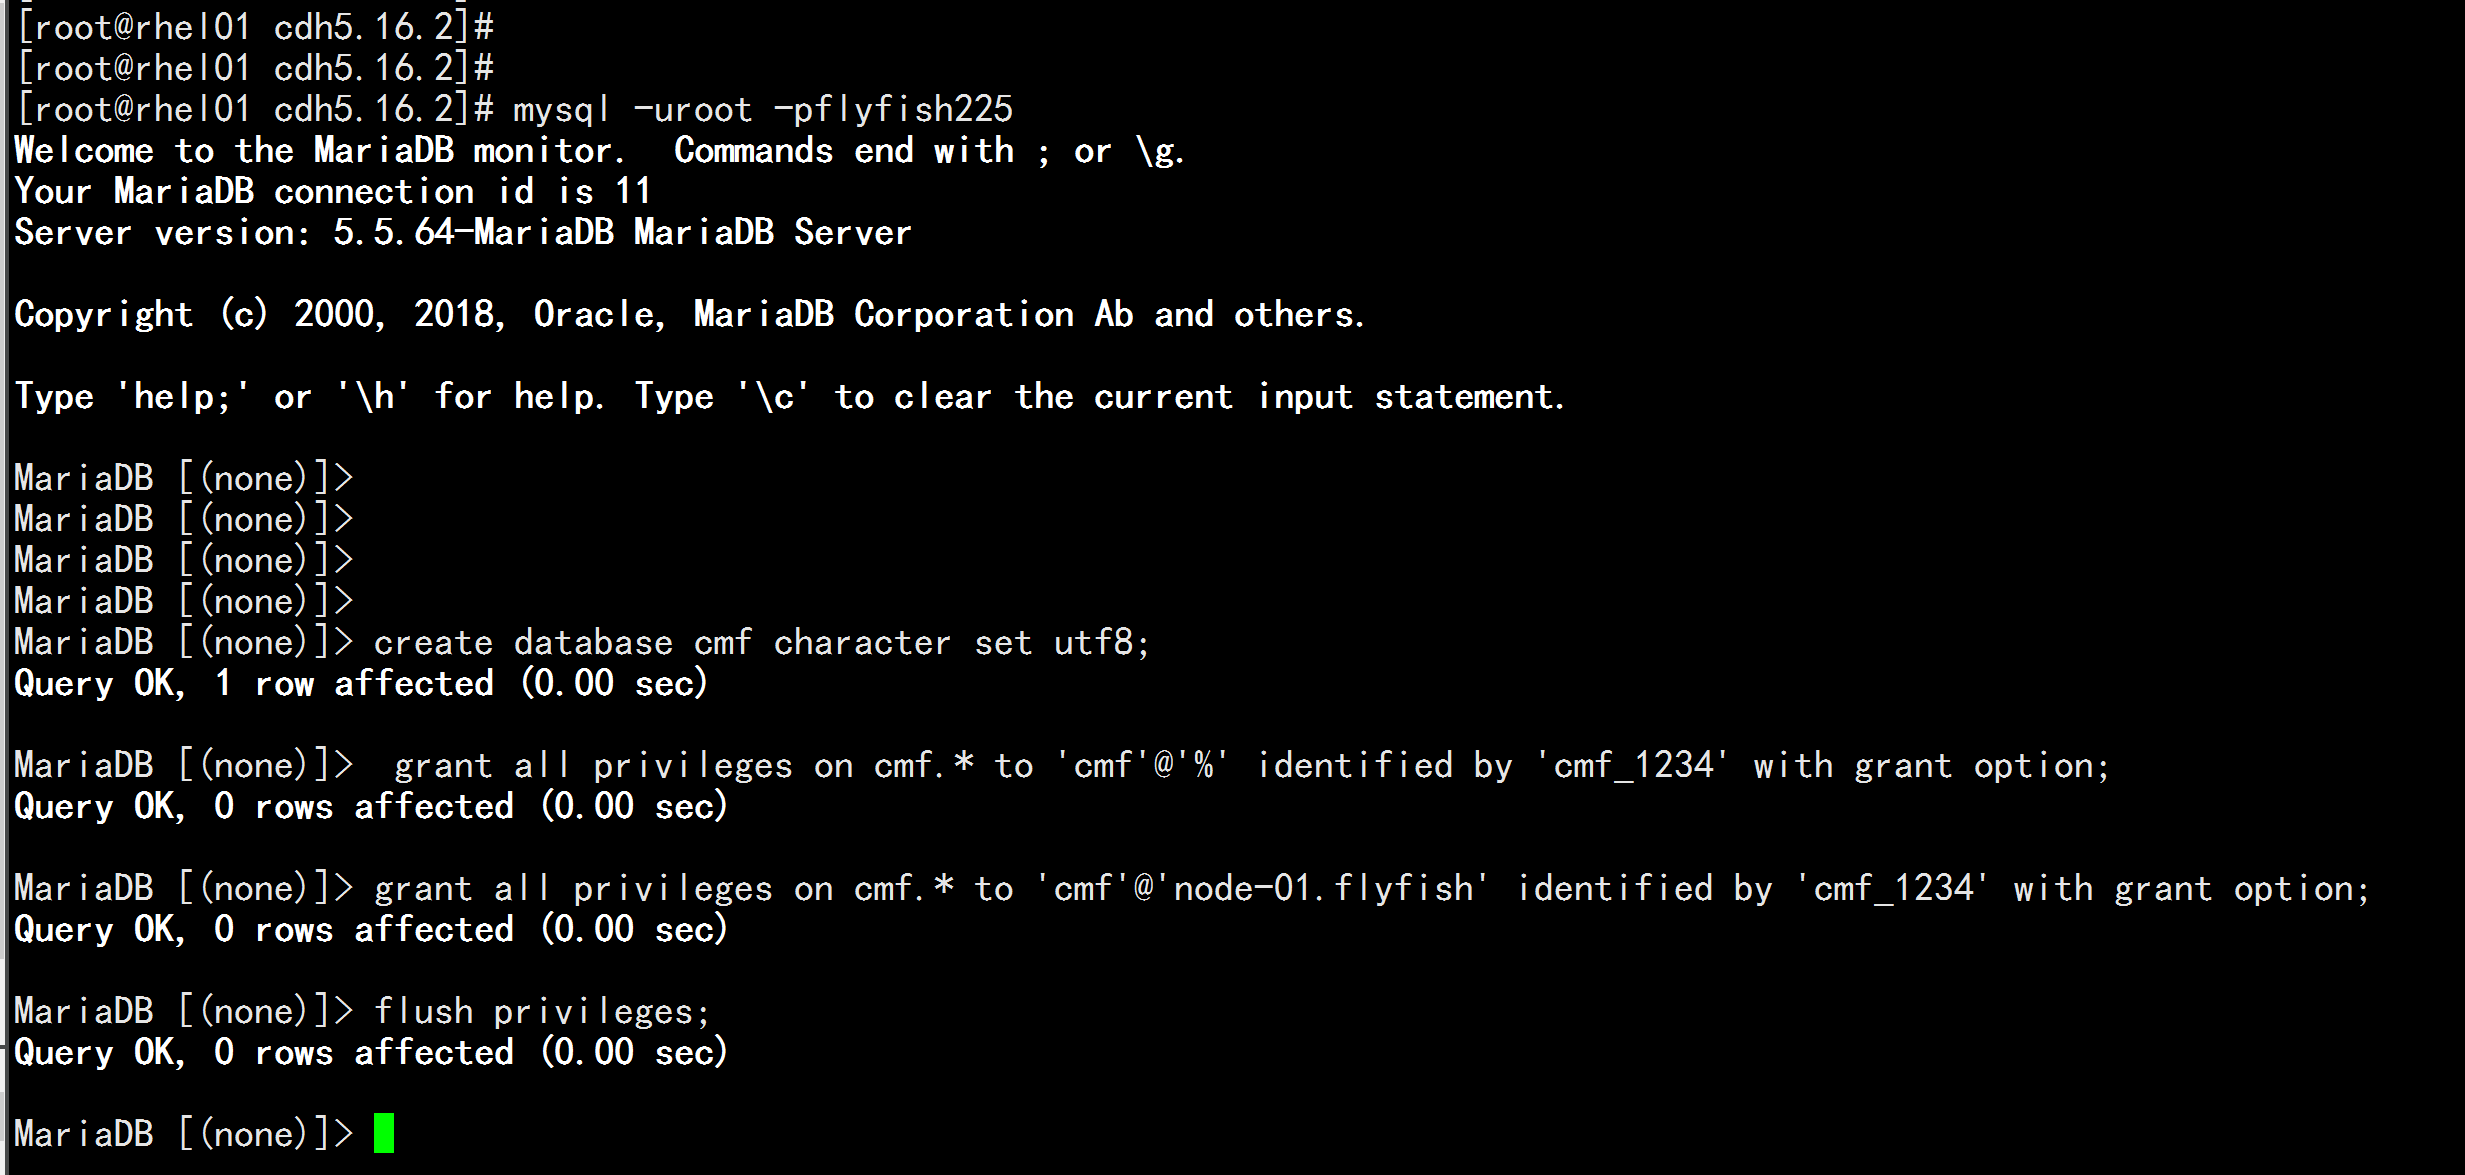
mysql -uroot -pflyfish225.commysql> create database cmf character set utf8;mysql> grant all privileges on cmf.* to 'cmf'@'%' identified by 'cmf_1234' with grant option;mysql> grant all privileges on cmf.* to 'cmf'@'node-01.flyfish' identified by 'cmf_1234' with grant option;mysql> flush privileges;
2.4:安装离线cdh parcel-repo
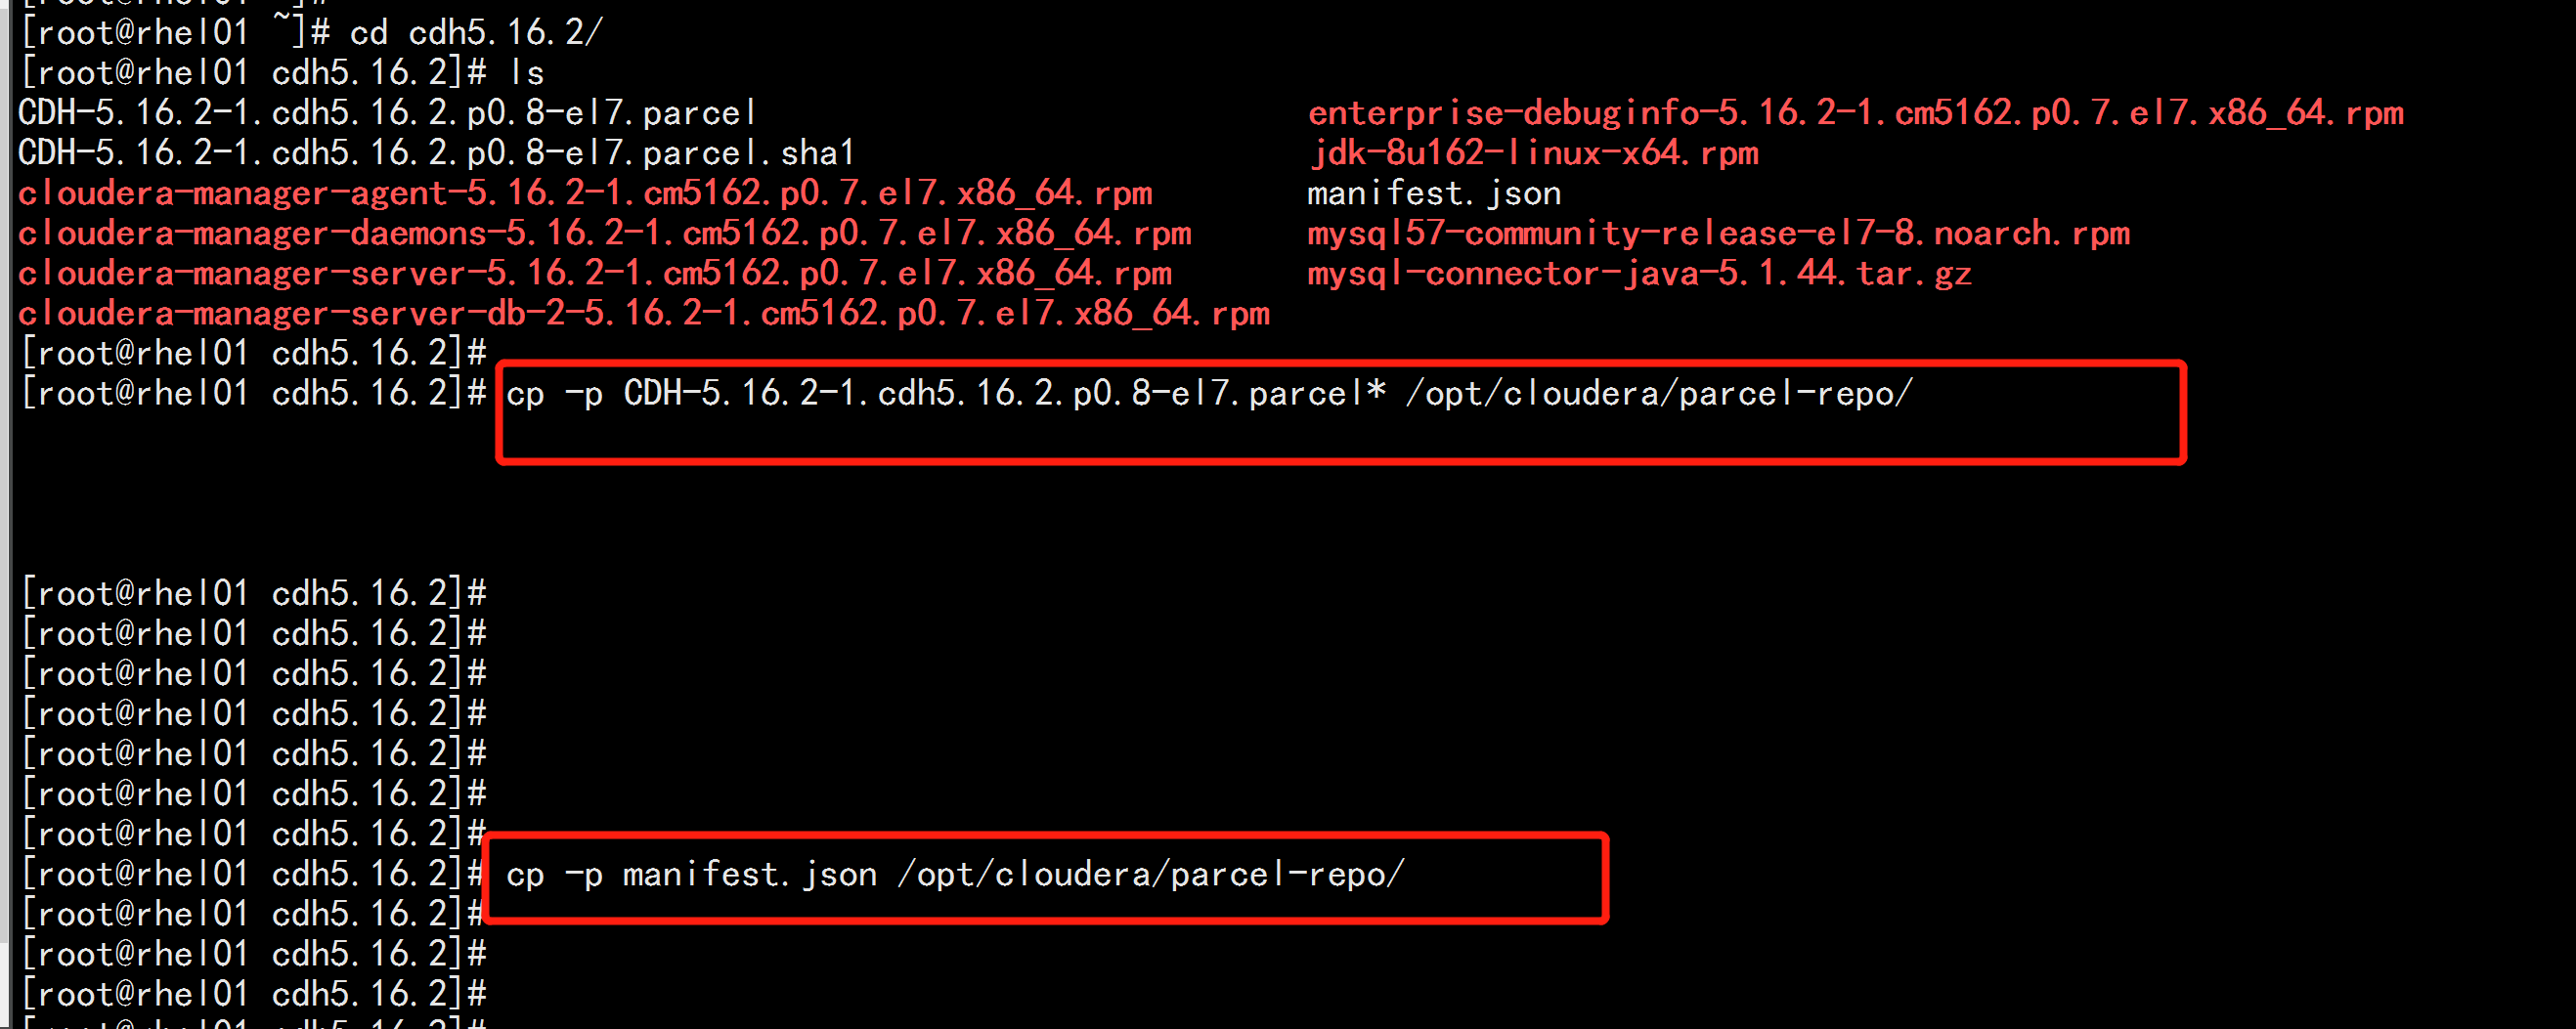
#cd cdh5.16.2#cp -p CDH-5.16.2-1.cdh5.16.2.p0.8-el7.parcel* /opt/cloudera/parcel-repo/#cp -p manifest.json /opt/cloudera/parcel-repo/#cd /opt/cloudera/parcel-repo#mv CDH-5.16.2-1.cdh5.16.2.p0.8-el7.parcel.sha1 CDH-5.16.2-1.cdh5.16.2.p0.8-el7.parcel.shachown -R cloudera-scm:cloudera-scm /opt/cloudera/parcel-repo/ (所有主机都要执行这条命令)

2.5 配置jdbc的驱动
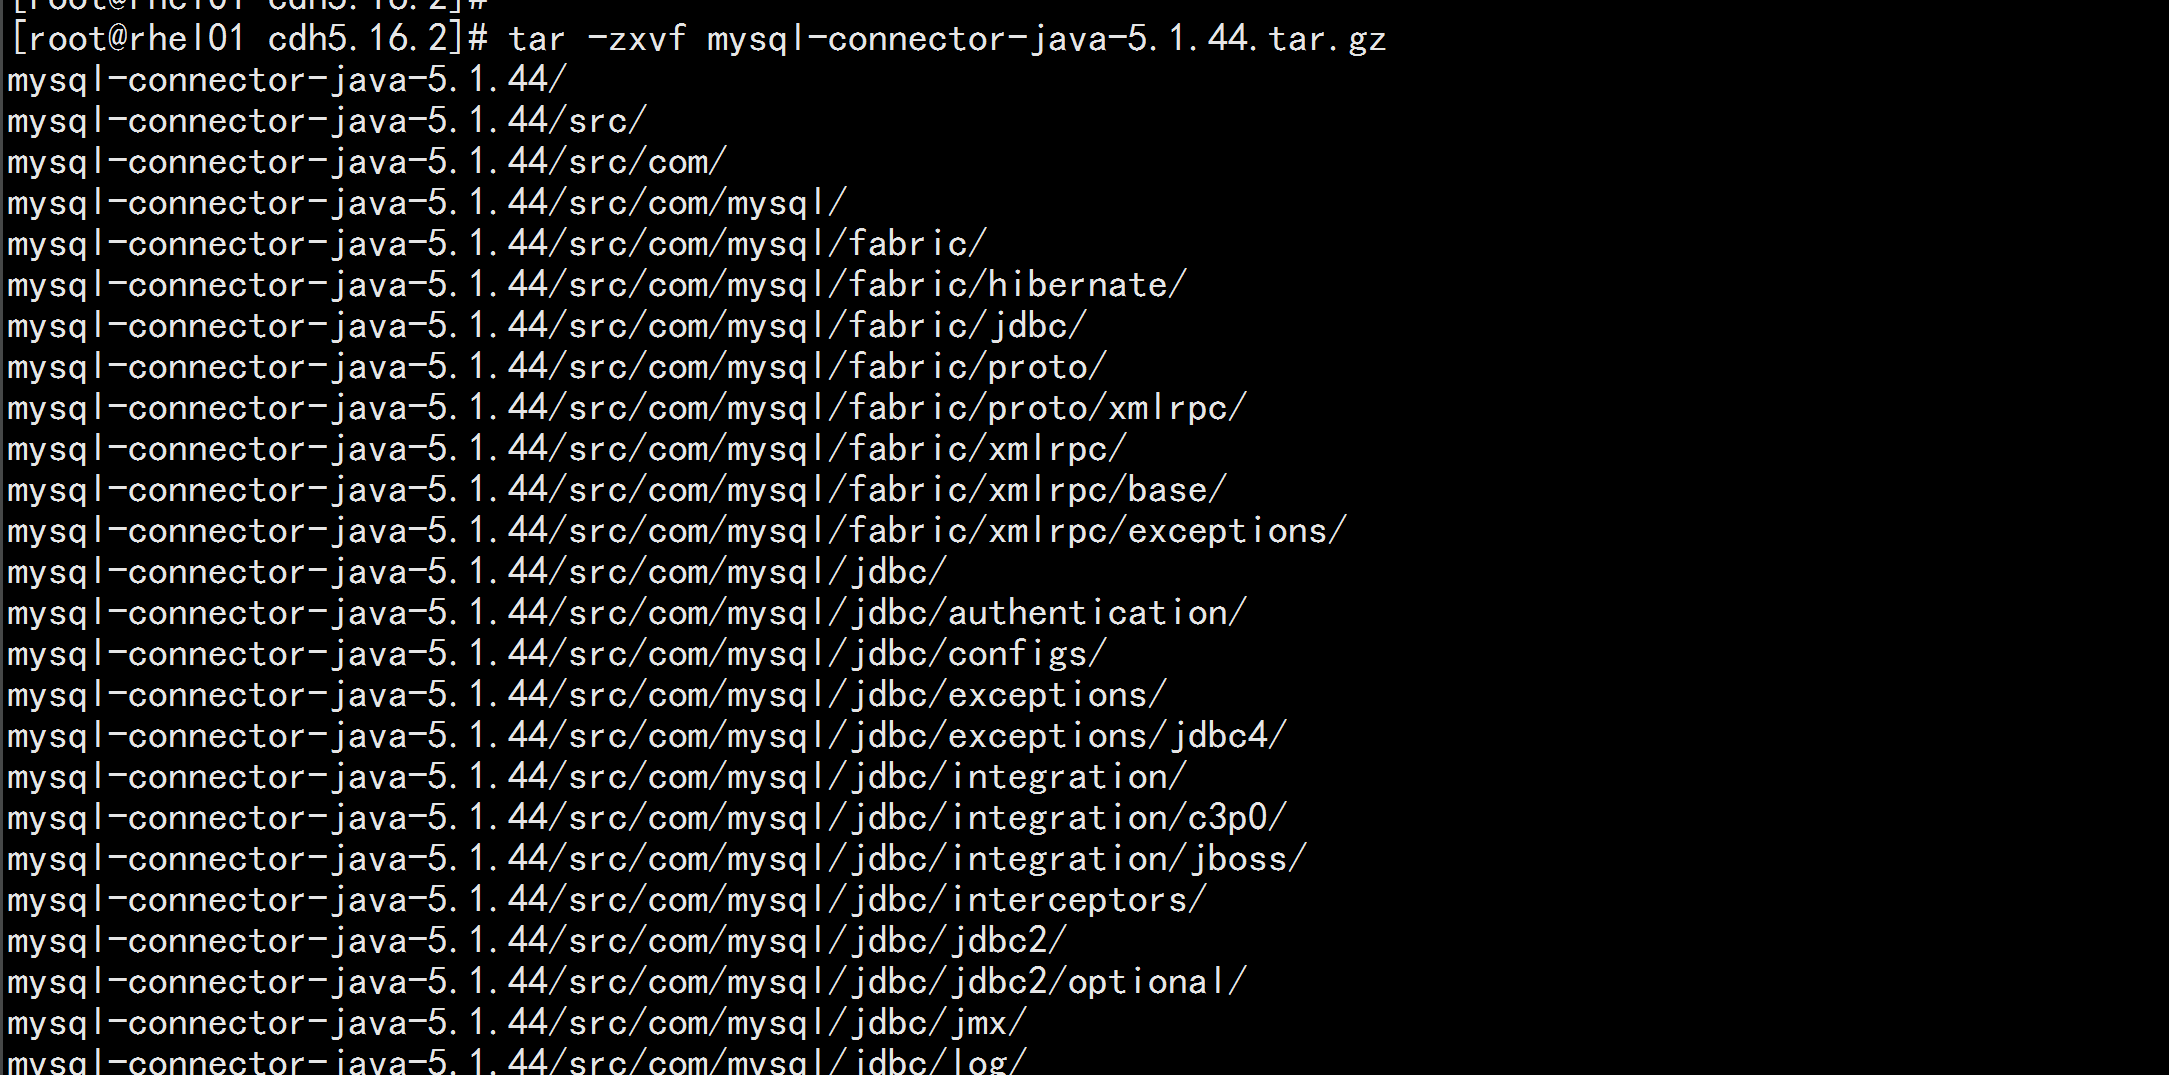
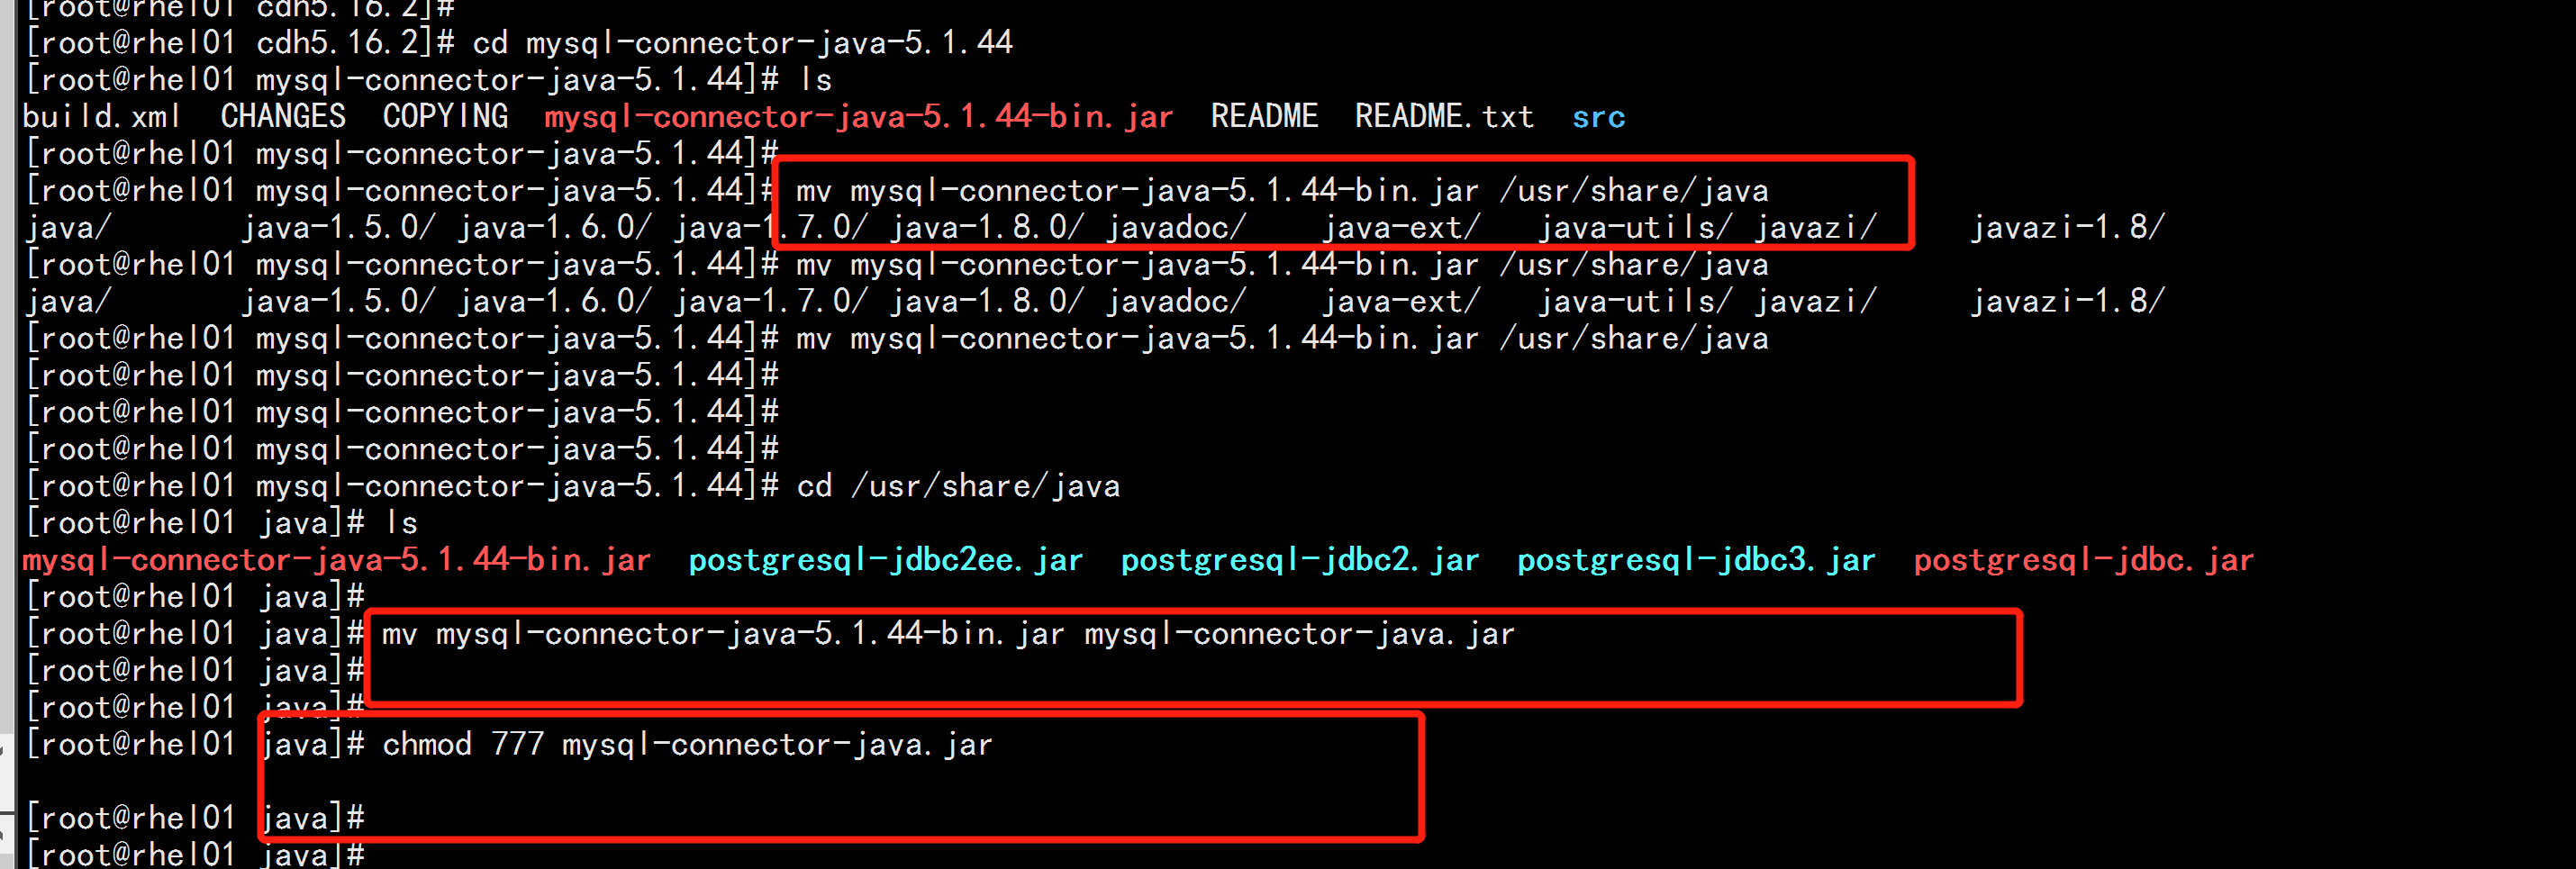
tar -zxvf mysql-connector-java-5.1.44.tar.gzcd mysql-connector-java-5.1.44mv mysql-connector-java-5.1.44-bin.jar /usr/share/javacd /usr/share/javamv mysql-connector-java-5.1.44-bin.jar mysql-connector-java.jarchmod 777 mysql-connector-java.jar
2.6 配置数据的注册生成表
1)备份db生成表的文件cp /etc/cloudera-scm-server/db.properties /etc/cloudera-scm-server/db.propertiesbak2)生成表/usr/share/cmf/schema/scm_prepare_database.sh mysql cmf cmf cmf_1234

2.7:修改config.ini 文件
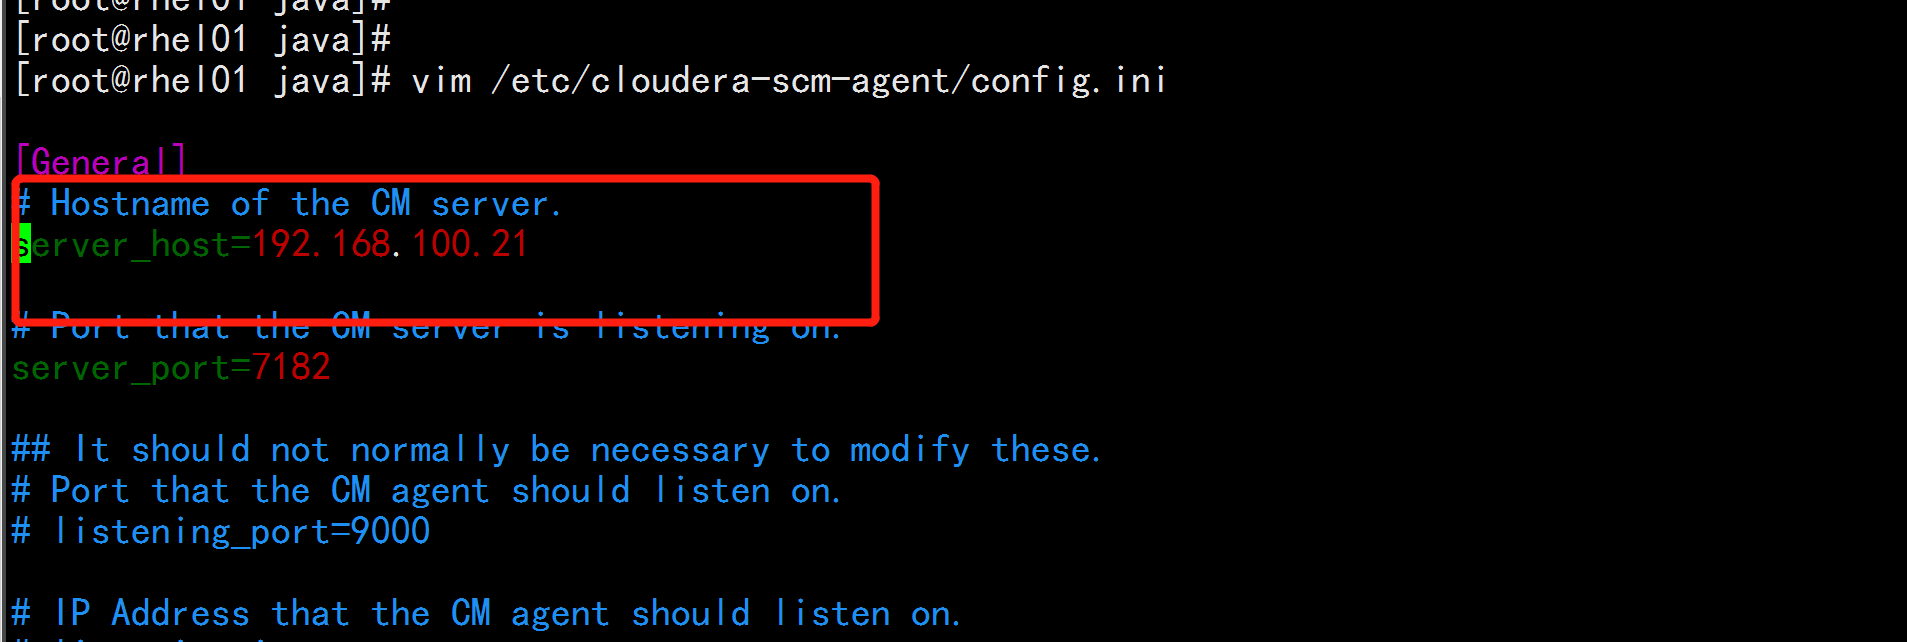
vim /etc/cloudera-scm-agent/config.ini---server_host=192.168.100.21---scp /etc/cloudera-scm-agent/config.ini root@rhel02.flyfish:/etc/cloudera-scm-agent/scp /etc/cloudera-scm-agent/config.ini root@rhel03:/etc/cloudera-scm-agent/

2.8: 启动CM-SERVER
cd /etc/init.d/./cloudera-scm-server start
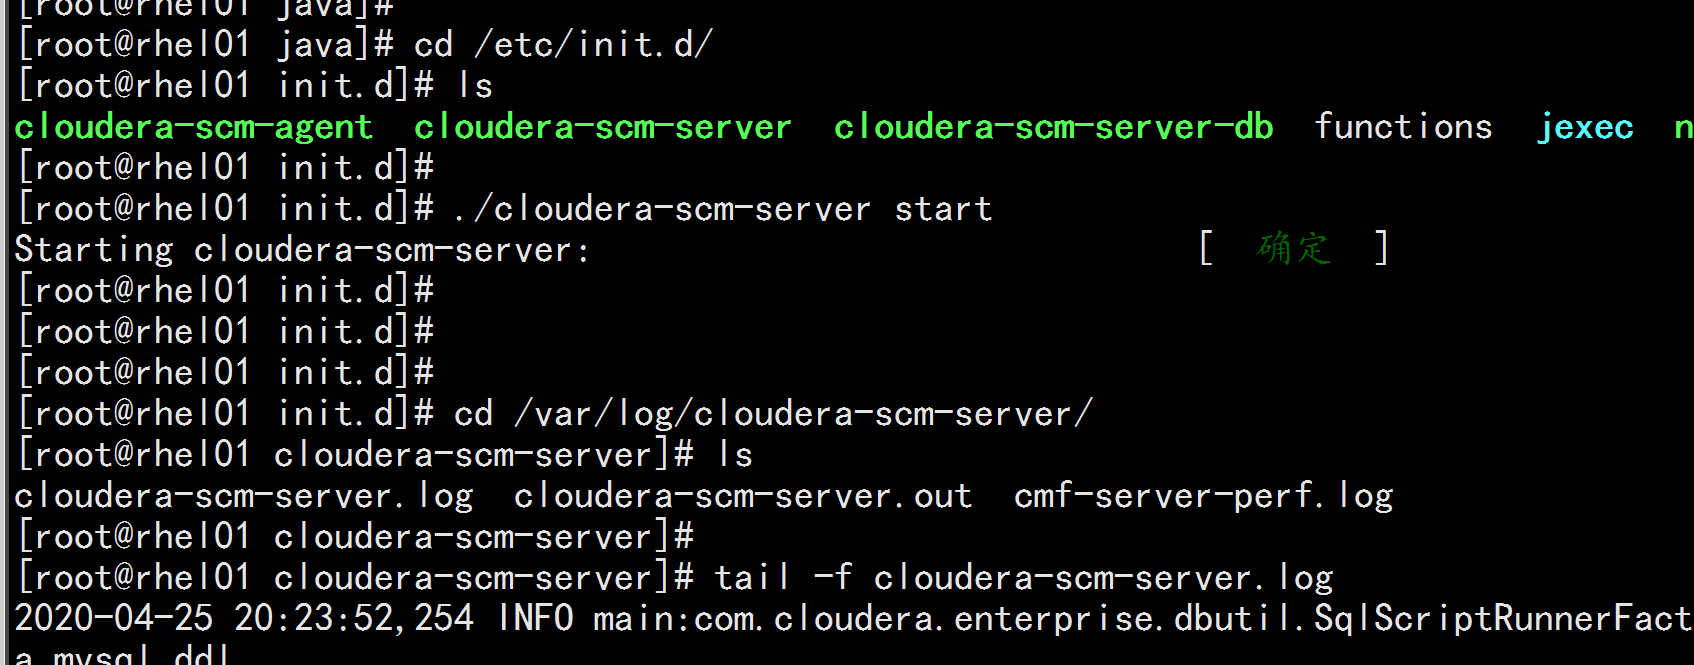
查看日志:cd /var/log/cloudera-scm-servertail -100f cloudera-scm-server.log查看有7180 端口启动表示CM管理server启动netstat -nultp |grep 7180


使用浏览器web打开:http://192.168.100.21:7180
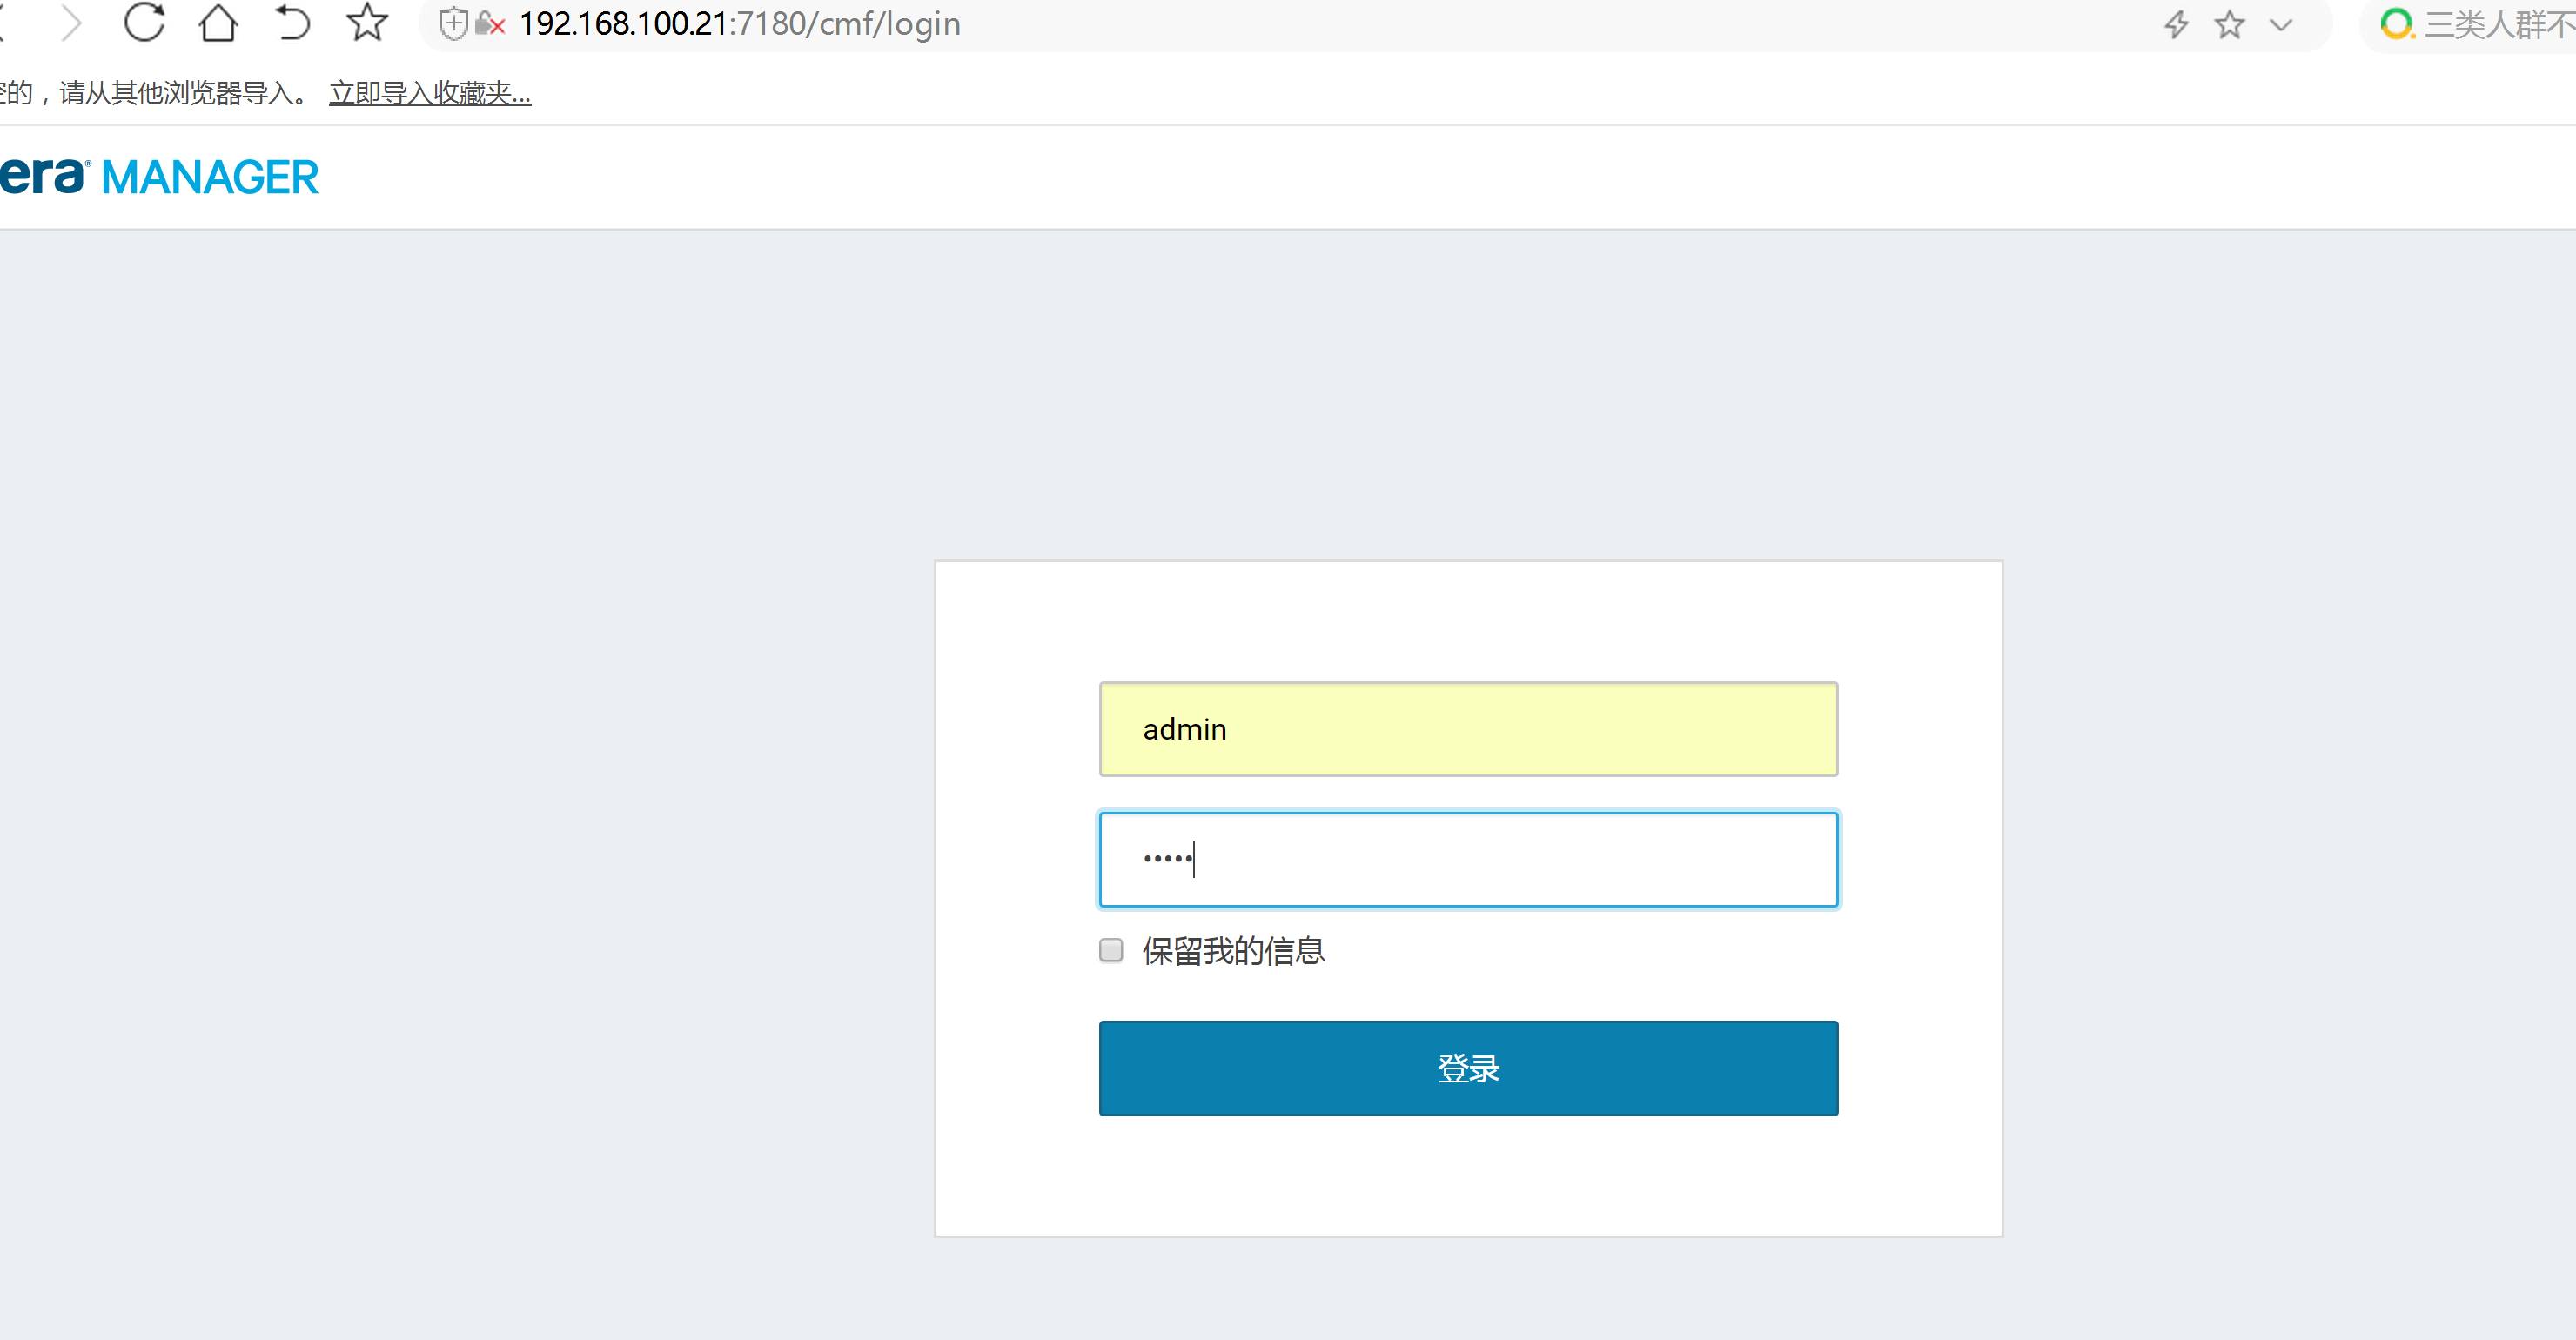
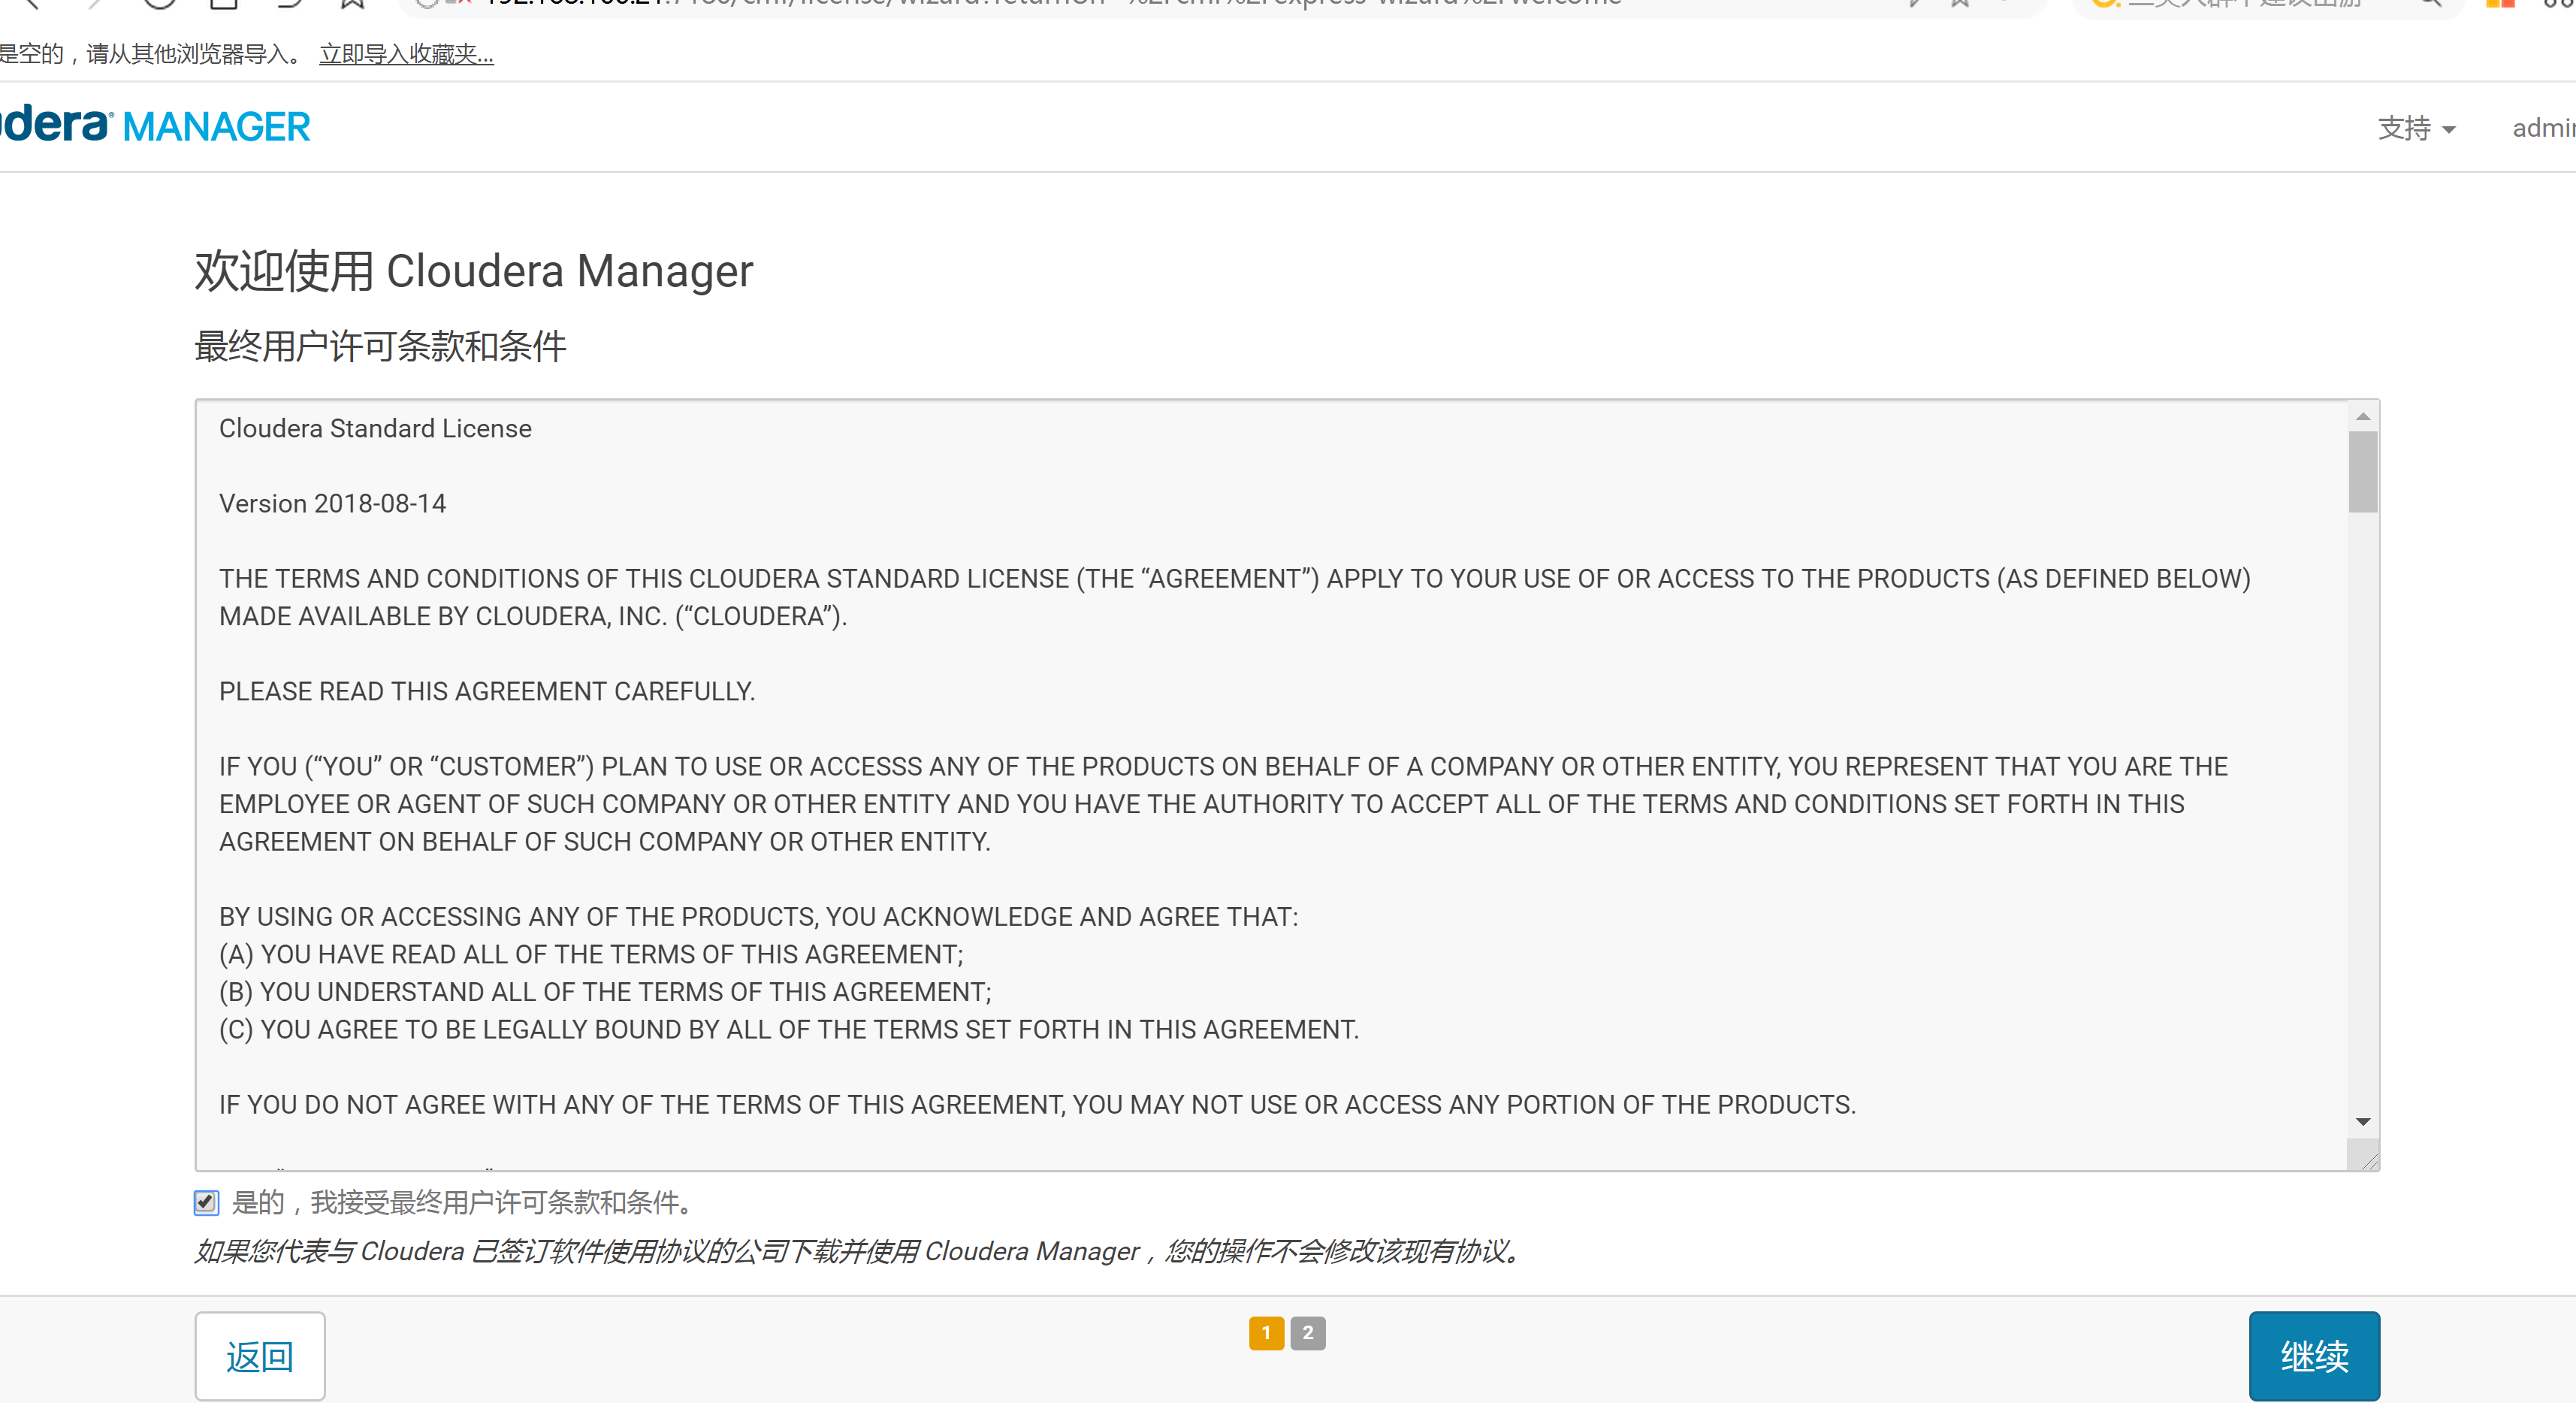
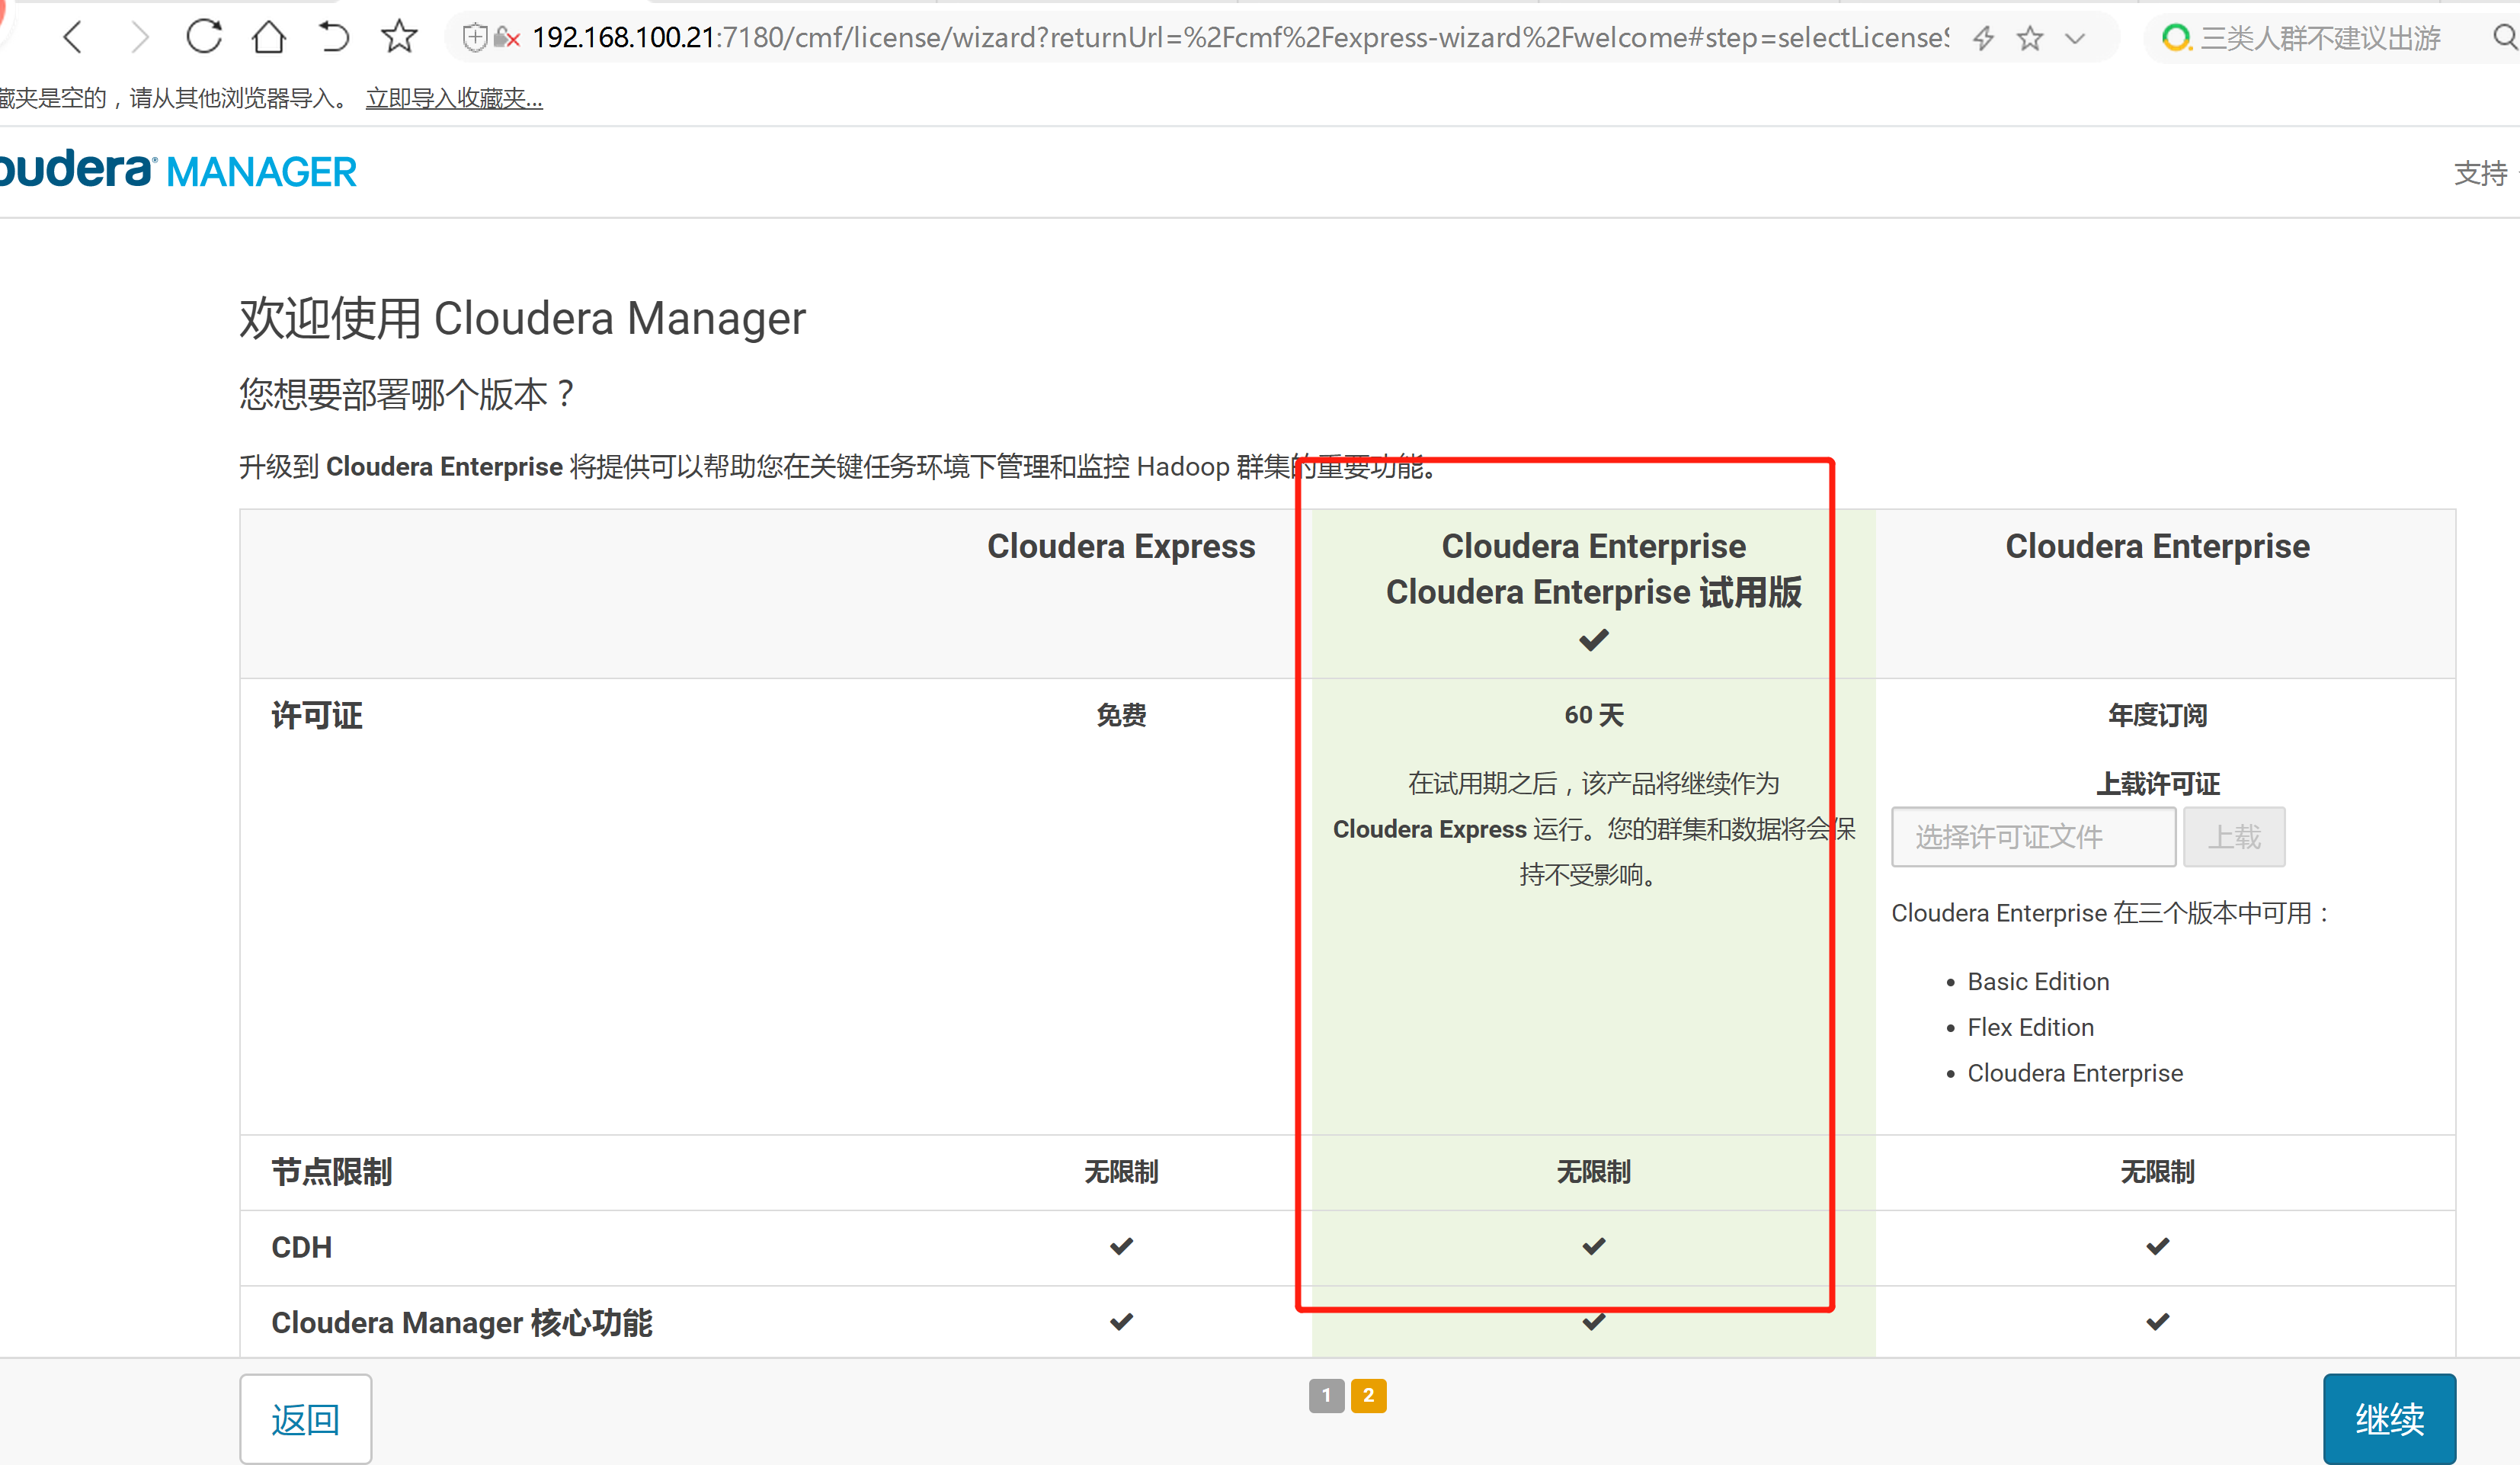
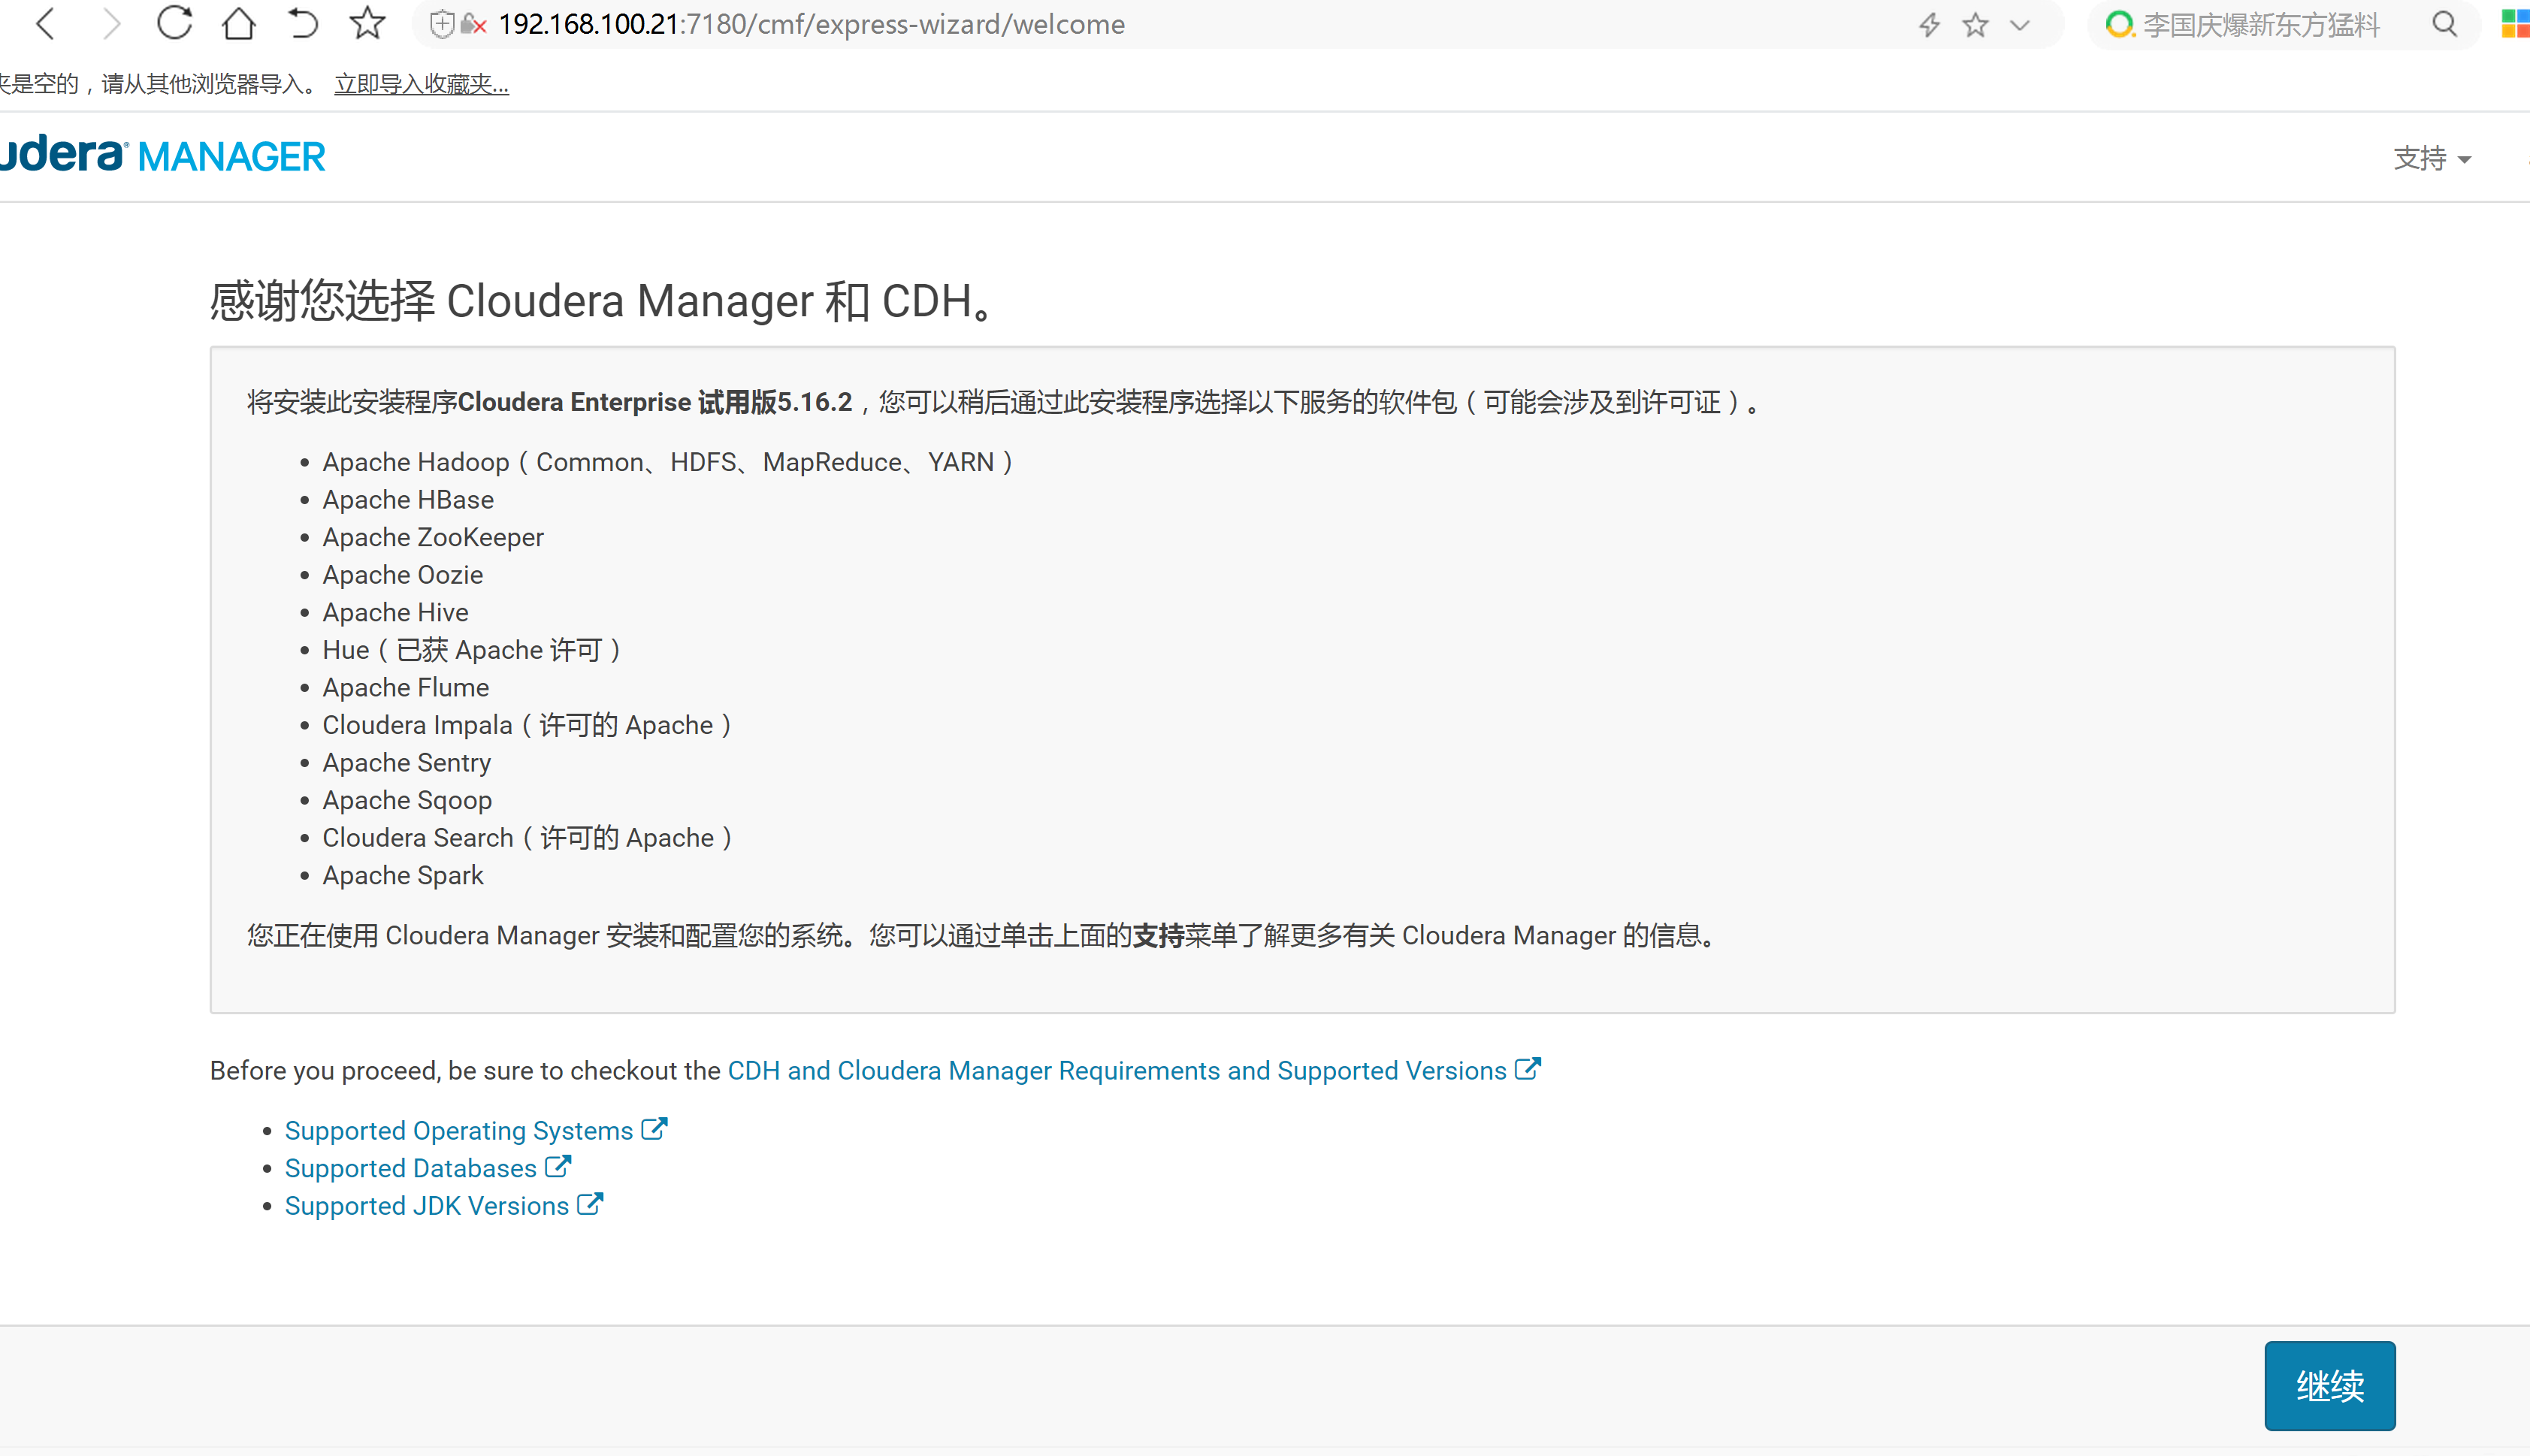
启动agent 端:cd /etc/init.d/./cloudera-scm-agent start


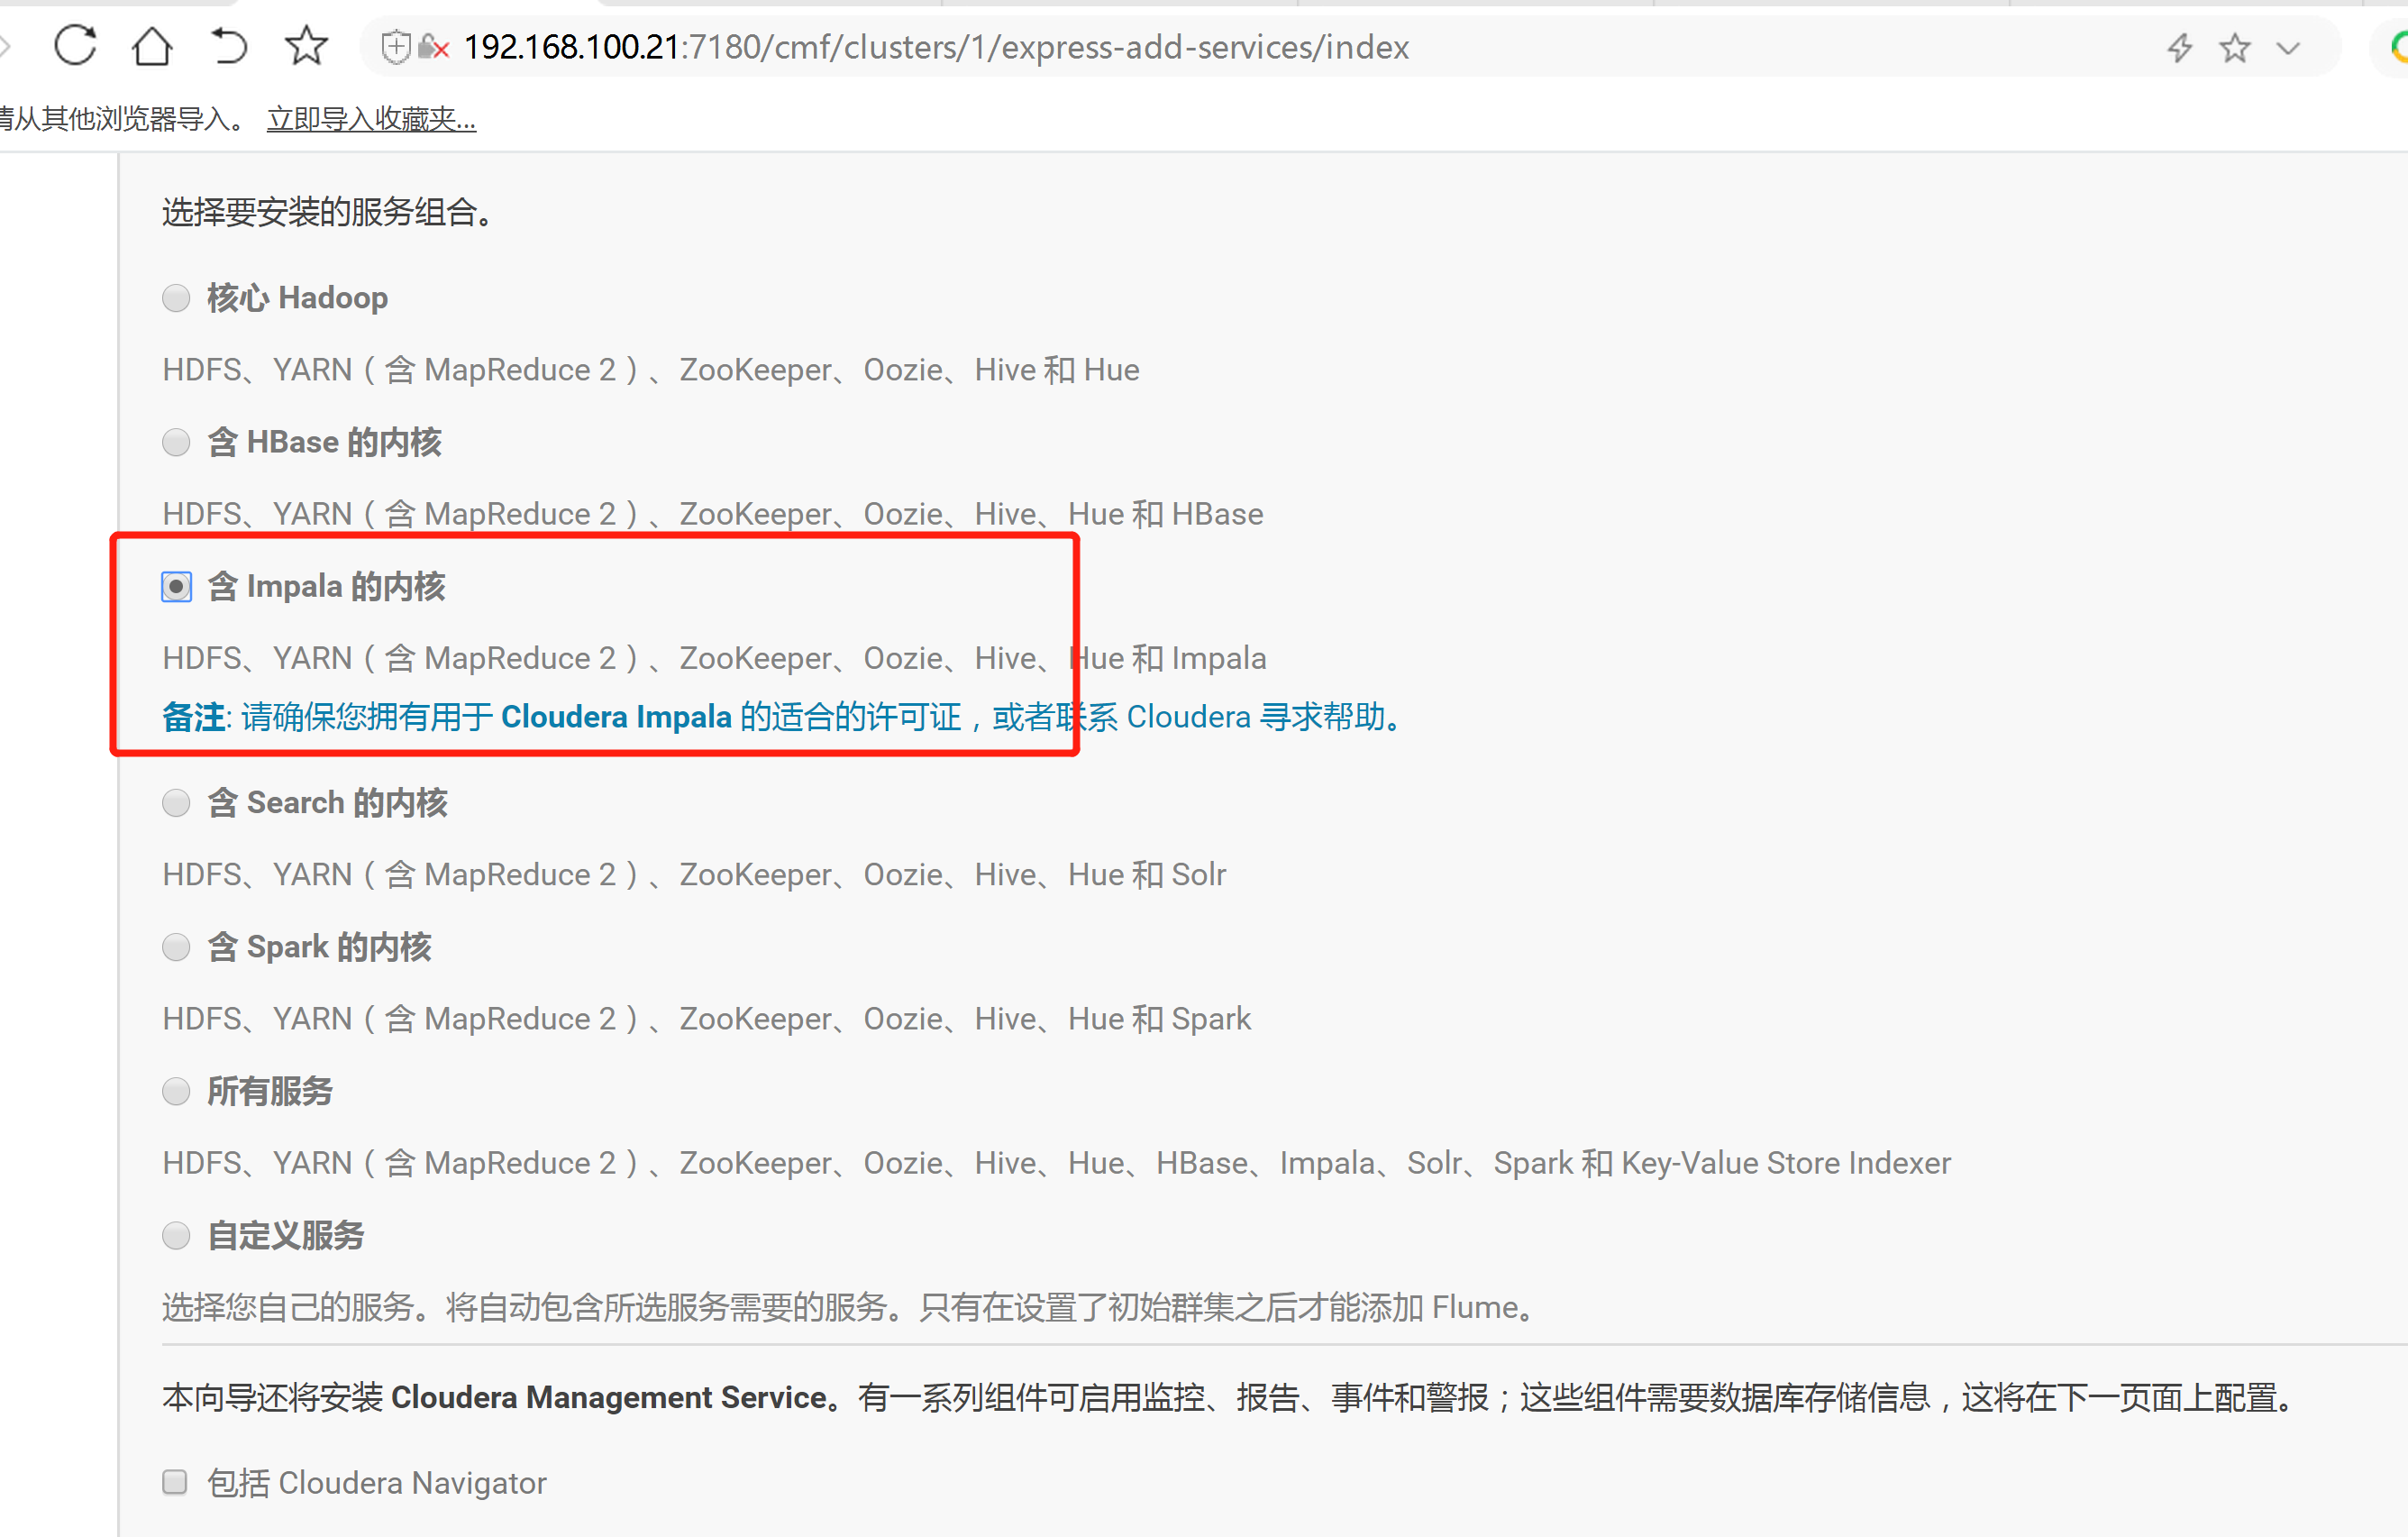
三: 分配主机与分配角色
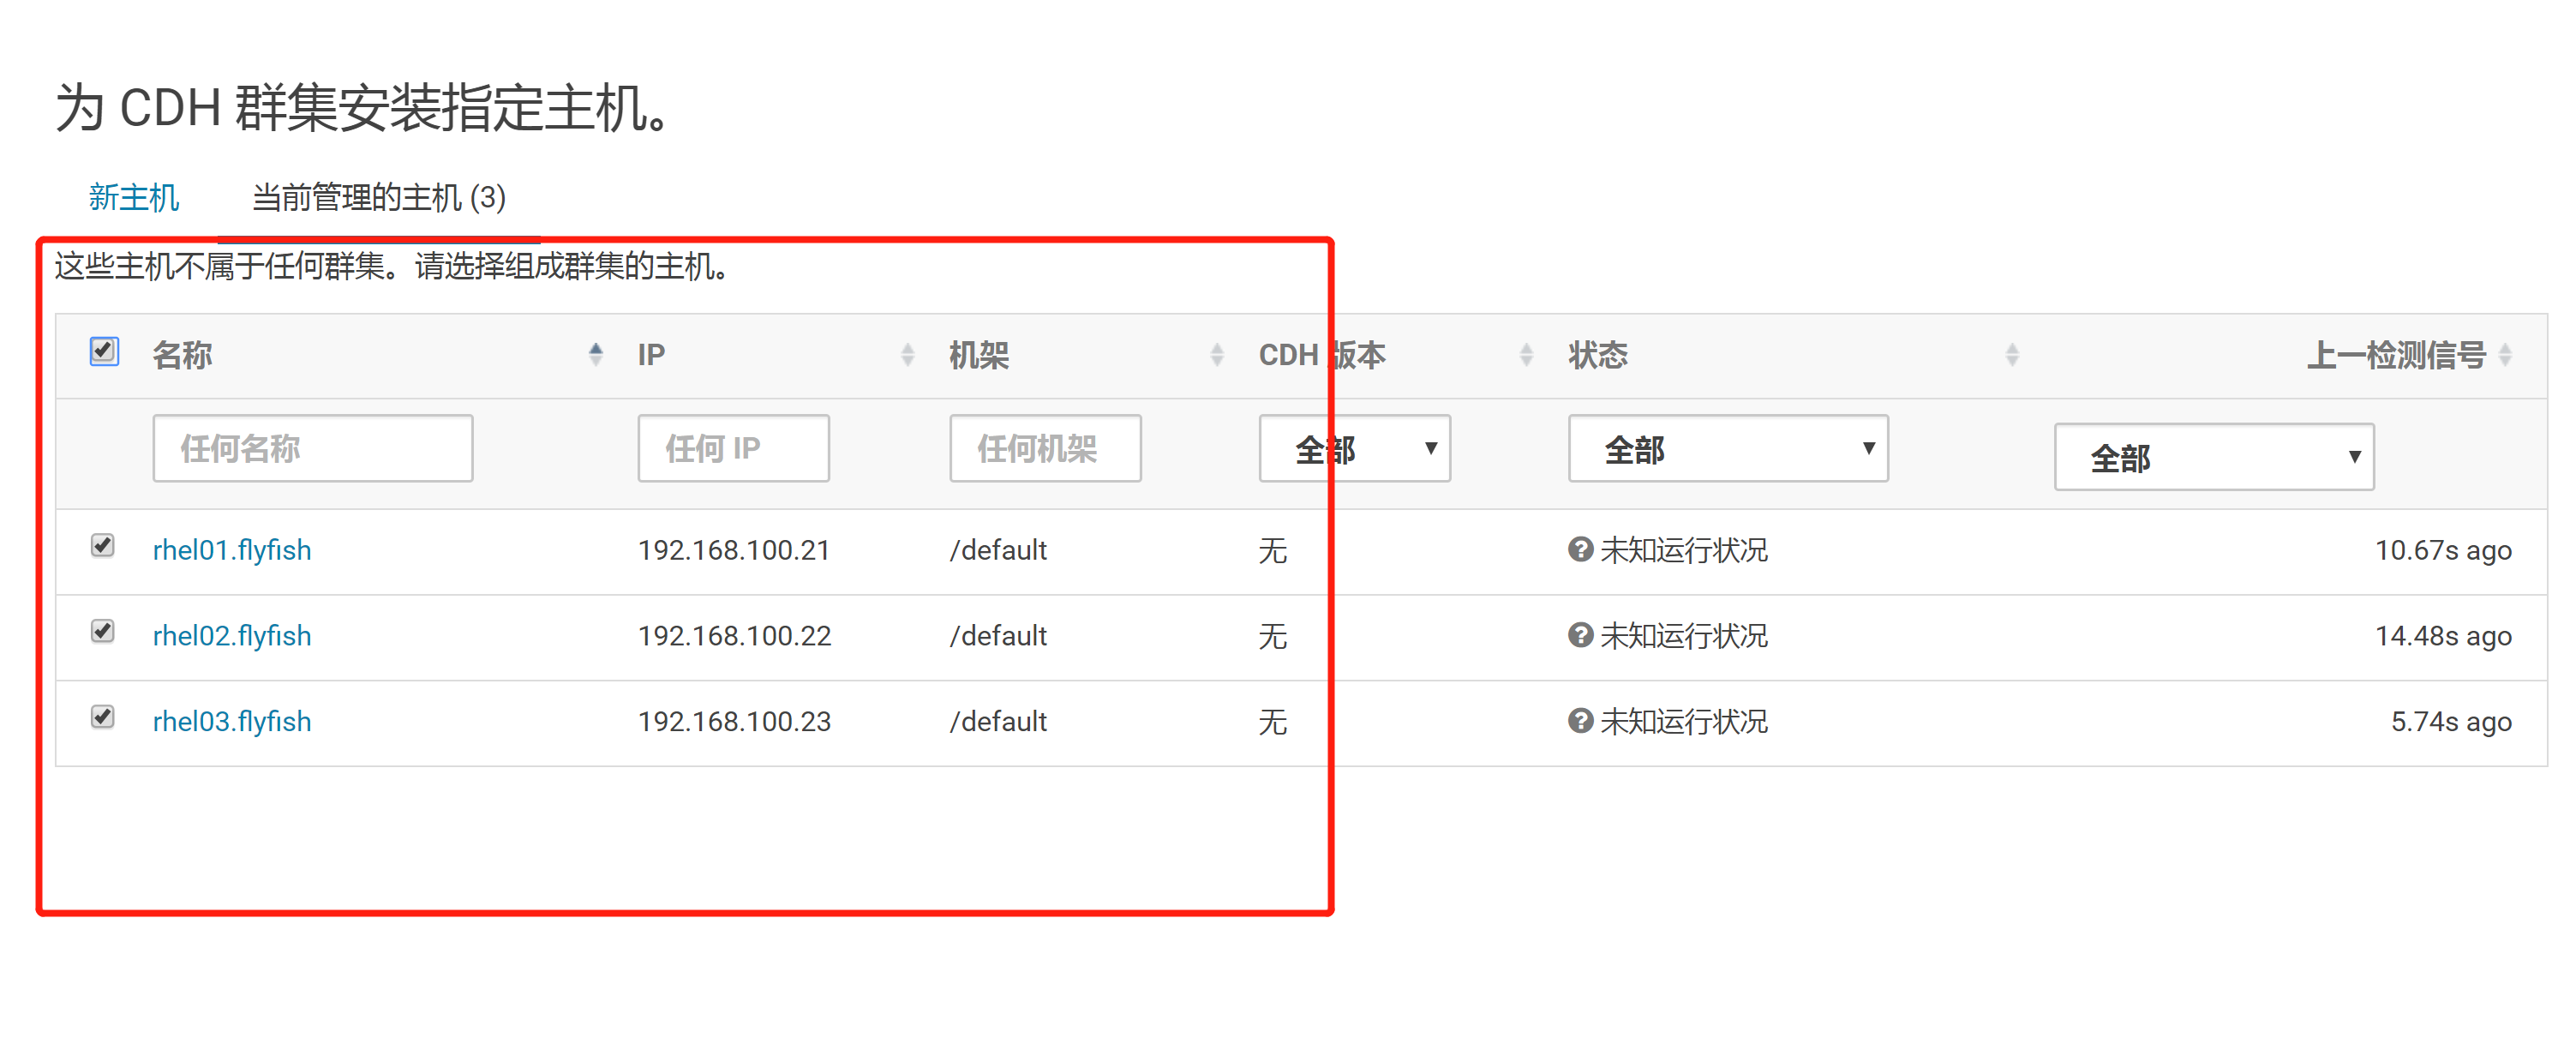
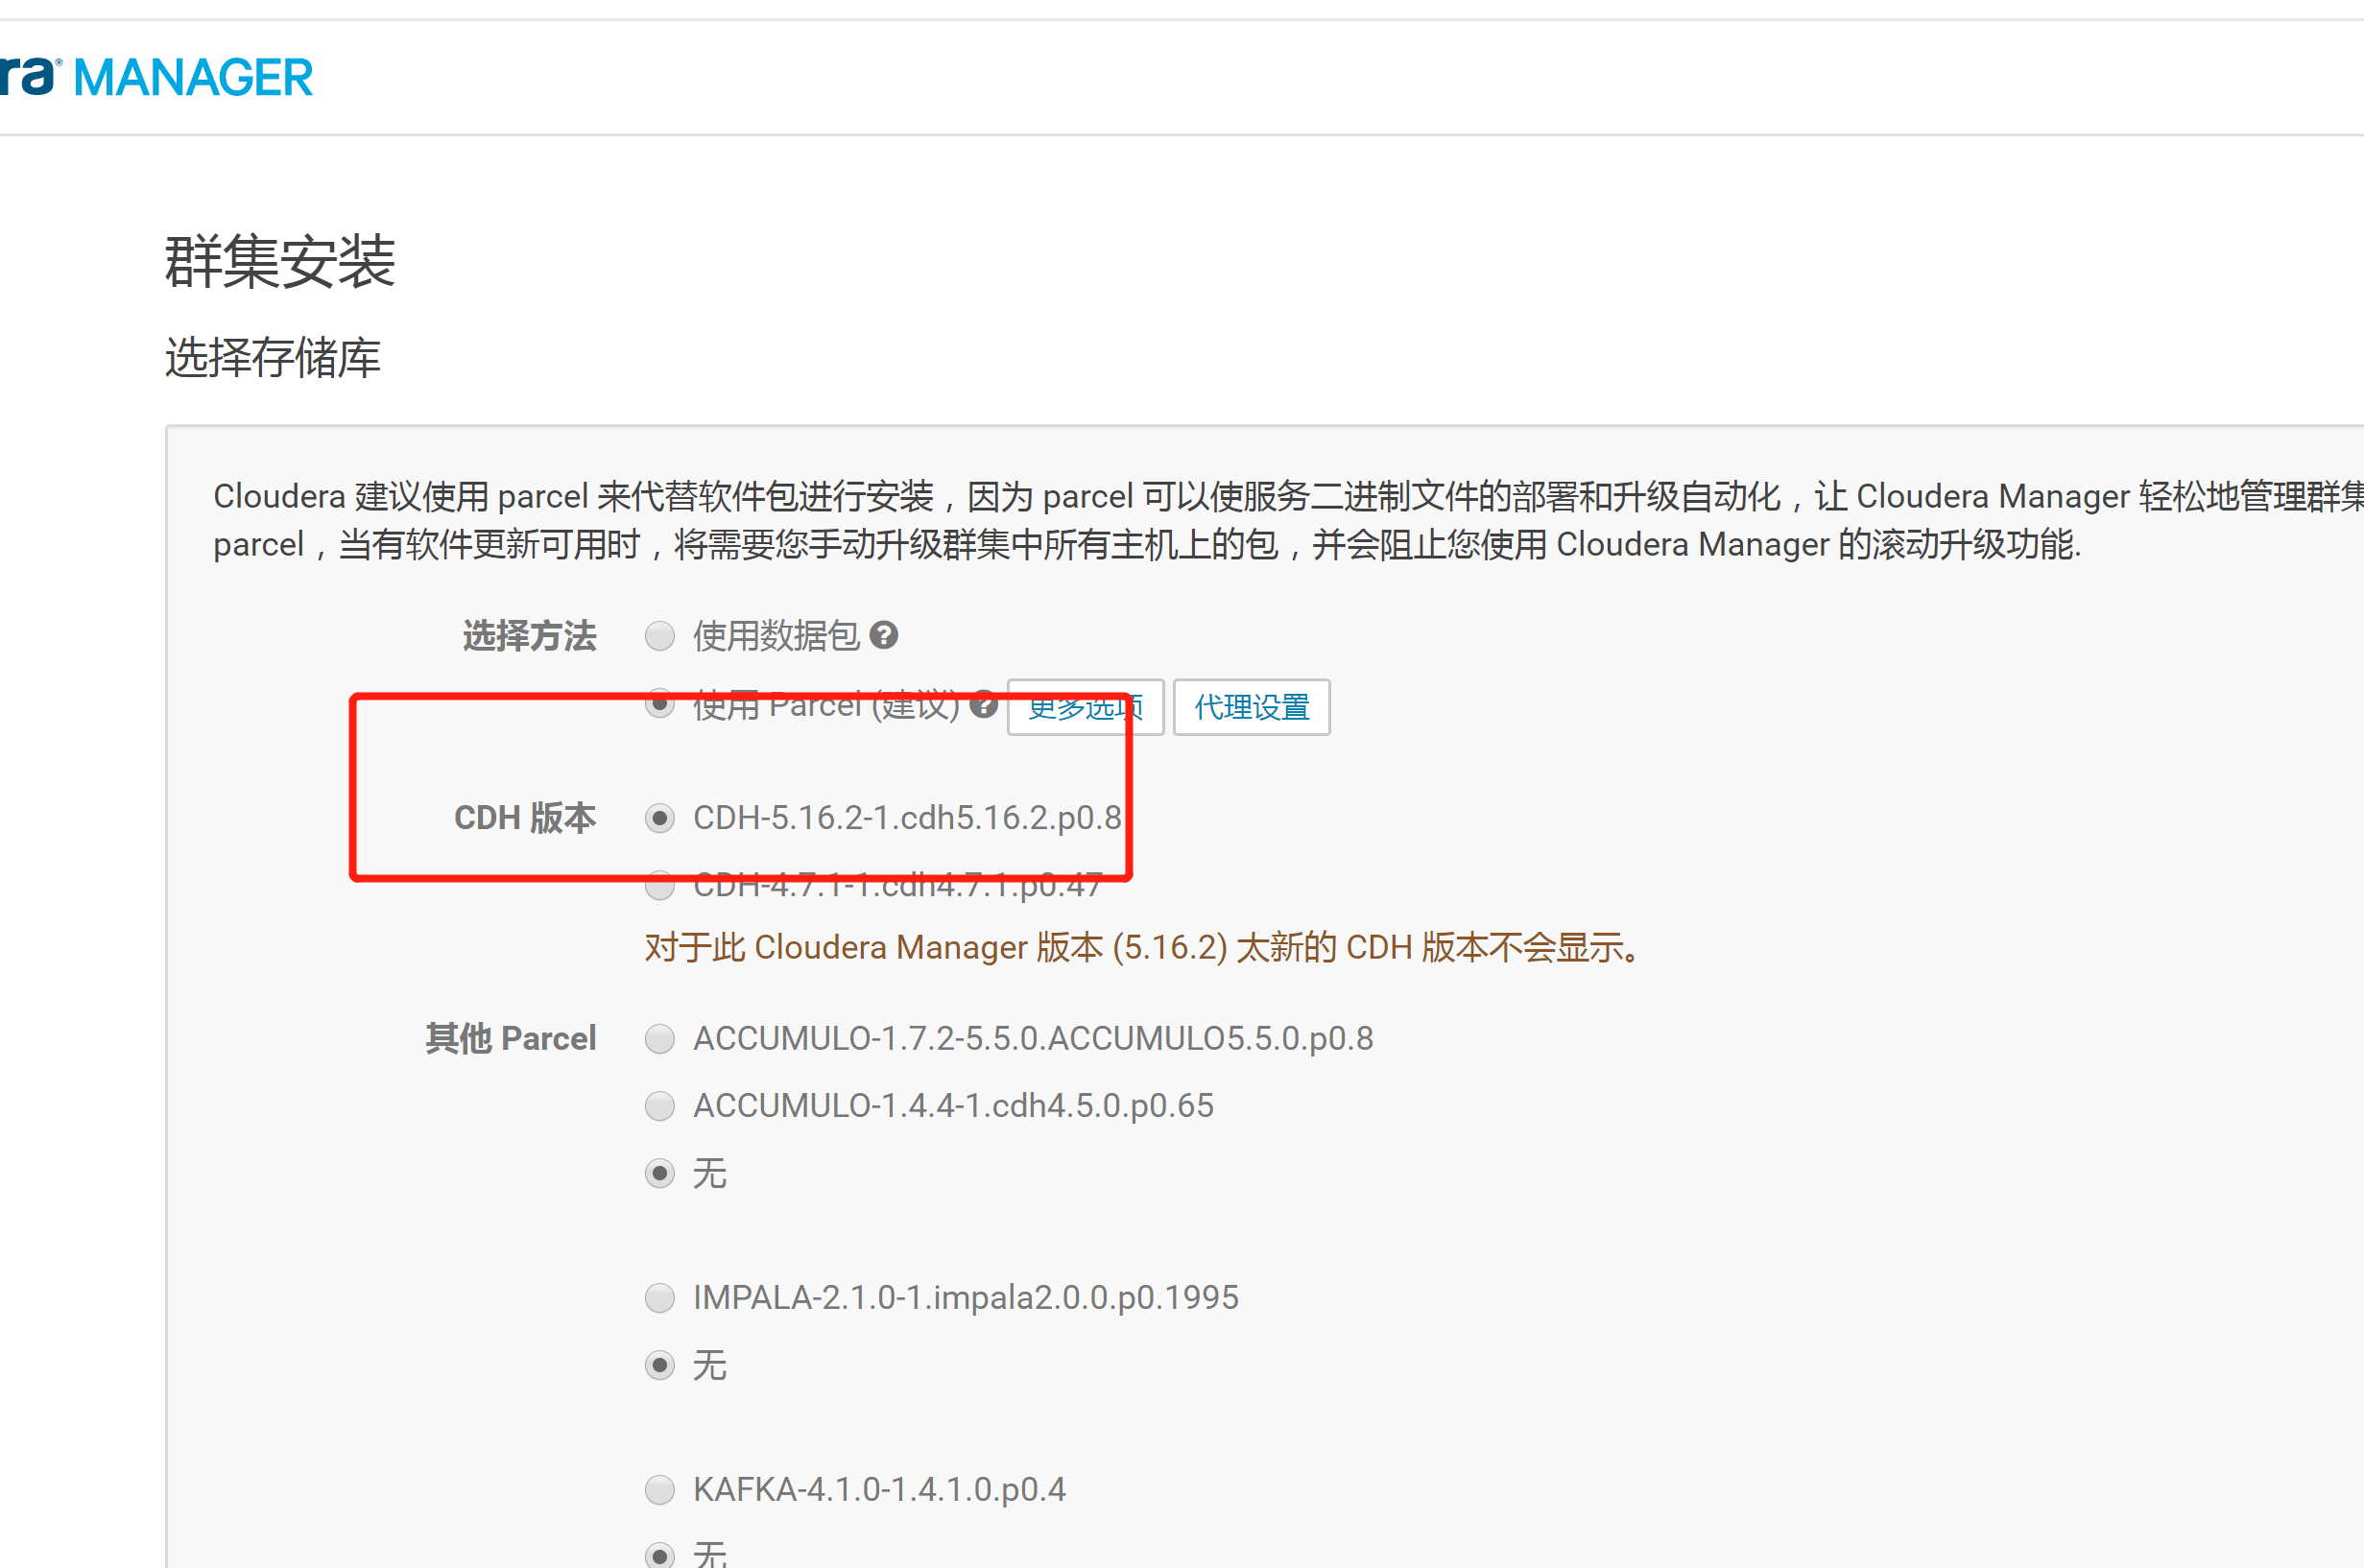
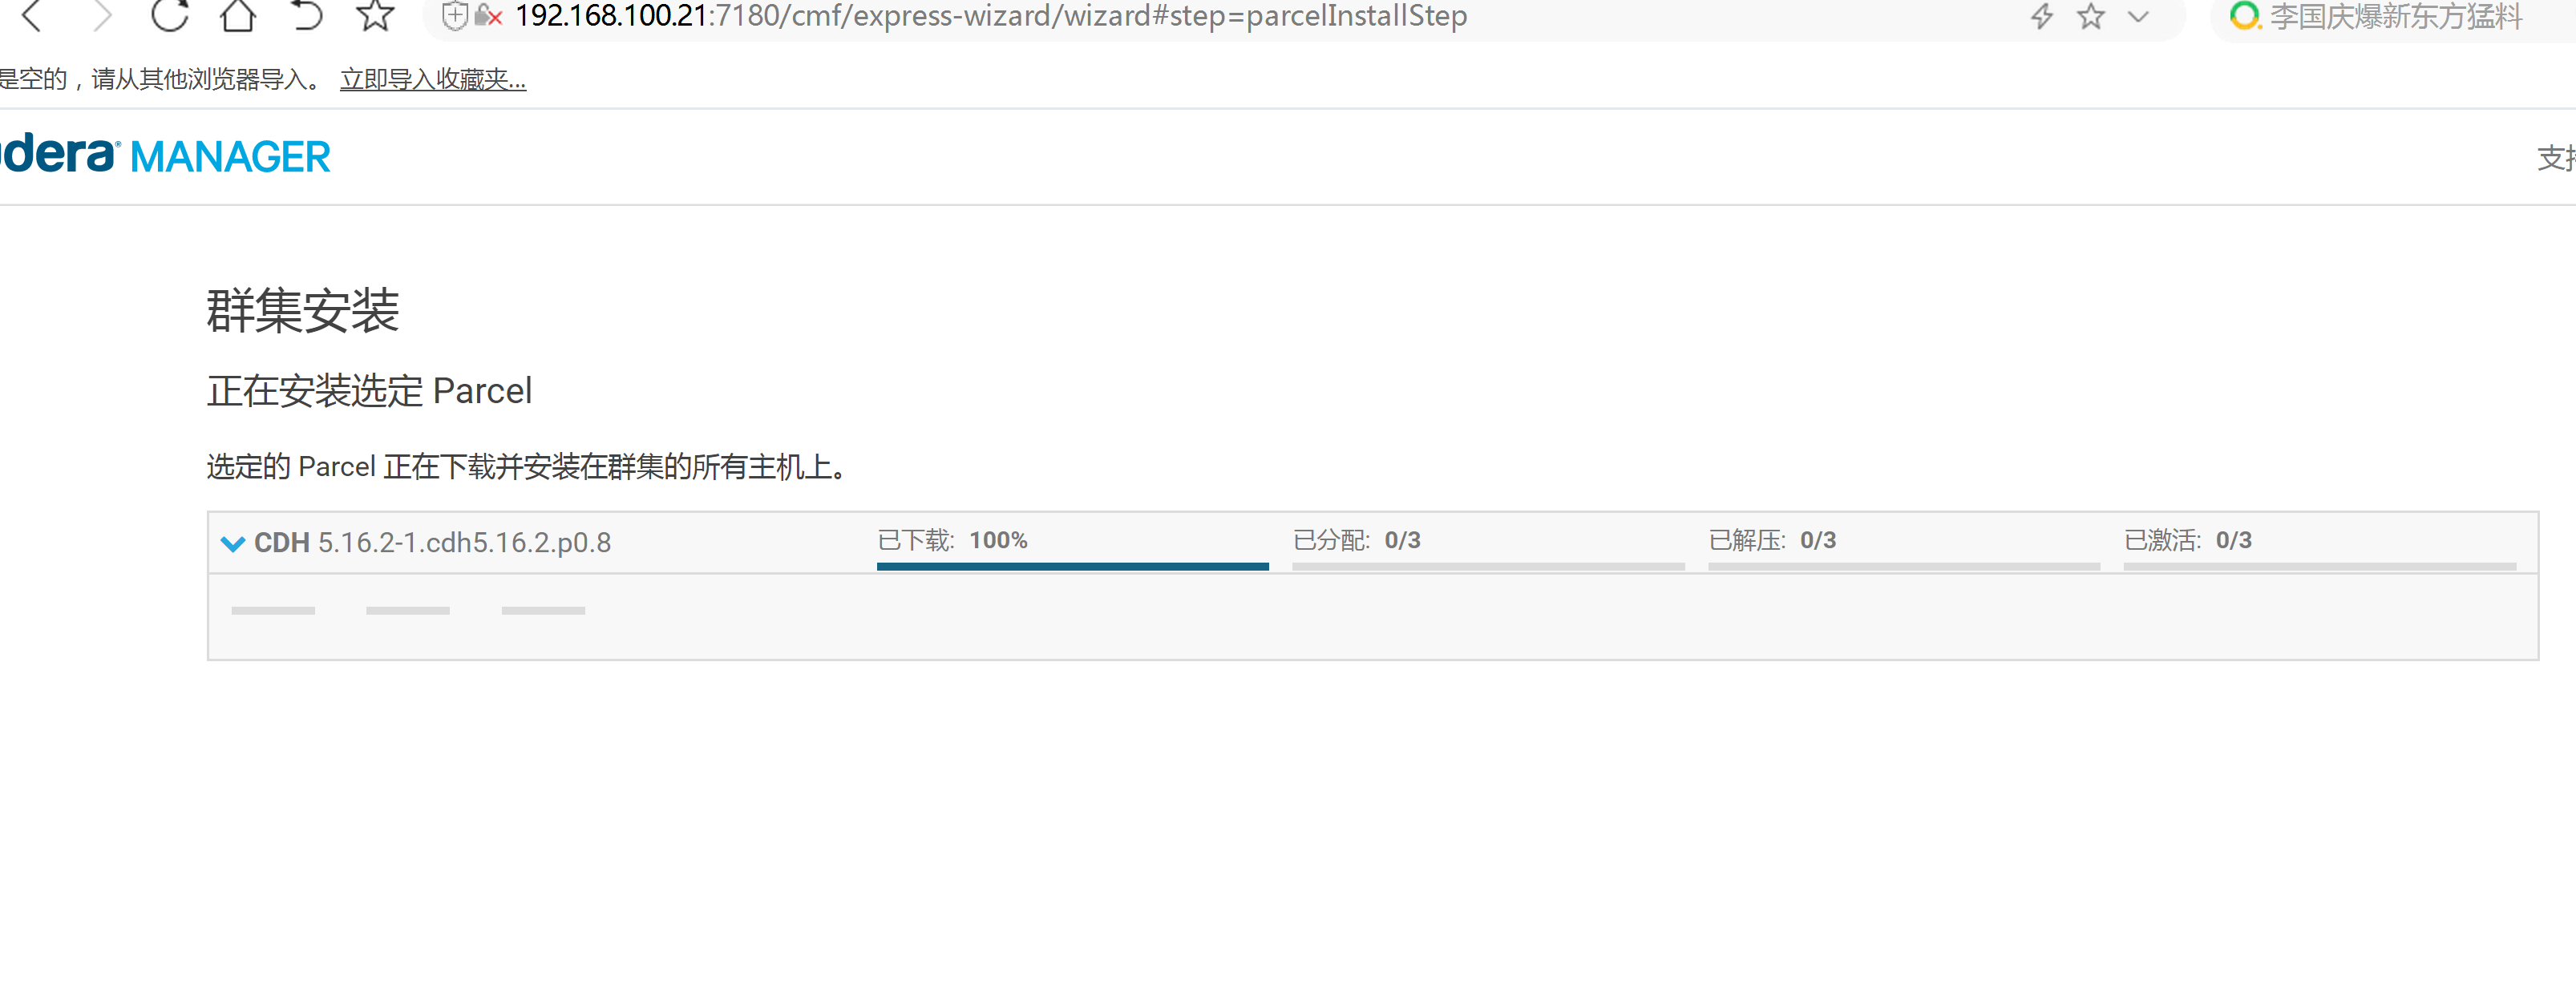
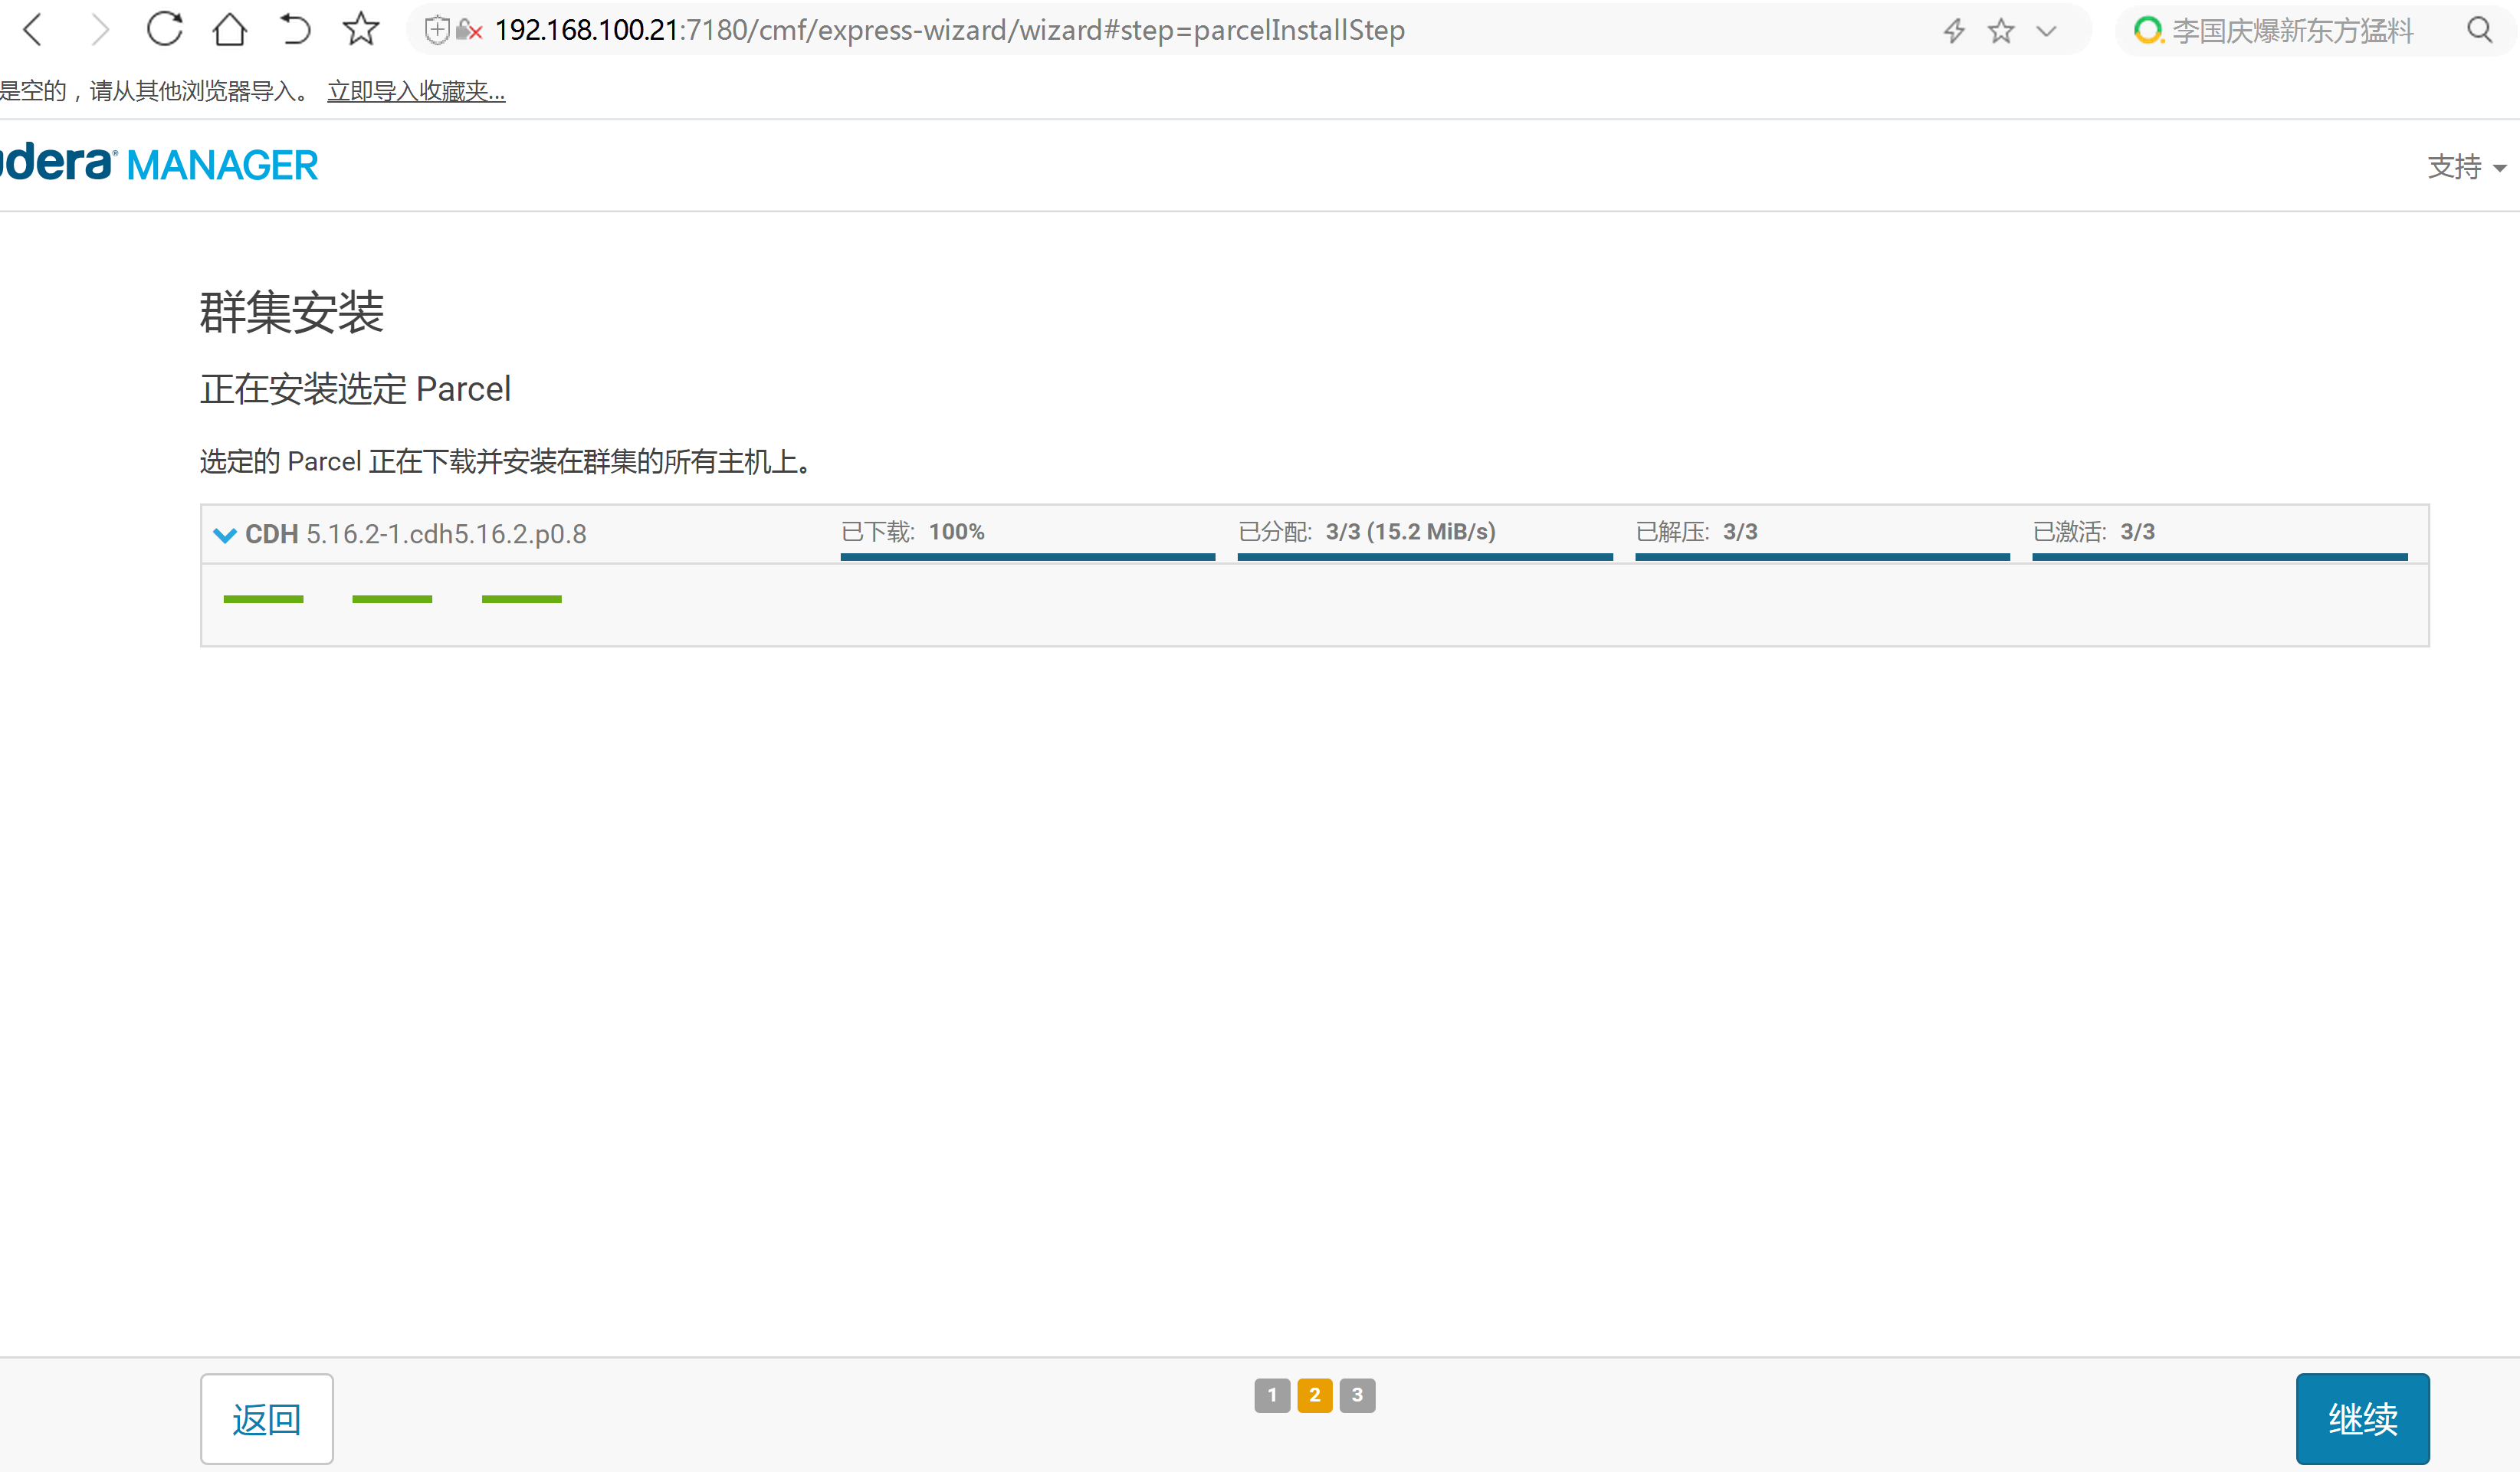
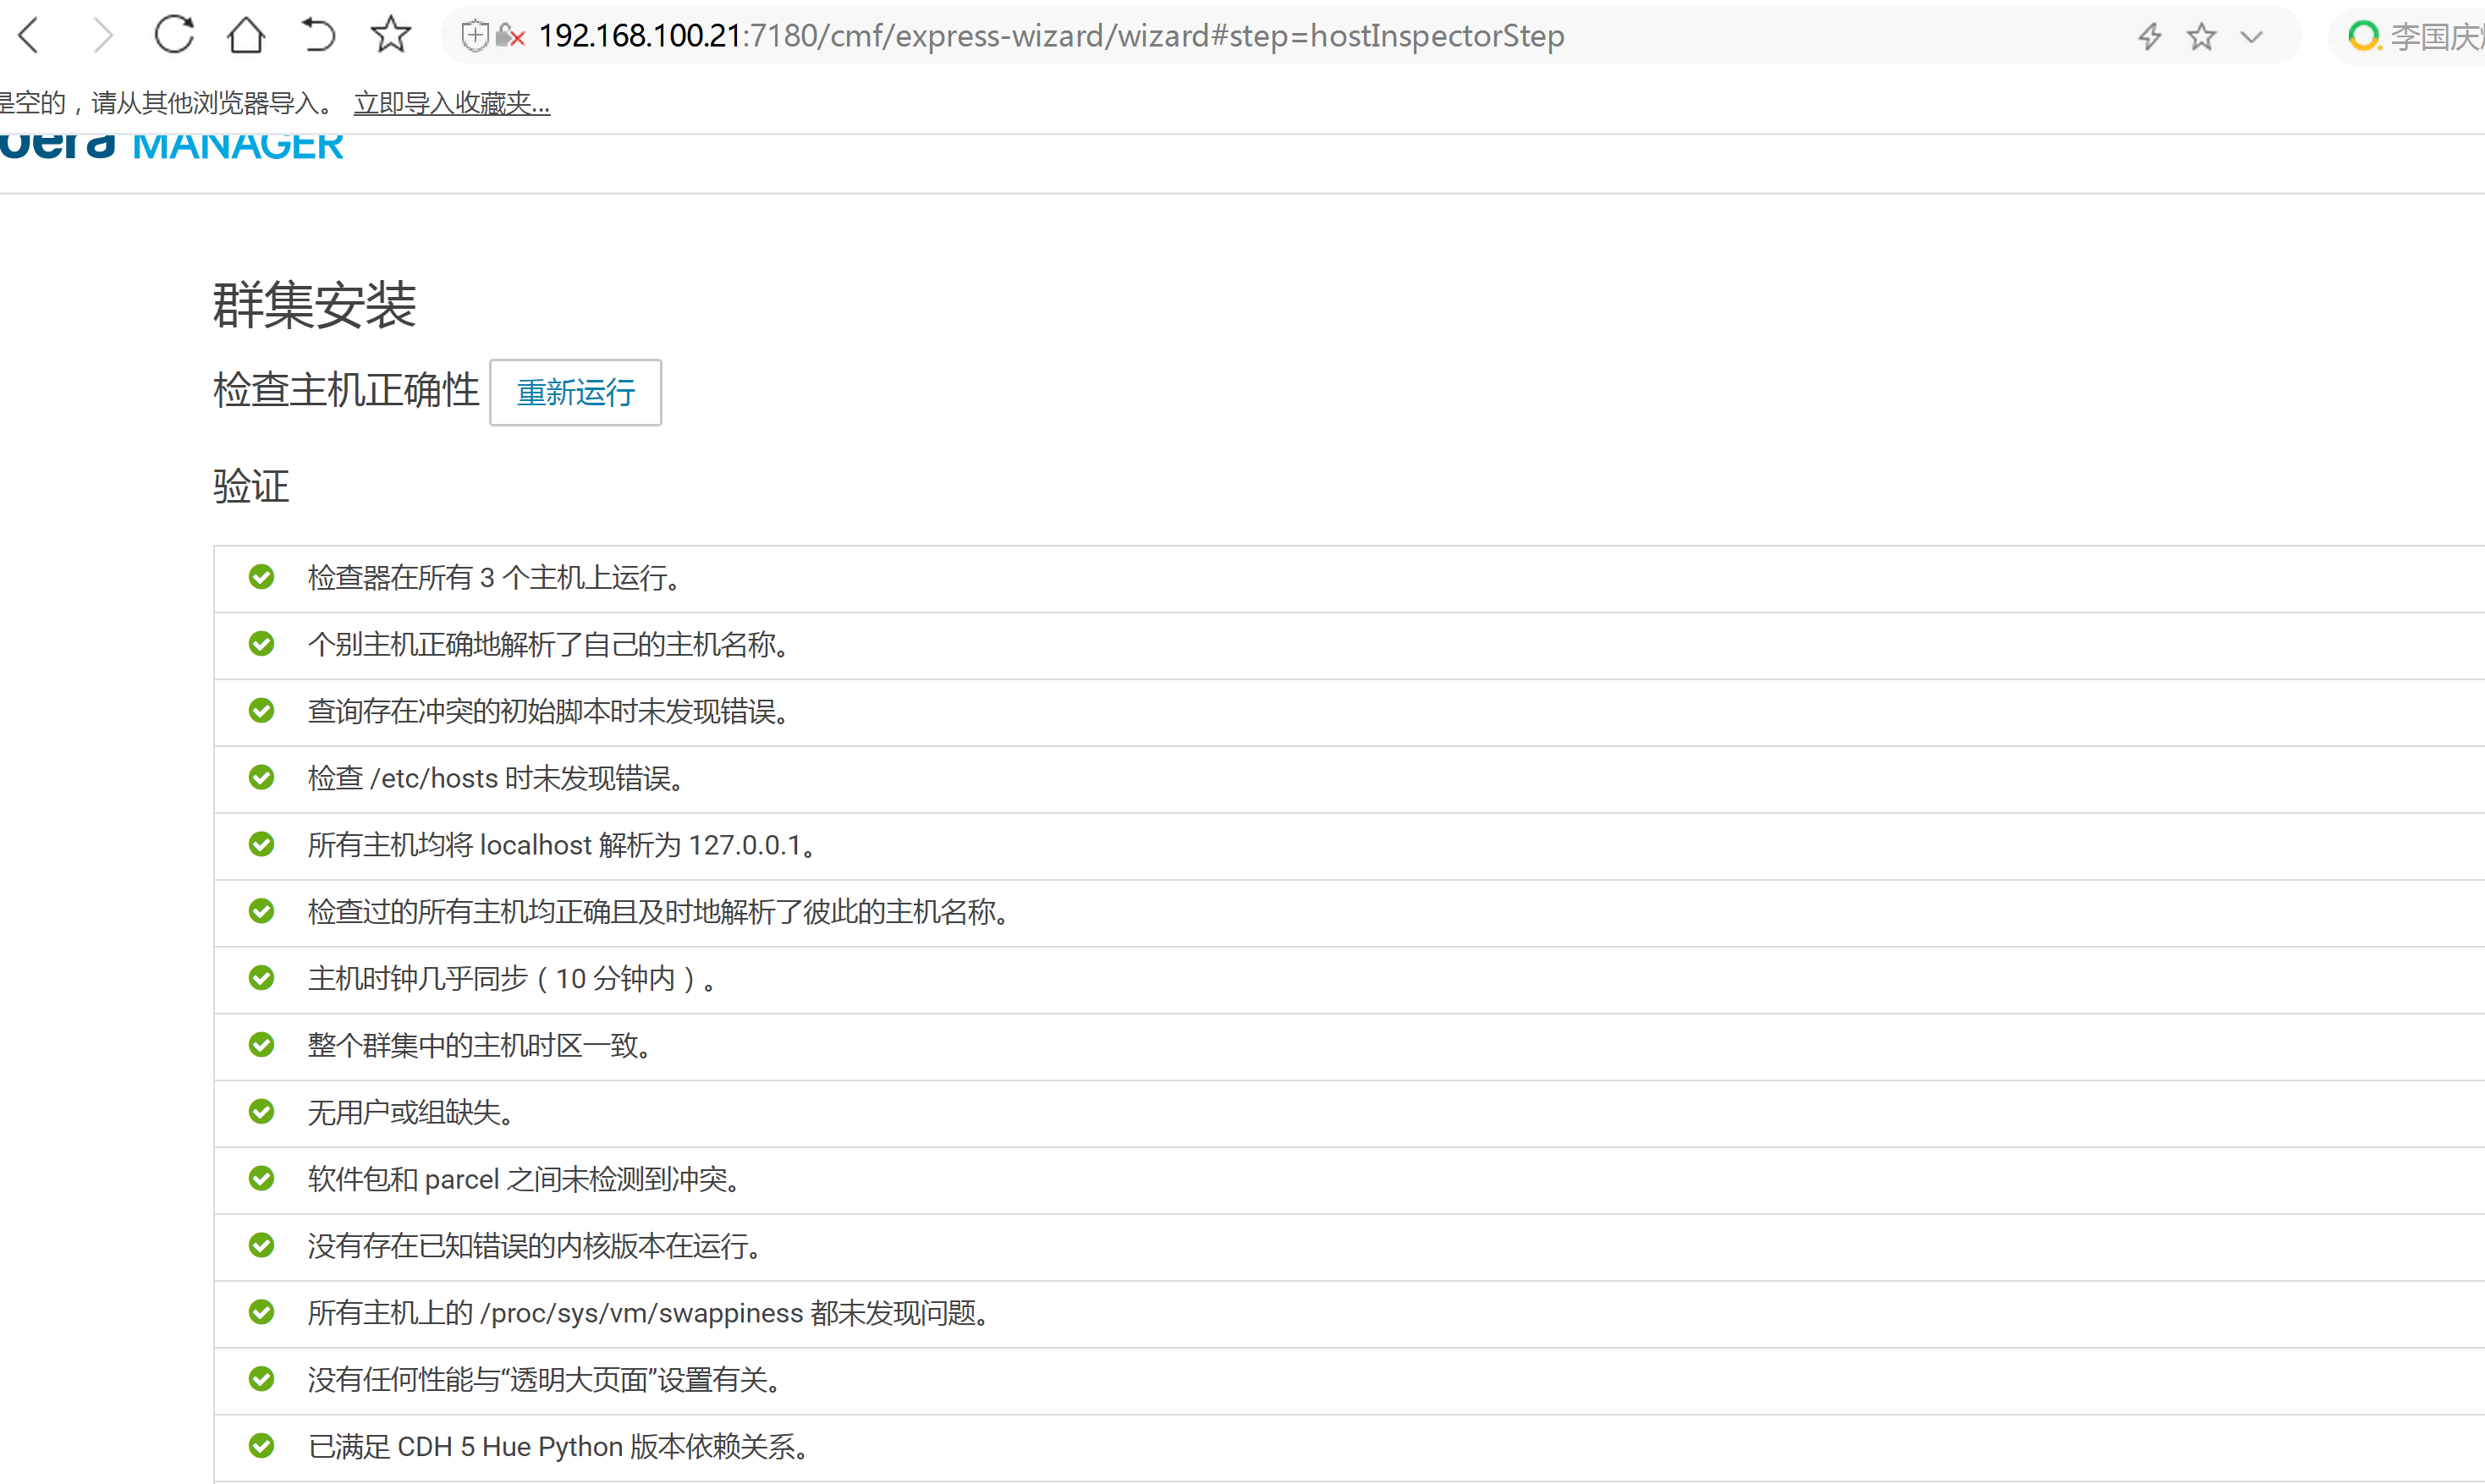
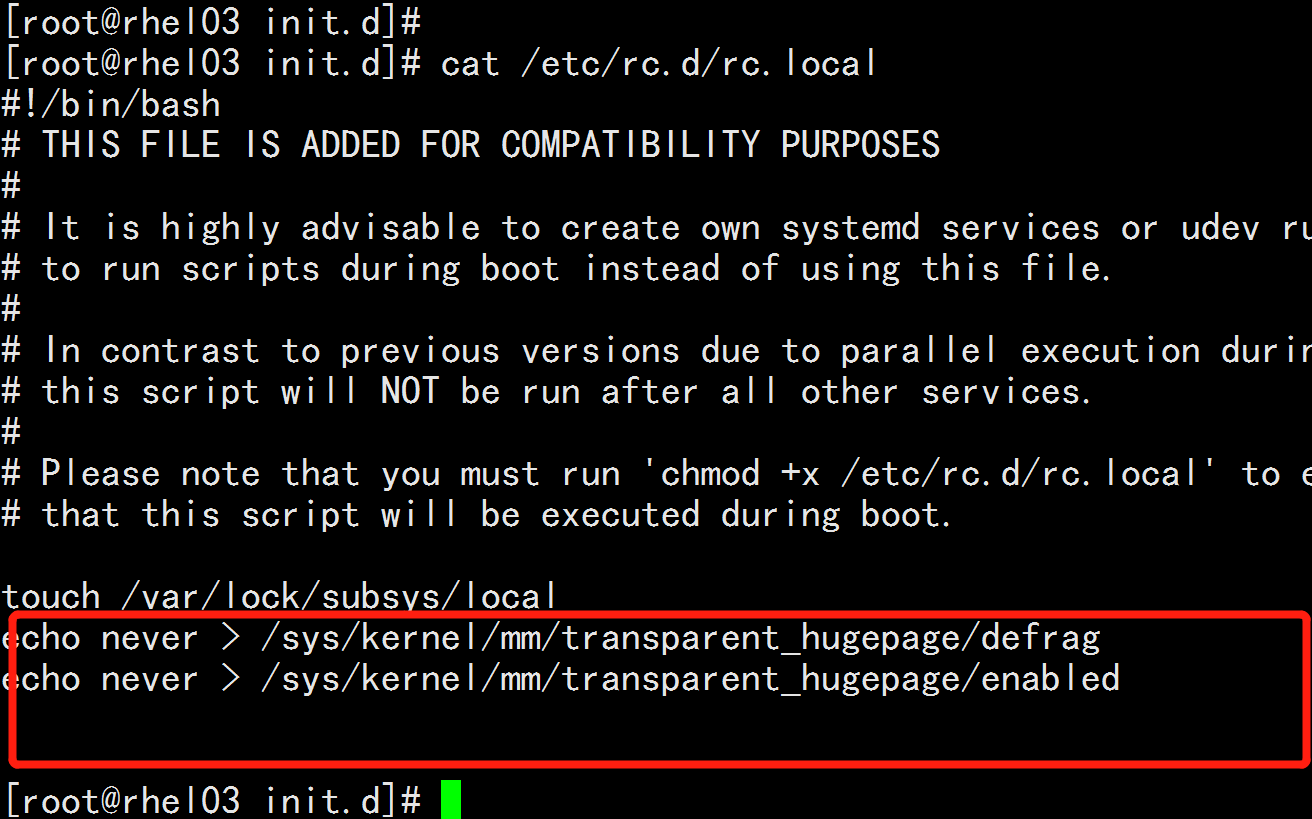
所有节点执行:#echo never > /sys/kernel/mm/transparent_hugepage/defrag#echo never > /sys/kernel/mm/transparent_hugepage/enabledvim /etc/rc.local在最下面增加:---echo never > /sys/kernel/mm/transparent_hugepage/defragecho never > /sys/kernel/mm/transparent_hugepage/enabled---同步所有机器scp /etc/rc.d/rc.local root@rhel02.flyfish:/etcscp /etc/rc.d/rc.local root@rhel03.flyfish:/etc


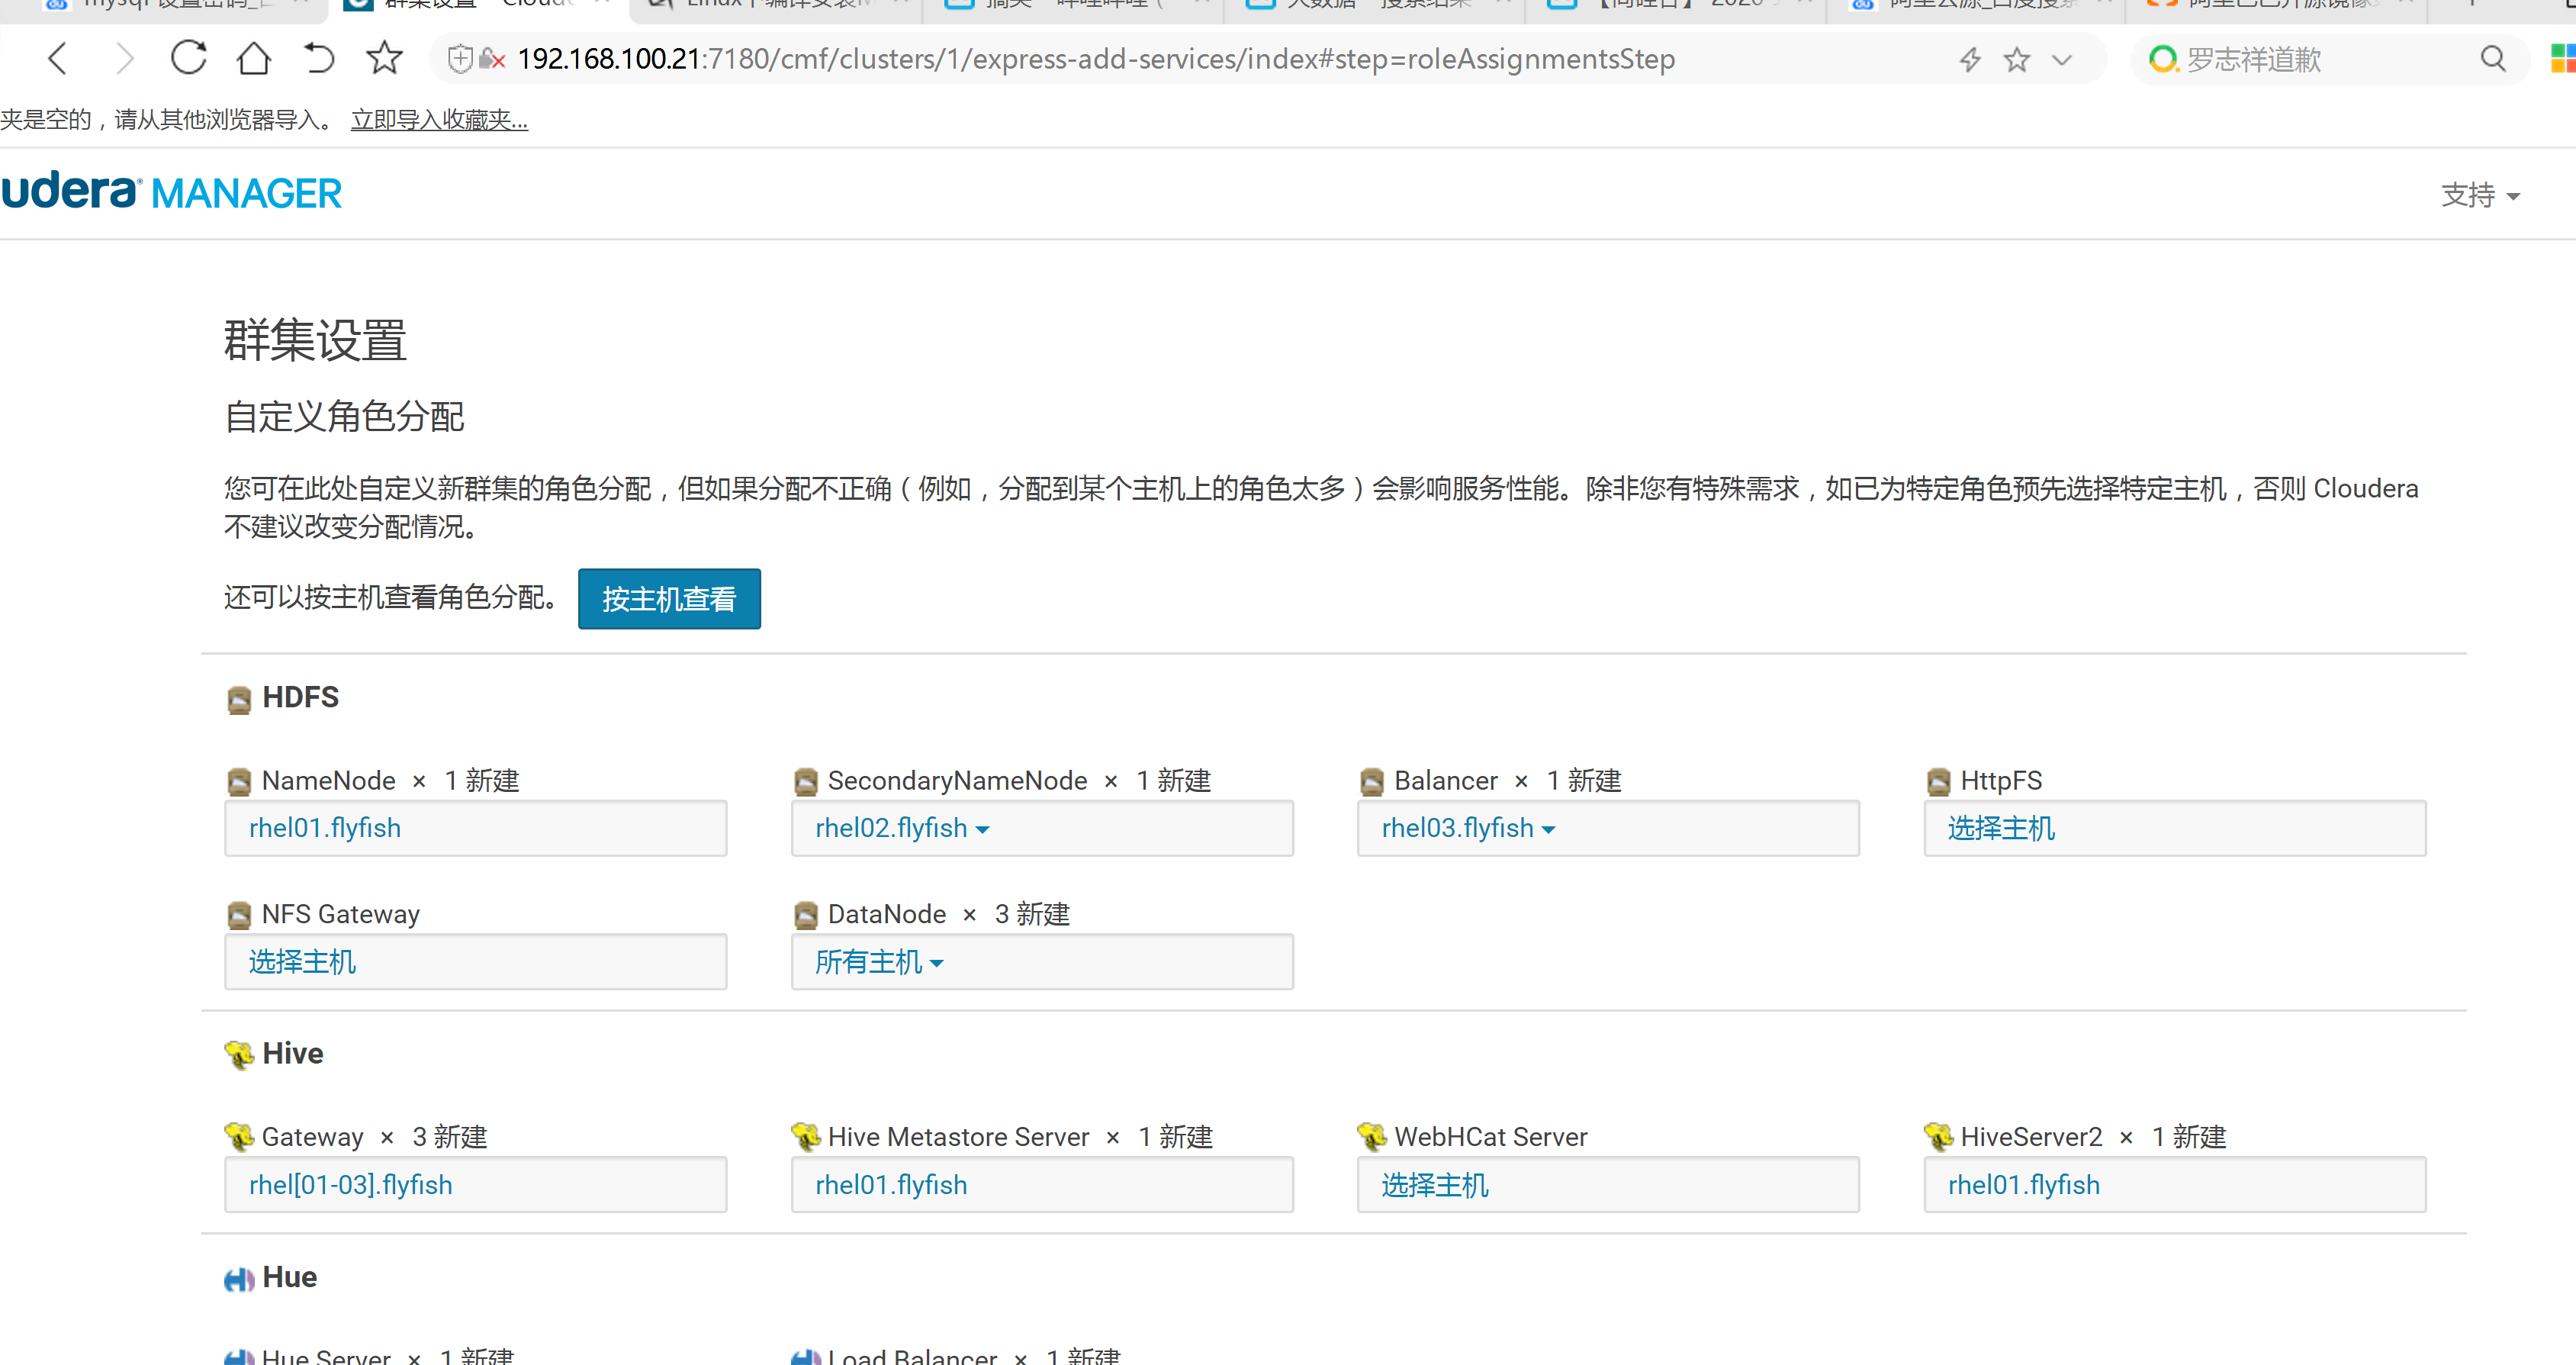
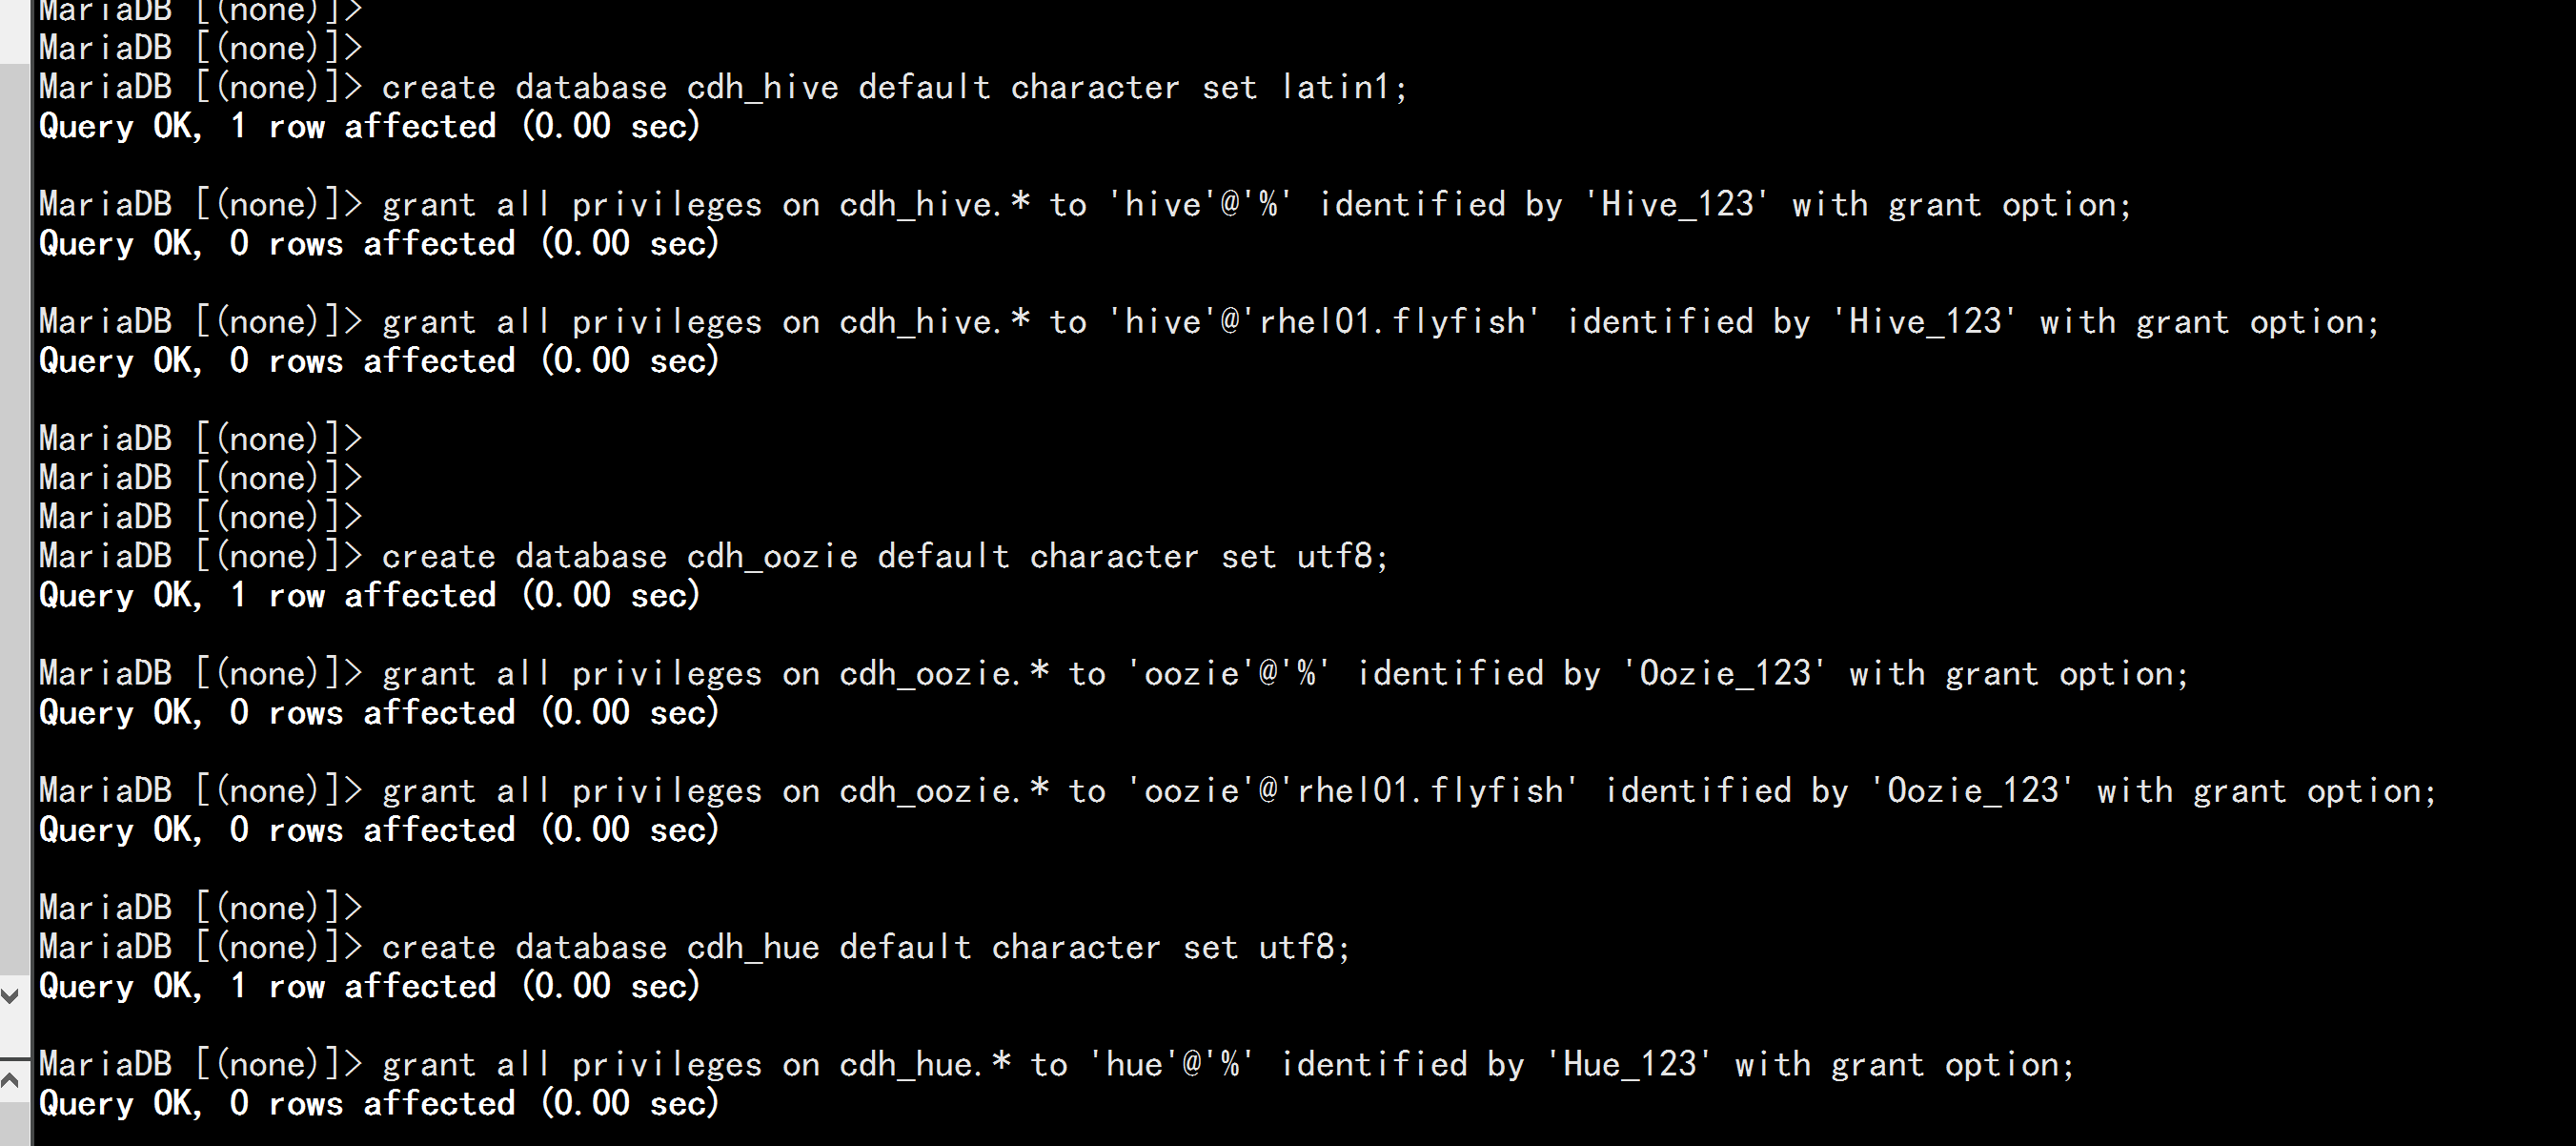
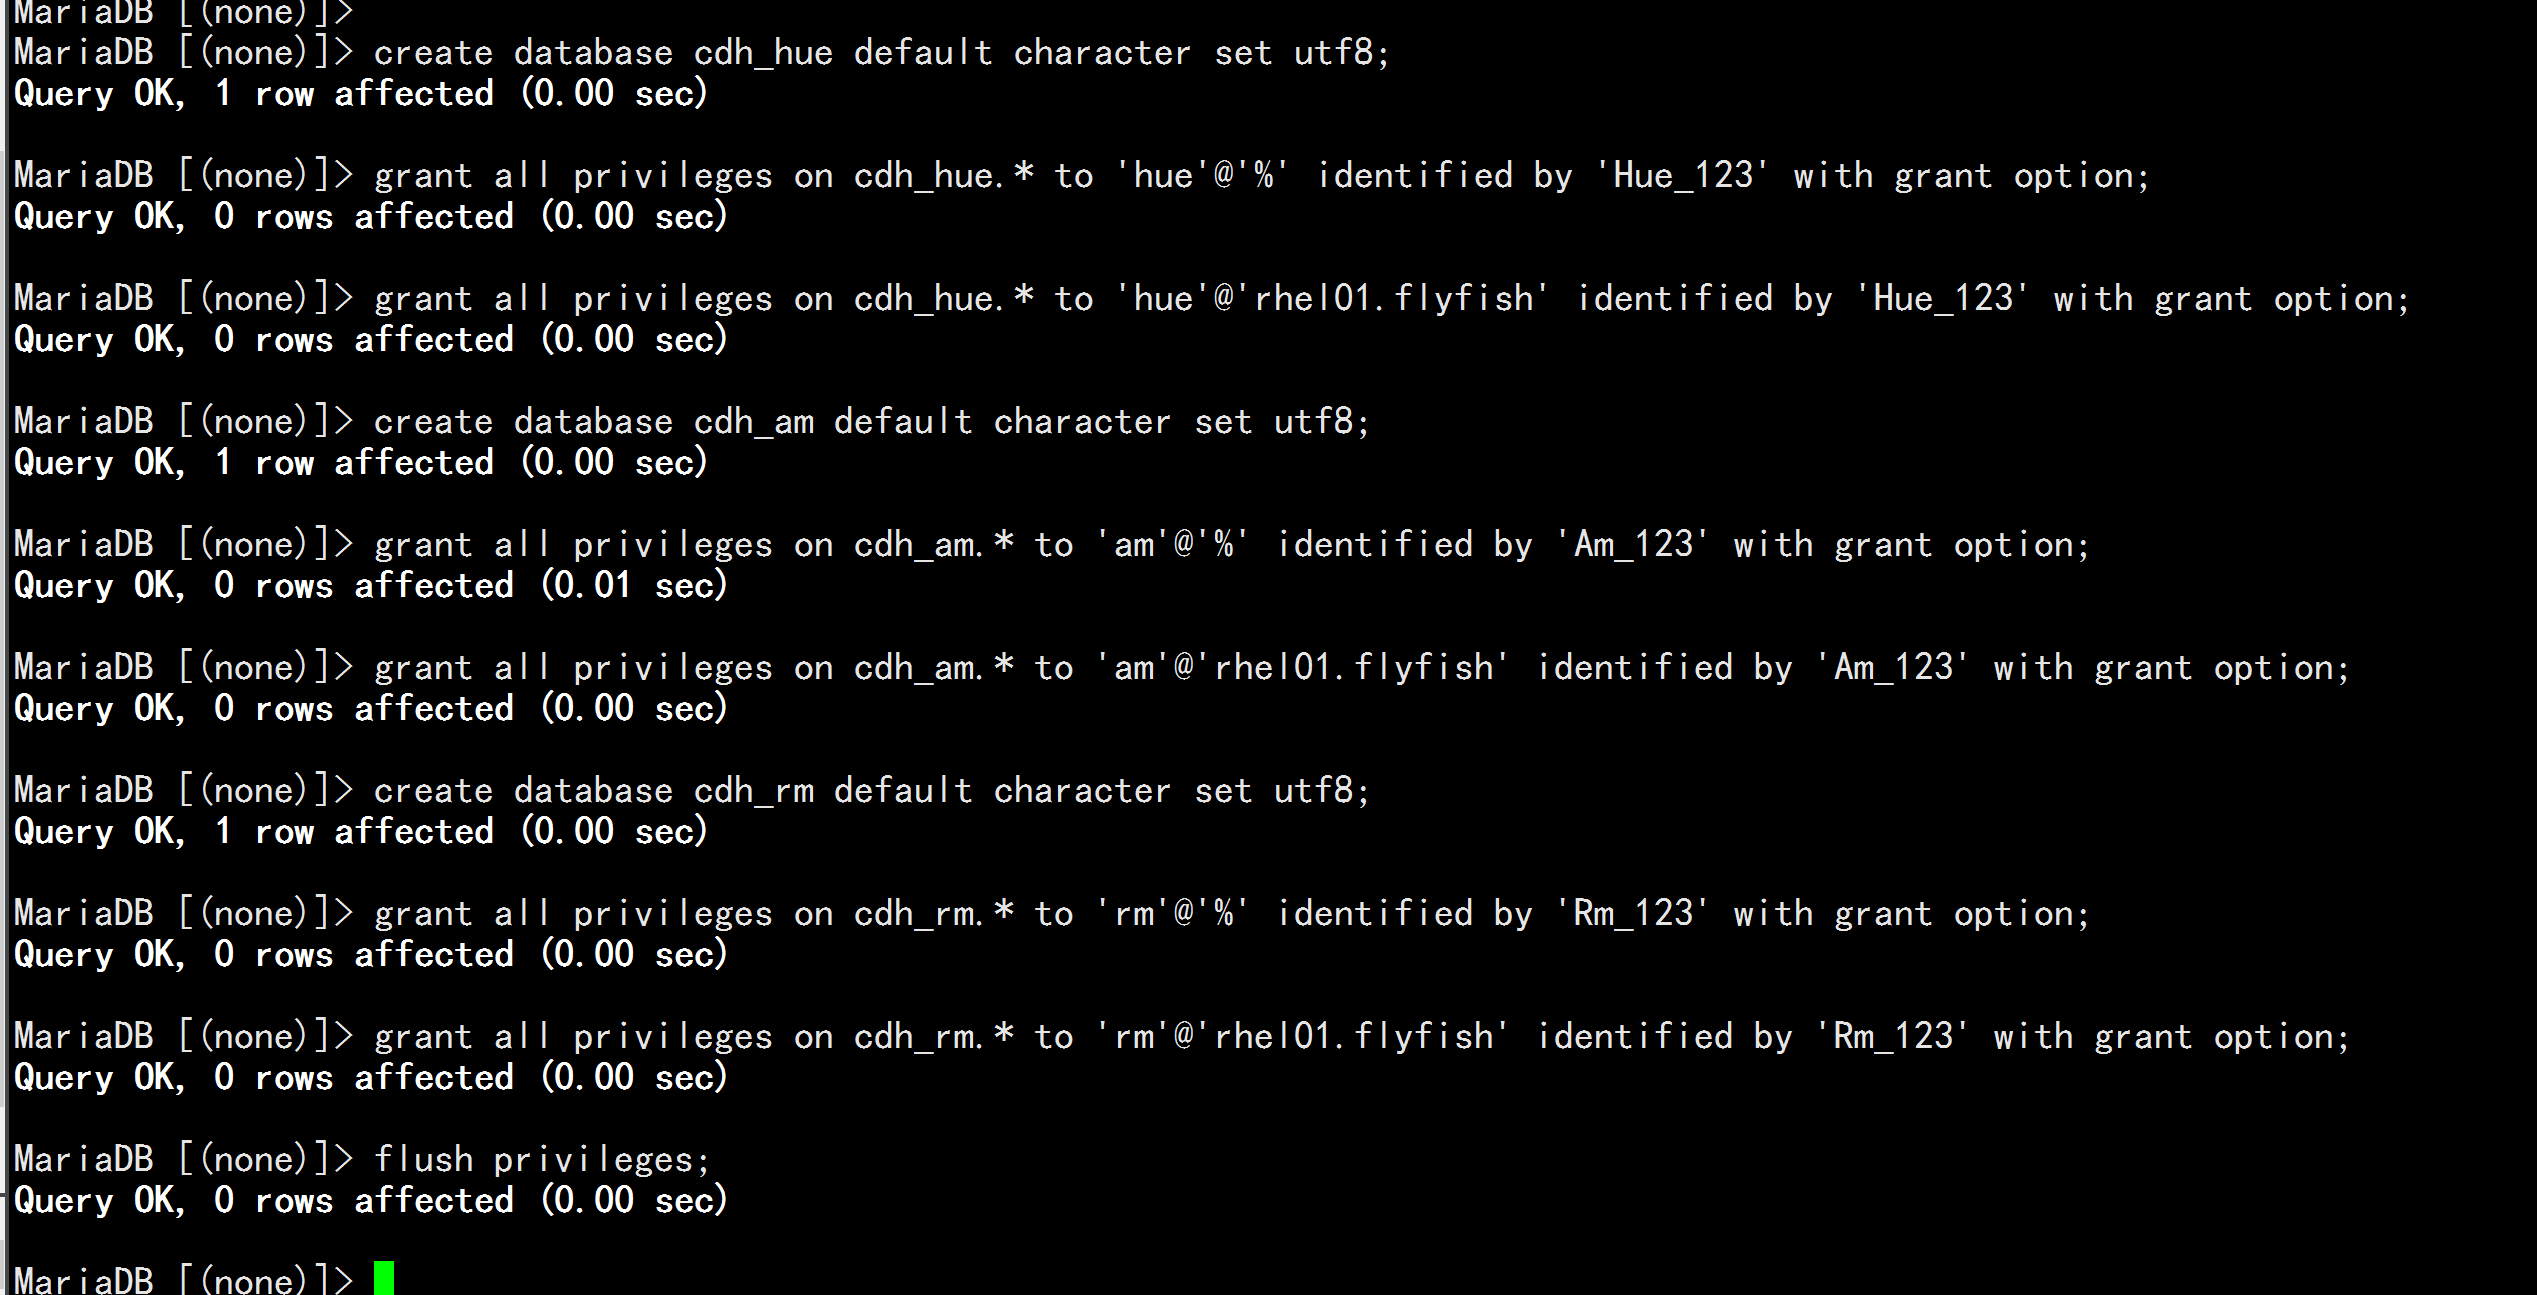
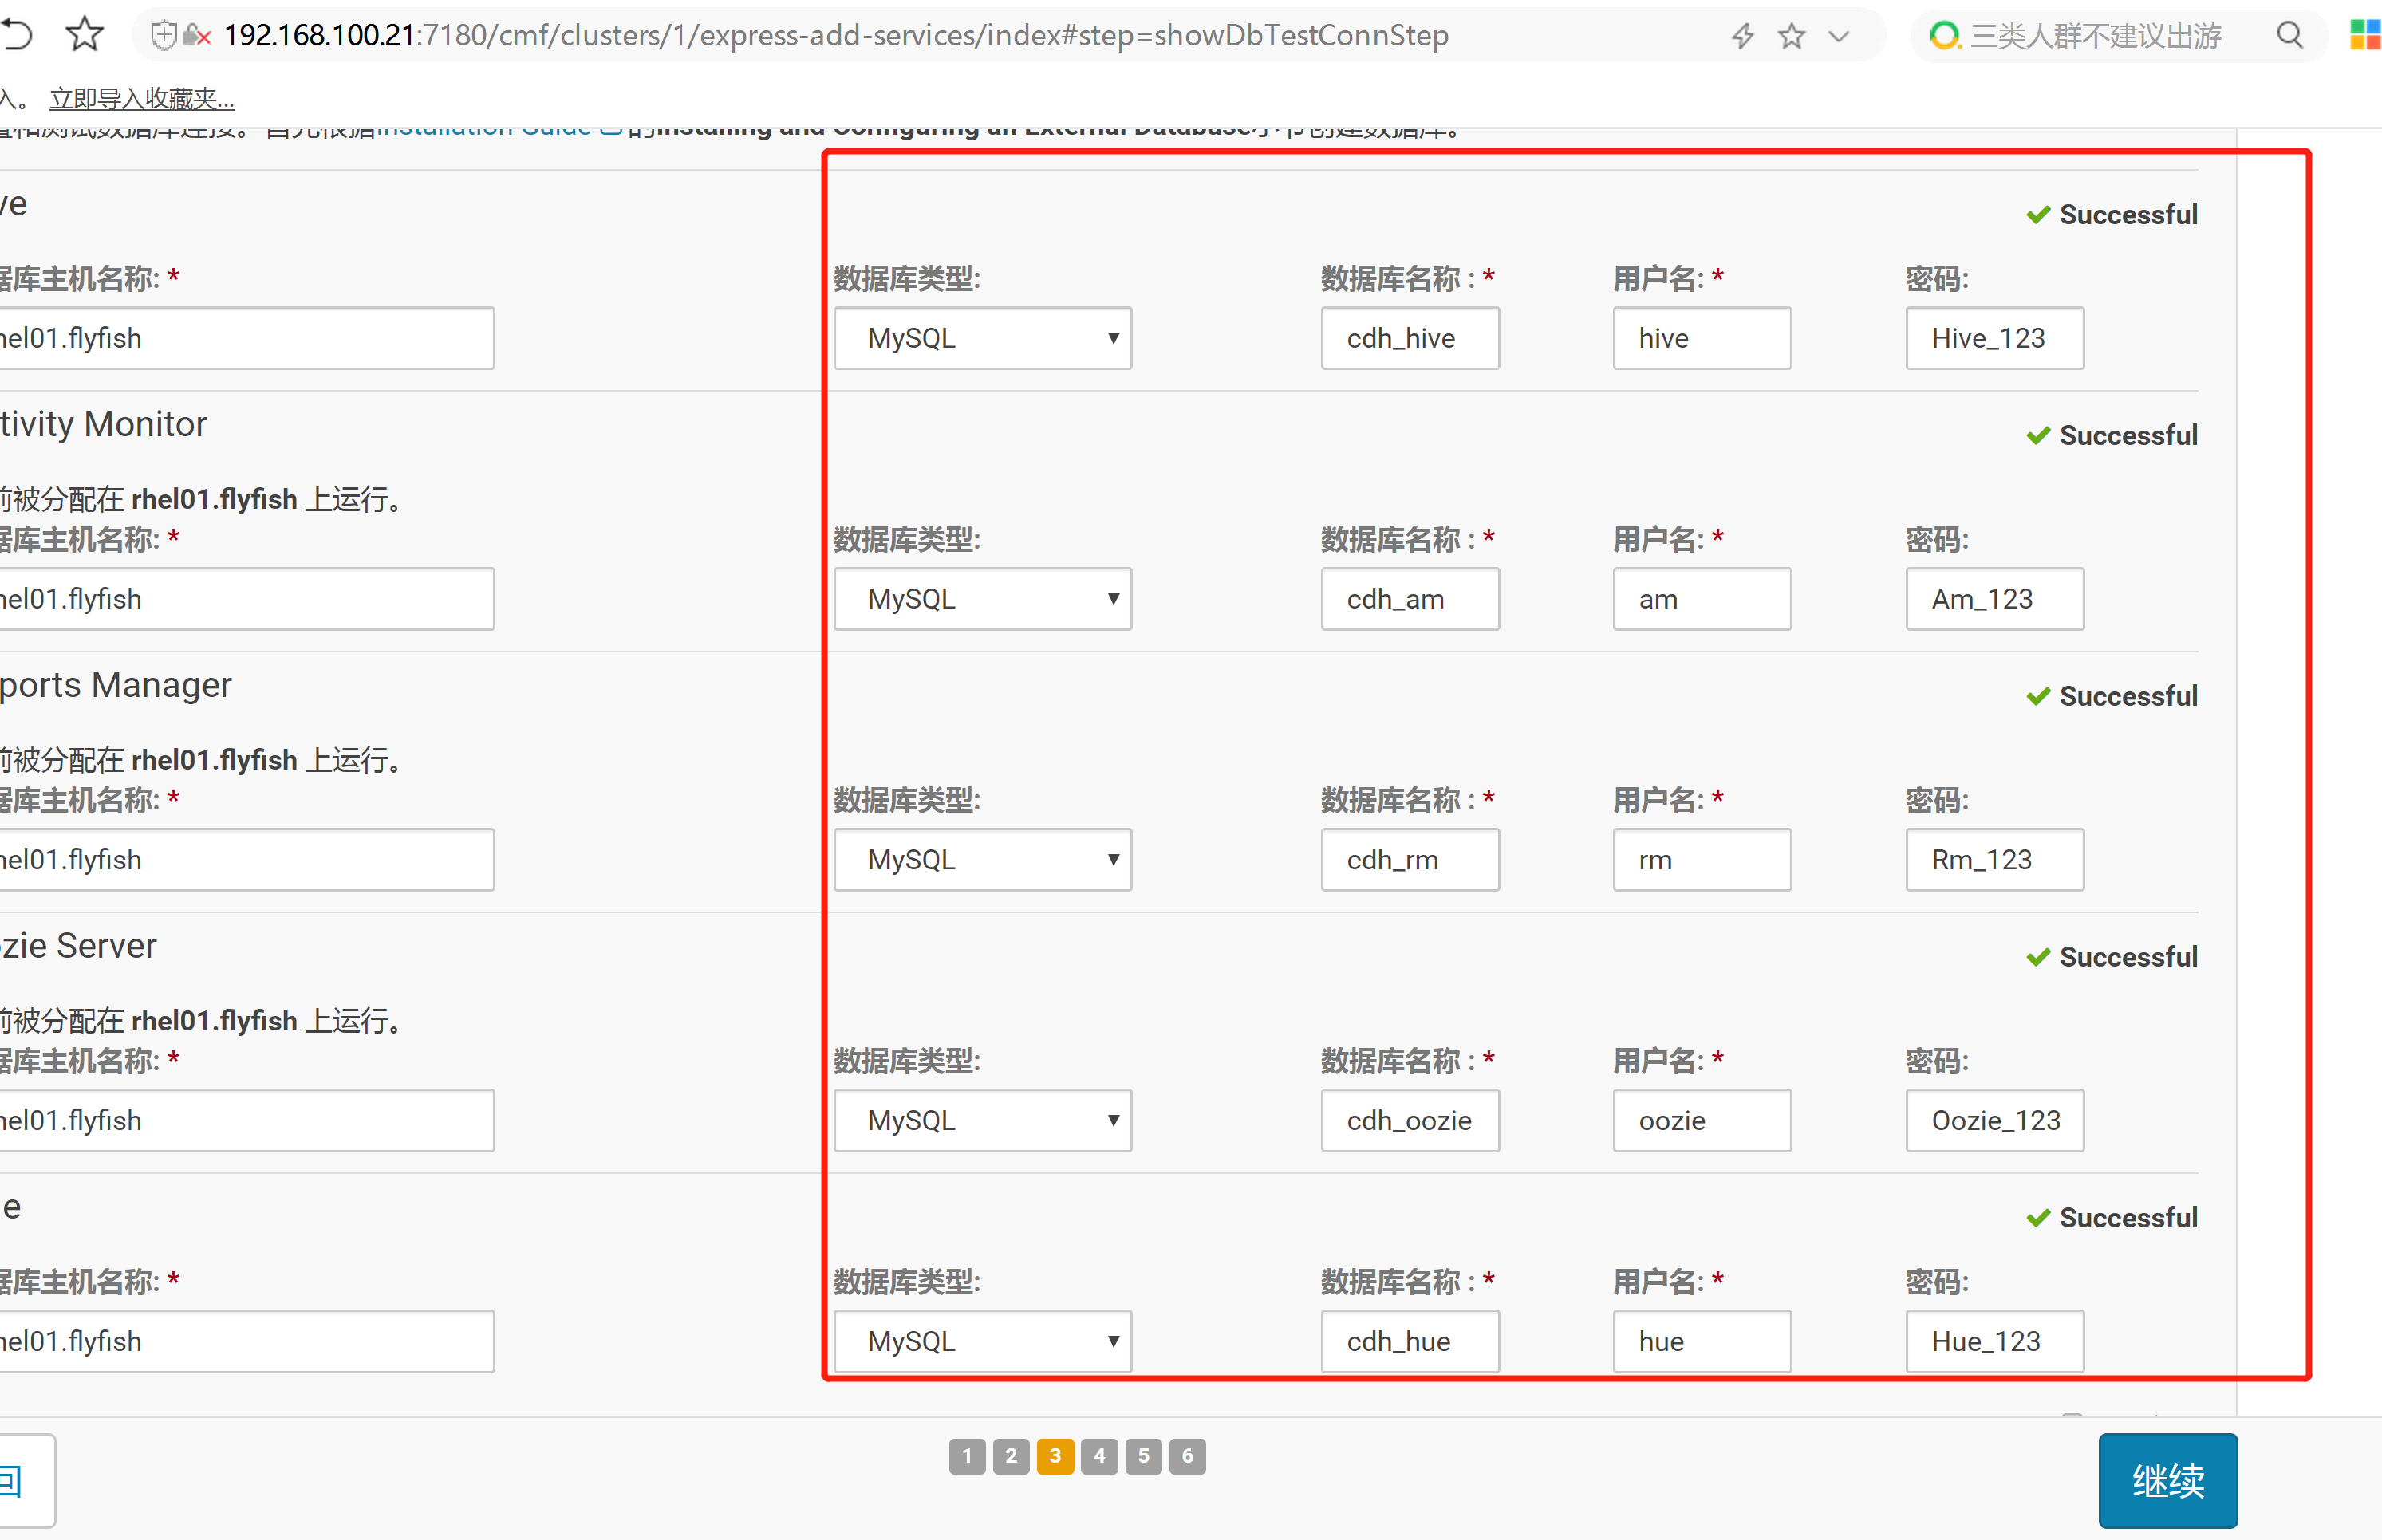
mysql 授权的配置数据库授权:mysql -uroot -pflyfish225---创建hive 所需要的库并授权:mysql >create database cdh_hive default character set latin1;字符必须为拉丁(latin1),如果uft8可能会报错Specified key was too long; max key length is 767 bytesmysql >grant all privileges on cdh_hive.* to 'hive'@'%' identified by 'Hive_123' with grant option;mysql >grant all privileges on cdh_hive.* to 'hive'@'rhel01.flyfish' identified by 'Hive_123' with grant option;mysql >flush privileges;创建oozie 所需要的库mysql >create database cdh_oozie default character set utf8;mysql >grant all privileges on cdh_oozie.* to 'oozie'@'%' identified by 'Oozie_123' with grant option;mysql >grant all privileges on cdh_oozie.* to 'oozie'@'rhel01.flyfish' identified by 'Oozie_123' with grant option;mysql >flush privileges;创建hue所需要的库:mysql >create database cdh_hue default character set utf8;mysql >grant all privileges on cdh_hue.* to 'hue'@'%' identified by 'Hue_123' with grant option;mysql >grant all privileges on cdh_hue.* to 'hue'@'rhel01.flyfish' identified by 'Hue_123' with grant option;mysql >flush privileges;创建CM 的 监控端Activity Monitor 的库Activity Monitor:mysql >create database cdh_am default character set utf8;mysql >grant all privileges on cdh_am.* to 'am'@'%' identified by 'Am_123' with grant option;mysql >grant all privileges on cdh_am.* to 'am'@'rhel01.flyfish' identified by 'Am_123' with grant option;mysql >flush privileges;创建RM 的 监控端 Reports Manager 的库Reports Managermysql >create database cdh_rm default character set utf8;mysql >grant all privileges on cdh_rm.* to 'rm'@'%' identified by 'Rm_123' with grant option;mysql >grant all privileges on cdh_rm.* to 'rm'@'rhel01.flyfish' identified by 'Rm_123' with grant option;mysql >flush privileges;
