@zhangyy
2021-03-16T09:17:49.000000Z
字数 8025
阅读 503
ElasticSearch的水平扩容与缩容
ElasticSearch系列
一: ElasticSearch扩容
1.1 es 的扩容步骤
垂直扩容:纵向扩容,买更好的服务器,增加CPU,内存,在一台机器上面增加节点。1+1=2水平扩容:横向扩容,买更多的服务器,一台机器一个节点 9:9 ,11:11在线扩容1. 备份 数据2. 增加两台机器。192.168.100.50 、 192.168.100.51 一般扩容扩数据节点。3. 准备操作系统4. 做ssh 无秘登录5. 安装jdk 安装ES 软件6. 配置ES 参数7. 检查集群状态curl -XGET 'http://192.168.100.44:9200/_cat/health?pretty' -H 'Content-Type:application/json'保证集群是green 状态

8.停止外部数据写入9. 停止分片重新分布10. 启动新扩的节点。11. 检查节点状态12. 开启分片重新分布
二:es 的水平扩容
2.1 增加节点系统初始化:
cat /etc/hosts----192.168.100.41 rhel01.flyfish.cn192.168.100.42 rhel02.flyfish.cn192.168.100.43 rhel03.flyfish.cn192.168.100.44 rhel04.flyfish.cn192.168.100.45 rhel05.flyfish.cn192.168.100.46 rhel06.flyfish.cn192.168.100.47 rhel07.flyfish.cn192.168.100.48 rhel08.flyfish.cn192.168.100.49 rhel09.flyfish.cn192.168.100.50 rhel10.flyfish.cn192.168.100.51 rhel11.flyfish.cn----rhel10.flyfish.cn / rhel11.flyfish.cn 做为扩容节点
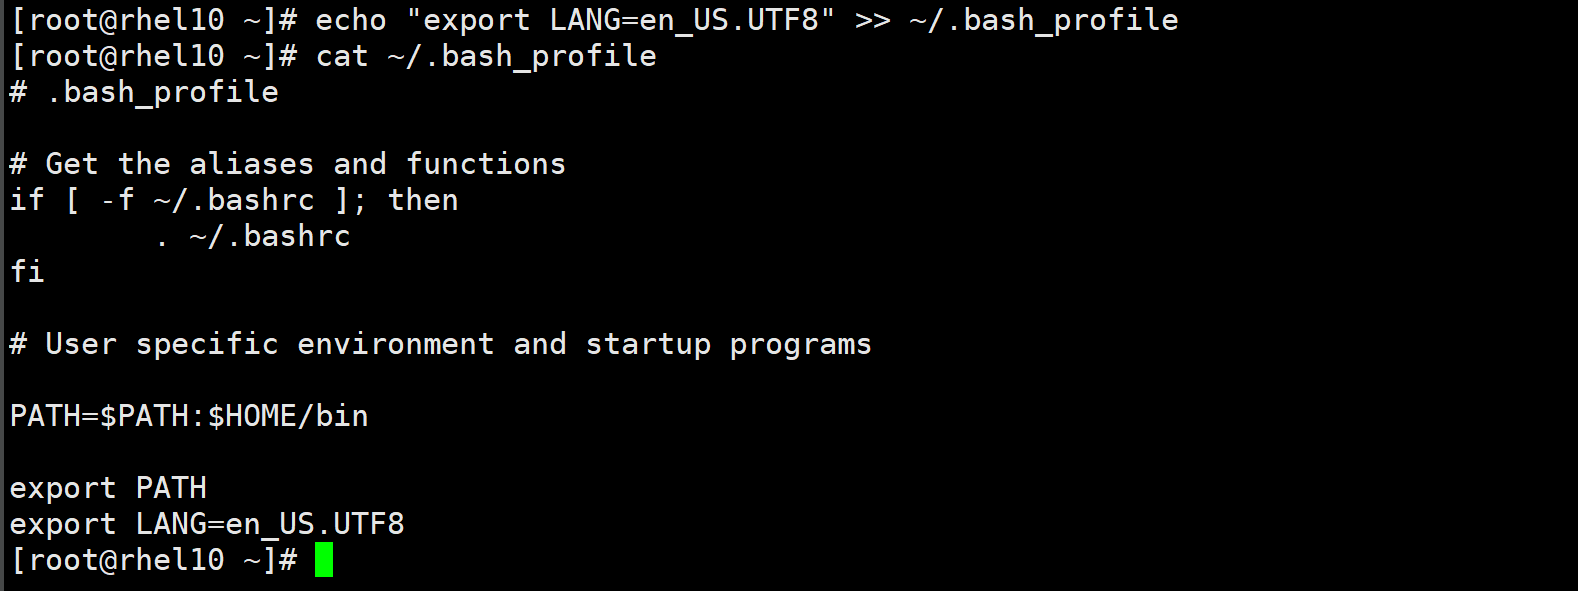
全部系统配置:系统语言:echo "export LANG=en_US.UTF8" >> ~/.bash_profilecat ~/.bash_profile---分区:pvcreate /dev/sdbvgcreate esdatavg /dev/sdblvcreate -n esdatalv -L 100000M esdatavgmkfs.xfs /dev/esdatavg/esdatalv---vi /etc/fstab---/dev/esdatavg/esdatalv /esdb xfs defaults 0 0---mkdir /esdbmount /esdb
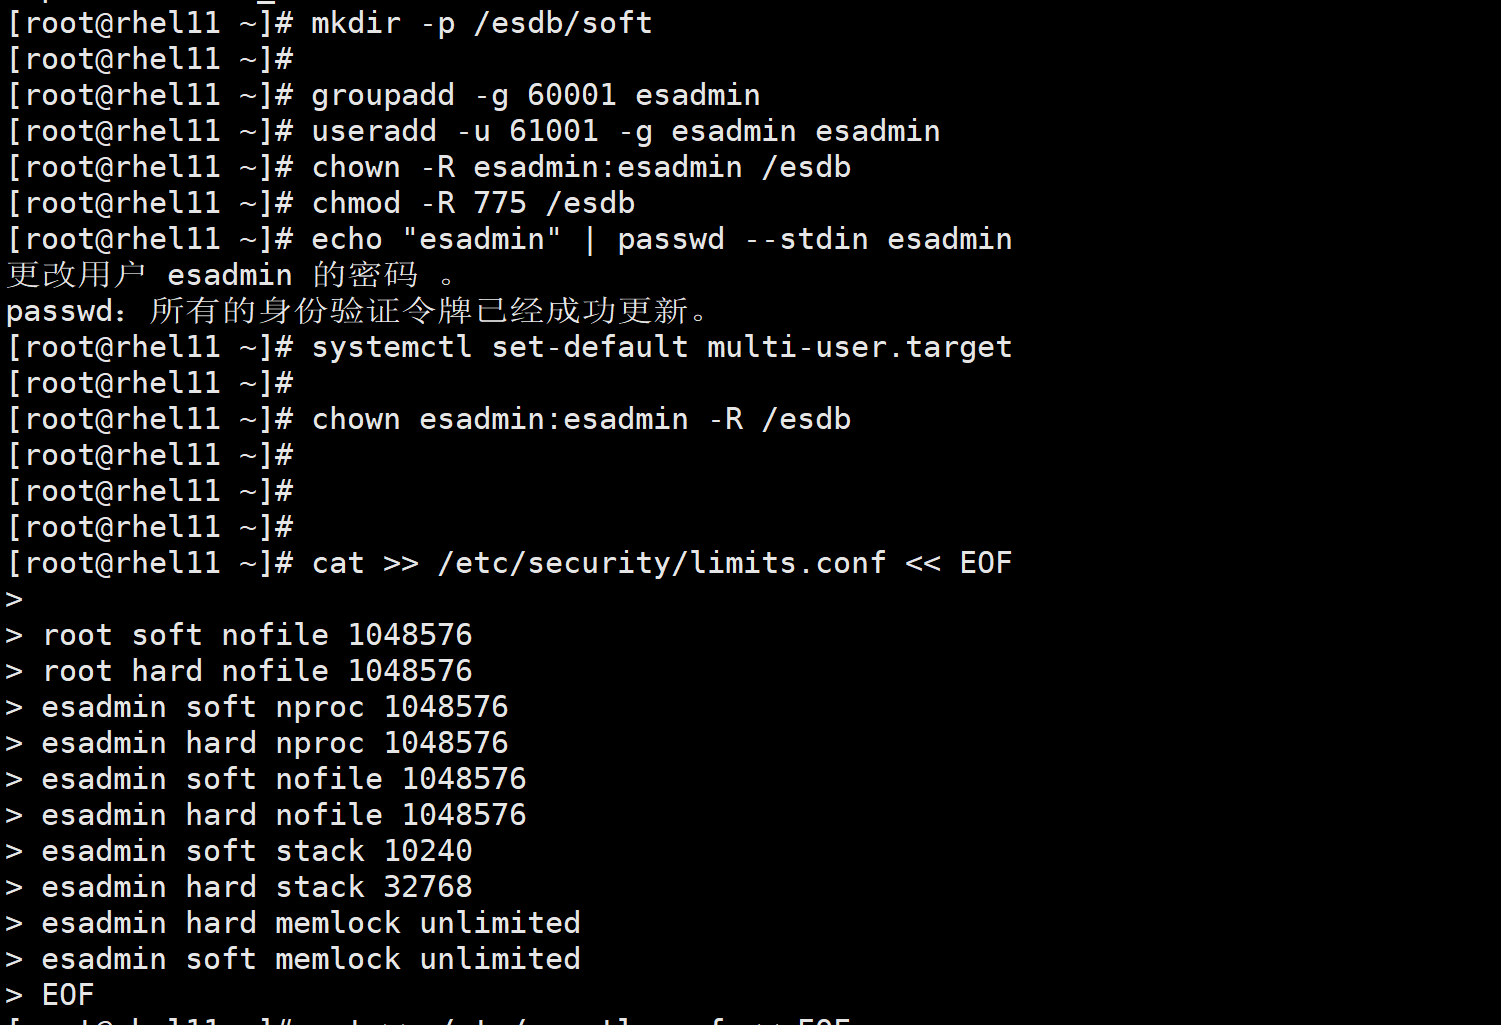
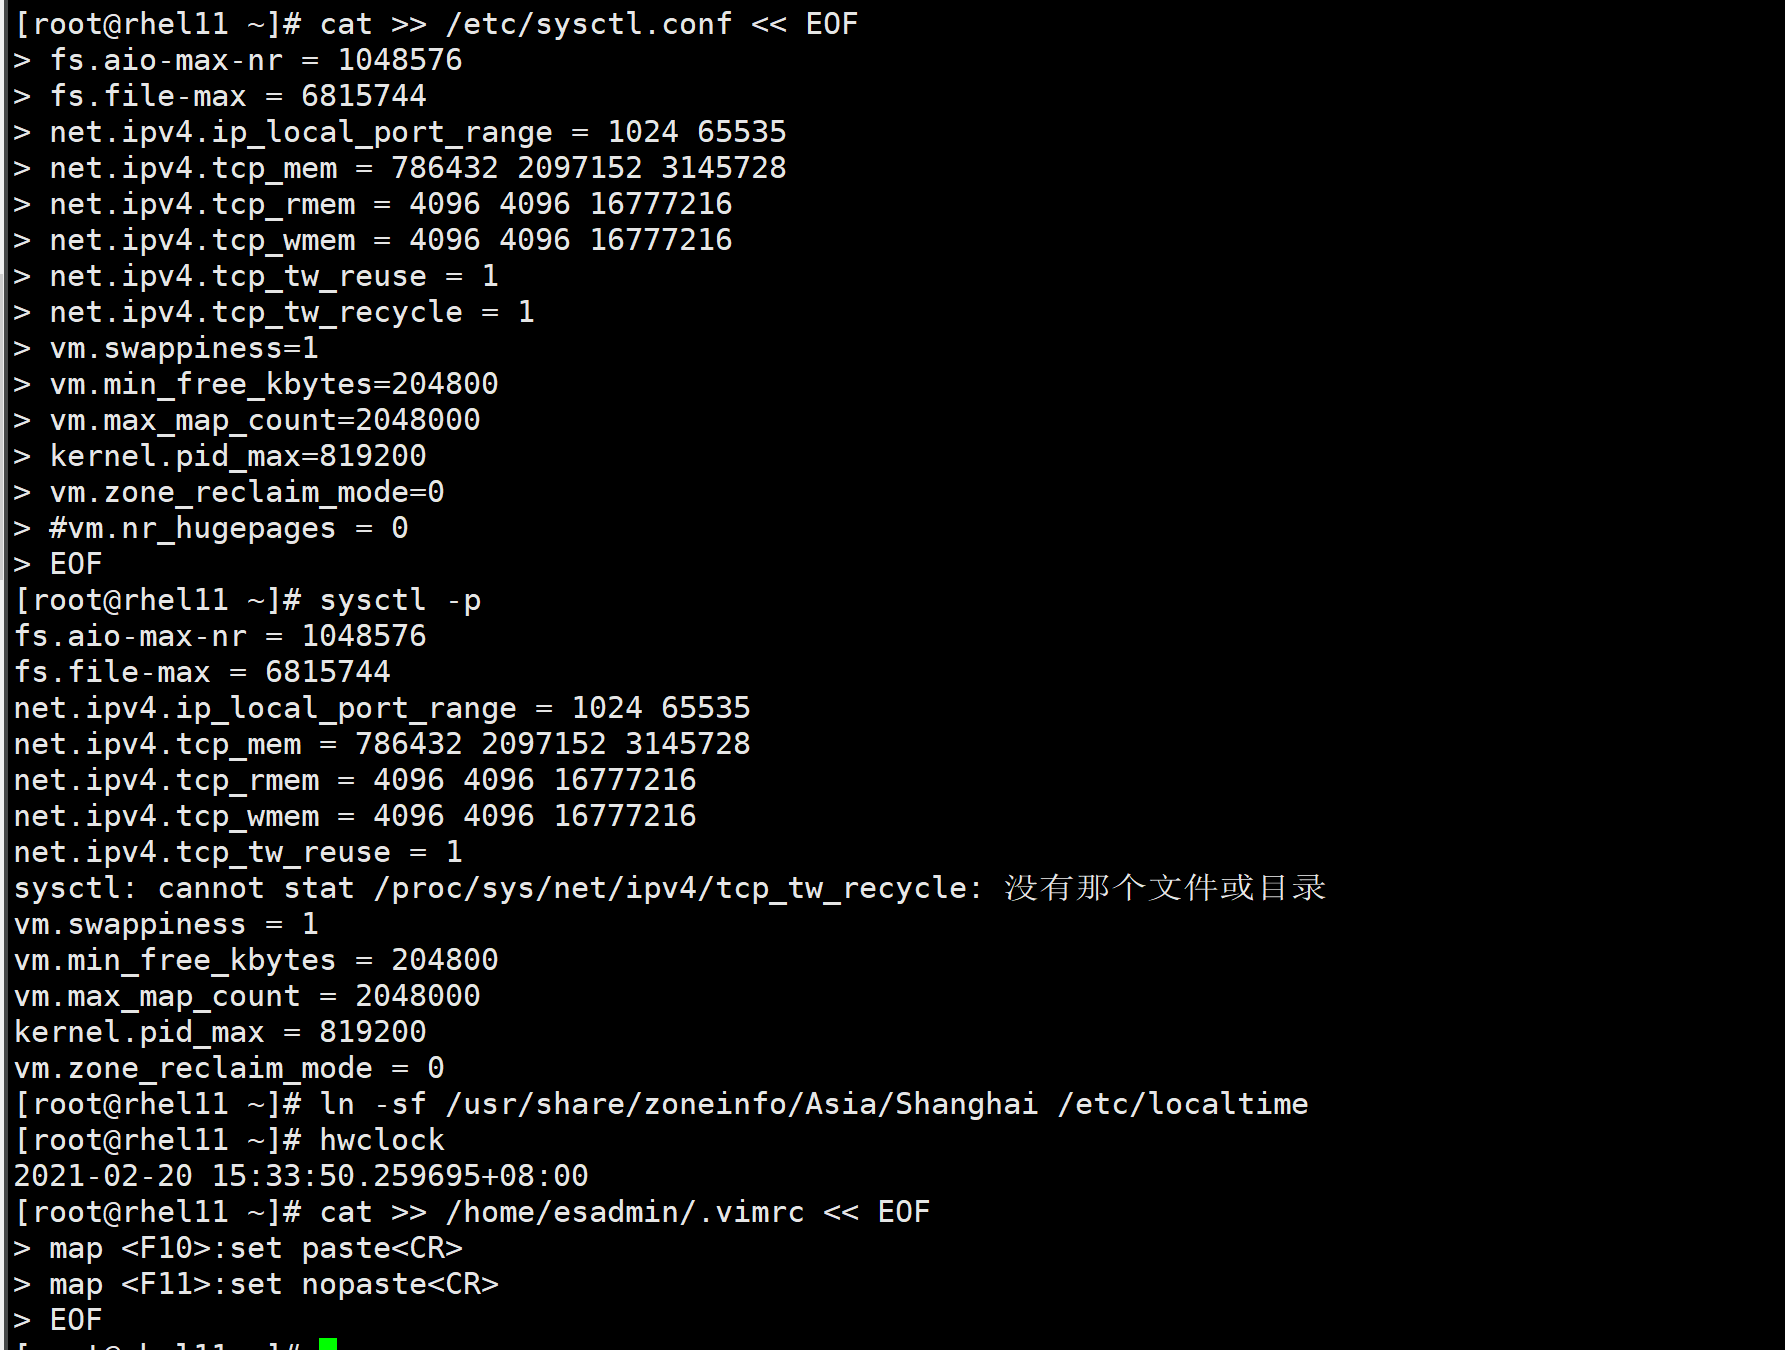
mkdir -p /esdb/softgroupadd -g 60001 esadminuseradd -u 61001 -g esadmin esadminchown -R esadmin:esadmin /esdbchmod -R 775 /esdbecho "esadmin" | passwd --stdin esadminsystemctl set-default multi-user.targetchown esadmin:esadmin -R /esdbcat >> /etc/security/limits.conf << EOFroot soft nofile 1048576root hard nofile 1048576esadmin soft nproc 1048576esadmin hard nproc 1048576esadmin soft nofile 1048576esadmin hard nofile 1048576esadmin soft stack 10240esadmin hard stack 32768esadmin hard memlock unlimitedesadmin soft memlock unlimitedEOF------cat >> /etc/sysctl.conf << EOFfs.aio-max-nr = 1048576fs.file-max = 6815744net.ipv4.ip_local_port_range = 1024 65535net.ipv4.tcp_mem = 786432 2097152 3145728net.ipv4.tcp_rmem = 4096 4096 16777216net.ipv4.tcp_wmem = 4096 4096 16777216net.ipv4.tcp_tw_reuse = 1net.ipv4.tcp_tw_recycle = 1vm.swappiness=1vm.min_free_kbytes=204800vm.max_map_count=2048000kernel.pid_max=819200vm.zone_reclaim_mode=0#vm.nr_hugepages = 0EOFsysctl -p
ln -sf /usr/share/zoneinfo/Asia/Shanghai /etc/localtimehwclockecho "SELINUX=disabled" > /etc/selinux/configecho "#SELINUXTYPE=targeted " >> /etc/selinux/configcat /etc/selinux/configsetenforce 0systemctl stop firewalld.servicesystemctl disable firewalld.servicecat >> /home/esadmin/.vimrc << EOFmap <F10>:set paste<CR>map <F11>:set nopaste<CR>EOFshutdown -r now
做所有主机的无密钥登录:rm -rf /home/esadmin/.ssh/*./fgssh -user esadmin -hosts "rhel01.flyfish.cn rhel02.flyfish.cn rhel03.flyfish.cn rhel04.flyfish.cn rhel05.flyfish.cn rhel06.flyfish.cn rhel07.flyfish.cn rhel08.flyfish.cnrhel09.flyfish.cn rhel10.flyfish.cn rhel11.flyfish.cn" -advanced -exverify -confirmchmod 600 /home/esadmin/.ssh/config

配置jdksu - esadmincd /esdb/scp -r /esdb/jdk-14.0.2 esadmin@rhel10.flyfish.cn:/esdb/scp -r /esdb/jdk-14.0.2 esadmin@rhel11.flyfish.cn:/esdb/
su - esadmincat >> ~/.bash_profile << EOFexport JAVA_HOME=/esdb/jdk-14.0.2export PATH=/esdb/jdk-14.0.2/bin:$PATHexport LANG=en_US.UTF8EOFsource ~/.bash_profilejava -version

同步esdb 安装目录scp -r /esdb/ esadmin@rhel10.flyfish.cn:/scp -r /esdb/ esadmin@rhel11.flyfish.cn:/rm -rf /esdb/esdata/esdata9200/*rm -rf /esdb/eslog/eslog9200/*
修改es的yamlrhel10.flyfish.cn:vim /esdb/esapp/esapp9200/config/elasticsearch.yml----cluster.name: flyfishescluster1node.name: 192.168.100.50network.host: 192.168.100.50http.port: 9200transport.tcp.port: 9300path.data: /esdb/esdata/esdata9200path.logs: /esdb/eslog/eslog9200node.master: falsenode.data: truecluster.remote.connect: falsehttp.cors.enabled: truehttp.cors.allow-origin: "*"bootstrap.memory_lock: truebootstrap.system_call_filter: falsecluster.initial_master_nodes: ["192.168.100.44:9300","192.168.100.45:9300","192.168.100.46:9300"]discovery.seed_hosts: ["192.168.100.44:9300", "192.168.100.45:9300", "192.168.100.46:9300"]discovery.zen.fd.ping_timeout: 60sdiscovery.zen.fd.ping_retries: 5----rhel11.flyfish.cn:vim /esdb/esapp/esapp9200/config/elasticsearch.yml----cluster.name: flyfishescluster1node.name: 192.168.100.51network.host: 192.168.100.51http.port: 9200transport.tcp.port: 9300path.data: /esdb/esdata/esdata9200path.logs: /esdb/eslog/eslog9200node.master: falsenode.data: truecluster.remote.connect: falsehttp.cors.enabled: truehttp.cors.allow-origin: "*"bootstrap.memory_lock: truebootstrap.system_call_filter: falsecluster.initial_master_nodes: ["192.168.100.44:9300","192.168.100.45:9300","192.168.100.46:9300"]discovery.seed_hosts: ["192.168.100.44:9300", "192.168.100.45:9300", "192.168.100.46:9300"]discovery.zen.fd.ping_timeout: 60sdiscovery.zen.fd.ping_retries: 5----
curl -XGET 'http://192.168.100.41:9200/_cat/health?pretty' -H 'Content-Type:application/json'
curl 'http://192.168.100.41:9200/_cat/shards?v'curl '192.168.100.44:9200/_cat/nodes?v'


curl -XPUT http://192.168.100.44:9200/_cluster/settings -H 'Content-Type:application/json' -d'{"transient":{"cluster.routing.allocation.enable":"none"}}'

启动增加的节点:rhel10.flyfish.cn:/esdb/esapp/esapp9200/bin/elasticsearchrhel11.flyfish.cn:/esdb/esapp/esapp9200/bin/elasticsearch

后台启动:/esdb/esapp/esapp9200/bin/elasticsearch -d >/dev/null 2>&1 &


查看节点状态:curl '192.168.100.44:9200/_cat/nodes?v'

打开节点的路由平衡数据:curl -XPUT http://192.168.100.44:9200/_cluster/settings -H 'Content-Type:application/json' -d'{"transient":{"cluster.routing.allocation.enable":"all"}}'

查看集群分片curl 'http://192.168.100.41:9200/_cat/shards?v'

集群状态:curl -XGET 'http://192.168.100.41:9200/_cat/health?pretty' -H 'Content-Type:application/json'

三: ES 集群的缩容
3.1 ES 的的缩容步骤
1. 监测集群状态curl -XGET 'http://192.168.100.41:9200/_cat/health?pretty' -H 'Content-Type:application/json'curl 'http://192.168.100.41:9200/_cat/shards?v'curl '192.168.100.44:9200/_cat/nodes?v'保证集群是green 状态
2. 暂停数据写入3. 有条件就备份数据4. 禁用集群分片平衡curl -XPUT http://192.168.100.44:9200/_cluster/settings -H 'Content-Type:application/json' -d'{"transient":{"cluster.routing.allocation.enable":"none"}}'5. 分片数据同步:curl http://192.168.100.41:9200/_flush/synced6. 收缩节点一个一个操作,不能同时关闭两个节点先关192.168.100.507. 开启集群分片平衡curl -XPUT http://192.168.100.44:9200/_cluster/settings -H 'Content-Type:application/json' -d'{"transient":{"cluster.routing.allocation.enable":"all"}}'8 查看集群状态:curl -XGET 'http://192.168.100.41:9200/_cat/health?pretty' -H 'Content-Type:application/json'curl 'http://192.168.100.41:9200/_cat/shards?v'curl '192.168.100.44:9200/_cat/nodes?v'保证集群是green 状态9.继续收缩其他节点。
第二种:排除集群节点方法:PUT _cluster/settings{"transient" : {"cluster.routing.allocation.exclude._ip" : "192.168.100.50"}}
下降:rhel10.flyfish.cn先检查集群状态:curl -XGET 'http://192.168.100.41:9200/_cat/health?pretty' -H 'Content-Type:application/json'curl 'http://192.168.100.41:9200/_cat/shards?v'curl '192.168.100.44:9200/_cat/nodes?v'
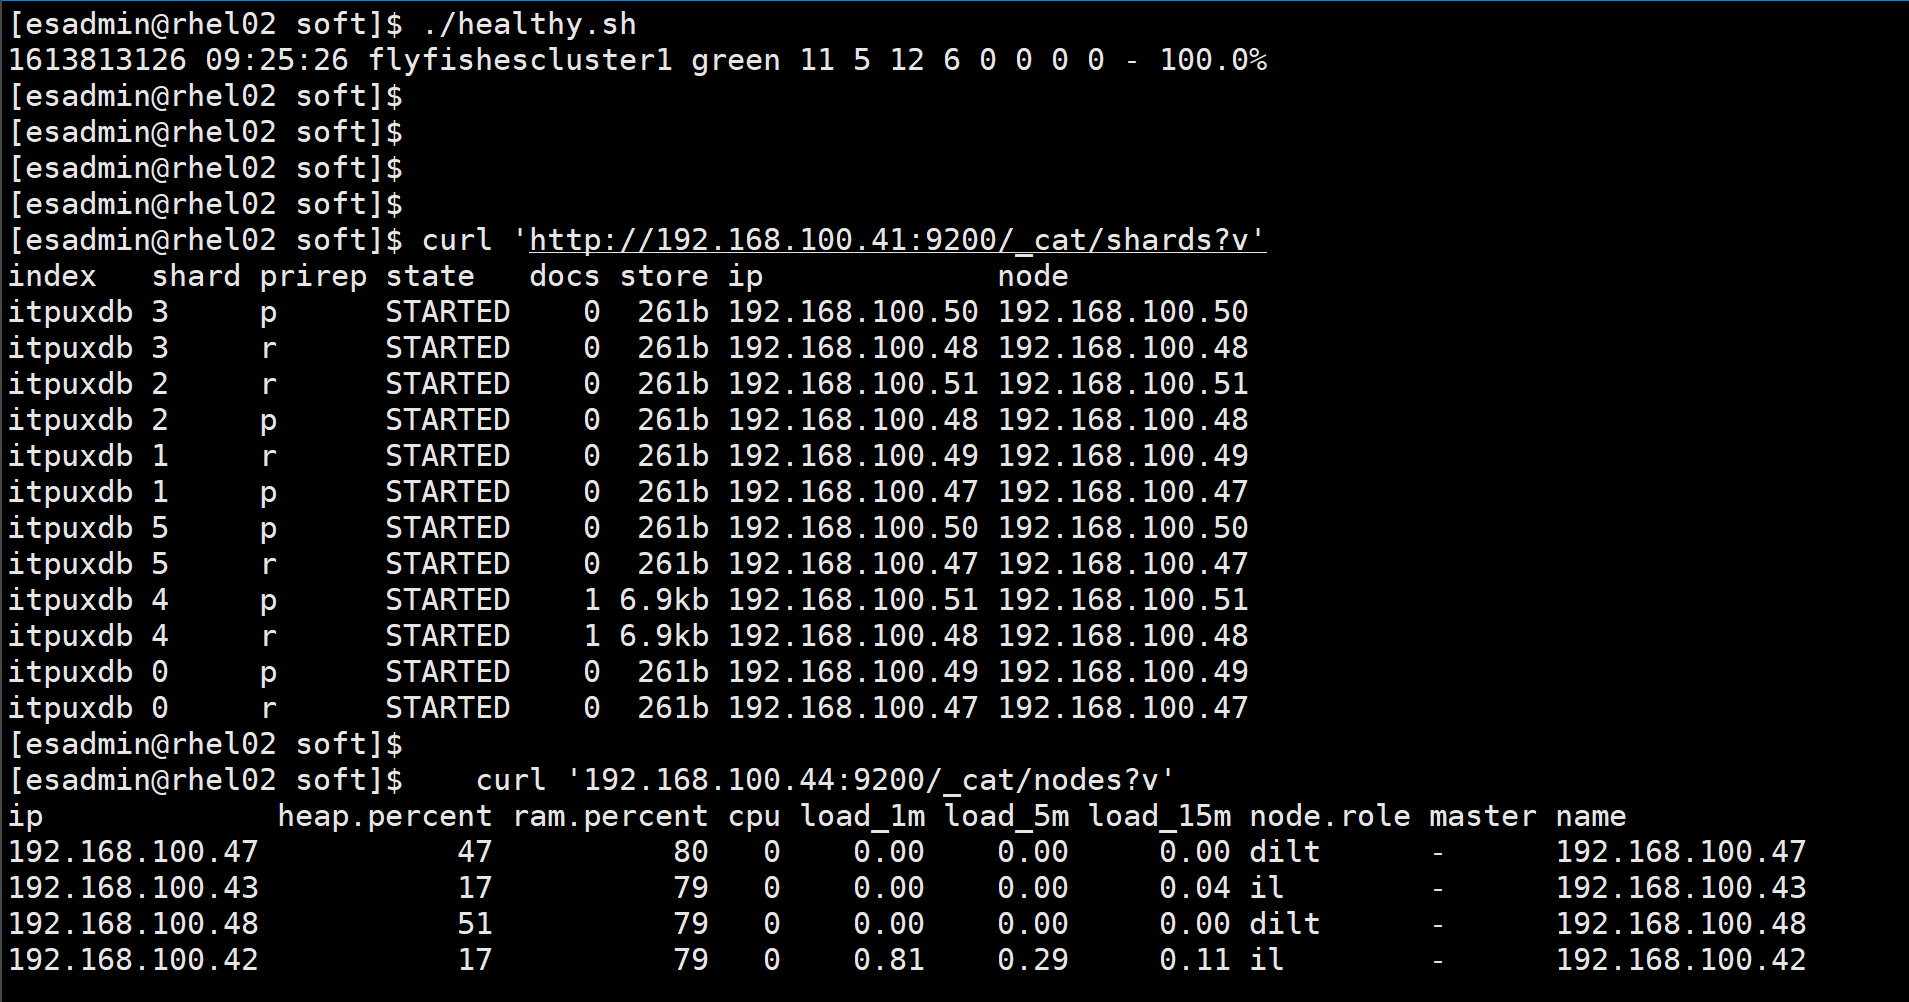
禁用数据平衡curl -XPUT http://192.168.100.44:9200/_cluster/settings -H 'Content-Type:application/json' -d'{"transient":{"cluster.routing.allocation.enable":"none"}}'

停掉 rhel10.flyfish.cn 上面的 eskill -9 2993
查看集群状态:

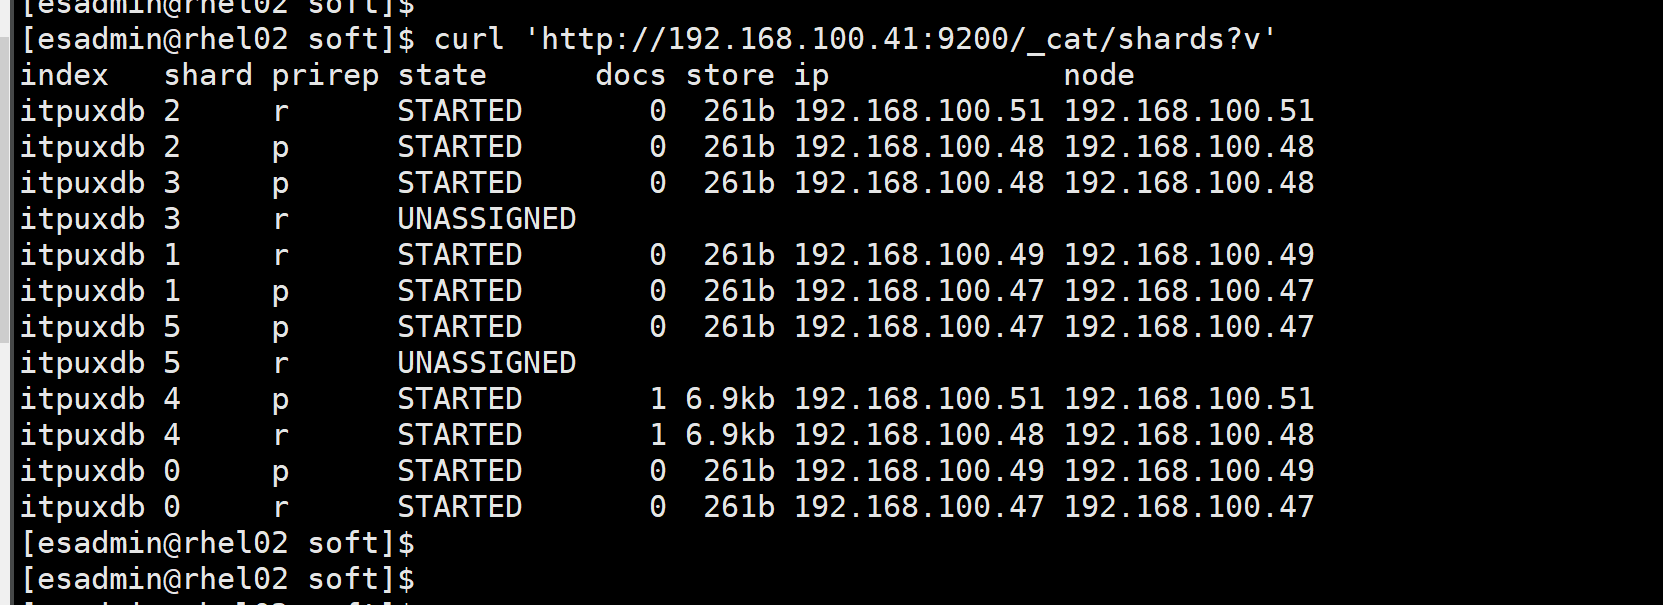
重新平衡:

查看集群状态
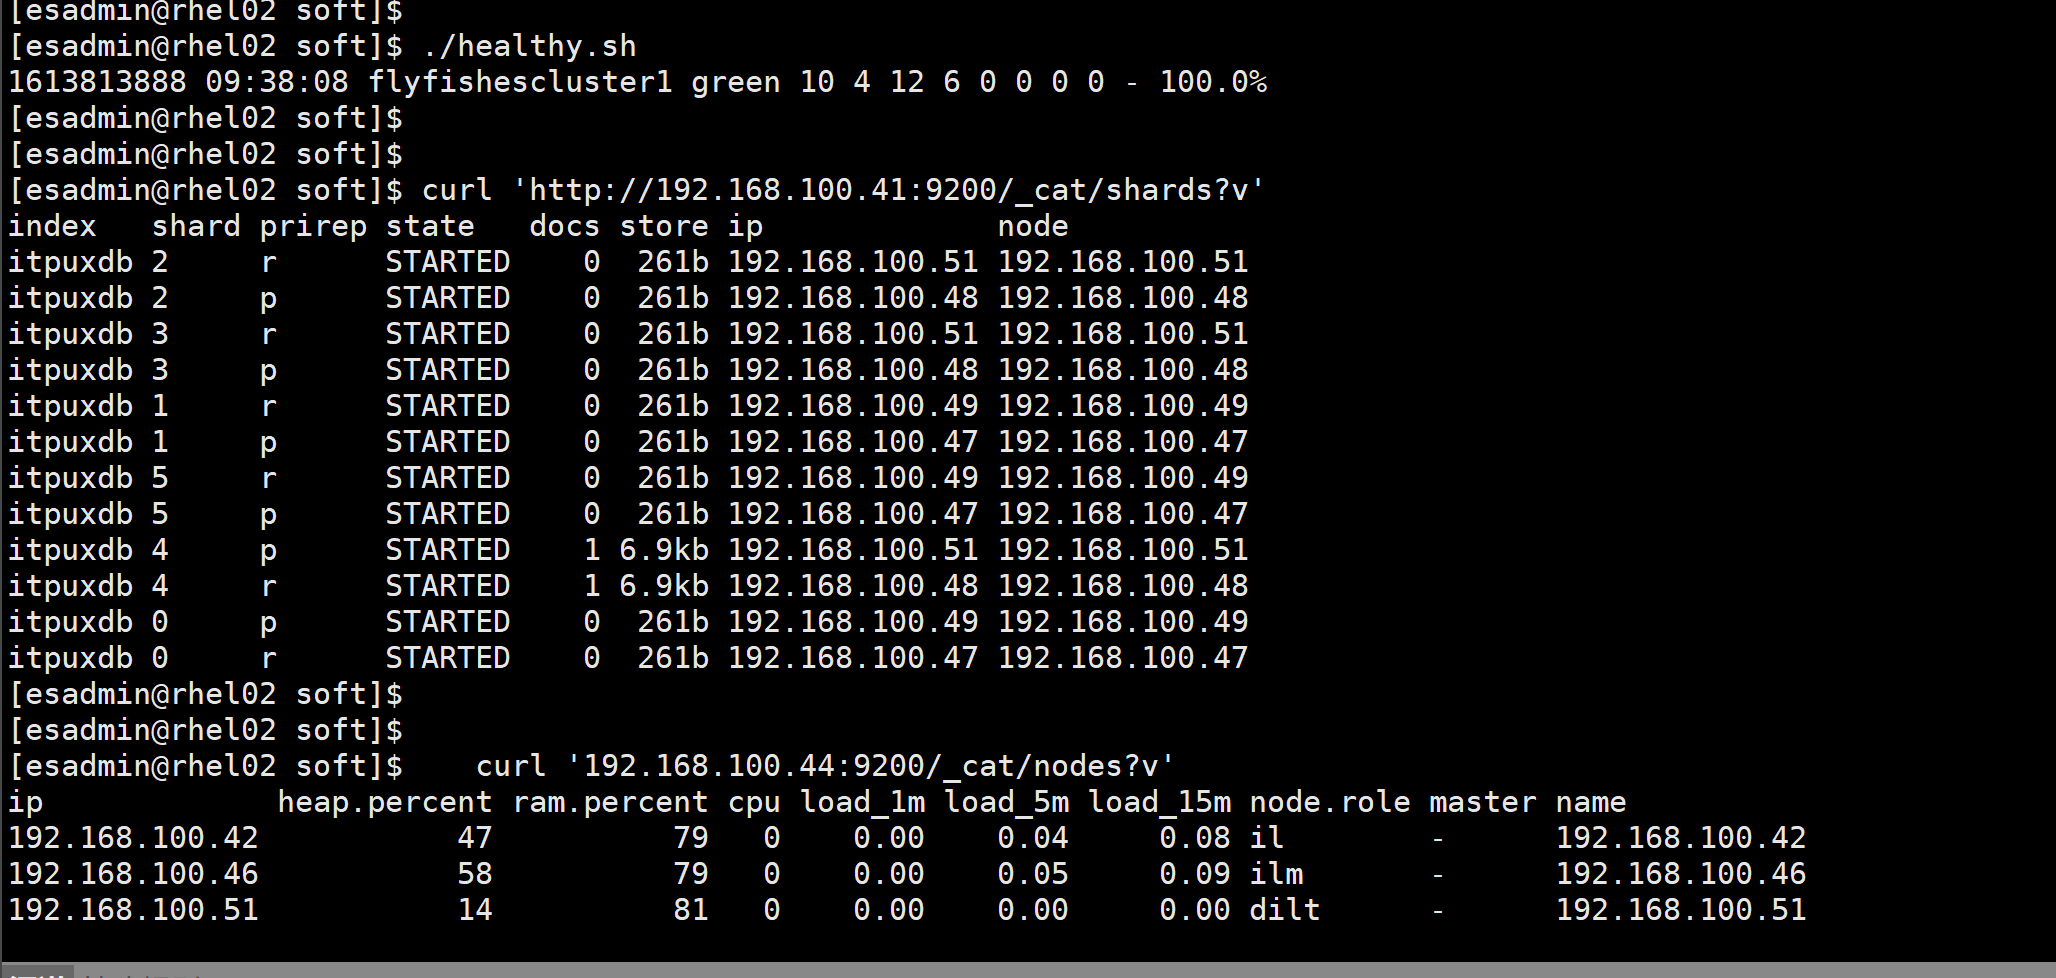

四: ES 的升级
ES7+ 升级很方便下载一个新版本copy 配置文件启动1.做好备份,2. 下载新的版本安装3. 集群停止分片平衡4. copy 配置文件启动5. 启动ES 分片平衡
停止数据平衡:curl -XPUT http://192.168.100.41:9200/_cluster/settings -H 'Content-Type:application/json' -d'{"transient":{"cluster.routing.allocation.enable":"none"}}'
停掉集群:./es-stop.sh

cd /esdb/soft/tar -zxvf elasticsearch-7.9.1-linux-x86_64.tar.gz---
备份原有所有主机:---cd /esdb/esappmv esapp9200/ esapp9200-7.9.0---


cd /esdb/esapp/mkdir esapp9200


cd /esdb/soft/elasticsearch-7.9.1cp -r * /esdb/esapp/esapp9200/scp -r /esdb/esapp/esapp9200/ esadmin@rhel02.flyfish.cn:/esdb/esapp/scp -r /esdb/esapp/esapp9200/ esadmin@rhel03.flyfish.cn:/esdb/esapp/

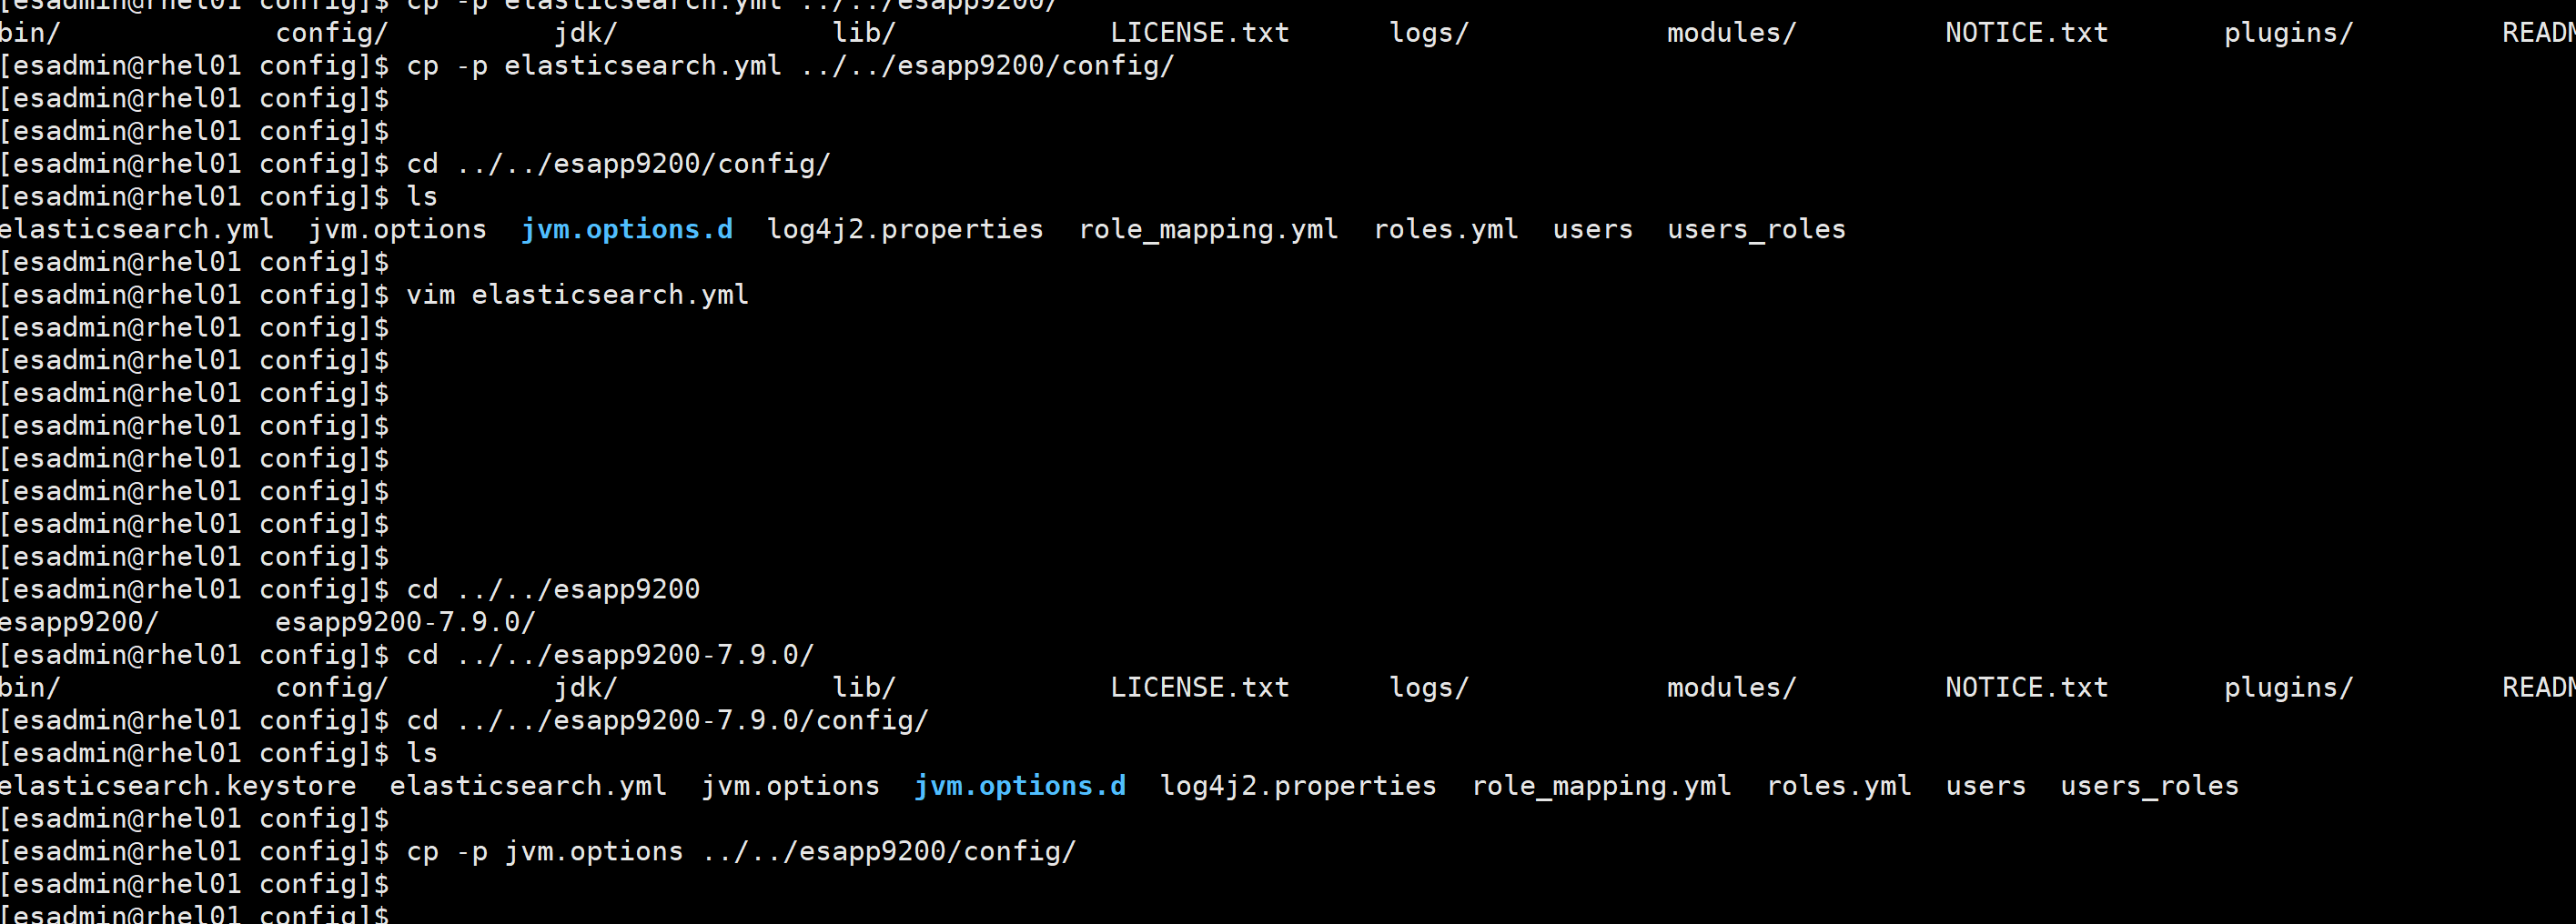
复制每台机器的配置文件覆盖cd /esdb/esapp/esapp9200-7.9.0/configcp -p jvm.options ../../esapp9200/config/cp -p elasticsearch.yml ../../esapp9200/config/
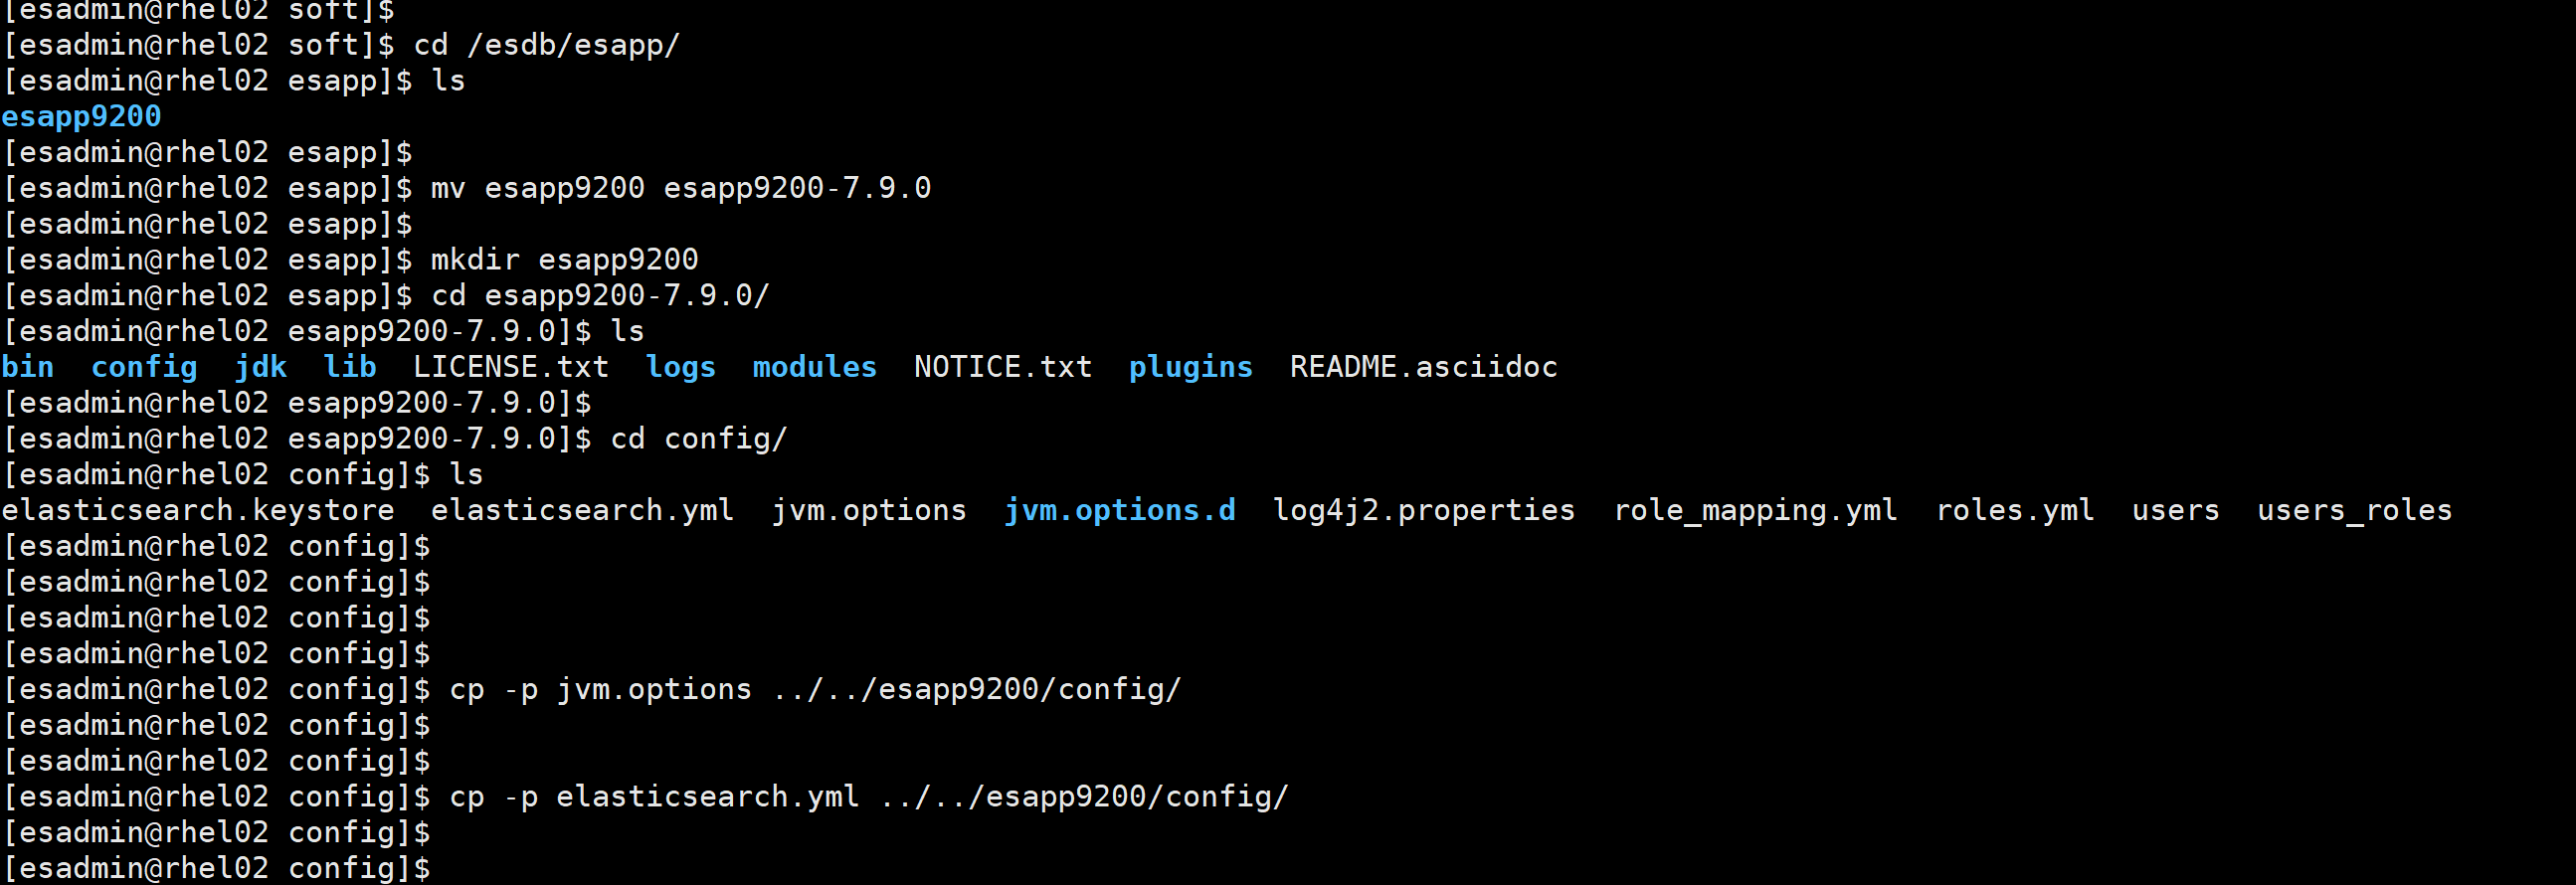
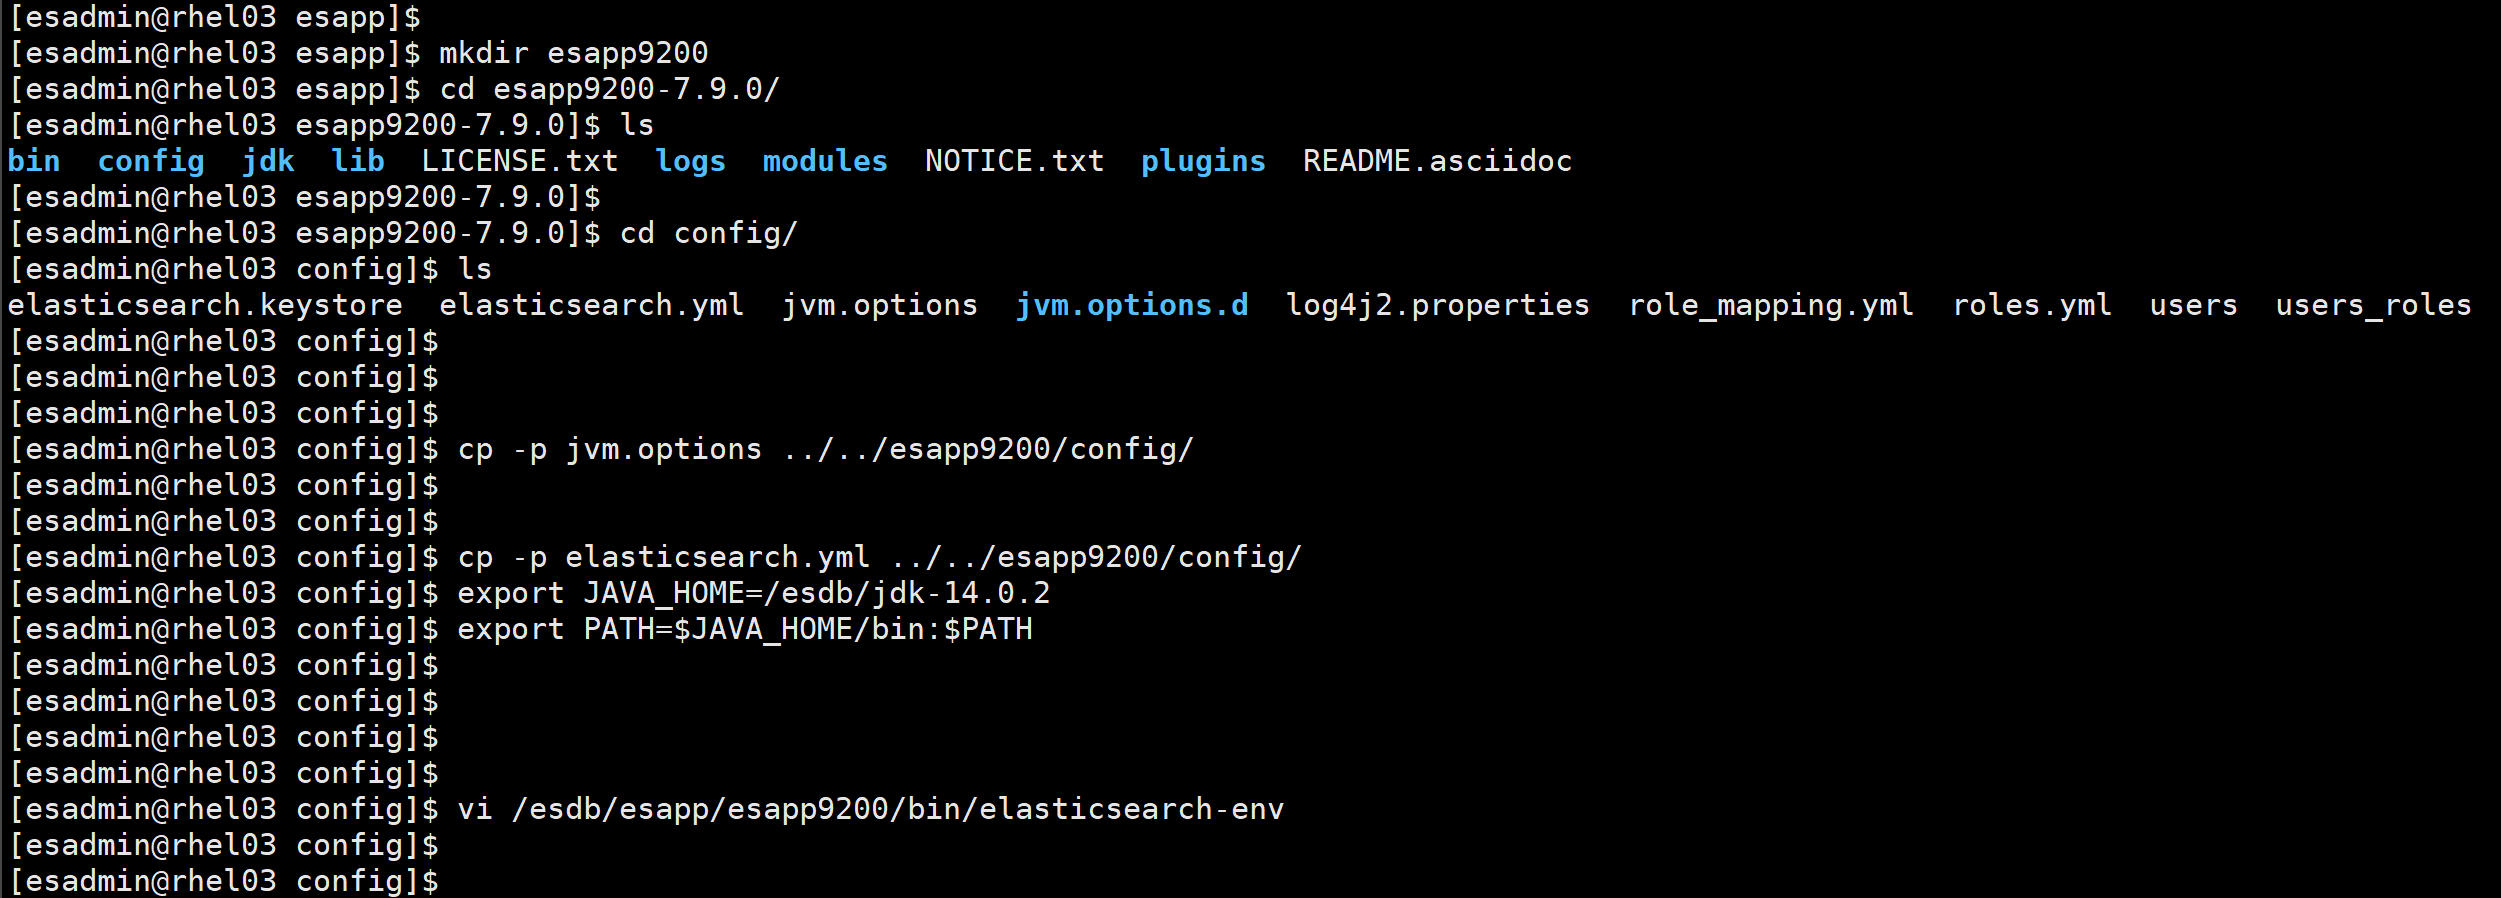
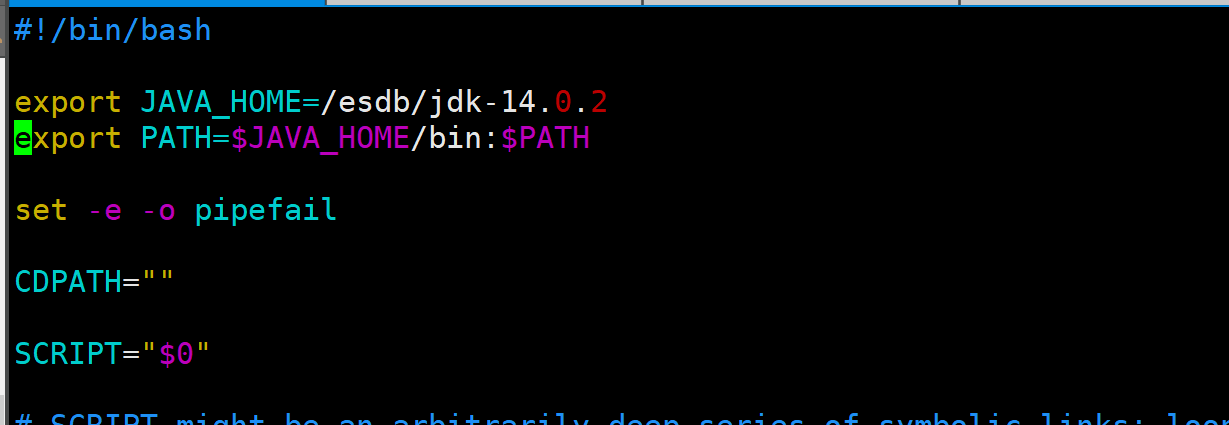
所有机器更改变量:vi /esdb/esapp/esapp9200/bin/elasticsearch-env---export JAVA_HOME=/esdb/jdk-14.0.2export PATH=$JAVA_HOME/bin:$PATH---
启动es:/esdb/esapp/esapp9200/bin/elasticsearch
查看es的装态:curl '192.168.100.41:9200/_cat/nodes?v'curl 'http://192.168.100.41:9200/_cat/shards?v'打开路由平衡:curl -XPUT http://192.168.100.41:9200/_cluster/settings -H 'Content-Type:application/json' -d'{"transient":{"cluster.routing.allocation.enable":"all"}}'
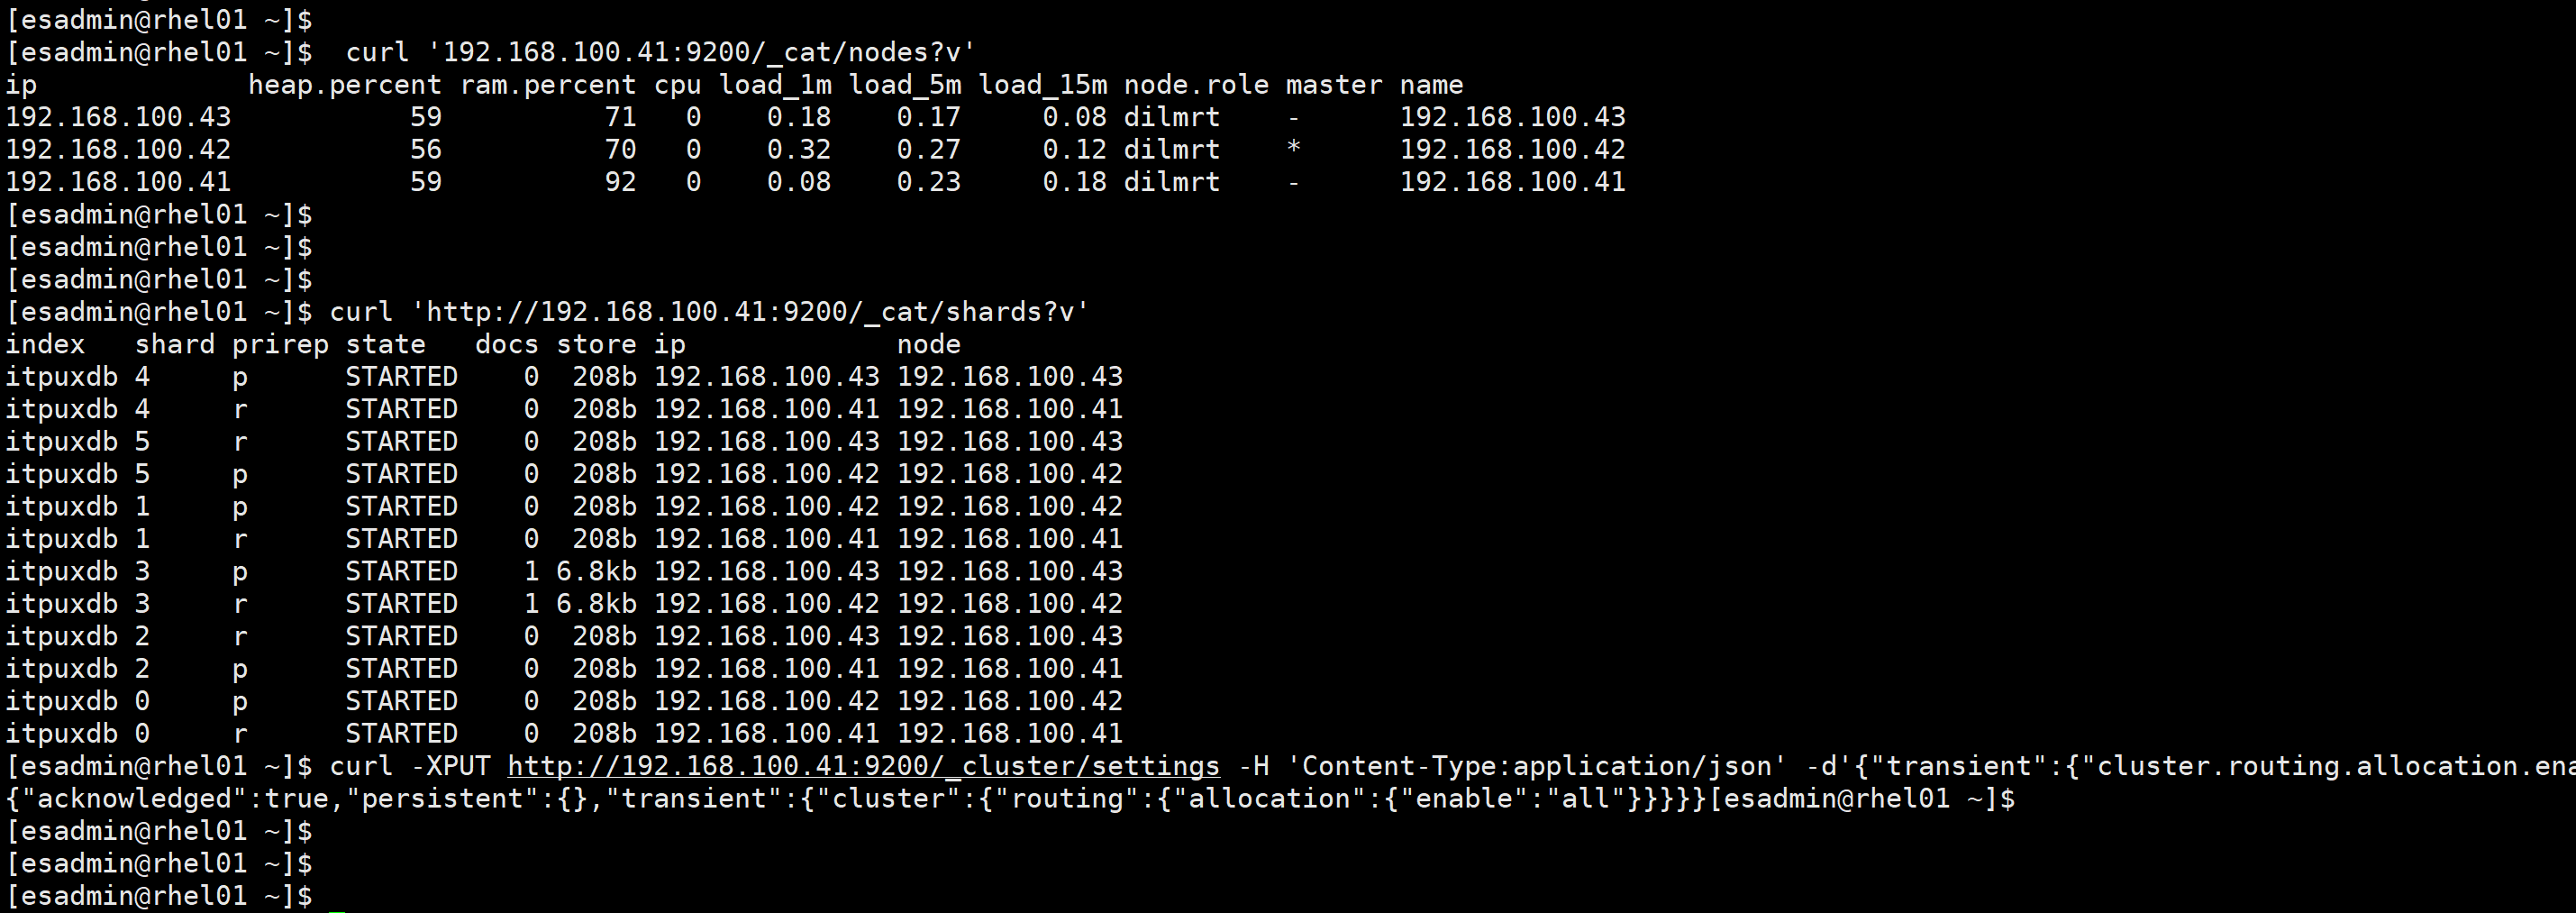
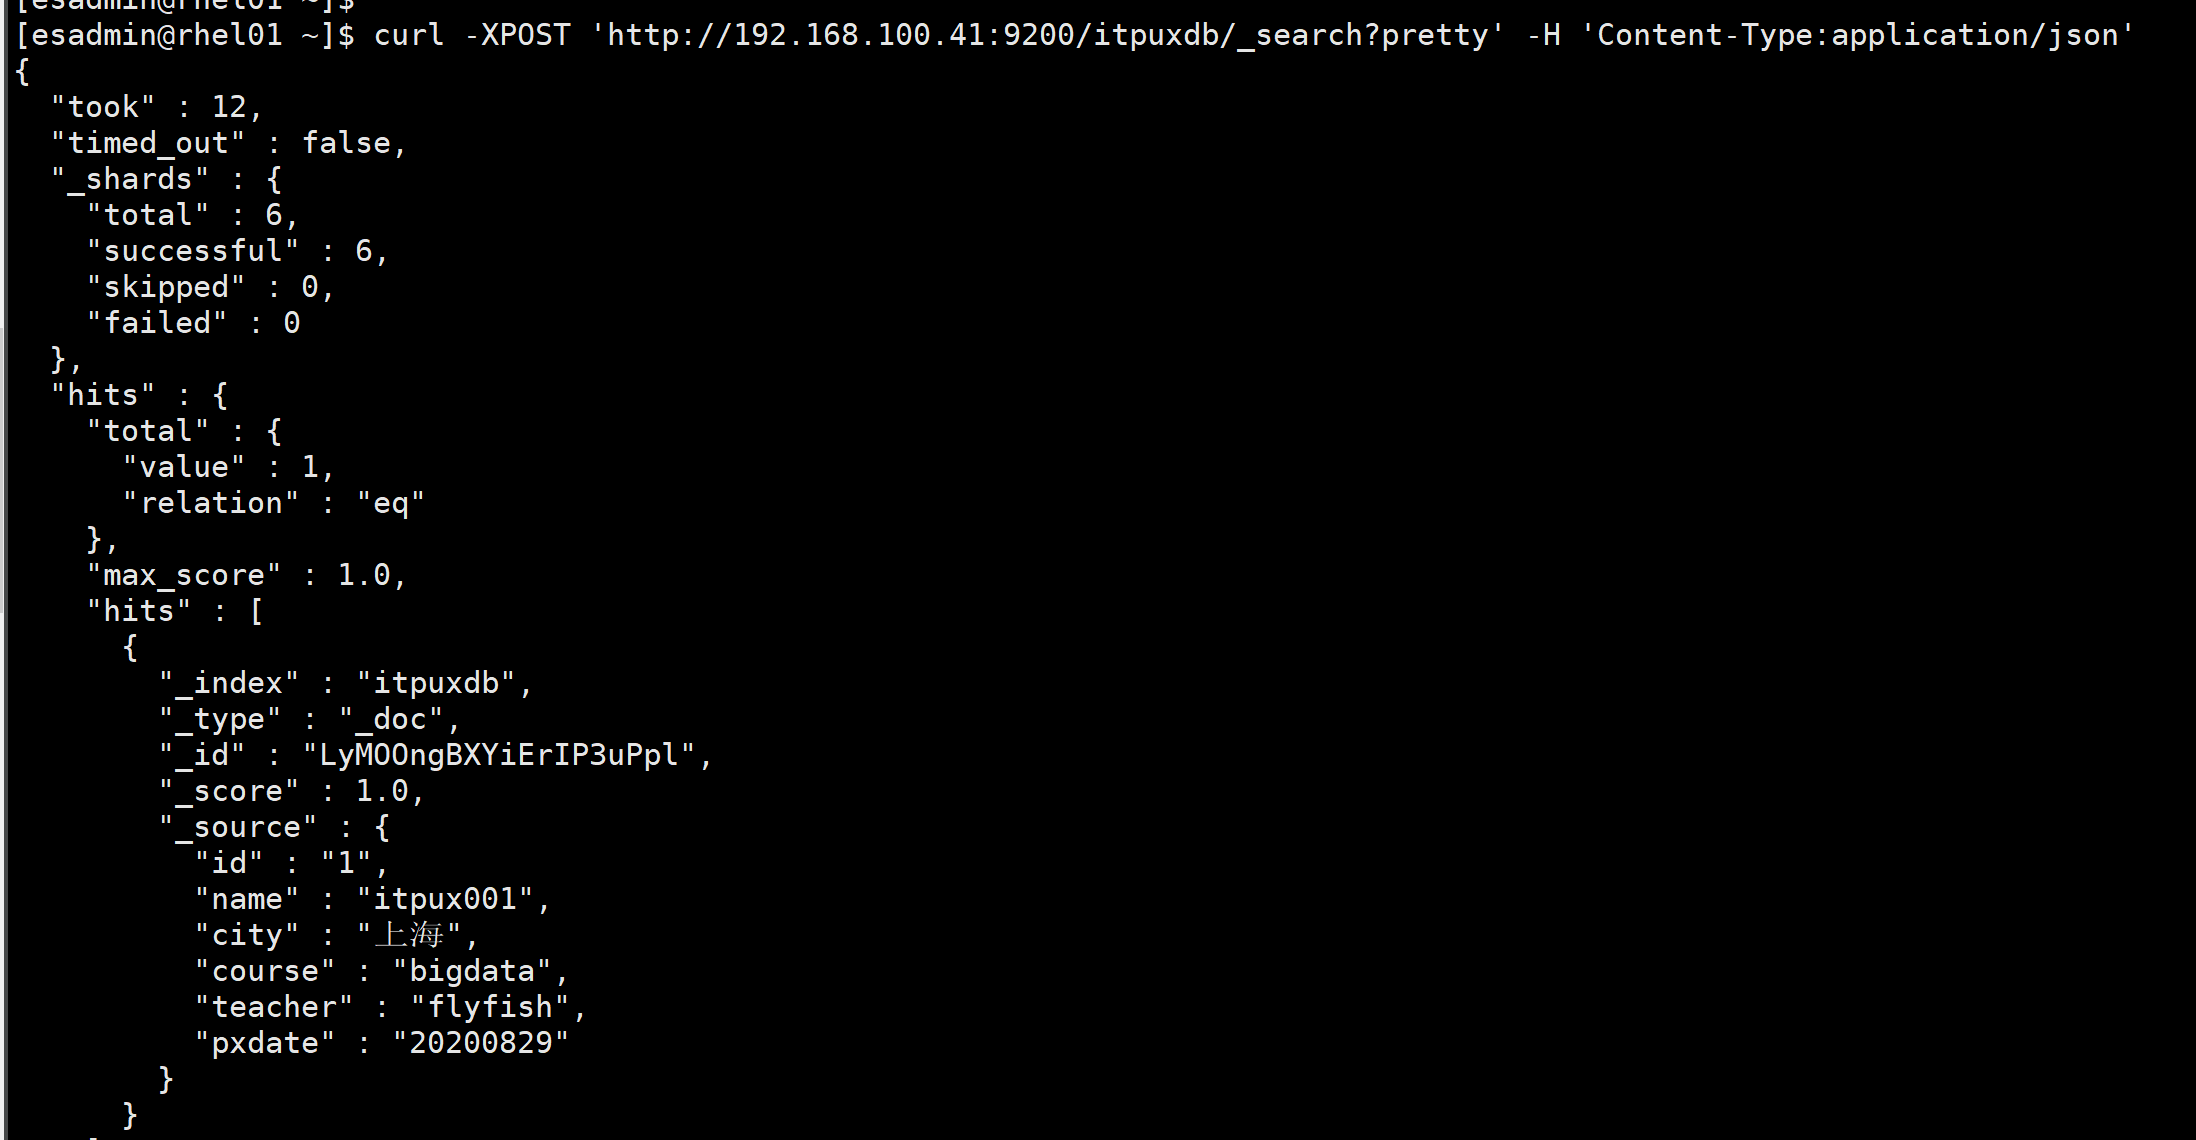
查看数据:curl -XPOST 'http://192.168.100.41:9200/itpuxdb/_search?pretty' -H 'Content-Type:application/json'
集群状态:curl http://192.168.100.41:9200/_cat/health?pretty -H 'Content-Type: application/json'

