@zhangyy
2021-05-26T08:35:42.000000Z
字数 4851
阅读 401
flume的集群部署
协作框架
一:flume 介绍:
1.1 flume 的介绍
Flume是Cloudera提供的一个高可用的,高可靠的,分布式的海量日志采集、聚合和传输的系统,Flume支持在日志系统中定制各类数据发送方,用于收集数据;同时,Flume提供对数据进行简单处理,并写到各种数据接受方(可定制)的能力。当前Flume有两个版本Flume 0.9X版本的统称Flume-og,Flume1.X版本的统称Flume-ng。由于Flume-ng经过重大重构,与Flume-og有很大不同,使用时请注意区分。
1.2 flume的单机模式
1.2.1 系统初始化
系统:Centos7.9x64主机名:cat /etc/hosts----192.168.100.11 node01.flyfish.cn192.168.100.12 node02.flyfish.cn192.168.100.13 node03.flyfish.cn192.168.100.14 node04.flyfish.cn192.168.100.15 node05.flyfish.cn192.168.100.16 node06.flyfish.cn192.168.100.17 node07.flyfish.cn192.168.100.18 node08.flyfish.cn----
1.2.2 安装flume1.9.0
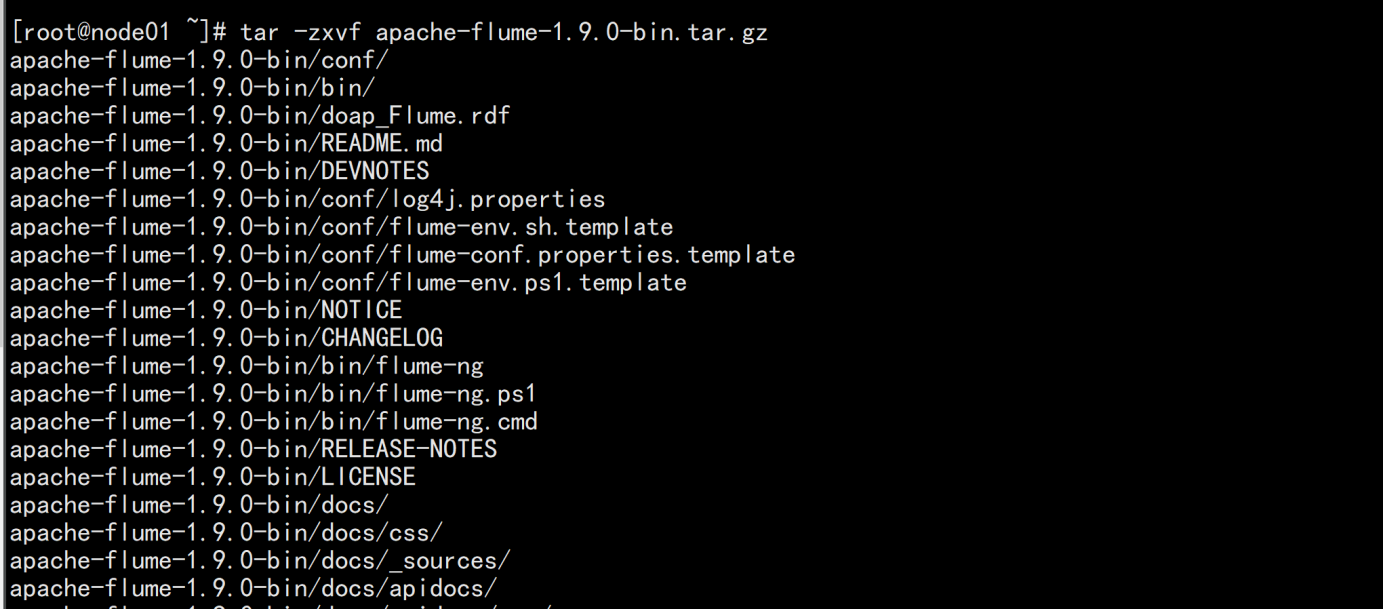
在node01.flyfish.cn 节点上面执行:上传 apache-flume-1.9.0-bin.tar.gz 的 包到 /opt/bigdata 解压tar -zxvf apache-flume-1.9.0-bin.tar.gzmv apache-flume-1.9.0-bin /opt/bigdata/flume

cd /opt/bigdata/flume/confcp -p flume-env.sh.template flume-env.sh

1.2.3 配置flume jdk所需环境变量
echo "JAVA_HOME=/opt/bigdata/jdk" >> flume-env.sh

vim /etc/profile-----加上flume的环境变量#### flumeexport FLUME_HOME=/opt/bigdata/flumePATH=$PATH:$HOME/bin:$FLUME_HOME/bin:$FLUME_HOME/sbin----source /etc/profileFlume-ng version

1.2.4 配置flume单机测试实例
cd /opt/bigdata/flume/confvim test-flume.properties---# example.conf: A single-node Flume configuration# Name the components on this agenta1.sources = r1a1.sinks = k1a1.channels = c1# Describe/configure the sourcea1.sources.r1.type = netcata1.sources.r1.bind = localhosta1.sources.r1.port = 44444# Describe the sinka1.sinks.k1.type = logger# Use a channel which buffers events in memorya1.channels.c1.type = memorya1.channels.c1.capacity = 1000a1.channels.c1.transactionCapacity = 100# Bind the source and sink to the channela1.sources.r1.channels = c1a1.sinks.k1.channel = c1----
1.2.5 测试实例
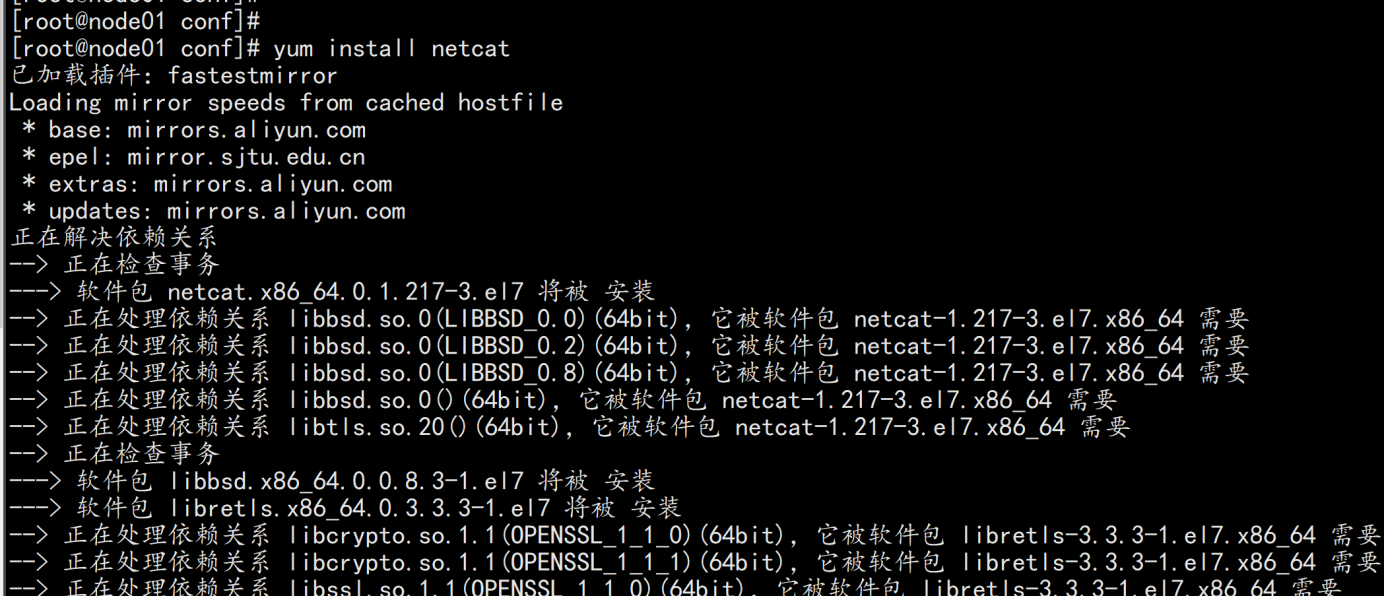
yum install -y telnet-* netcat-*

运行一个agent 实例cd /opt/bigdata/flume/bin/flume-ng agent --conf conf --conf-file conf/test-flume.properties --name a1 -Dflume.root.logger=INFO,console

测试:telnet localhost 44444
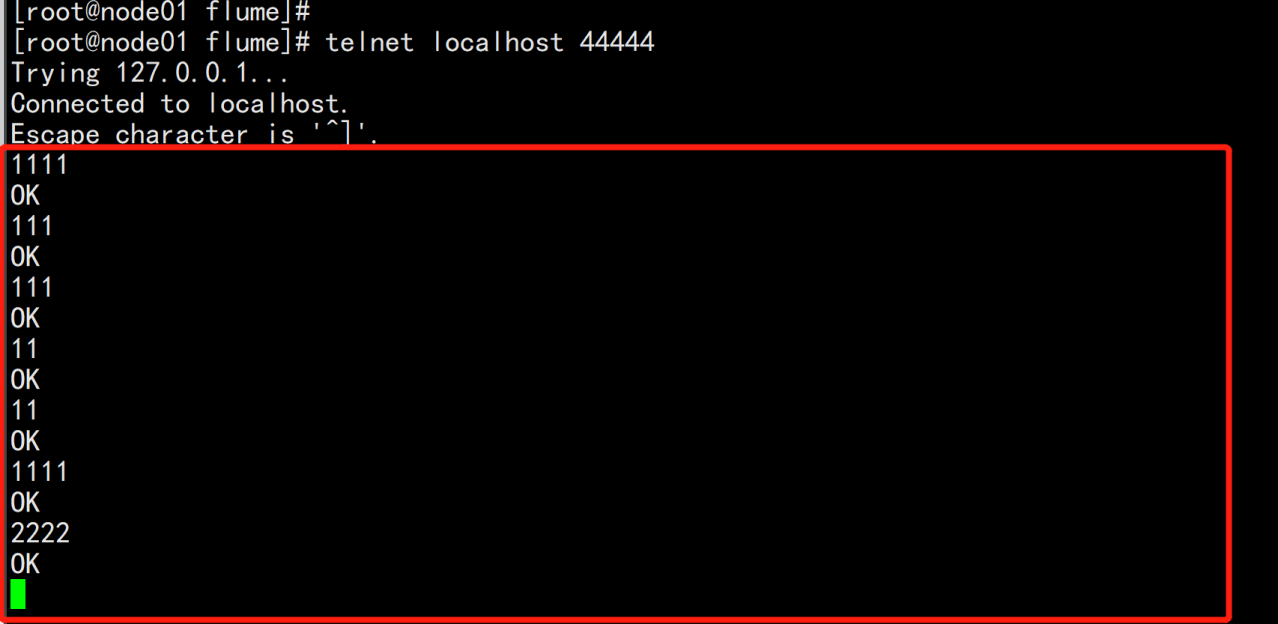
验证:

二:flume 多节点的集群搭建
2.1 flume 多节点架构
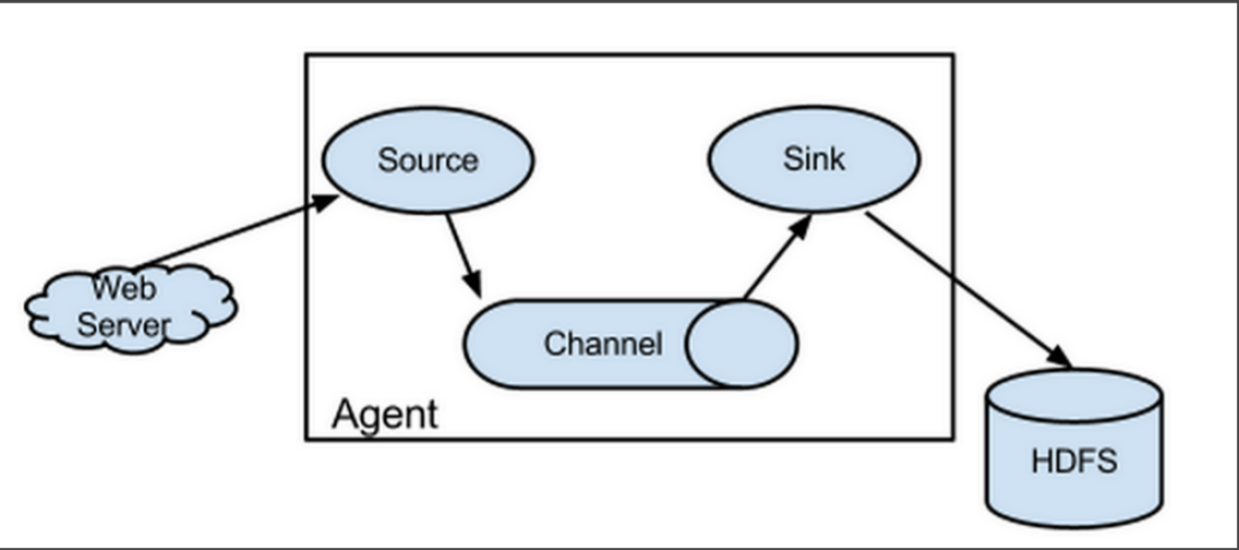
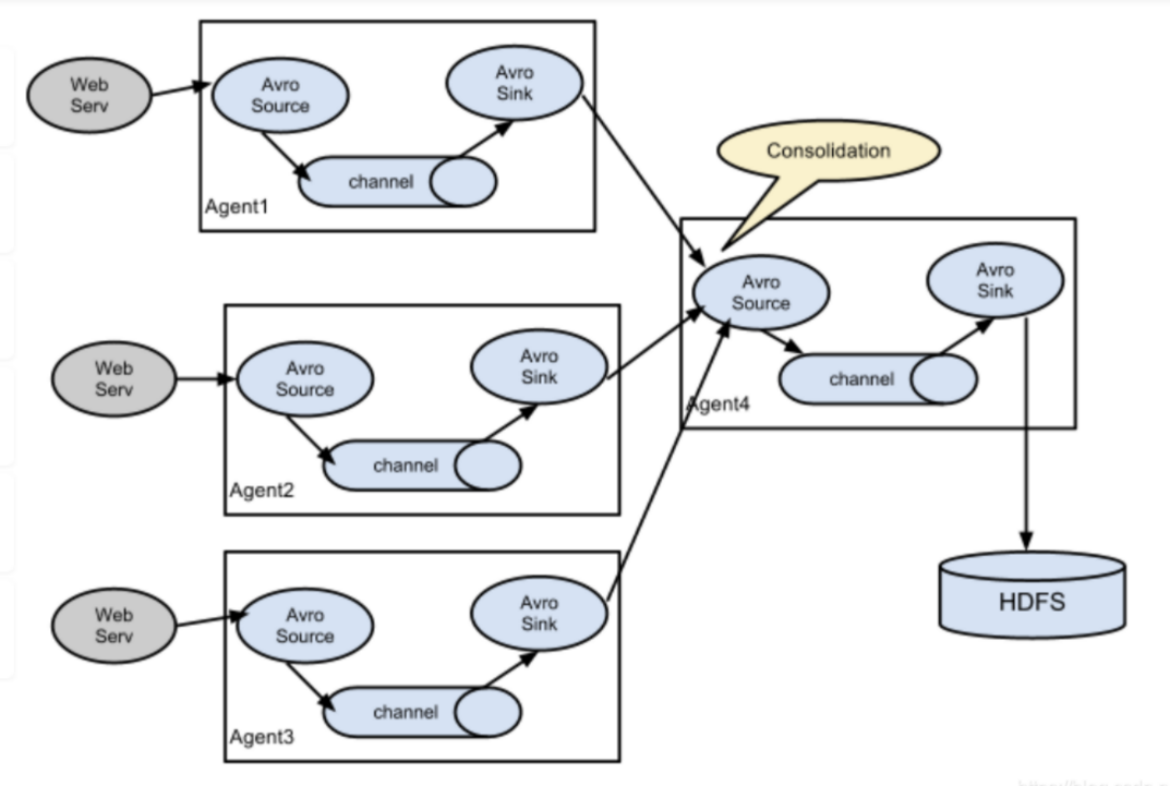
Flume-ng最大的改动就是不再有分工角色设置,所有的都是agent,可以彼此之间相连,多个agent连到一个agent,此agent也就相当于collector了,NG也支持负载均衡.
2.2 flume多节点的配置
由node02.flyfish.cn和node03.flyfish.cn收集日志信息,传给node01.flyfish.cn,再由node01.flyfish.cn上传到hdfs上
打包 node01.flyfish 节点的flumecd /opt/bigdata/tar -zcvf flume.tar.gz flumescp flume.tar.gz root@node02.flyfish.cn:/opt/bigdata/scp flume.tar.gz root@node03.flyfish.cn:/opt/bigdata/
2.3 配置flume slave节点
node02.flyfish.cn与node03.flyfish.cn 上面配置cd /opt/bigdata/tar -zxvf flume.tar.gzcd /opt/bigdata/flume/confvim slave.conf-----# 主要作用是监听目录中的新增数据,采集到数据之后,输出到avro (输出到agent)# 注意:Flume agent的运行,主要就是配置source channel sink# 下面的a1就是agent的代号,source叫r1 channel叫c1 sink叫k1a1.sources = r1a1.sinks = k1a1.channels = c1#具体定义sourcea1.sources.r1.type = spooldir#先创建此目录,保证里面空的a1.sources.r1.spoolDir = /opt/bigdata/flume/logs#对于sink的配置描述 使用avro日志做数据的消费a1.sinks.k1.type = avro# hostname是最终传给的主机名称或者ip地址a1.sinks.k1.hostname = node01.flyfish.cna1.sinks.k1.port = 44444#对于channel的配置描述 使用文件做数据的临时缓存 这种的安全性要高a1.channels.c1.type = filea1.channels.c1.checkpointDir = /opt/bigdata/flume/checkpointa1.channels.c1.dataDirs = /opt/bigdata/flume/data#通过channel c1将source r1和sink k1关联起来a1.sources.r1.channels = c1a1.sinks.k1.channel = c1
2.4 配置flume 的master 端
配置flume 的master 端:node01.flyfish.cncd /opt/bigdata/flume/confvim master.conf----# 获取slave1,2上的数据,聚合起来,传到hdfs上面# 注意:Flume agent的运行,主要就是配置source channel sink# 下面的a1就是agent的代号,source叫r1 channel叫c1 sink叫k1a1.sources = r1a1.sinks = k1a1.channels = c1#对于source的配置描述 监听avroa1.sources.r1.type = avro# hostname是最终传给的主机名称或者ip地址a1.sources.r1.bind = node01.flyfish.cna1.sources.r1.port = 44444#定义拦截器,为消息添加时间戳a1.sources.r1.interceptors = i1a1.sources.r1.interceptors.i1.type = org.apache.flume.interceptor.TimestampInterceptor$Builder#对于sink的配置描述 传递到hdfs上面a1.sinks.k1.type = hdfs#集群的nameservers名字#单节点的直接写:hdfs://192.168.100.11:8020#ns是hadoop集群名称 [这个地方前提已经搭好了hadoop2.7.7]a1.sinks.k1.hdfs.path = hdfs://192.168.100.11:8020/flume-test/%Y%m%da1.sinks.k1.hdfs.filePrefix = events-a1.sinks.k1.hdfs.fileType = DataStream#不按照条数生成文件a1.sinks.k1.hdfs.rollCount = 0#HDFS上的文件达到128M时生成一个文件a1.sinks.k1.hdfs.rollSize = 134217728#HDFS上的文件达到60秒生成一个文件a1.sinks.k1.hdfs.rollInterval = 60#对于channel的配置描述 使用内存缓冲区域做数据的临时缓存a1.channels.c1.type = memorya1.channels.c1.capacity = 1000a1.channels.c1.transactionCapacity = 100#通过channel c1将source r1和sink k1关联起来a1.sources.r1.channels = c1a1.sinks.k1.channel = c1----
2.5 启动测试
node01.flyfish.cn:cd /opt/bigdata/flume/mkdir logsnohup bin/flume-ng agent -n a1 -c conf -f conf/master.conf -Dflume.root.logger=INFO,console >> flume.logs &node02.flyfish.cn与node03.flyfish.cncd /opt/bigdata/flume/mkdir logsnohup bin/flume-ng agent -n a1 -c conf -f conf/slave.conf -Dflume.root.logger=INFO,console >> flume.logs &


node01.flyfish.cn:hdfs dfs -mkdir /flume-test/hdfs dfs -chmod 777 /flume-test/

node02.flyfish.cn:vim test-flume.txt-----1111122222333334444455555-----cp -p test-flume.txt /opt/bigdata/flume/logs


去hdfs的页面上查看
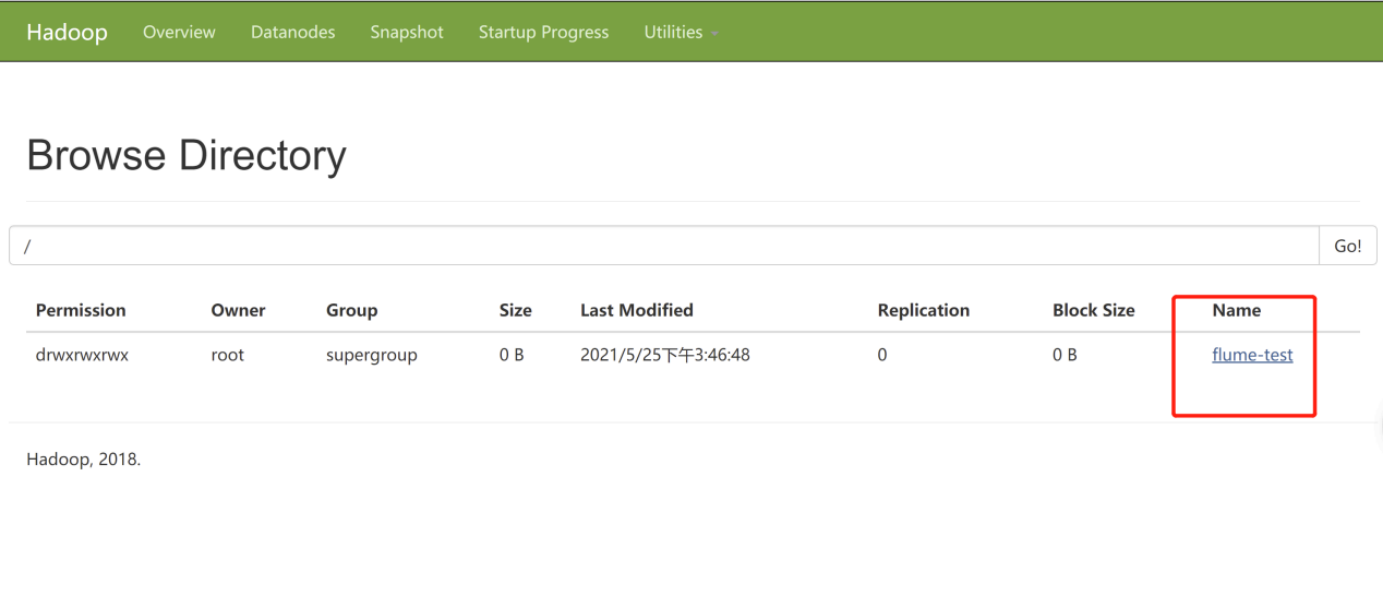
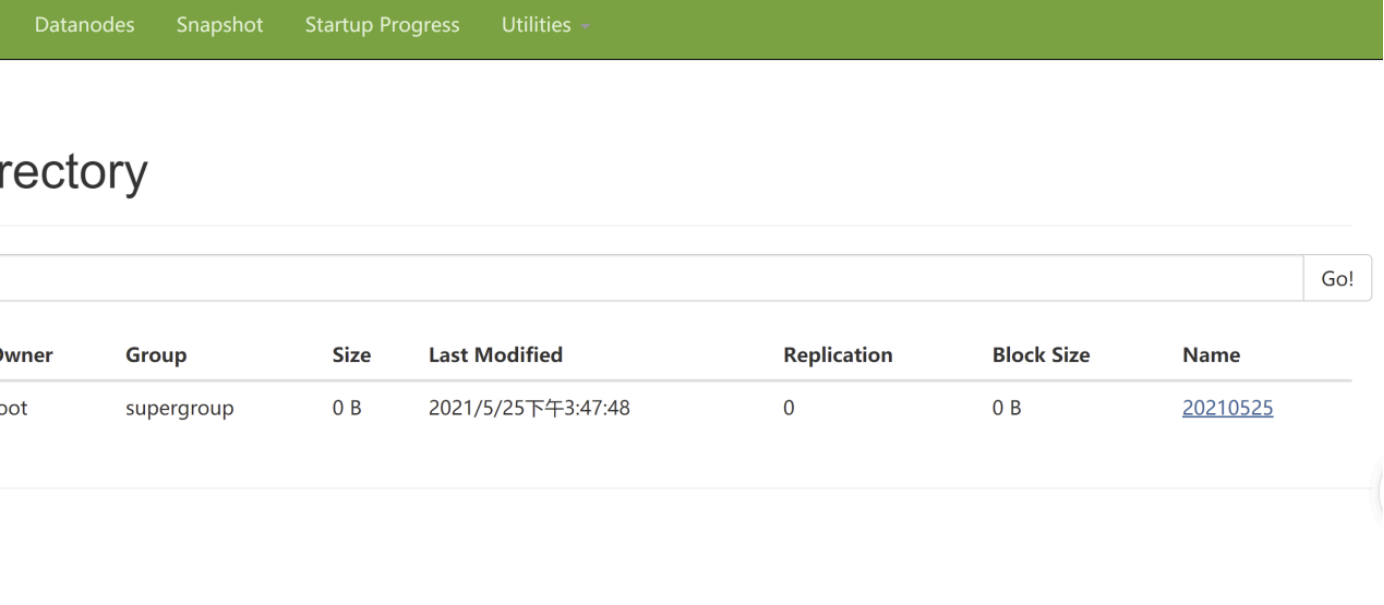
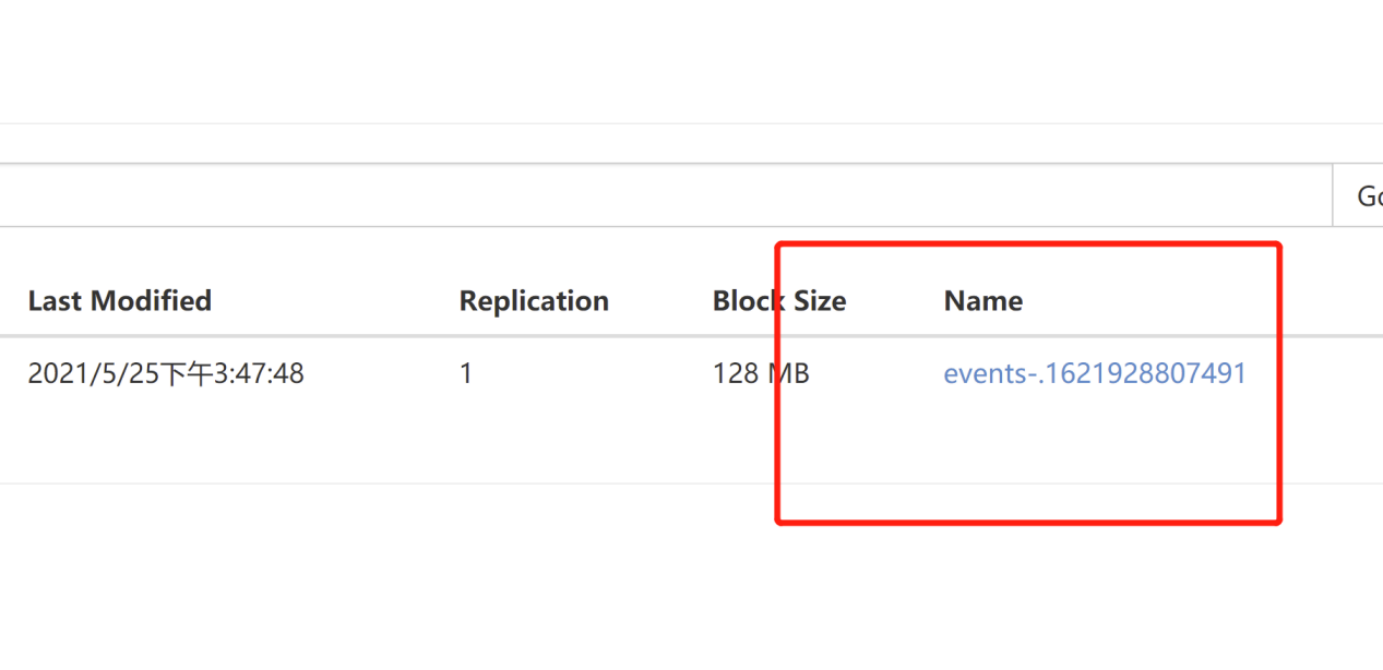
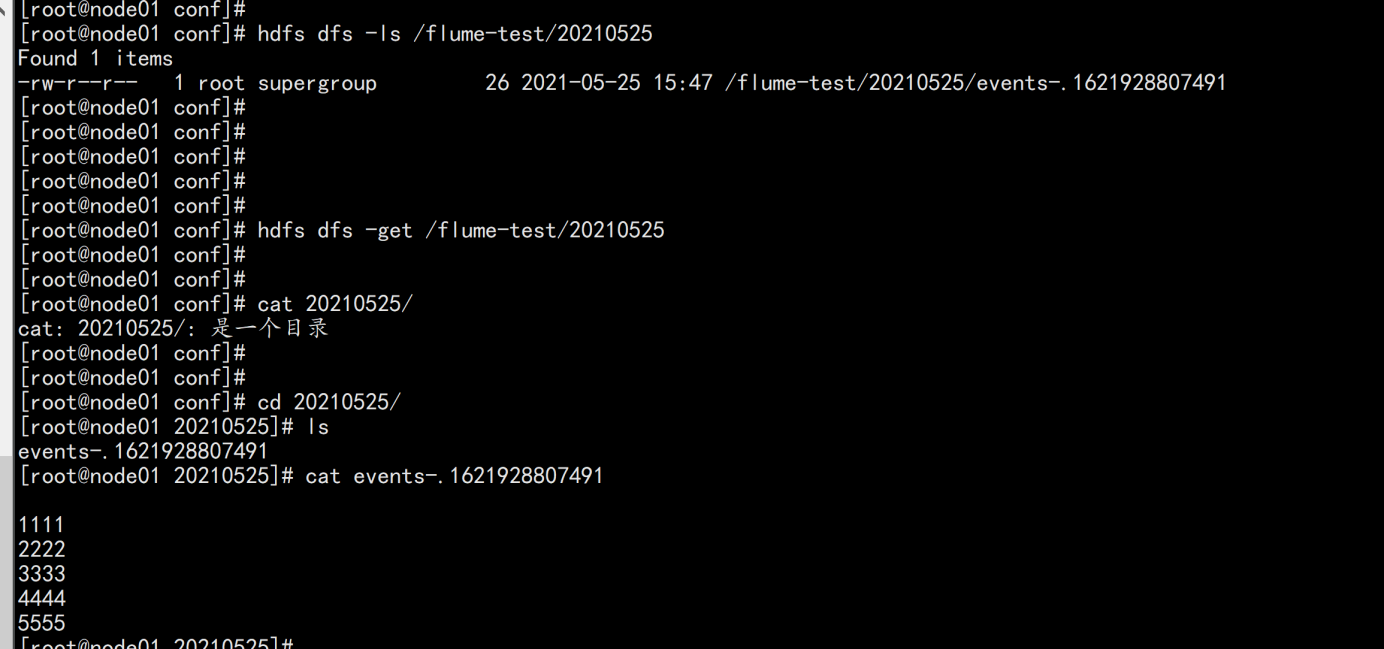
将这个数据download下来node01.flyfish.cn:hdfs dfs -get /flume-test/20210525cat events-.1621928807491
