@zhangyy
2020-04-09T13:03:38.000000Z
字数 13167
阅读 407
kubernetes 高可用的配置
kubernetes系列
一:kubernetes 高可用的配置
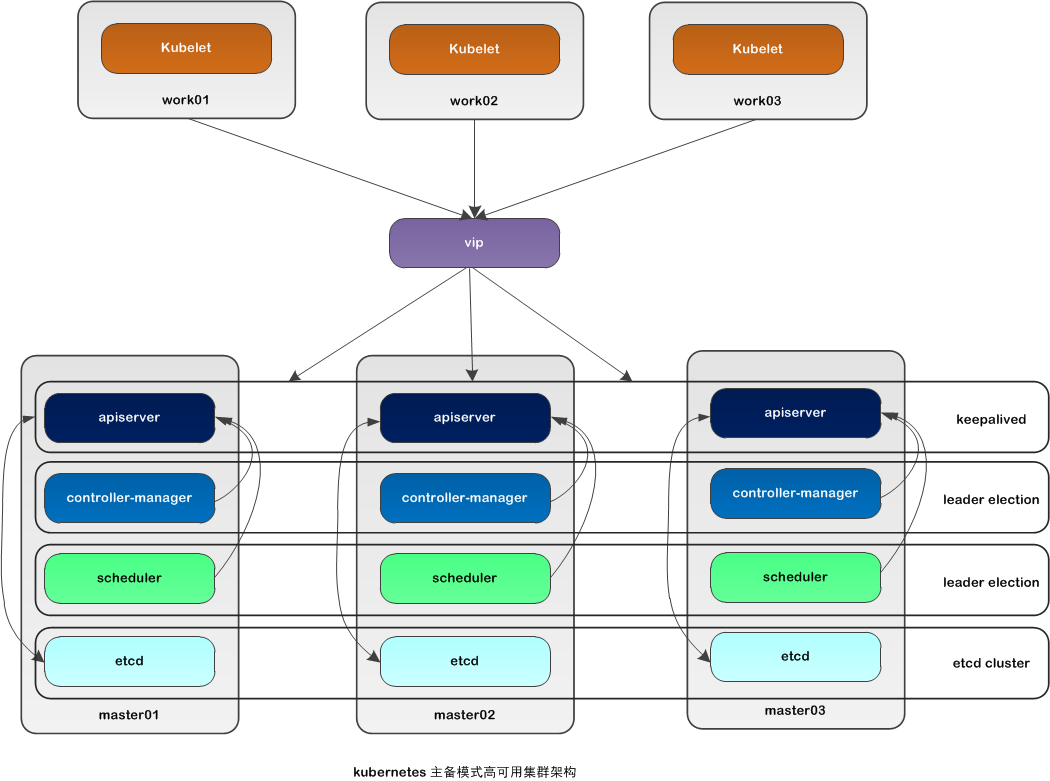
一:kubernetes 的 kubeadmn高可用的配置
二: 系统初始化
2.1 系统主机名
192.168.100.11 node01.flyfish192.168.100.12 node02.flyfish192.168.100.13 node03.flyfish192.168.100.14 node04.flyfish192.168.100.15 node05.flyfish192.168.100.16 node06.flyfish192.168.100.17 node07.flyfish----node01.flyfish / node02.flyfish /node03.flyfish 作为master 节点node04.flyfish / node05.flyfish / node06.flyfish 作为work节点node07.flyfish 作为 测试节点keepalive集群VIP 地址为: 192.168.100.100

2.2 关闭firewalld 清空iptables 与 selinux 规则
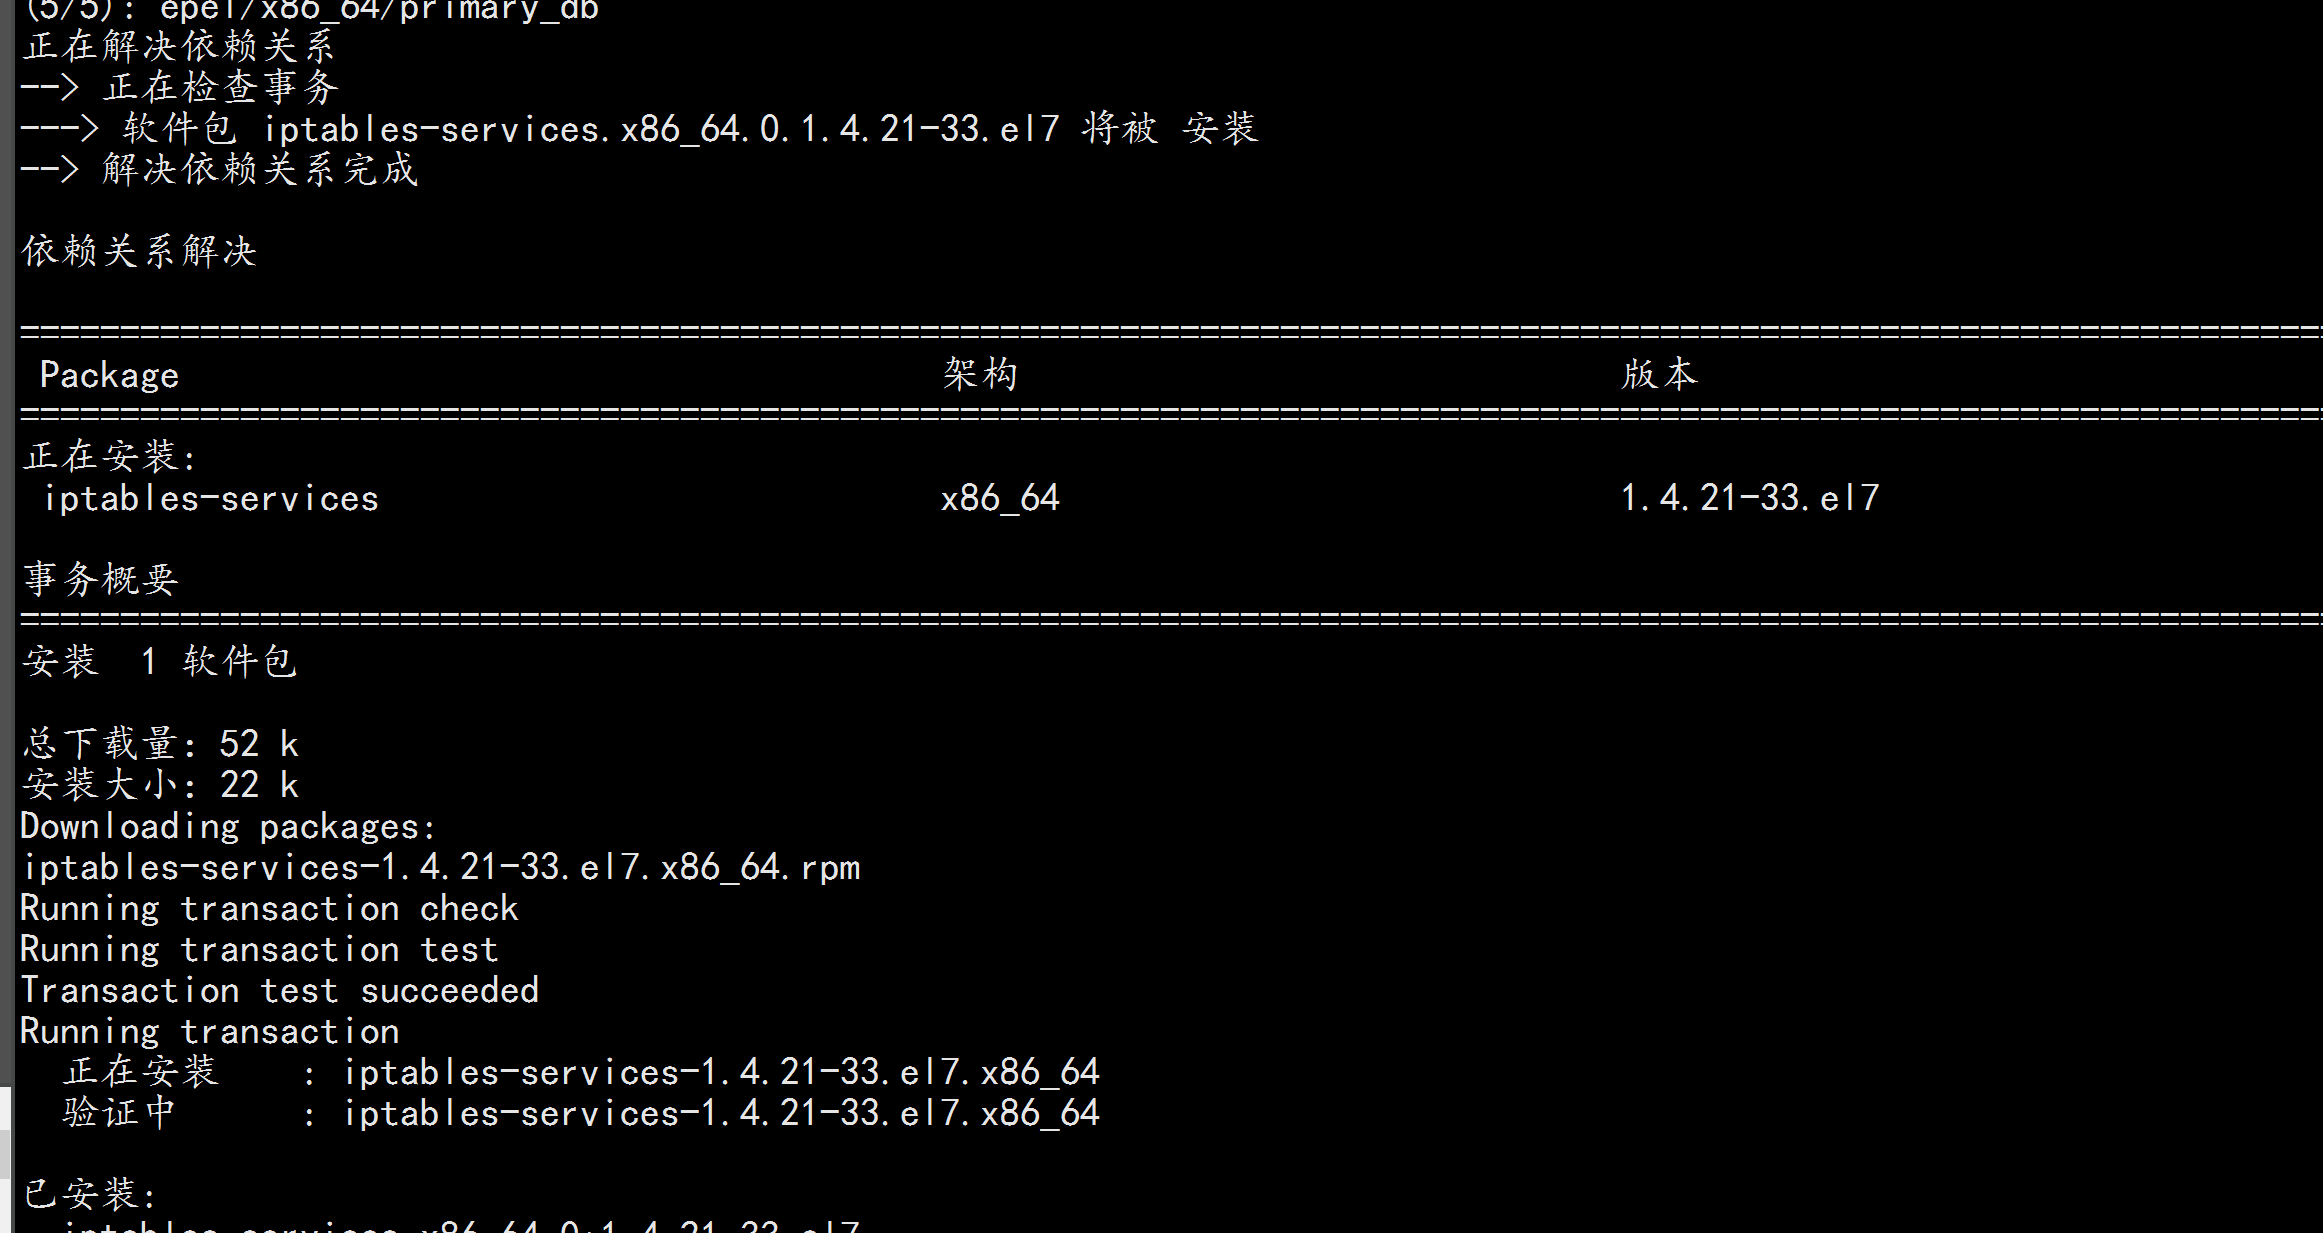
系统节点全部执行:systemctl stop firewalld && systemctl disable firewalld && yum -y install iptables-services && systemctl start iptables && systemctl enable iptables && iptables -F && service iptables save
关闭 SELINUX与swap 内存swapoff -a && sed -i '/ swap / s/^\(.*\)$/#\1/g' /etc/fstabsetenforce 0 && sed -i 's/^SELINUX=.*/SELINUX=disabled/' /etc/selinux/config

2.3 安装 依赖包
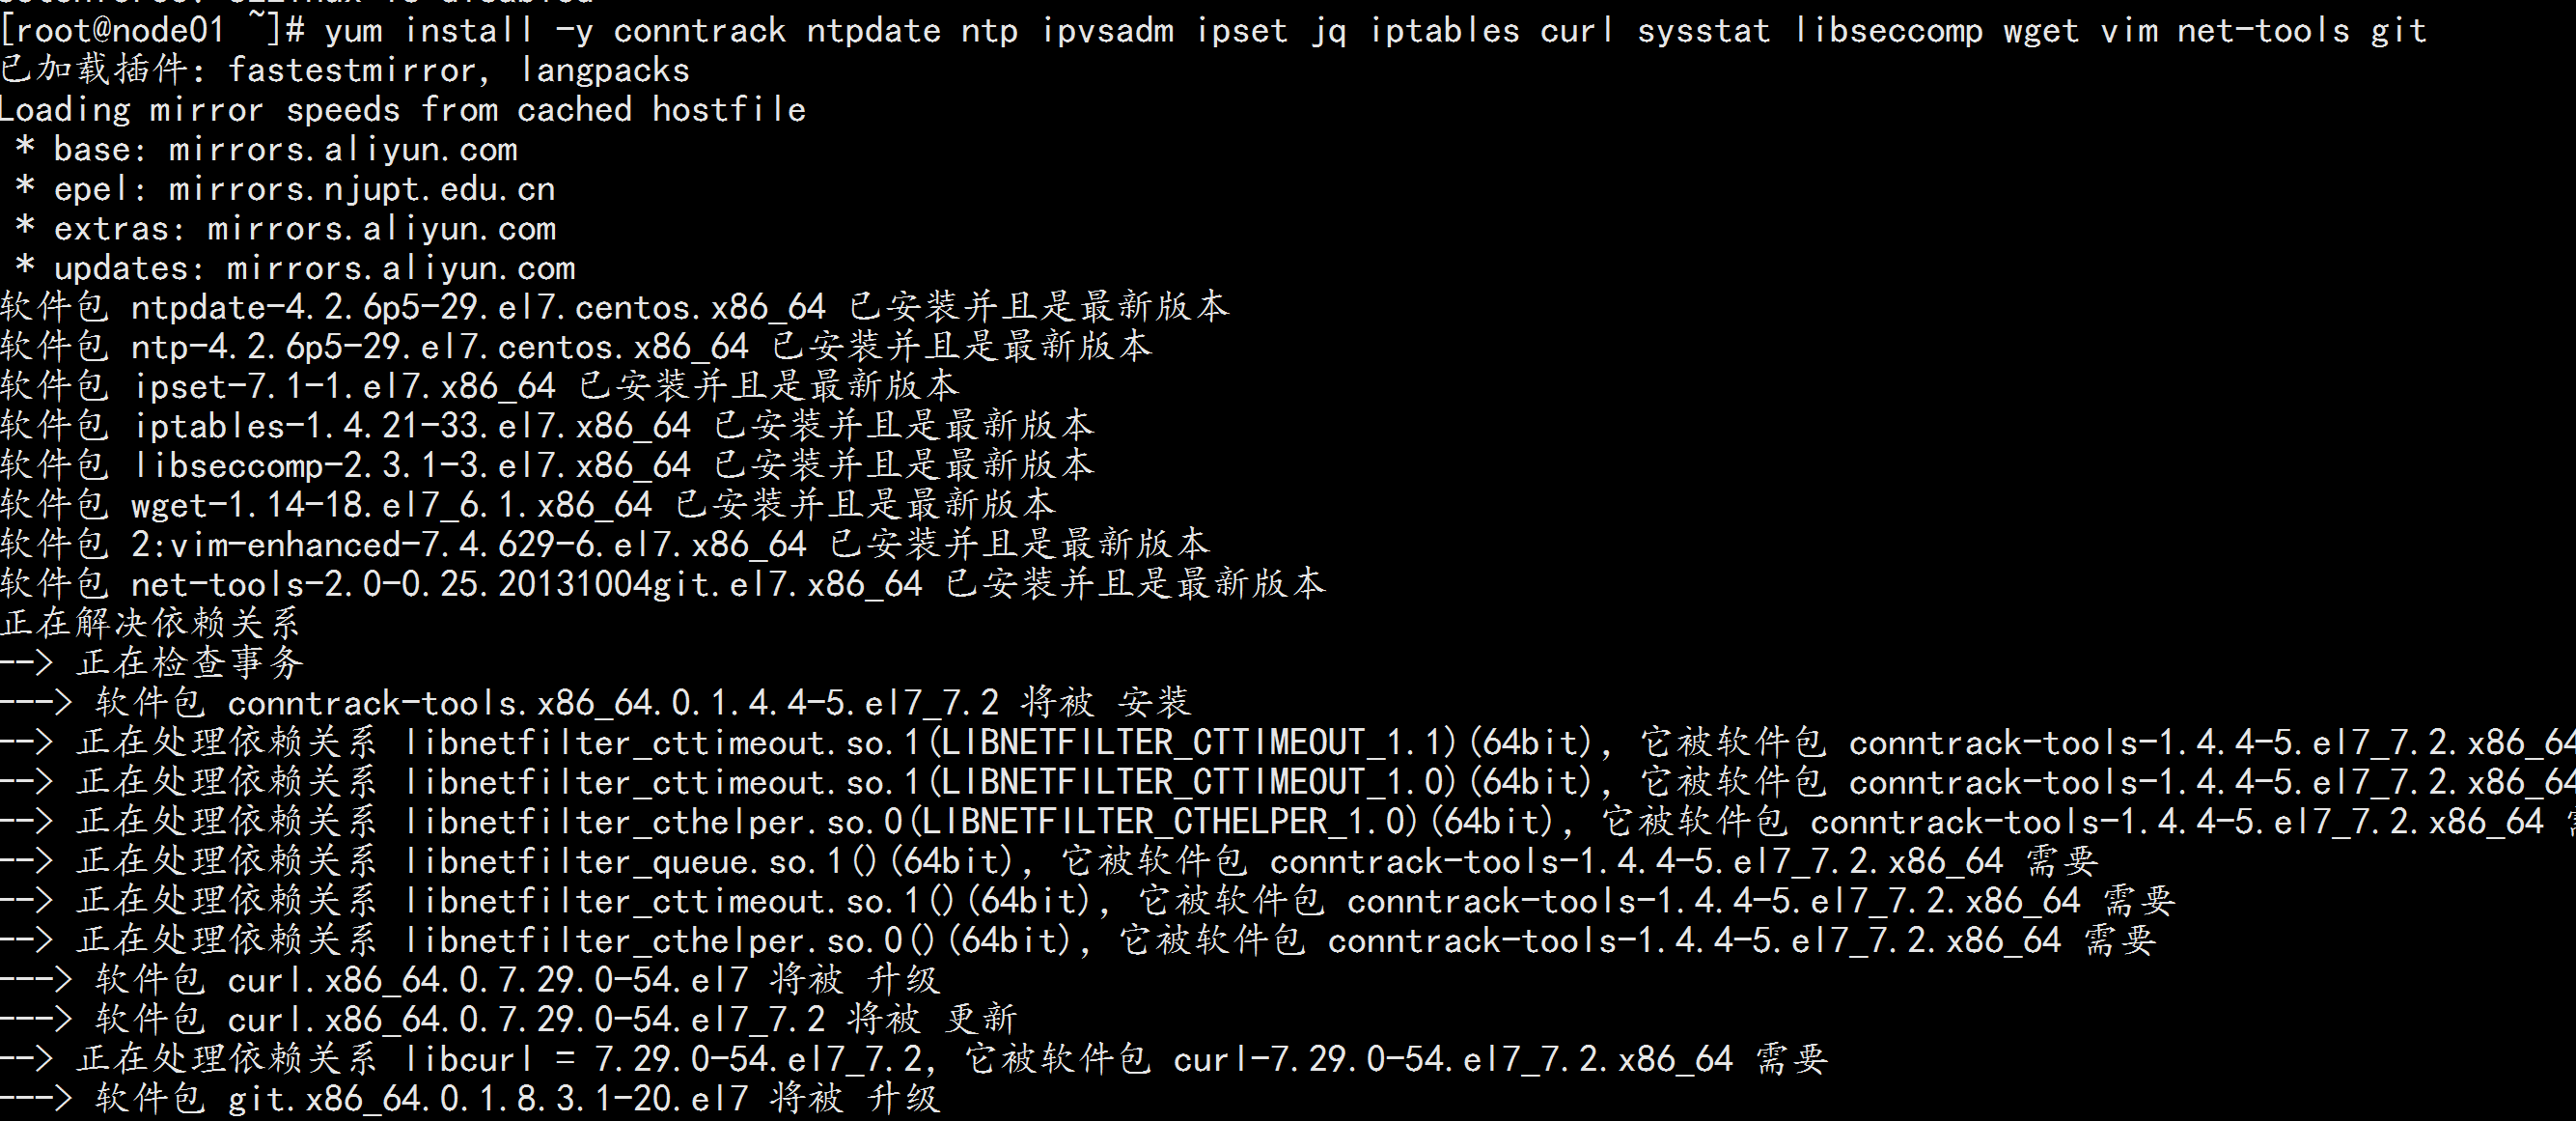
全部节点安装yum install -y conntrack ntpdate ntp ipvsadm ipset jq iptables curl sysstat libseccomp wget vim net-tools git
2.4升级调整内核参数,对于 K8S
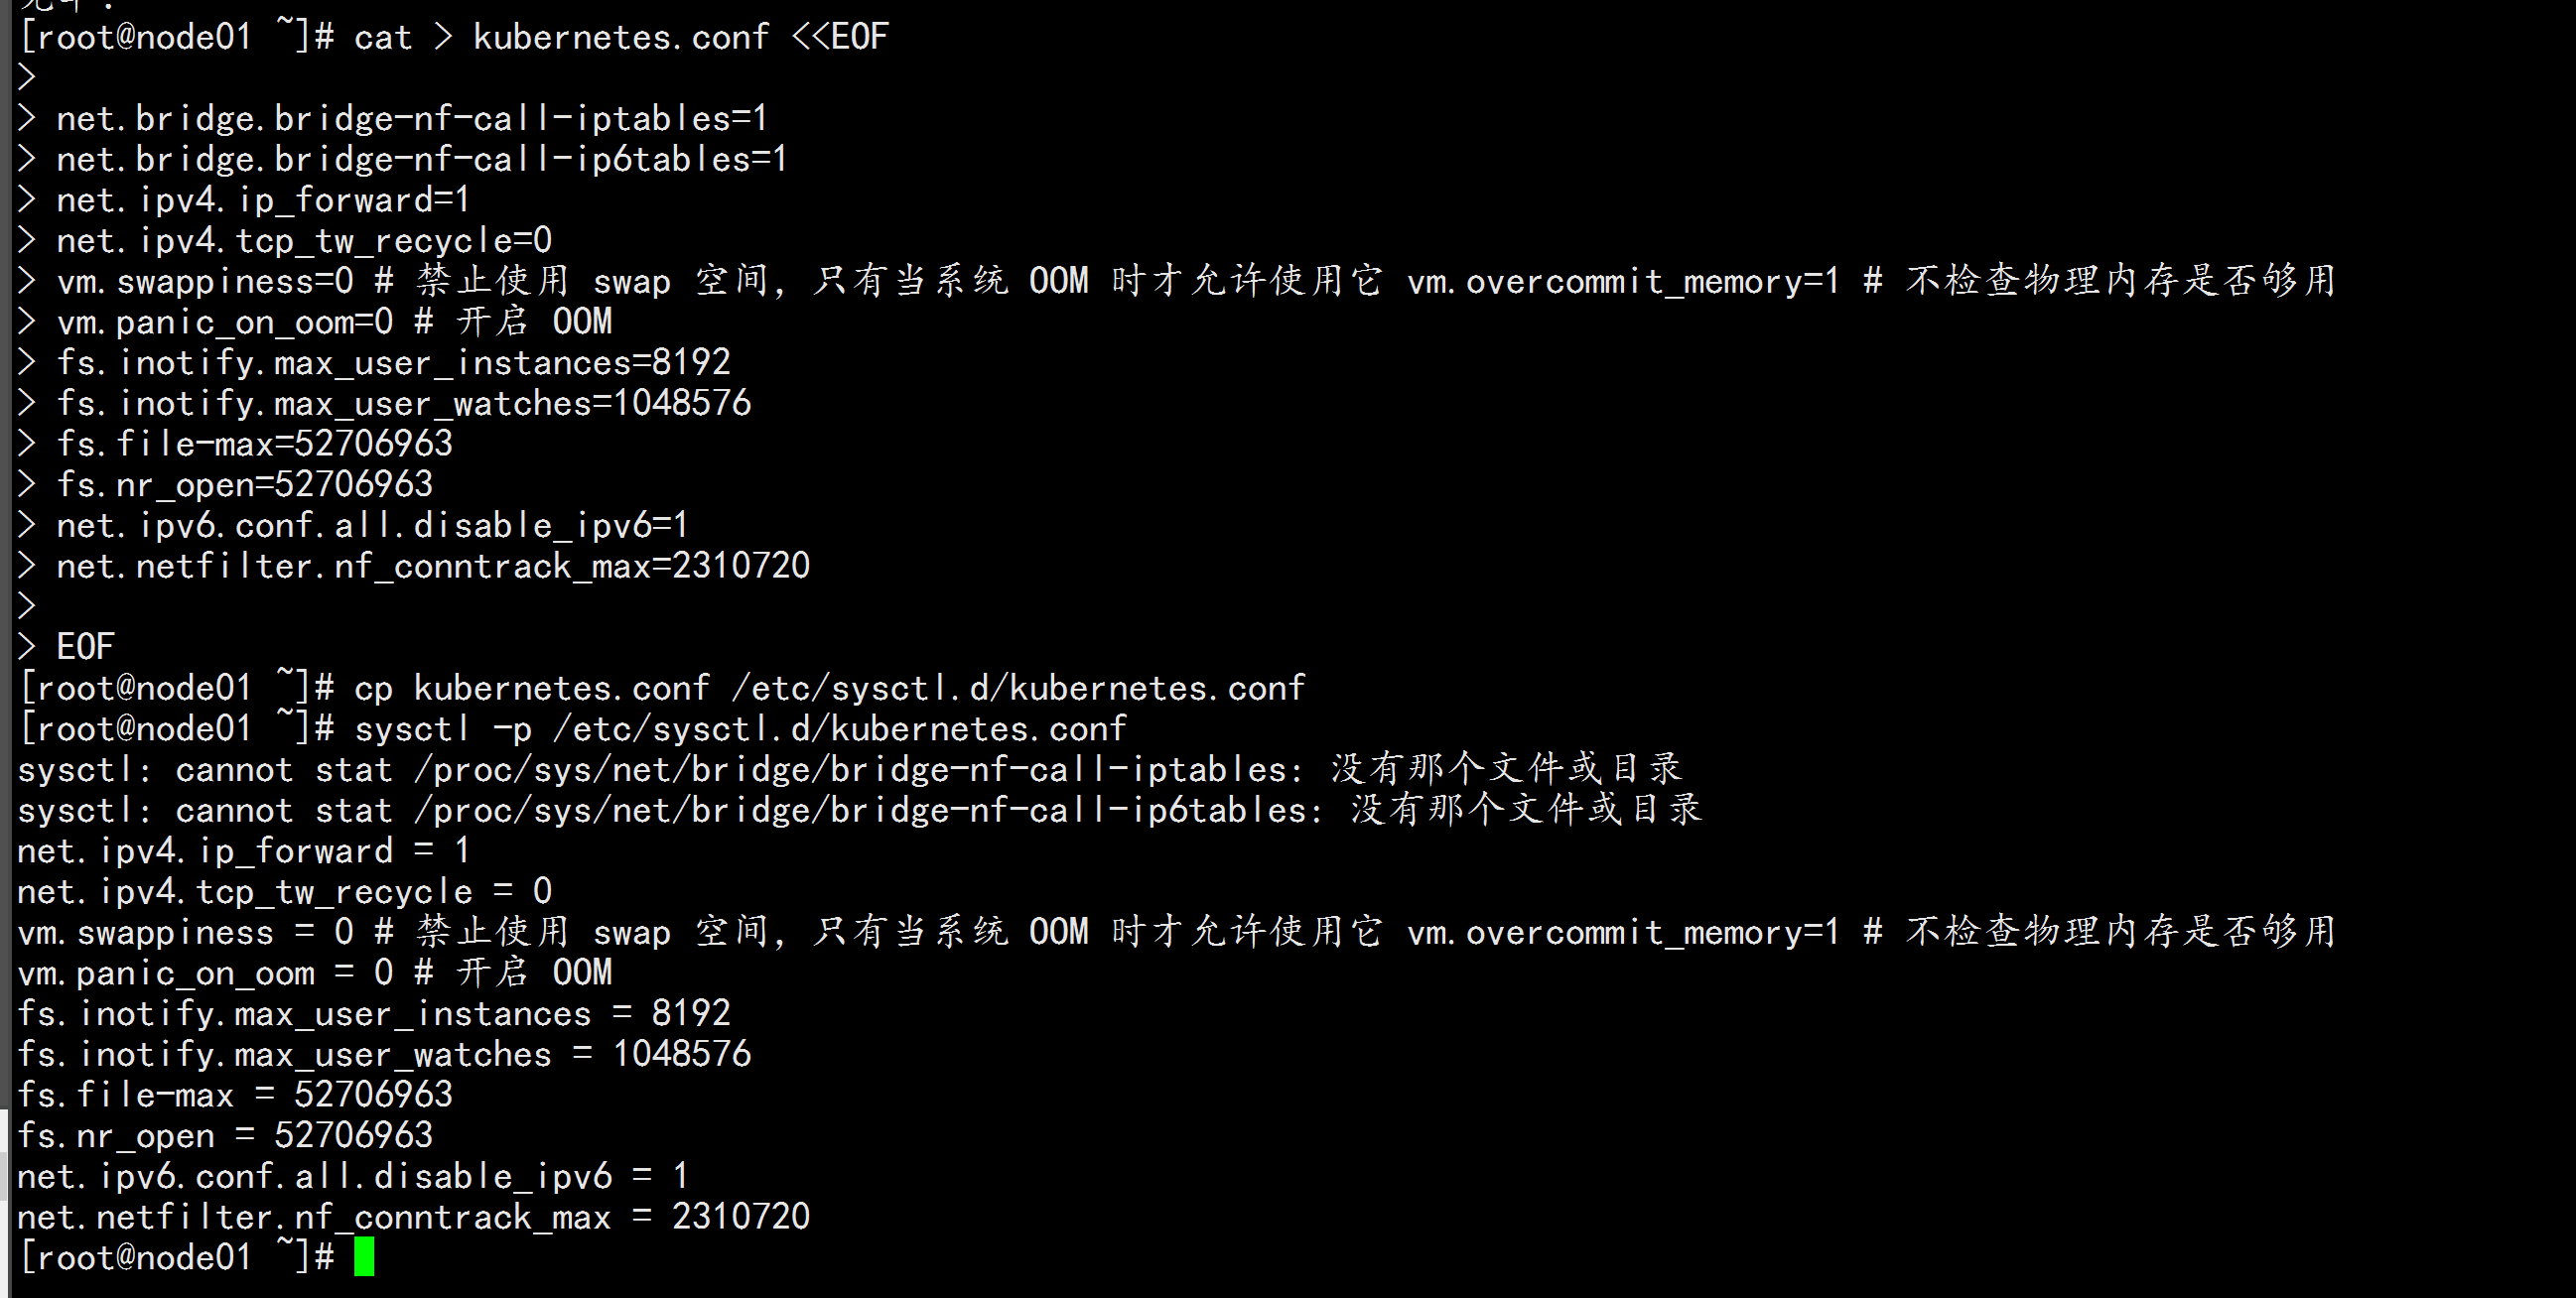
所有节点都执行cat > kubernetes.conf <<EOFnet.bridge.bridge-nf-call-iptables=1net.bridge.bridge-nf-call-ip6tables=1net.ipv4.ip_forward=1net.ipv4.tcp_tw_recycle=0vm.swappiness=0 # 禁止使用 swap 空间,只有当系统 OOM 时才允许使用它 vm.overcommit_memory=1 # 不检查物理内存是否够用vm.panic_on_oom=0 # 开启 OOMfs.inotify.max_user_instances=8192fs.inotify.max_user_watches=1048576fs.file-max=52706963fs.nr_open=52706963net.ipv6.conf.all.disable_ipv6=1net.netfilter.nf_conntrack_max=2310720EOFcp kubernetes.conf /etc/sysctl.d/kubernetes.confsysctl -p /etc/sysctl.d/kubernetes.conf
2.5 调整系统时区
# 设置系统时区为 中国/上海 timedatectl set-timezone Asia/Shanghai# 将当前的 UTC 时间写入硬件时钟 timedatectl set-local-rtc 0# 重启依赖于系统时间的服务systemctl restart rsyslog && systemctl restart crond
关闭系统不需要的服务systemctl stop postfix && systemctl disable postfix

2.6 设置 rsyslogd 和 systemd journald
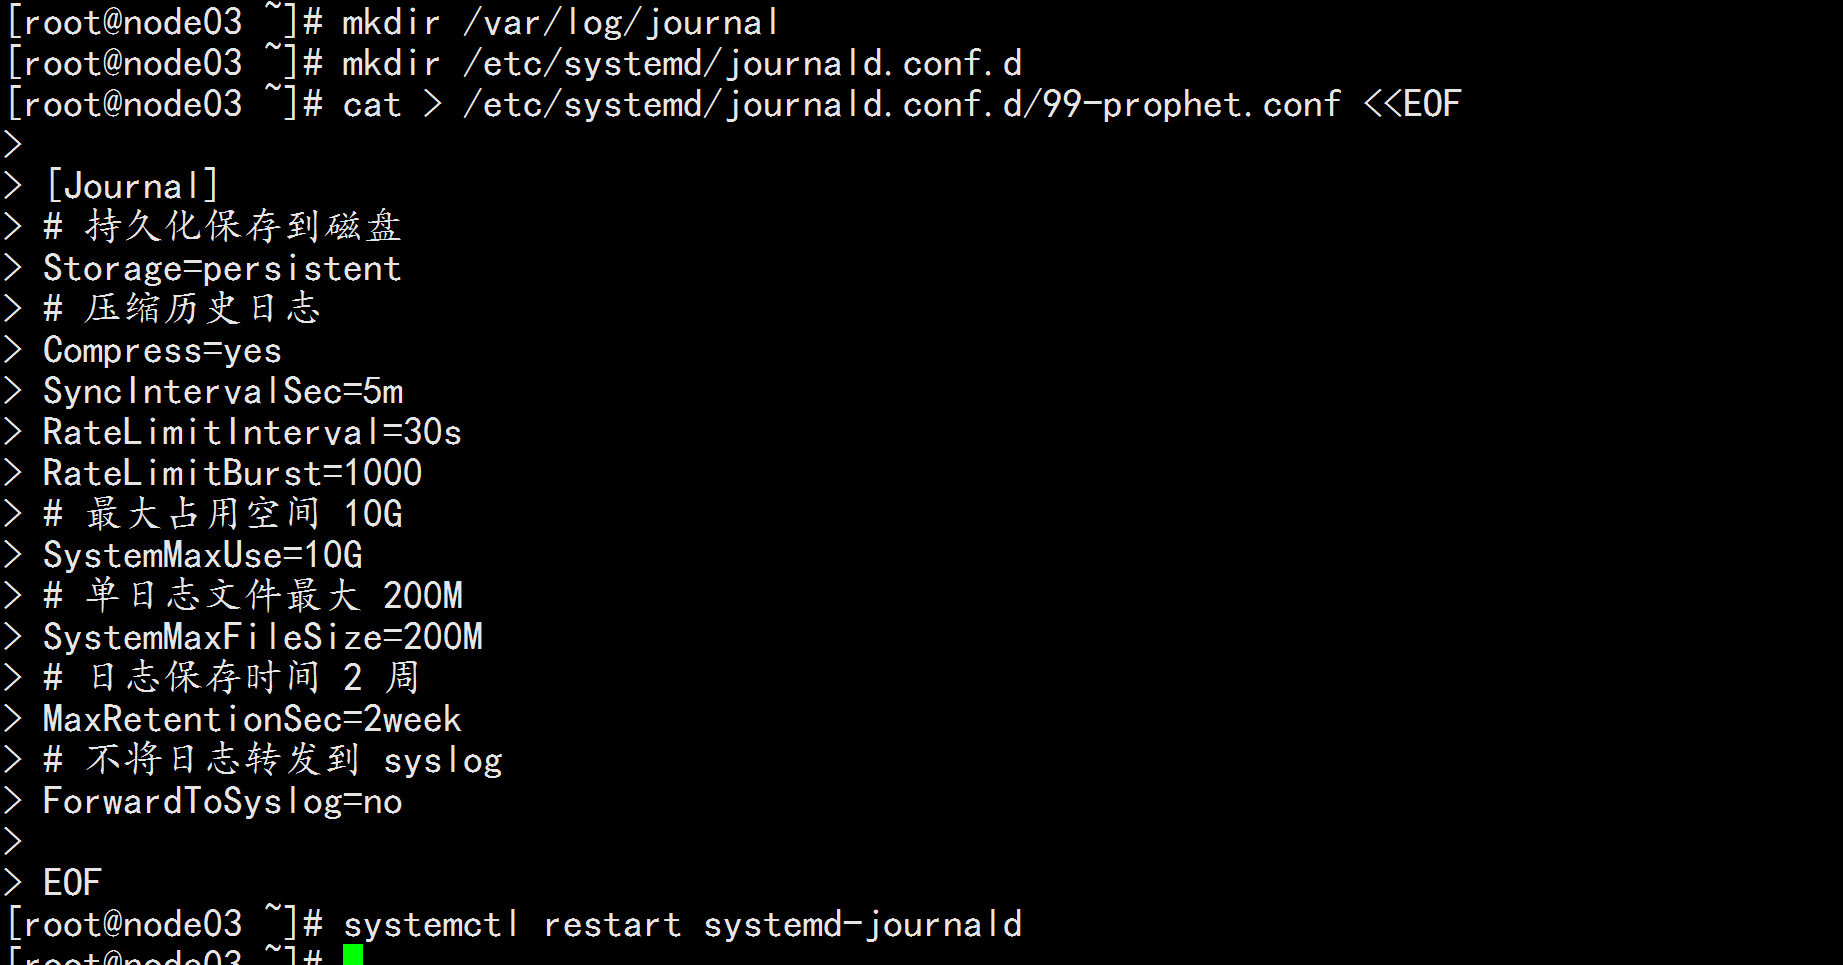
系统全部节点mkdir /var/log/journal # 持久化保存日志的目录mkdir /etc/systemd/journald.conf.dcat > /etc/systemd/journald.conf.d/99-prophet.conf <<EOF[Journal]# 持久化保存到磁盘Storage=persistent# 压缩历史日志Compress=yesSyncIntervalSec=5mRateLimitInterval=30sRateLimitBurst=1000# 最大占用空间 10GSystemMaxUse=10G# 单日志文件最大 200MSystemMaxFileSize=200M# 日志保存时间 2 周MaxRetentionSec=2week# 不将日志转发到 syslogForwardToSyslog=noEOFsystemctl restart systemd-journald
2.7升级系统内核为 4.44
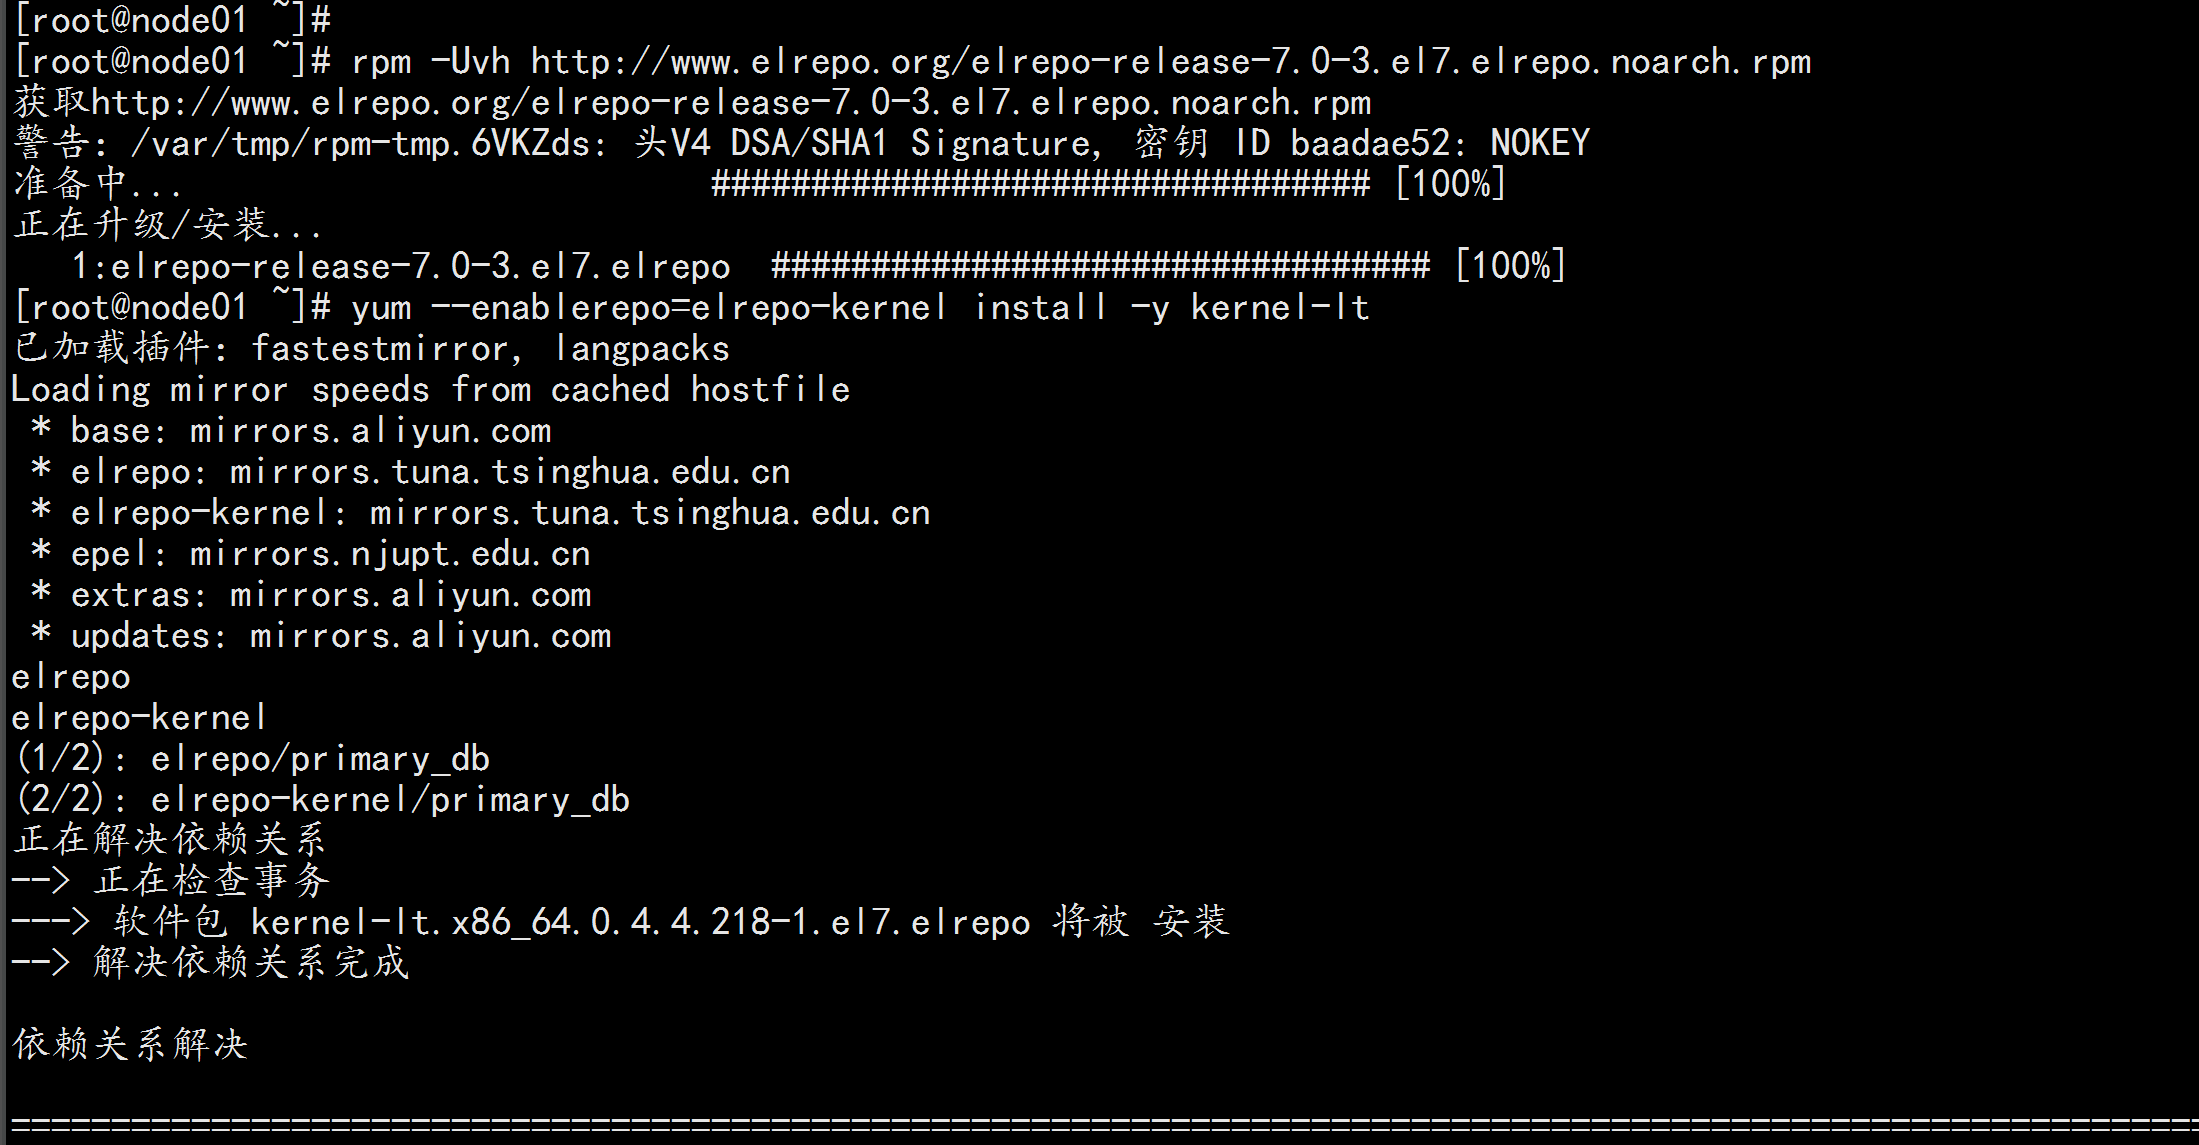
CentOS 7.x 系统自带的 3.10.x 内核存在一些 Bugs,导致运行的 Docker、Kubernetes 不稳定,例如: rpm -Uvhhttp://www.elrepo.org/elrepo-release-7.0-3.el7.elrepo.noarch.rpmrpm -Uvh http://www.elrepo.org/elrepo-release-7.0-3.el7.elrepo.noarch.rpm# 安装完成后检查 /boot/grub2/grub.cfg 中对应内核 menuentry 中是否包含 initrd16 配置,如果没有,再安装 一次!yum --enablerepo=elrepo-kernel install -y kernel-lt# 设置开机从新内核启动grub2-set-default "CentOS Linux (4.4.182-1.el7.elrepo.x86_64) 7 (Core)"reboot# 重启后安装内核源文件yum --enablerepo=elrepo-kernel install kernel-lt-devel-$(uname -r) kernel-lt-headers-$(uname -r)

2.8 kube-proxy开启ipvs的前置条件
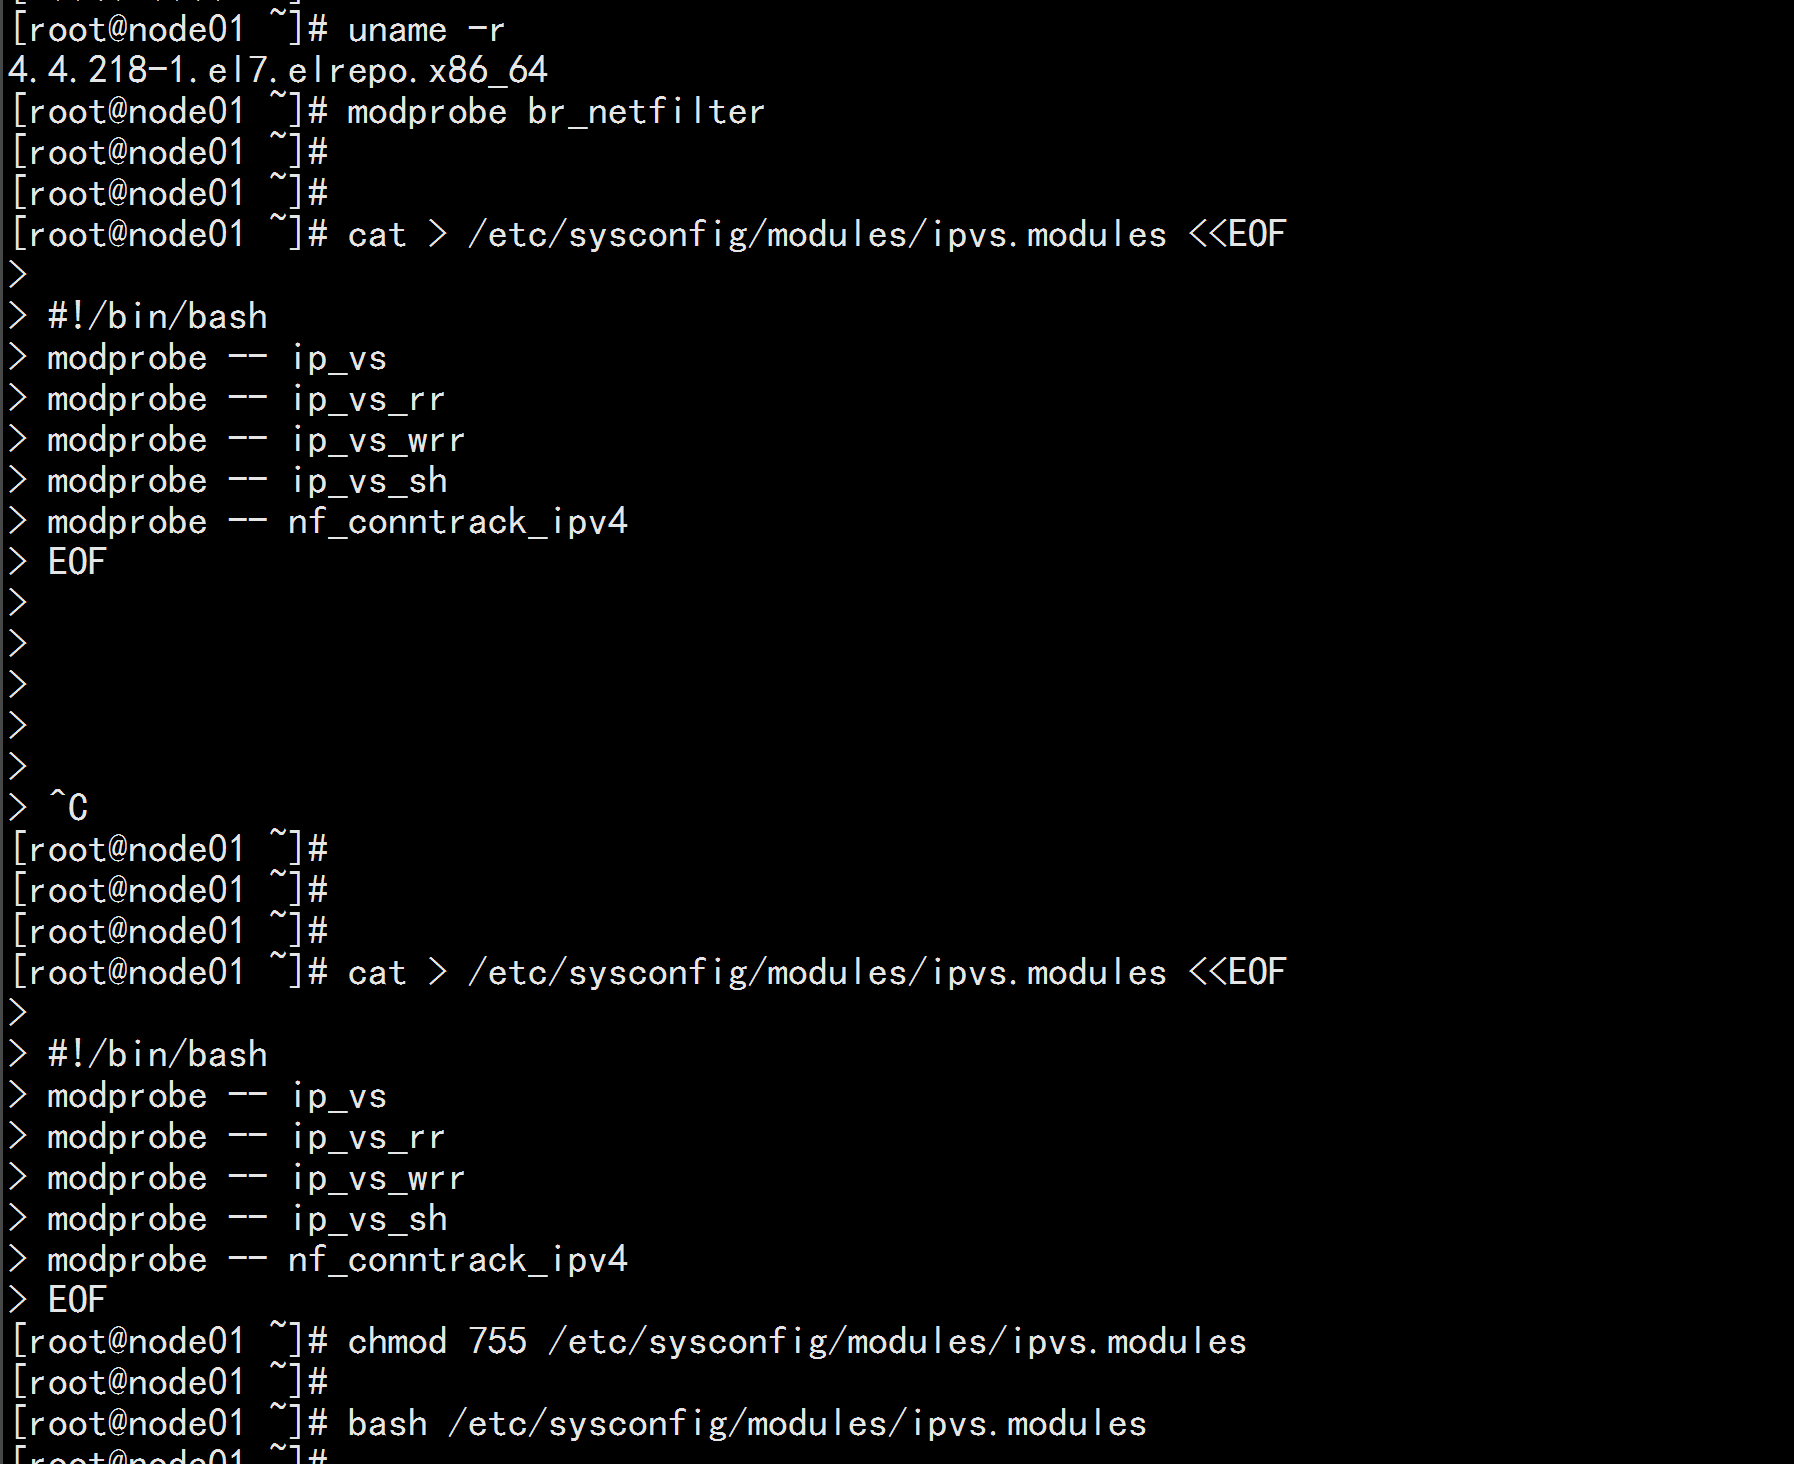
modprobe br_netfiltercat > /etc/sysconfig/modules/ipvs.modules <<EOF#!/bin/bashmodprobe -- ip_vsmodprobe -- ip_vs_rrmodprobe -- ip_vs_wrrmodprobe -- ip_vs_shmodprobe -- nf_conntrack_ipv4EOFchmod 755 /etc/sysconfig/modules/ipvs.modulesbash /etc/sysconfig/modules/ipvs.moduleslsmod | grep -e ip_vs -e nf_conntrack_ipv4

三: 开始安装docker
3.1 安装docker
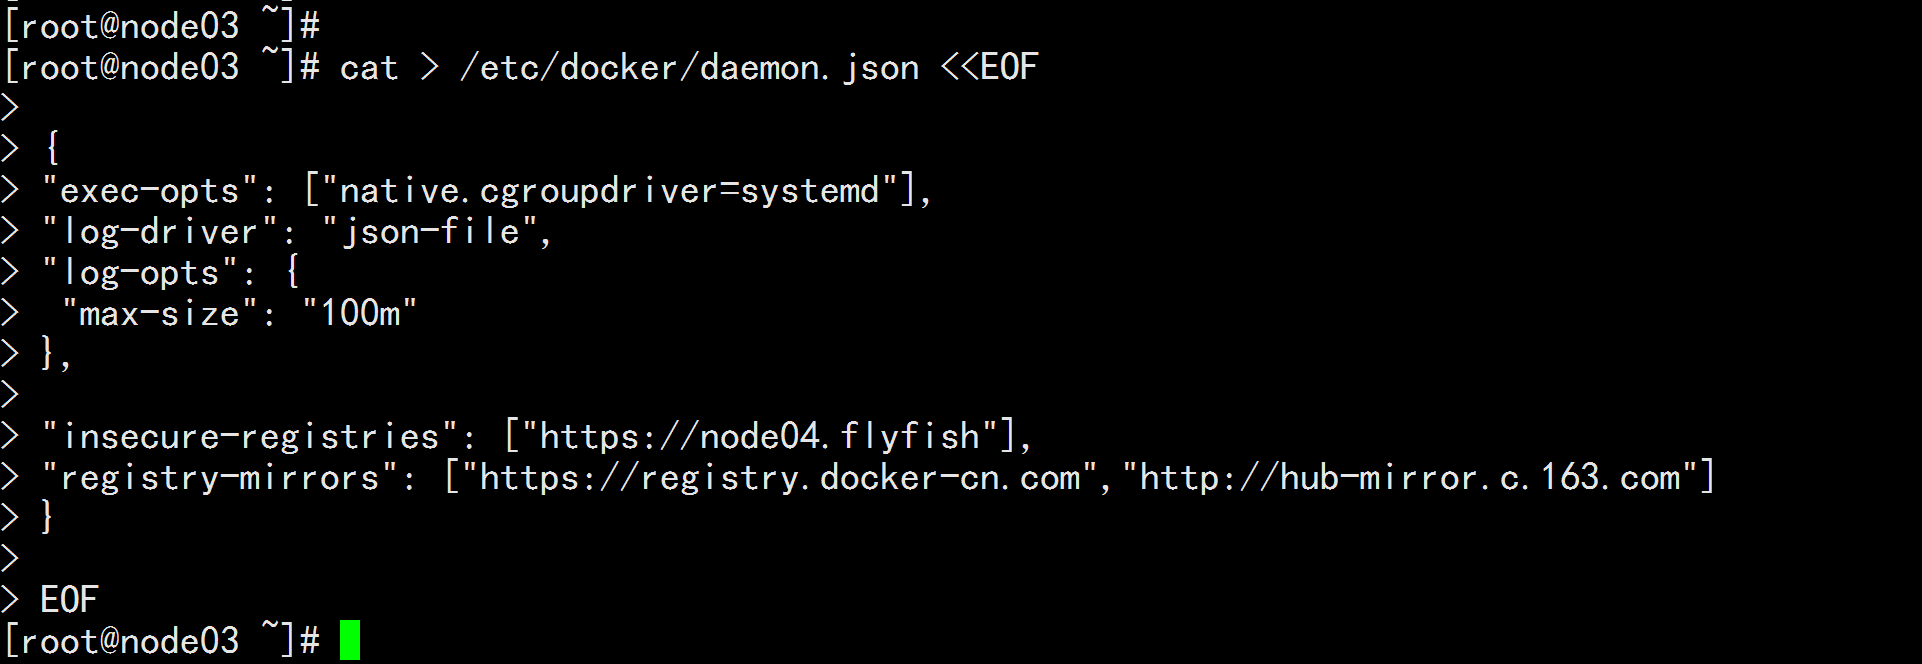
机器节点都执行:yum install -y yum-utils device-mapper-persistent-data lvm2yum-config-manager --add-repo http://mirrors.aliyun.com/docker-ce/linux/centos/docker-ce.repoyum update -y && yum install docker-ce-18.09.9 docker-ce-cli-18.09.9 containerd.io -y重启机器: reboot查看内核版本: uname -r在加载: grub2-set-default "CentOS Linux (4.4.182-1.el7.elrepo.x86_64) 7 (Core)" && reboot如果还不行就改 文件 : vim /etc/grub2.cfg 注释掉 3.10 的 内核保证 内核的版本 为 4.4service docker startchkconfig docker on## 创建 /etc/docker 目录cat > /etc/docker/daemon.json <<EOF{"exec-opts": ["native.cgroupdriver=systemd"],"log-driver": "json-file","log-opts": {"max-size": "100m"},"insecure-registries": ["https://node04.flyfish"],"registry-mirrors": ["https://registry.docker-cn.com","http://hub-mirror.c.163.com"]}EOFmkdir -p /etc/systemd/system/docker.service.d# 重启docker服务systemctl daemon-reload && systemctl restart docker && systemctl enable docker
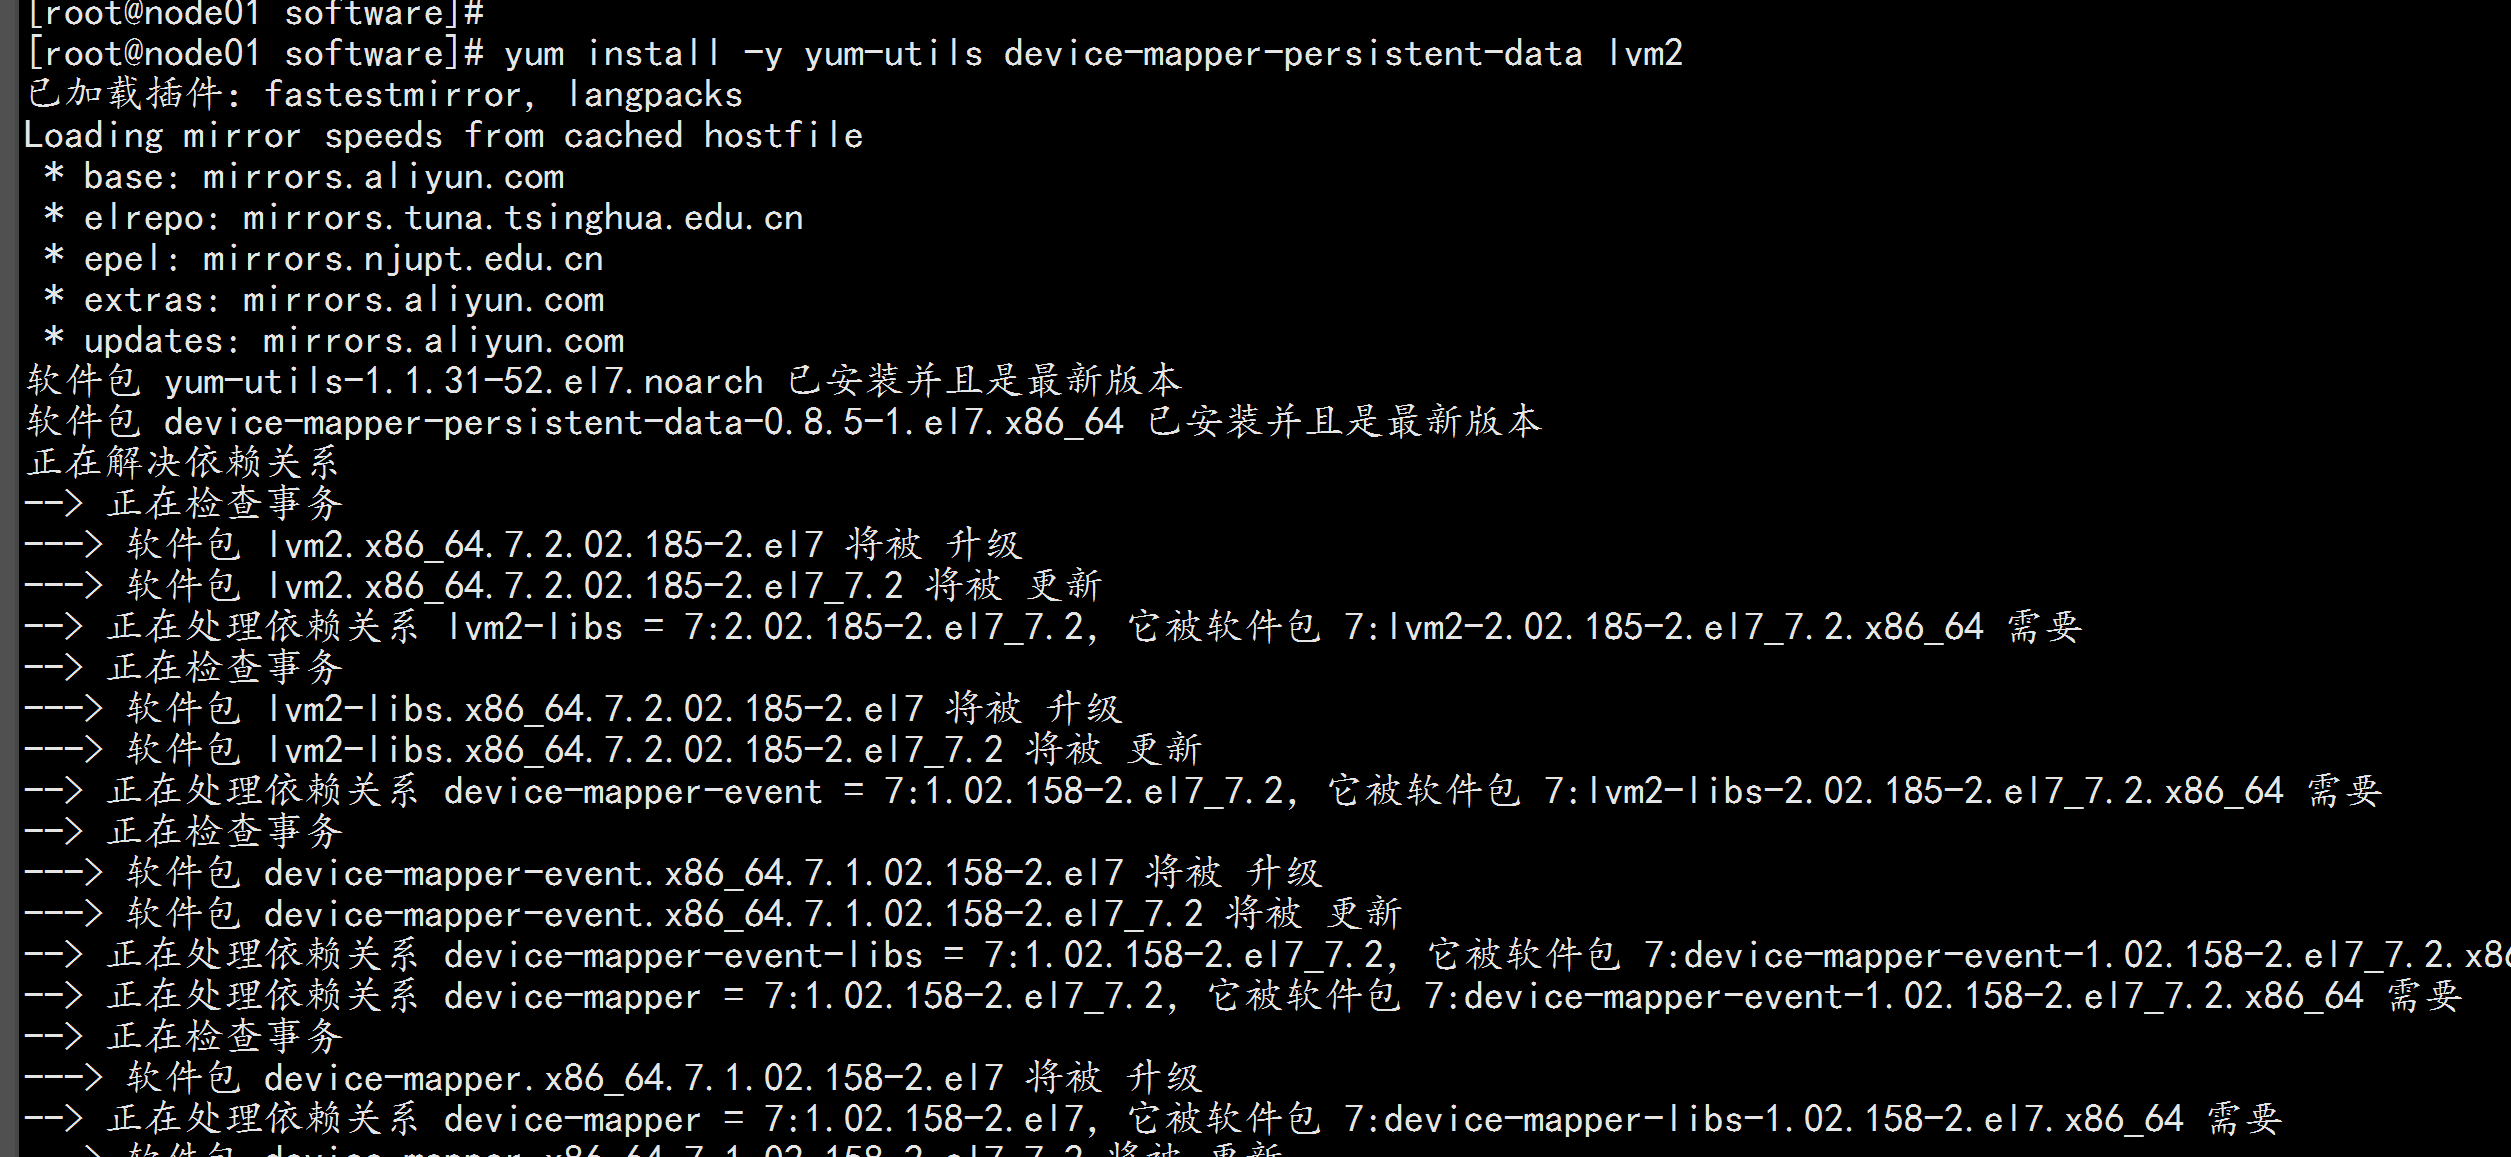
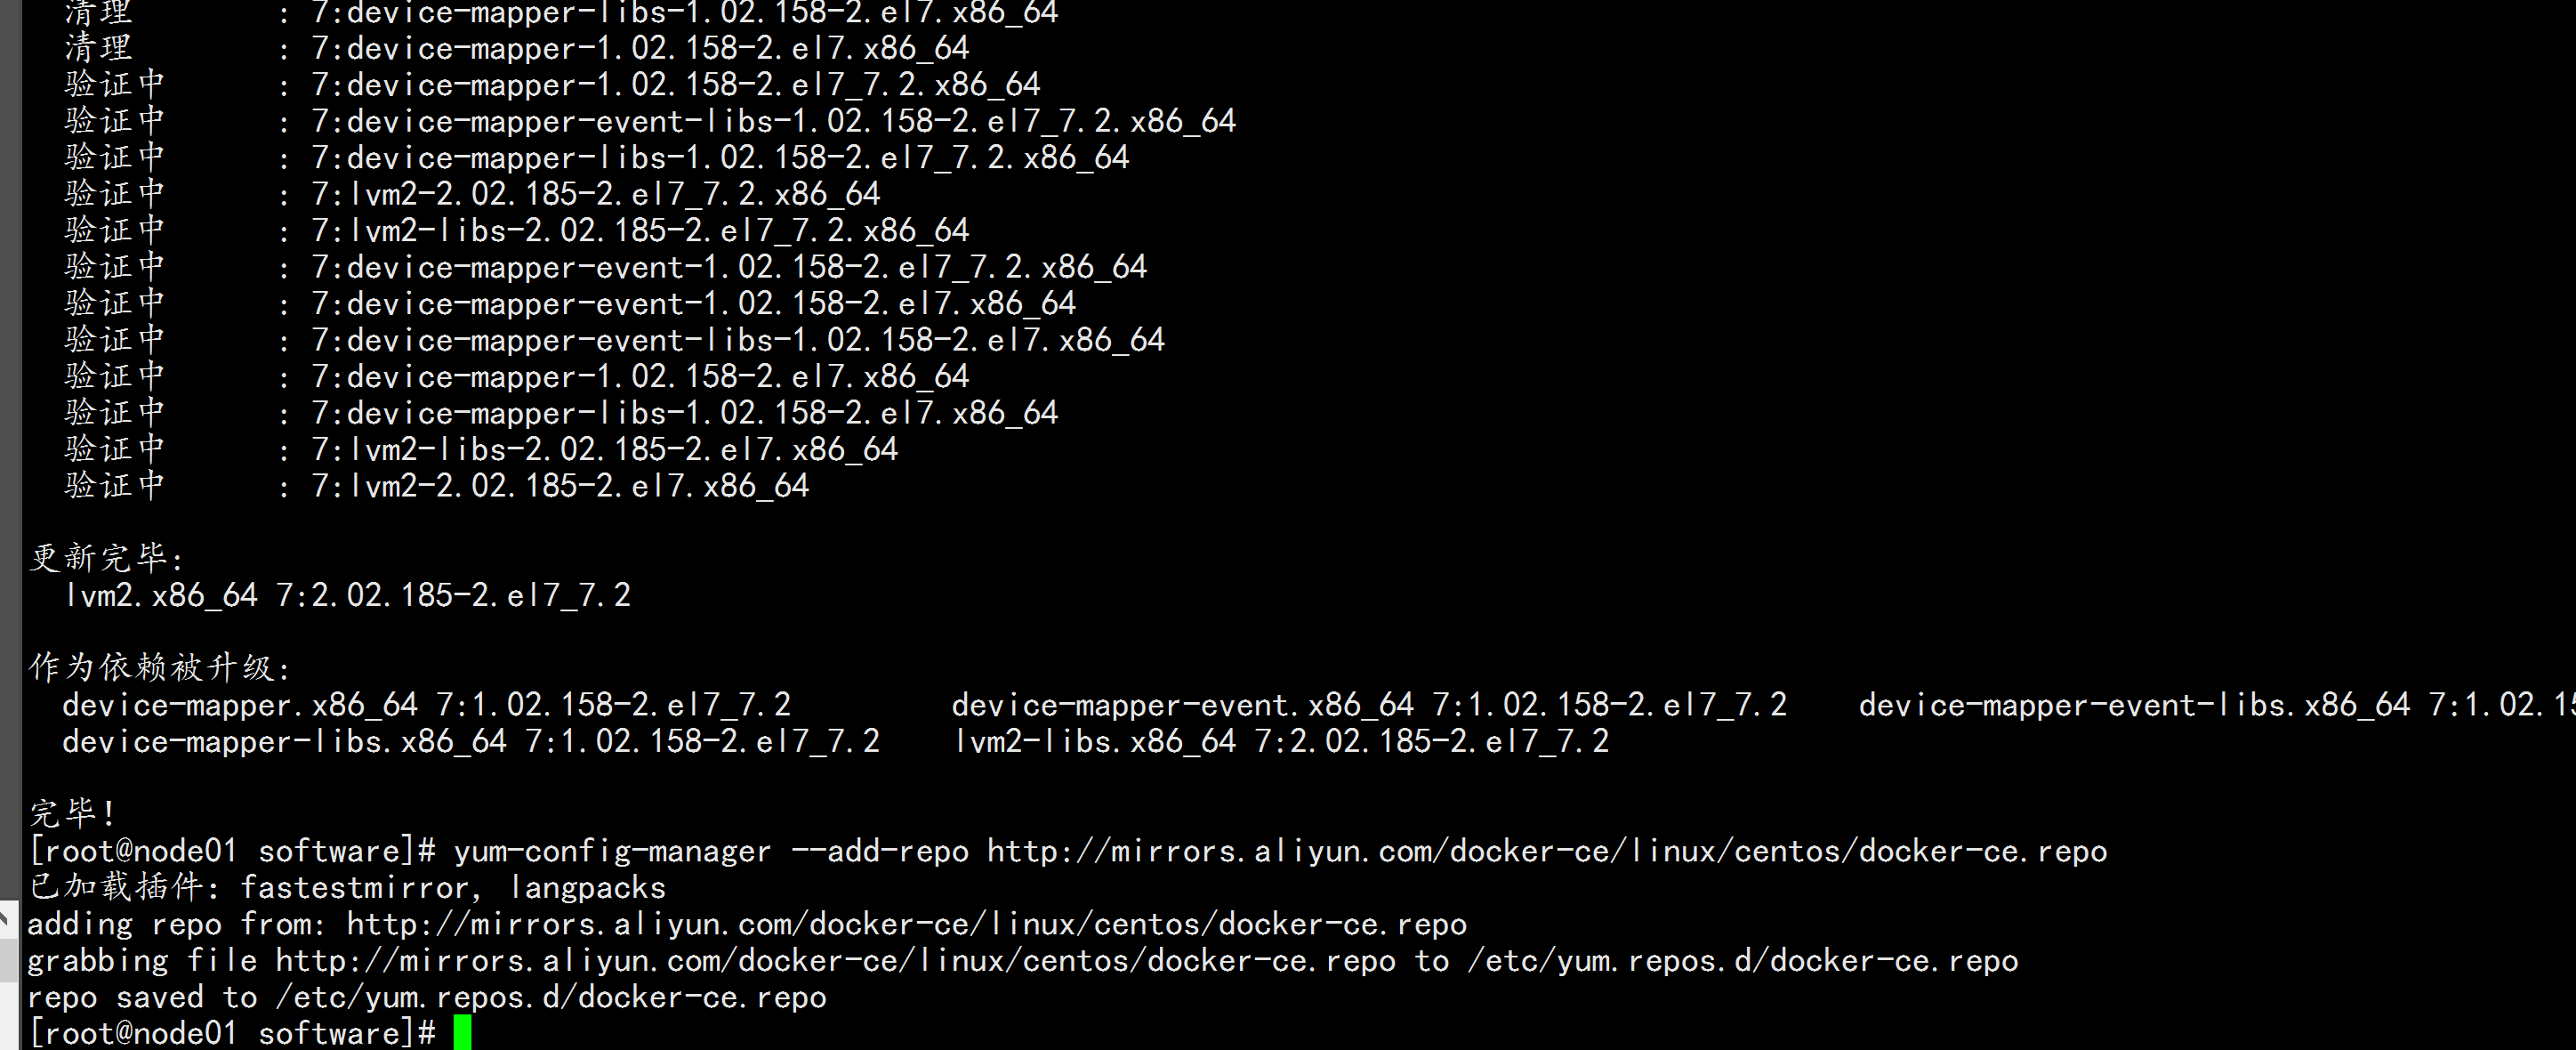
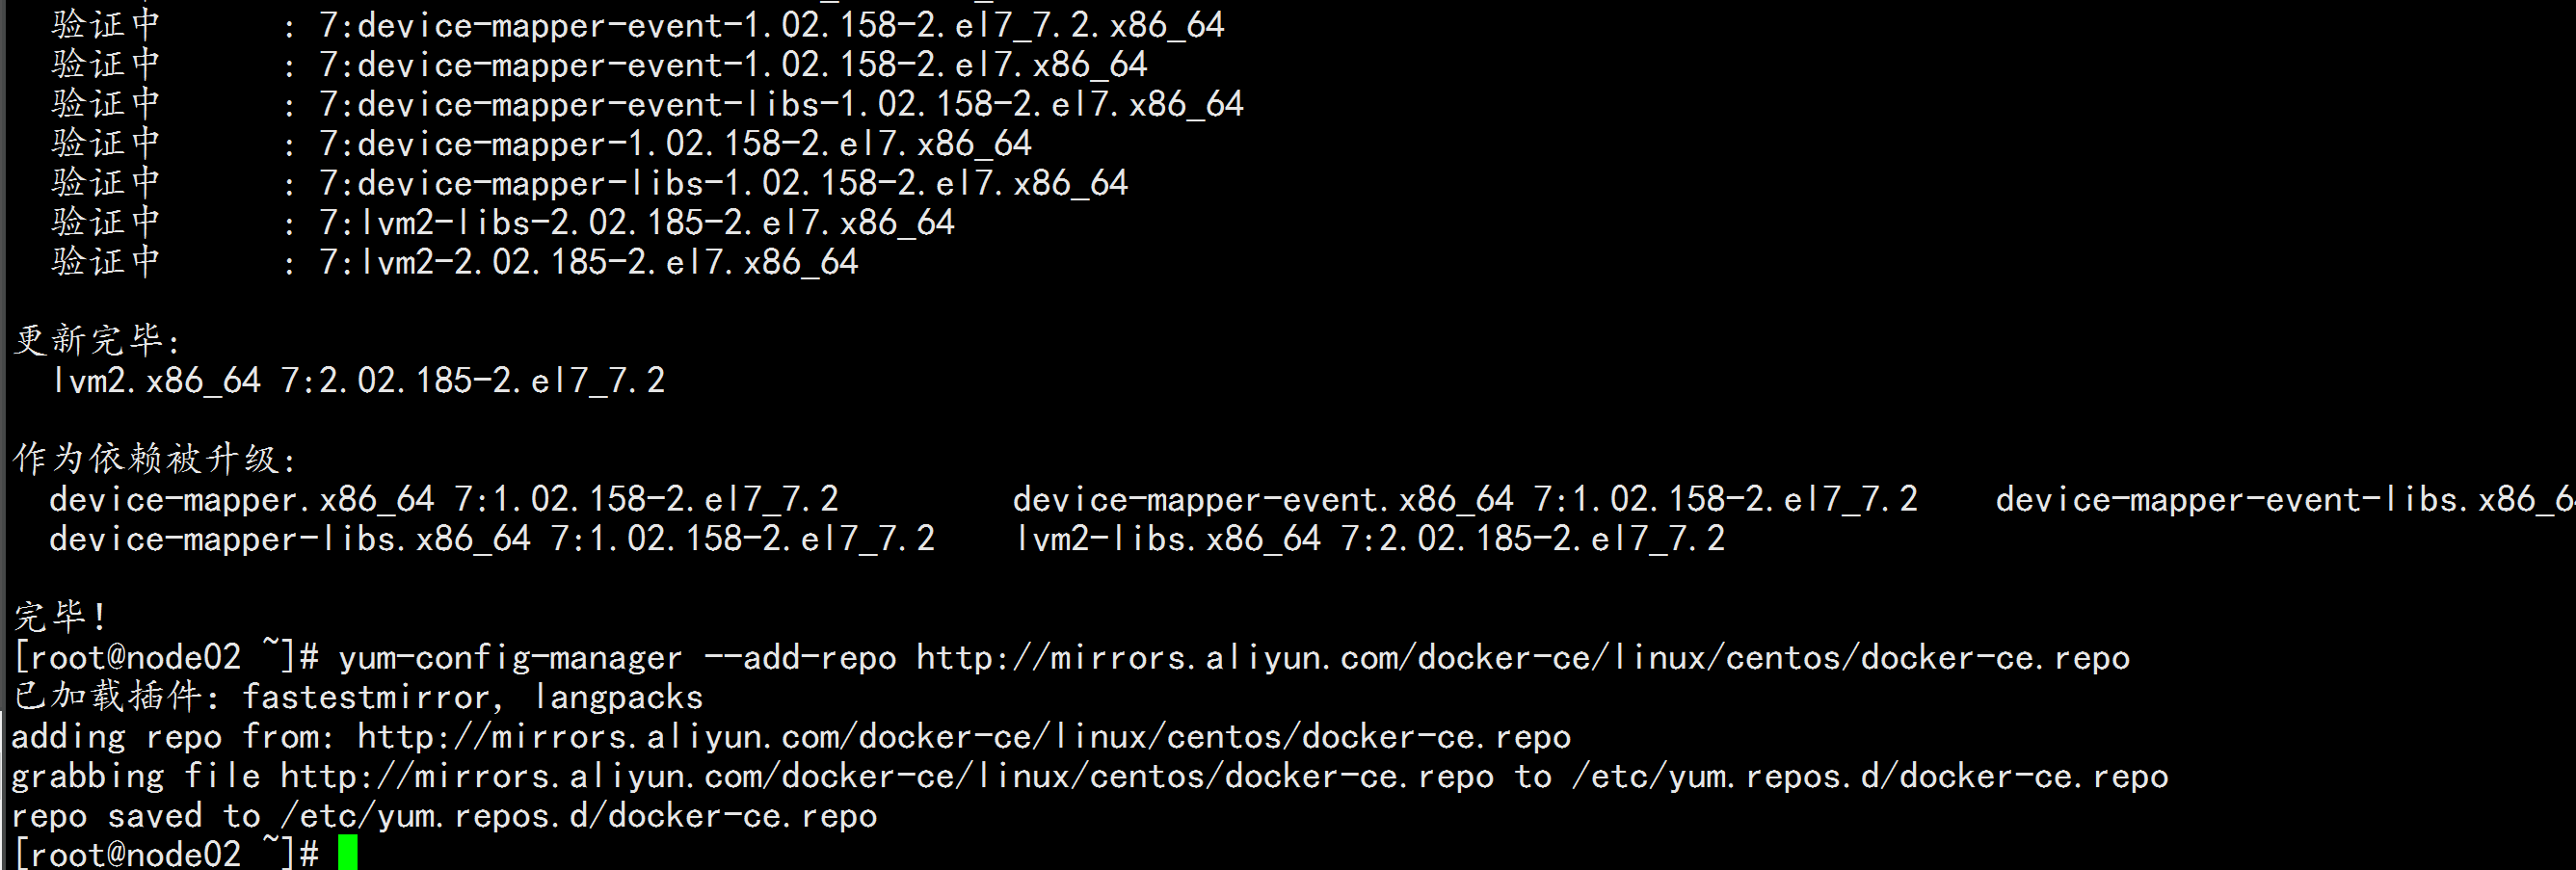
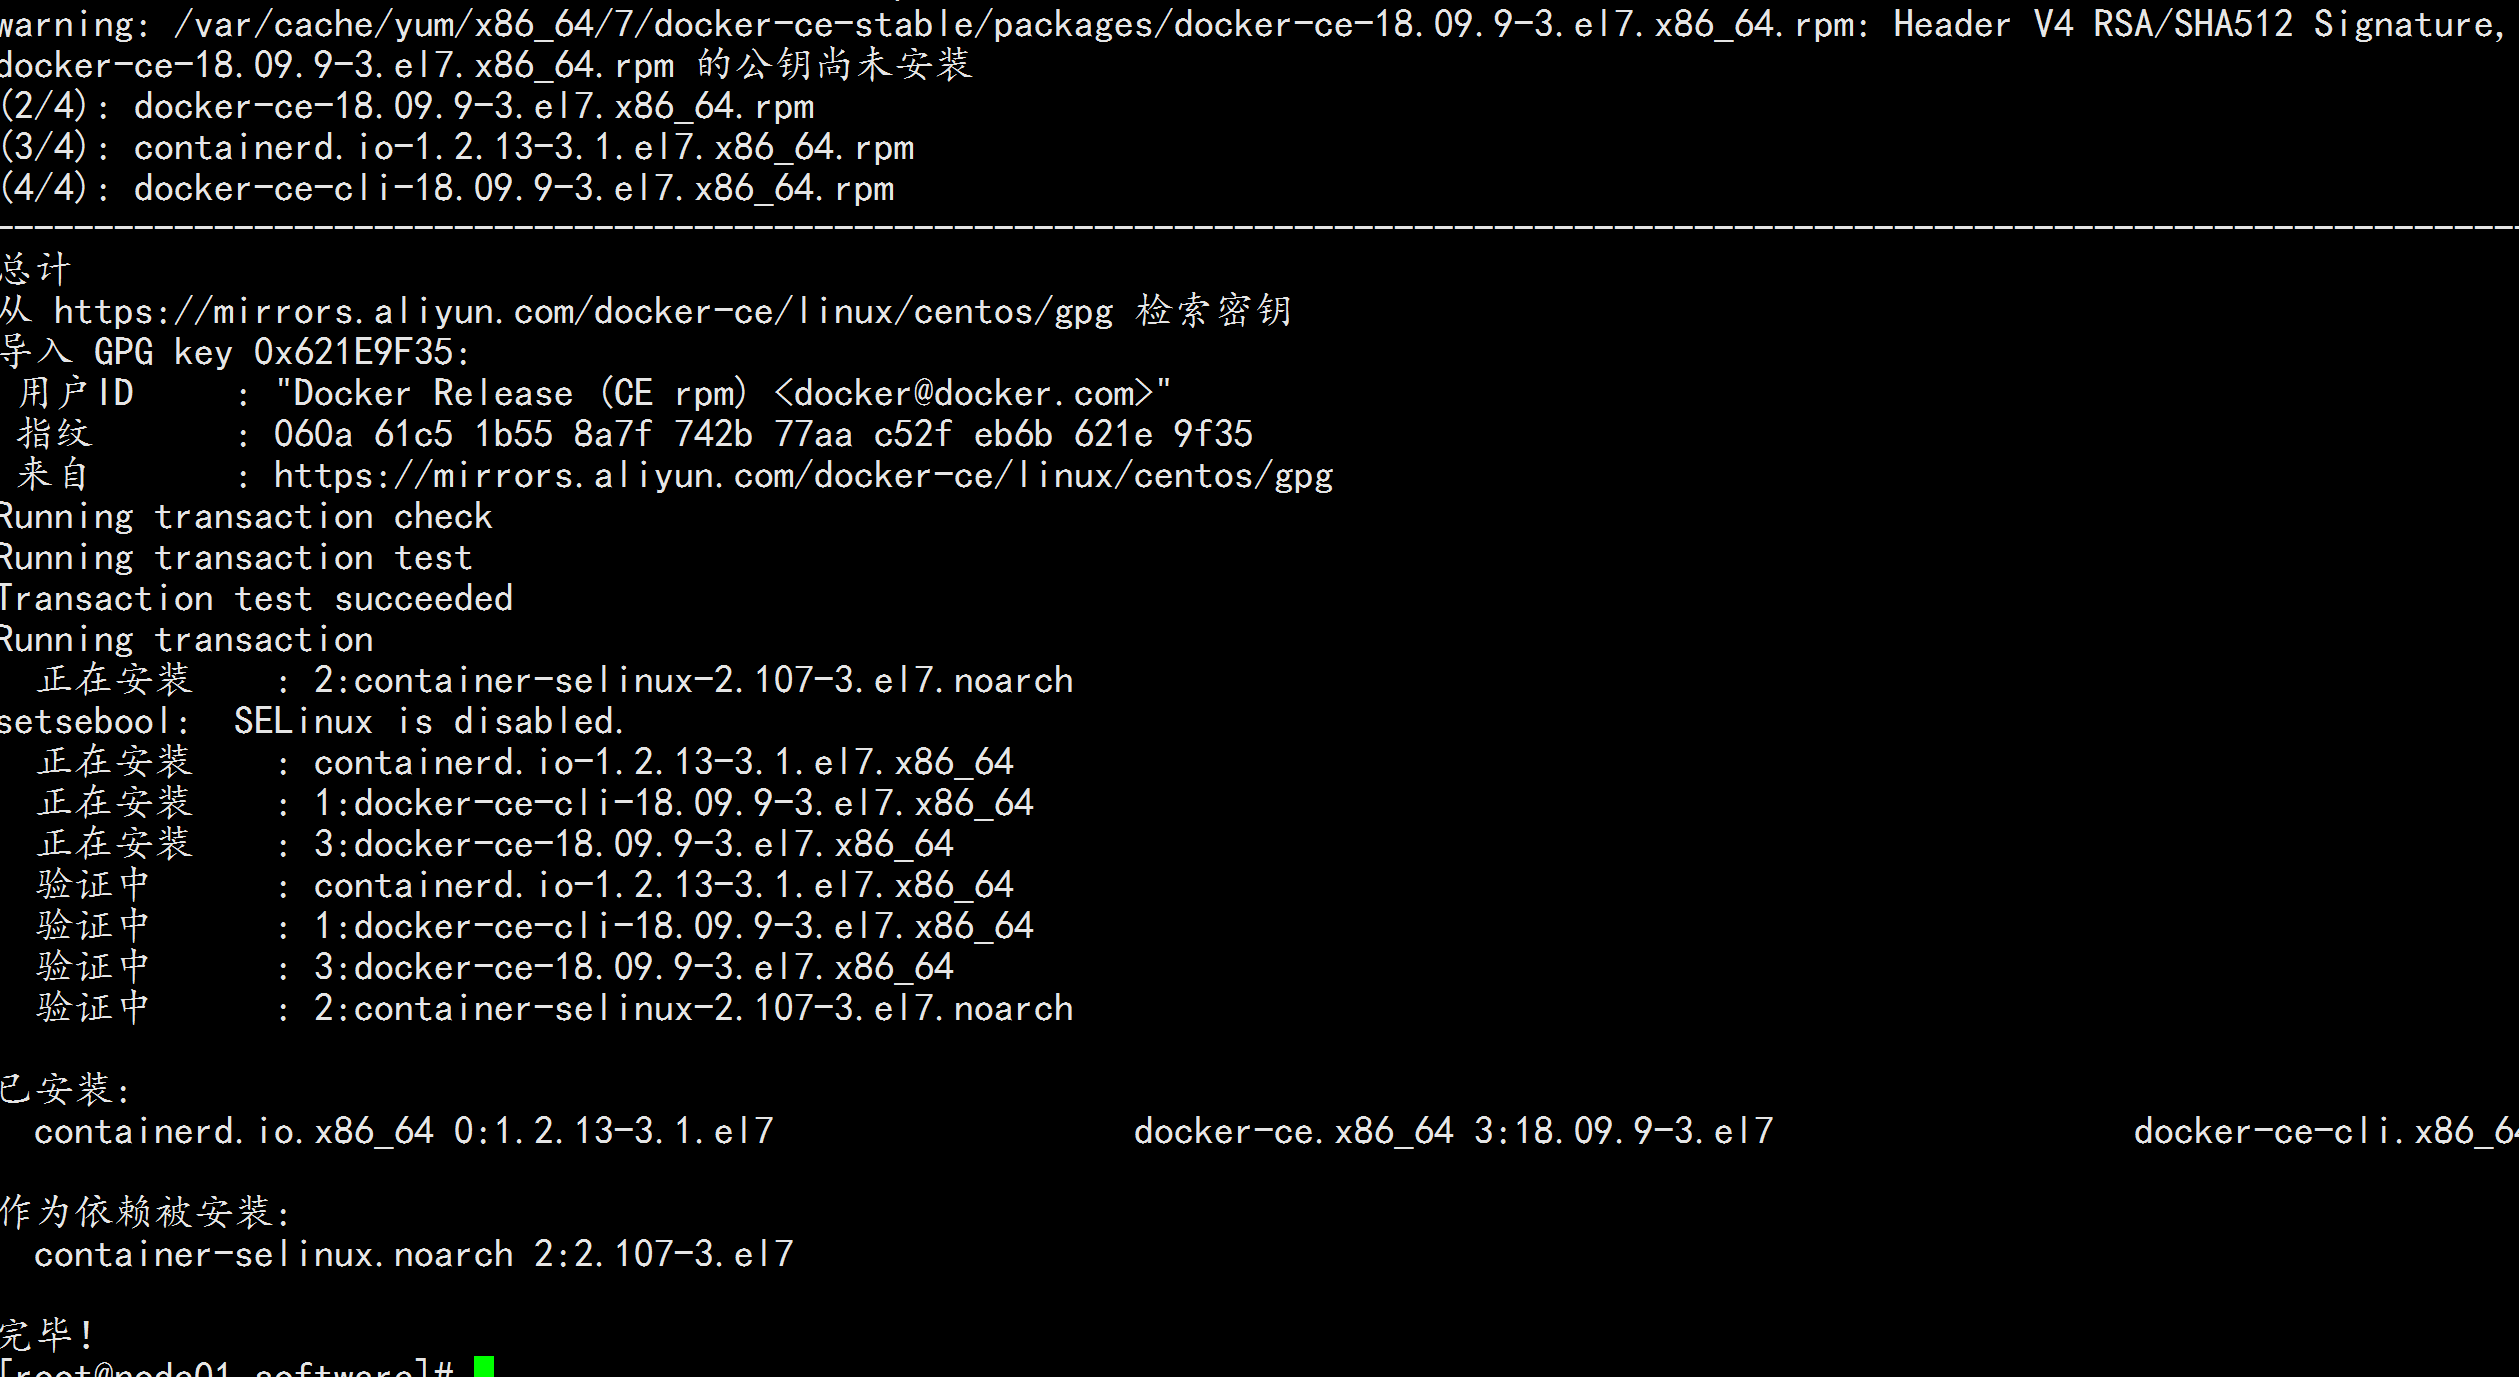

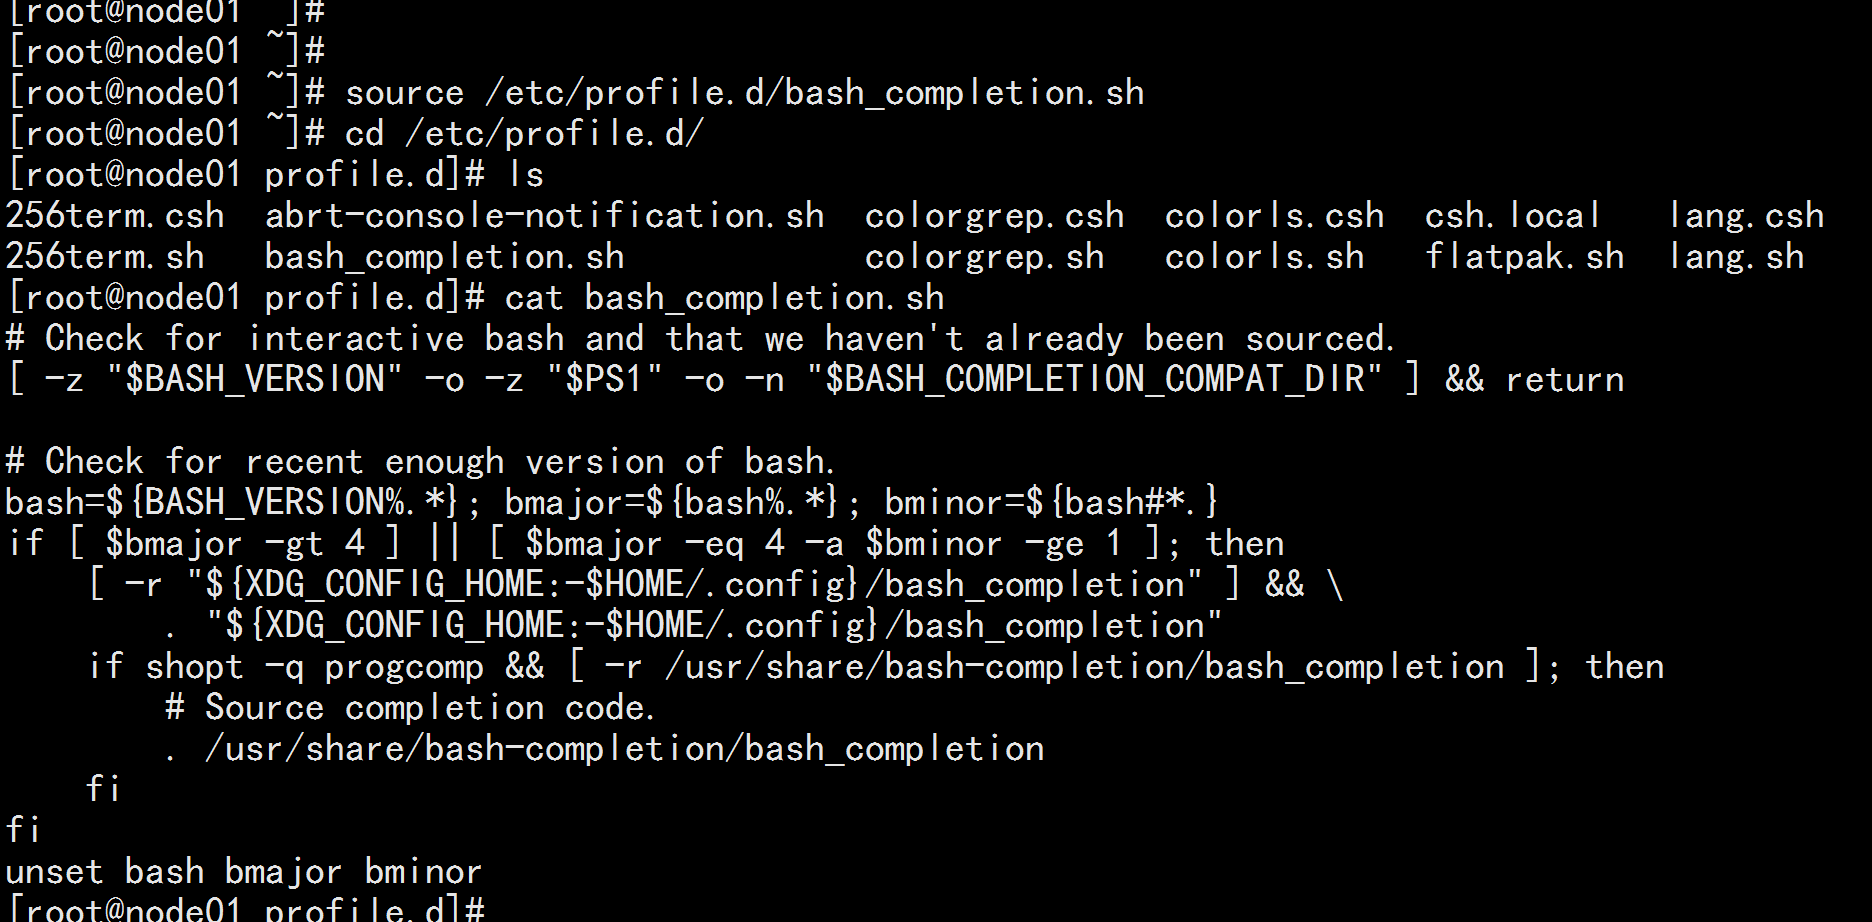
安装命令补全工具yum -y install bash-completionsource /etc/profile.d/bash_completion.sh

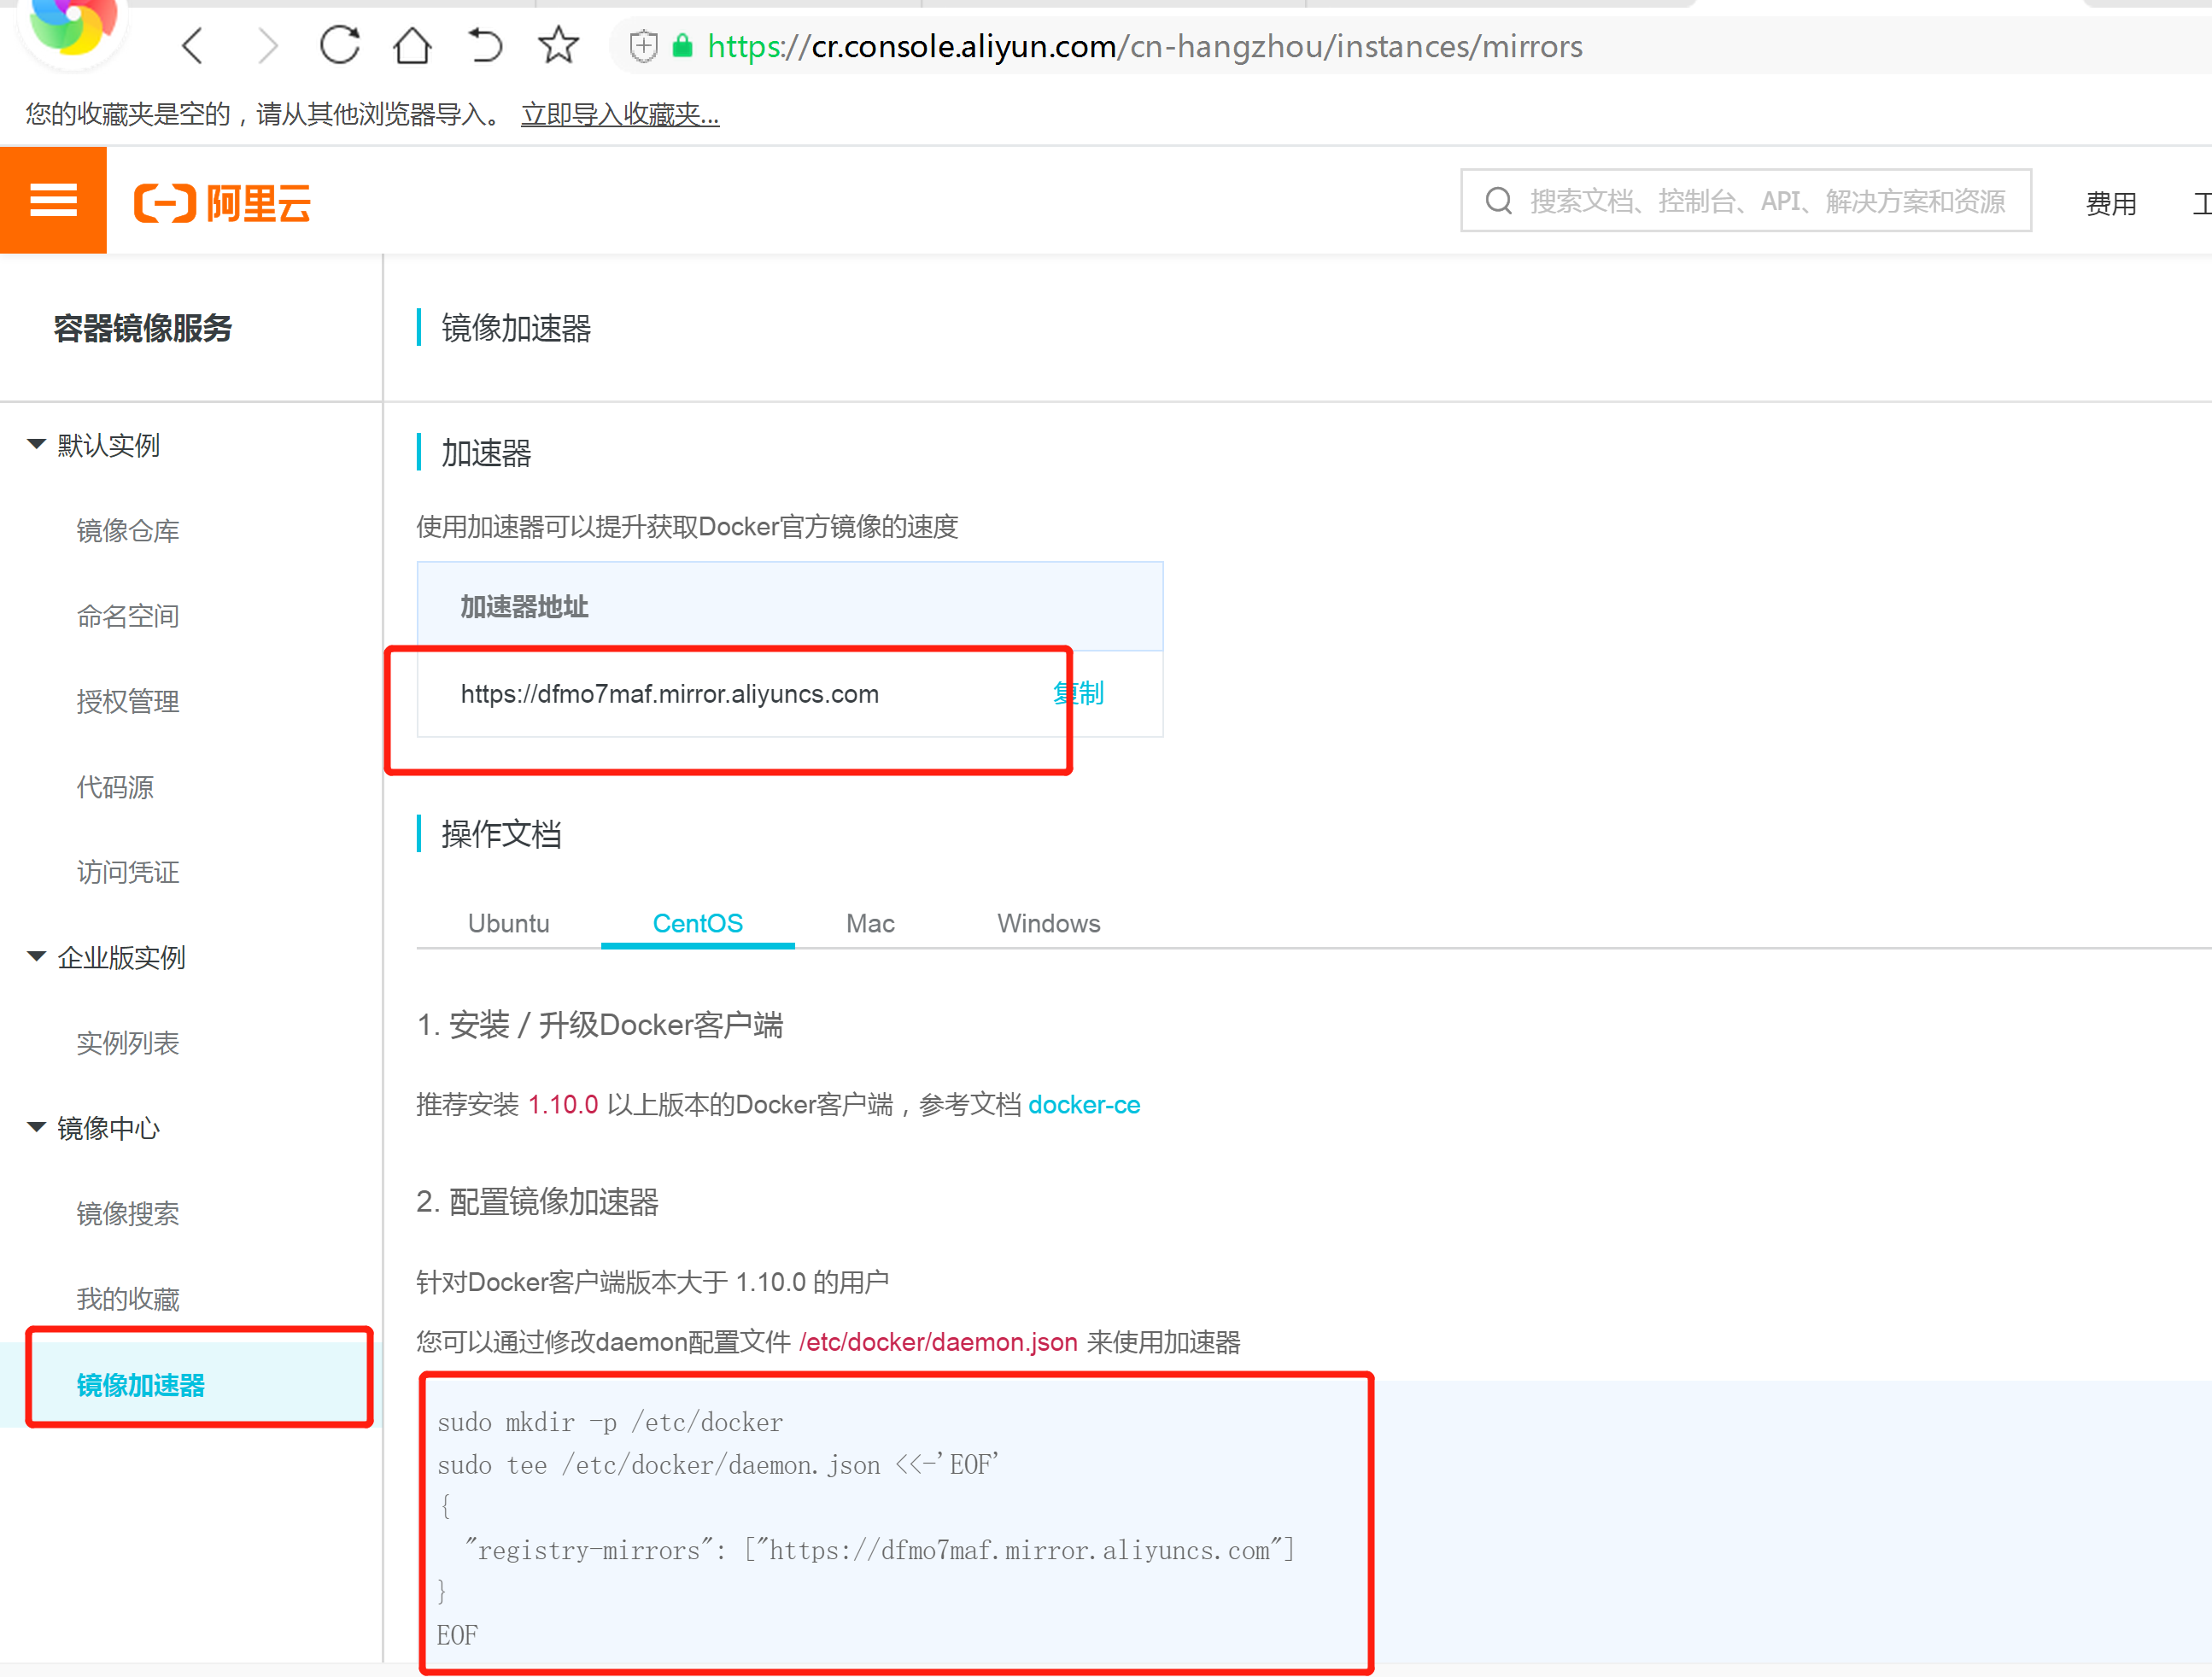
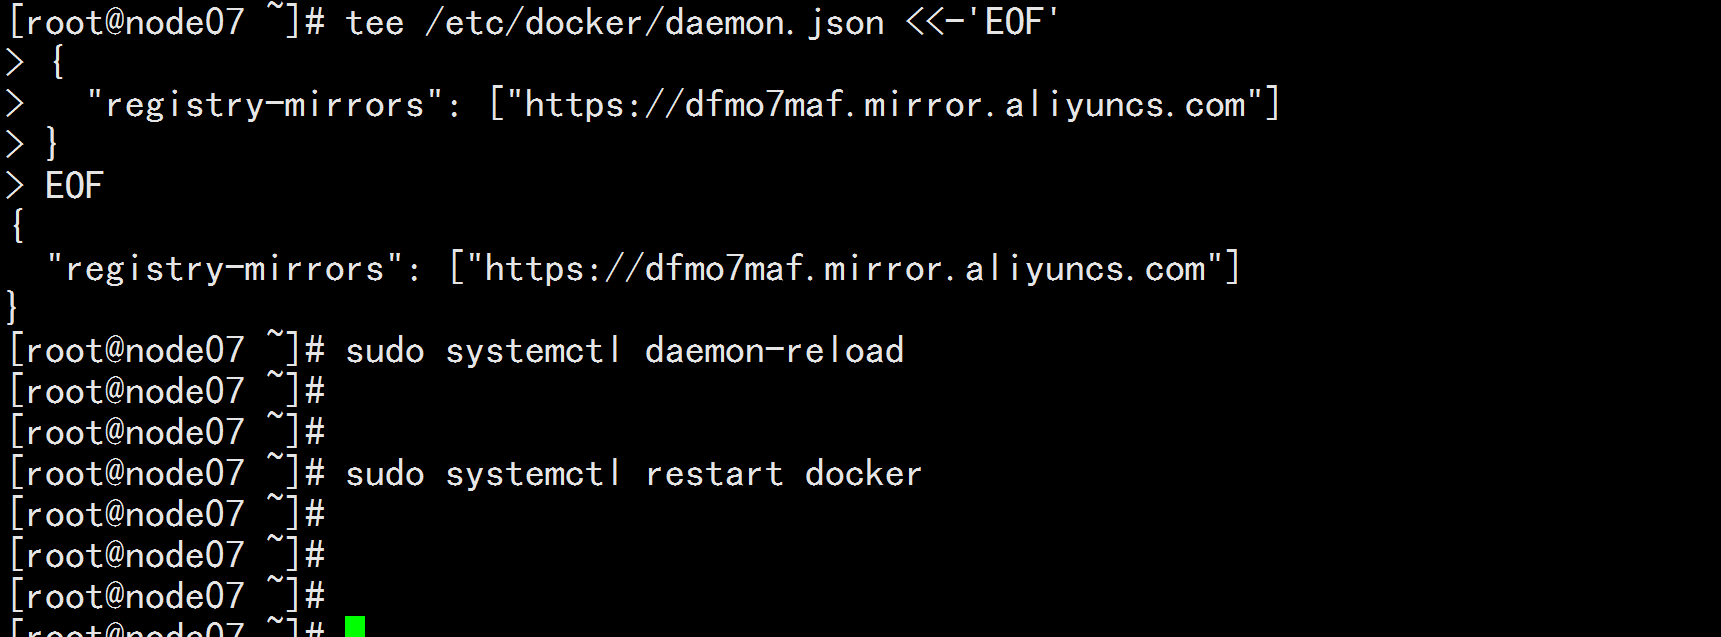
镜像加速由于Docker Hub的服务器在国外,下载镜像会比较慢,可以配置镜像加速器。主要的加速器有:Docker官方提供的中国registry mirror、阿里云加速器、DaoCloud 加速器,本文以阿里加速器配置为例。登陆阿里云容器模块:登陆地址为:https://cr.console.aliyun.com ,未注册的可以先注册阿里云账户mkdir /etc/dockertee /etc/docker/daemon.json <<-'EOF'{"registry-mirrors": ["https://dfmo7maf.mirror.aliyuncs.com"]}EOF
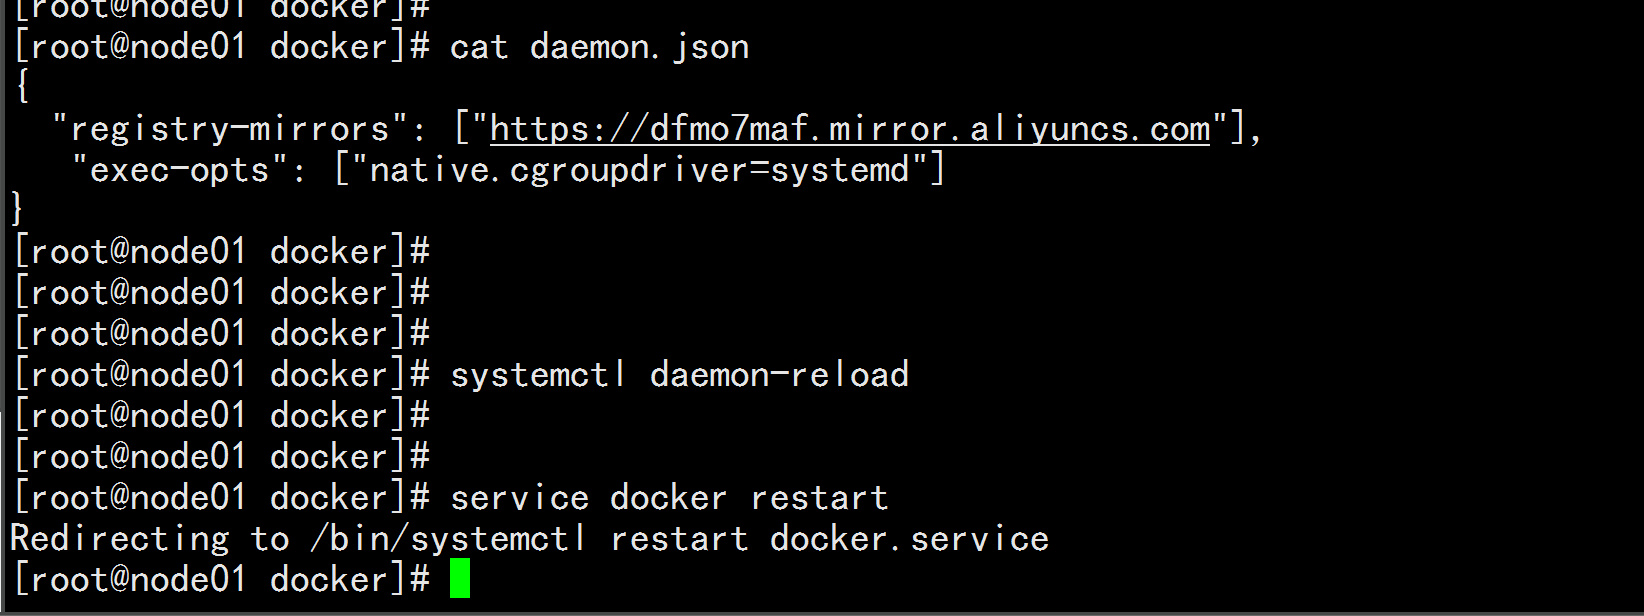
Cgroup Driver:修改daemon.json修改daemon.json,新增‘"exec-opts": ["native.cgroupdriver=systemd"]cat /etc/docker/daemon.json{"registry-mirrors": ["https://dfmo7maf.mirror.aliyuncs.com"],"exec-opts": ["native.cgroupdriver=systemd"]}修改cgroupdriver是为了消除告警:[WARNING IsDockerSystemdCheck]: detected "cgroupfs" as the Docker cgroup driver. The recommended driver is "systemd". Please follow the guide at https://kubernetes.io/docs/setup/cri/

重新加载dockersystemctl daemon-reloadsystemctl restart docker
四:安装keepalived
control plane节点都执行本部分操作。安装keepalivedyum install -y keepalived
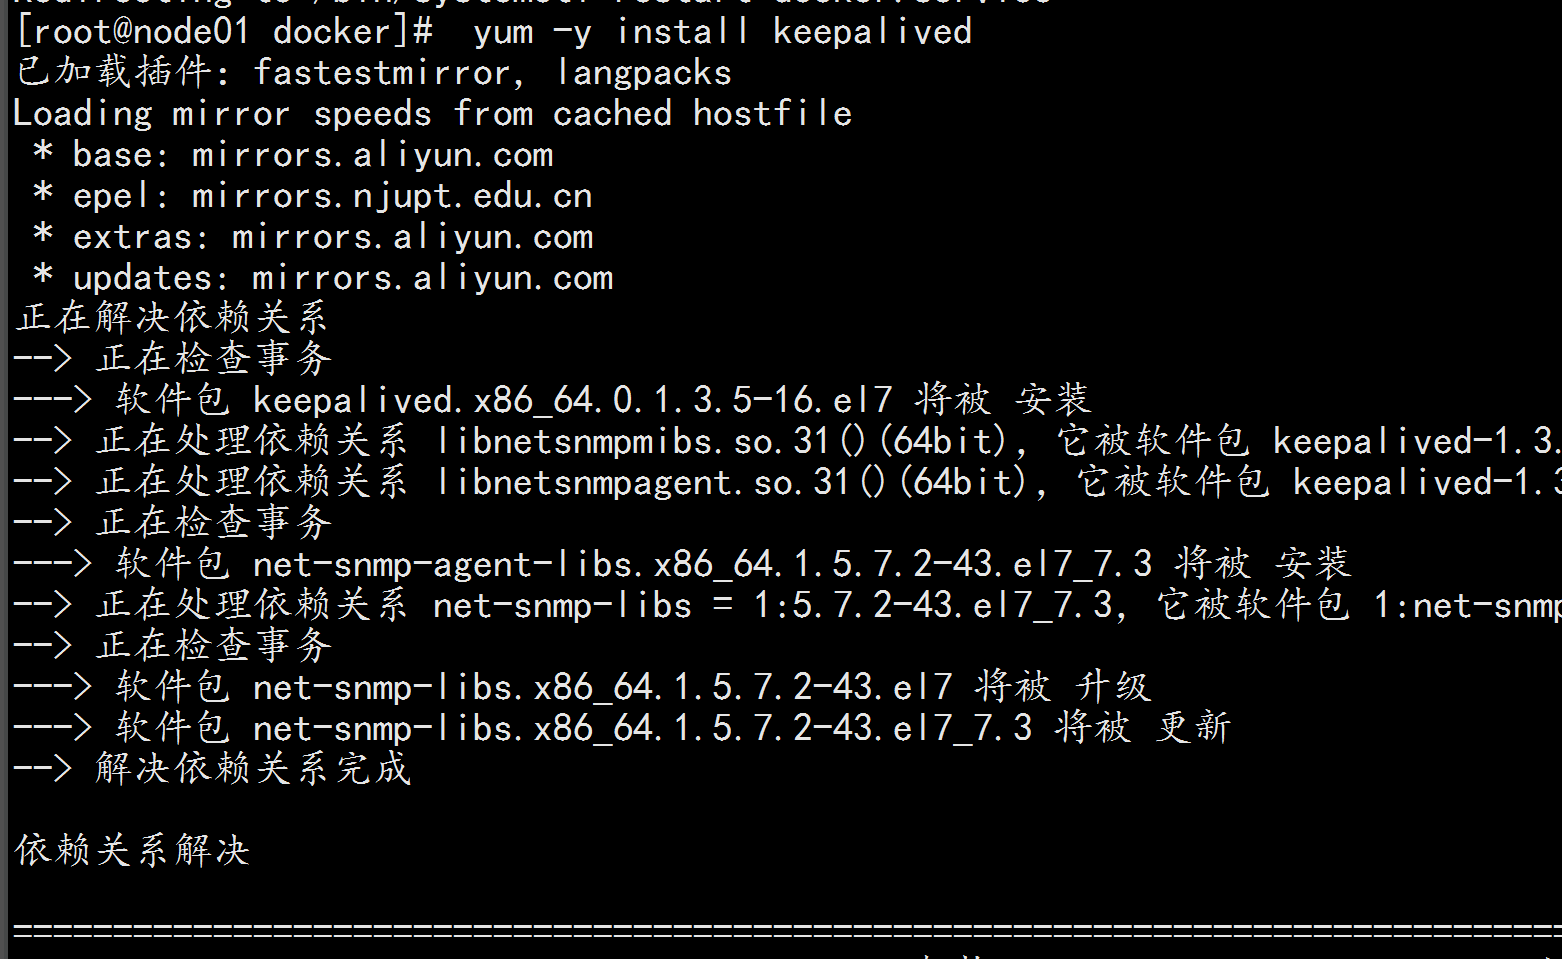
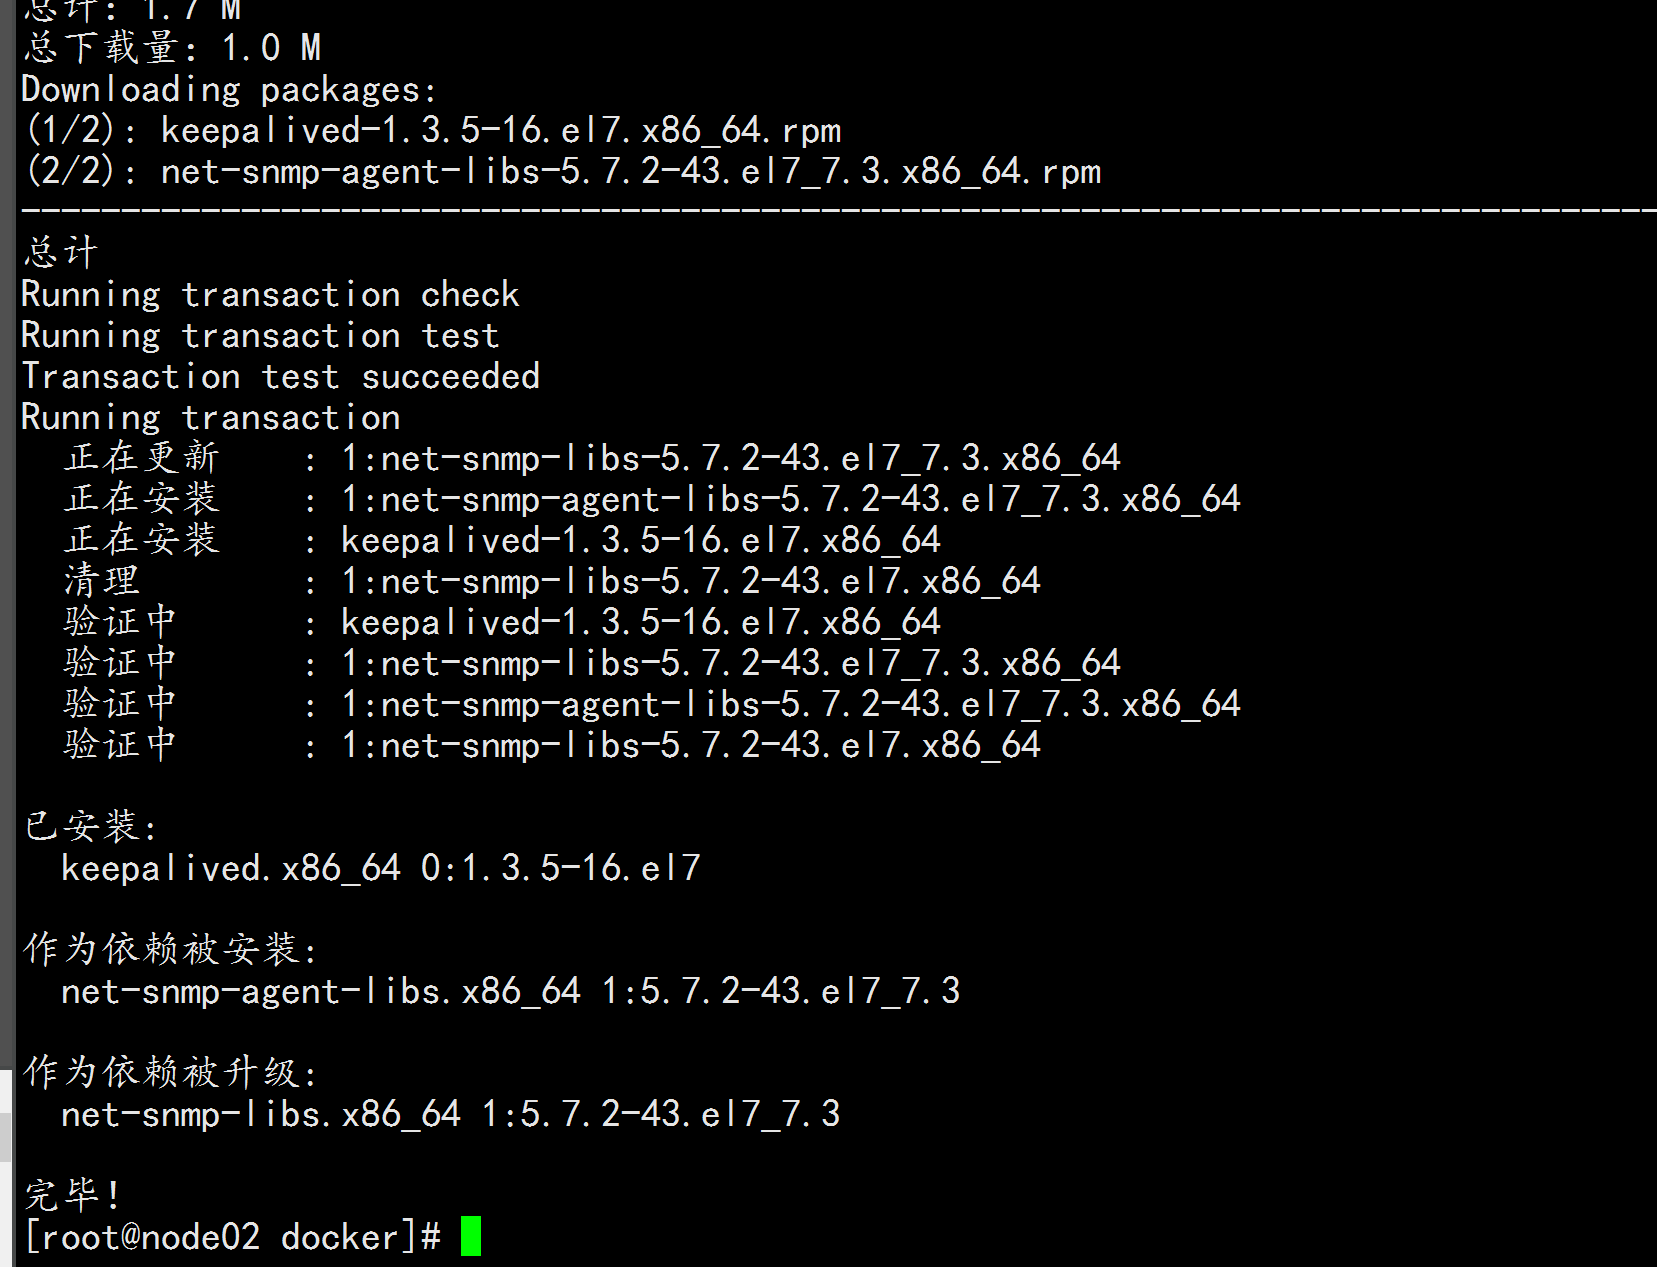
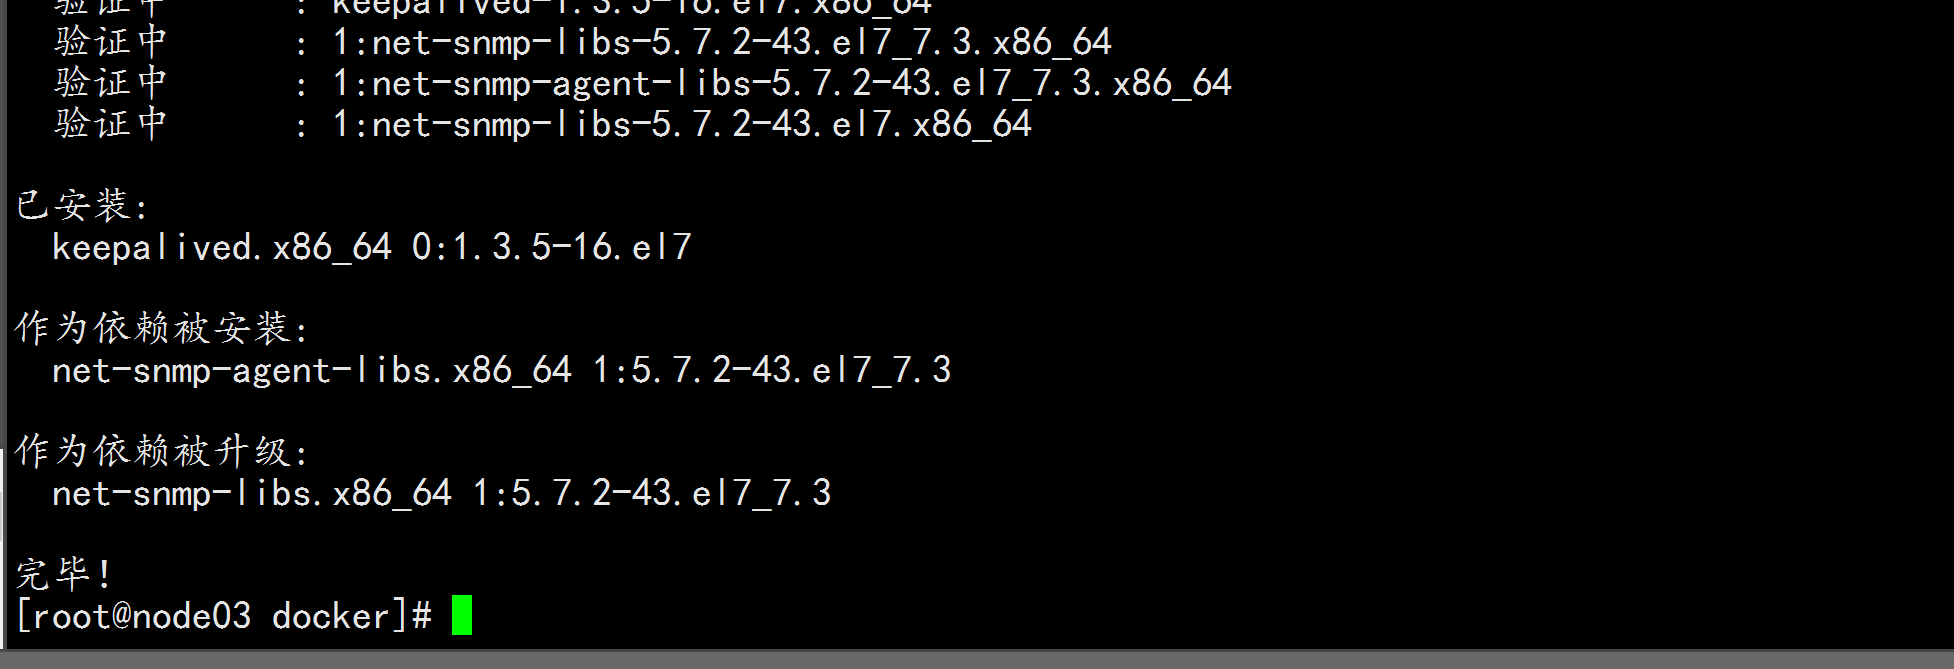
keepalived配置node01.flyfish 配置:cat /etc/keepalived/keepalived.conf---! Configuration File for keepalivedglobal_defs {router_id node01.flyfish}vrrp_instance VI_1 {state MASTERinterface ens33virtual_router_id 50priority 100advert_int 1authentication {auth_type PASSauth_pass 1111}virtual_ipaddress {192.168.100.100}}---node02.flyfish 配置:cat /etc/keepalived/keepalived.conf---! Configuration File for keepalivedglobal_defs {router_id node02.flyfish}vrrp_instance VI_1 {state BACKUPinterface ens33virtual_router_id 50priority 90advert_int 1authentication {auth_type PASSauth_pass 1111}virtual_ipaddress {192.168.100.100}}---node03.flyfish 配置cat /etc/keepalived/keepalived.conf---! Configuration File for keepalivedglobal_defs {router_id node03.flyfish}vrrp_instance VI_1 {state BACKUPinterface ens33virtual_router_id 50priority 90advert_int 1authentication {auth_type PASSauth_pass 1111}virtual_ipaddress {192.168.100.100}}---所有control plane启动keepalived服务并设置开机启动service keepalived startsystemctl enable keepalived

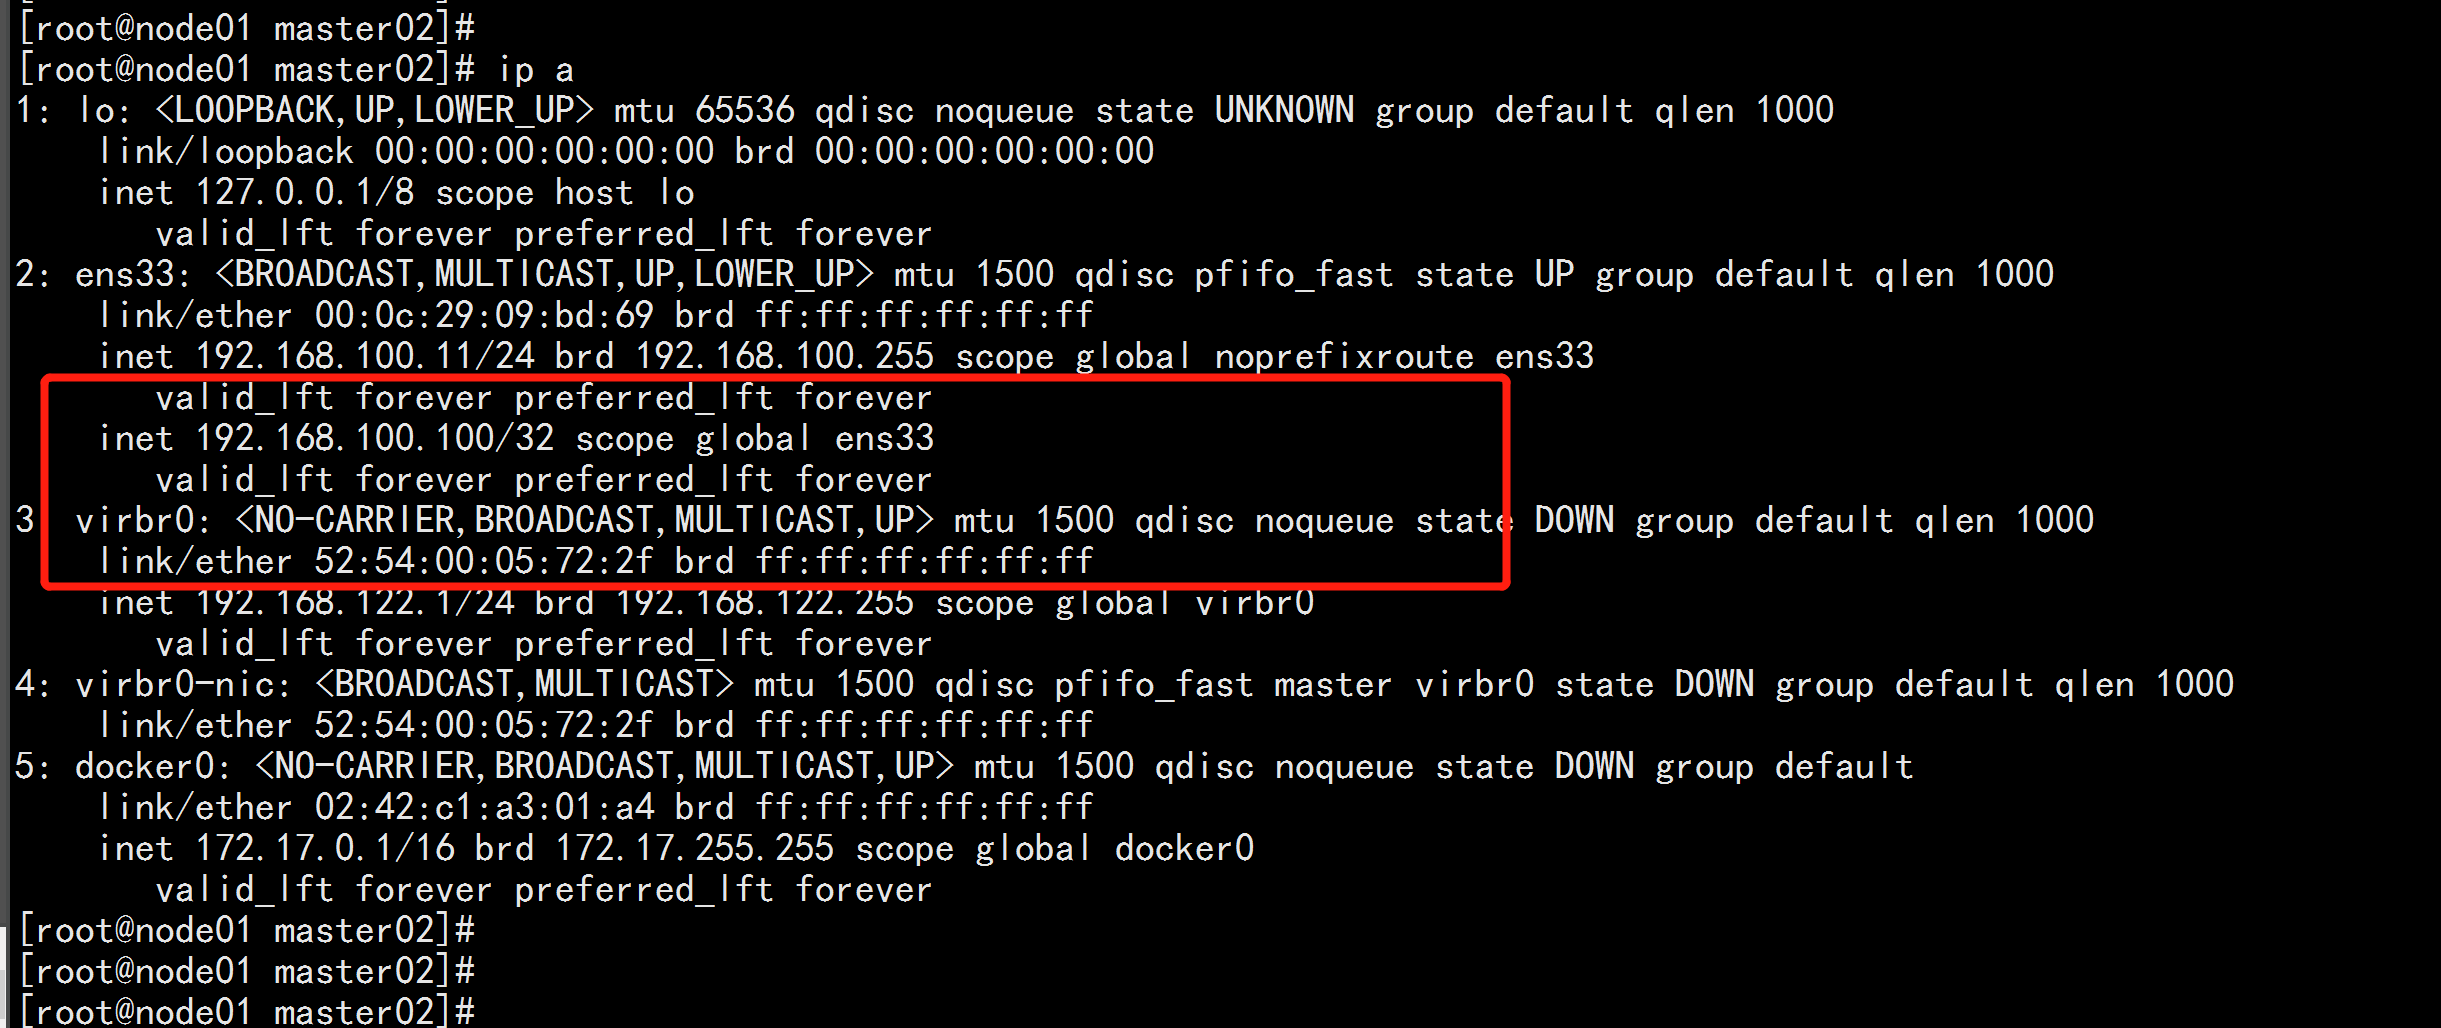
vip在node01.flyfish上
五: k8s安装
5.1:安装 Kubeadm (主从配置)
control plane和work节点都执行本部分操作。cat >> /etc/yum.repos.d/kubernetes.repo << EOF[kubernetes]name=Kubernetesbaseurl=http://mirrors.aliyun.com/kubernetes/yum/repos/kubernetes-el7-x86_64enabled=1gpgcheck=0repo_gpgcheck=0gpgkey=http://mirrors.aliyun.com/kubernetes/yum/doc/yum-key.gpghttp://mirrors.aliyun.com/kubernetes/yum/doc/rpm-package-key.gpgEOF

yum list kubelet --showduplicates | sort -r本文安装的kubelet版本是1.16.4,该版本支持的docker版本为1.13.1, 17.03, 17.06, 17.09, 18.06, 18.09。
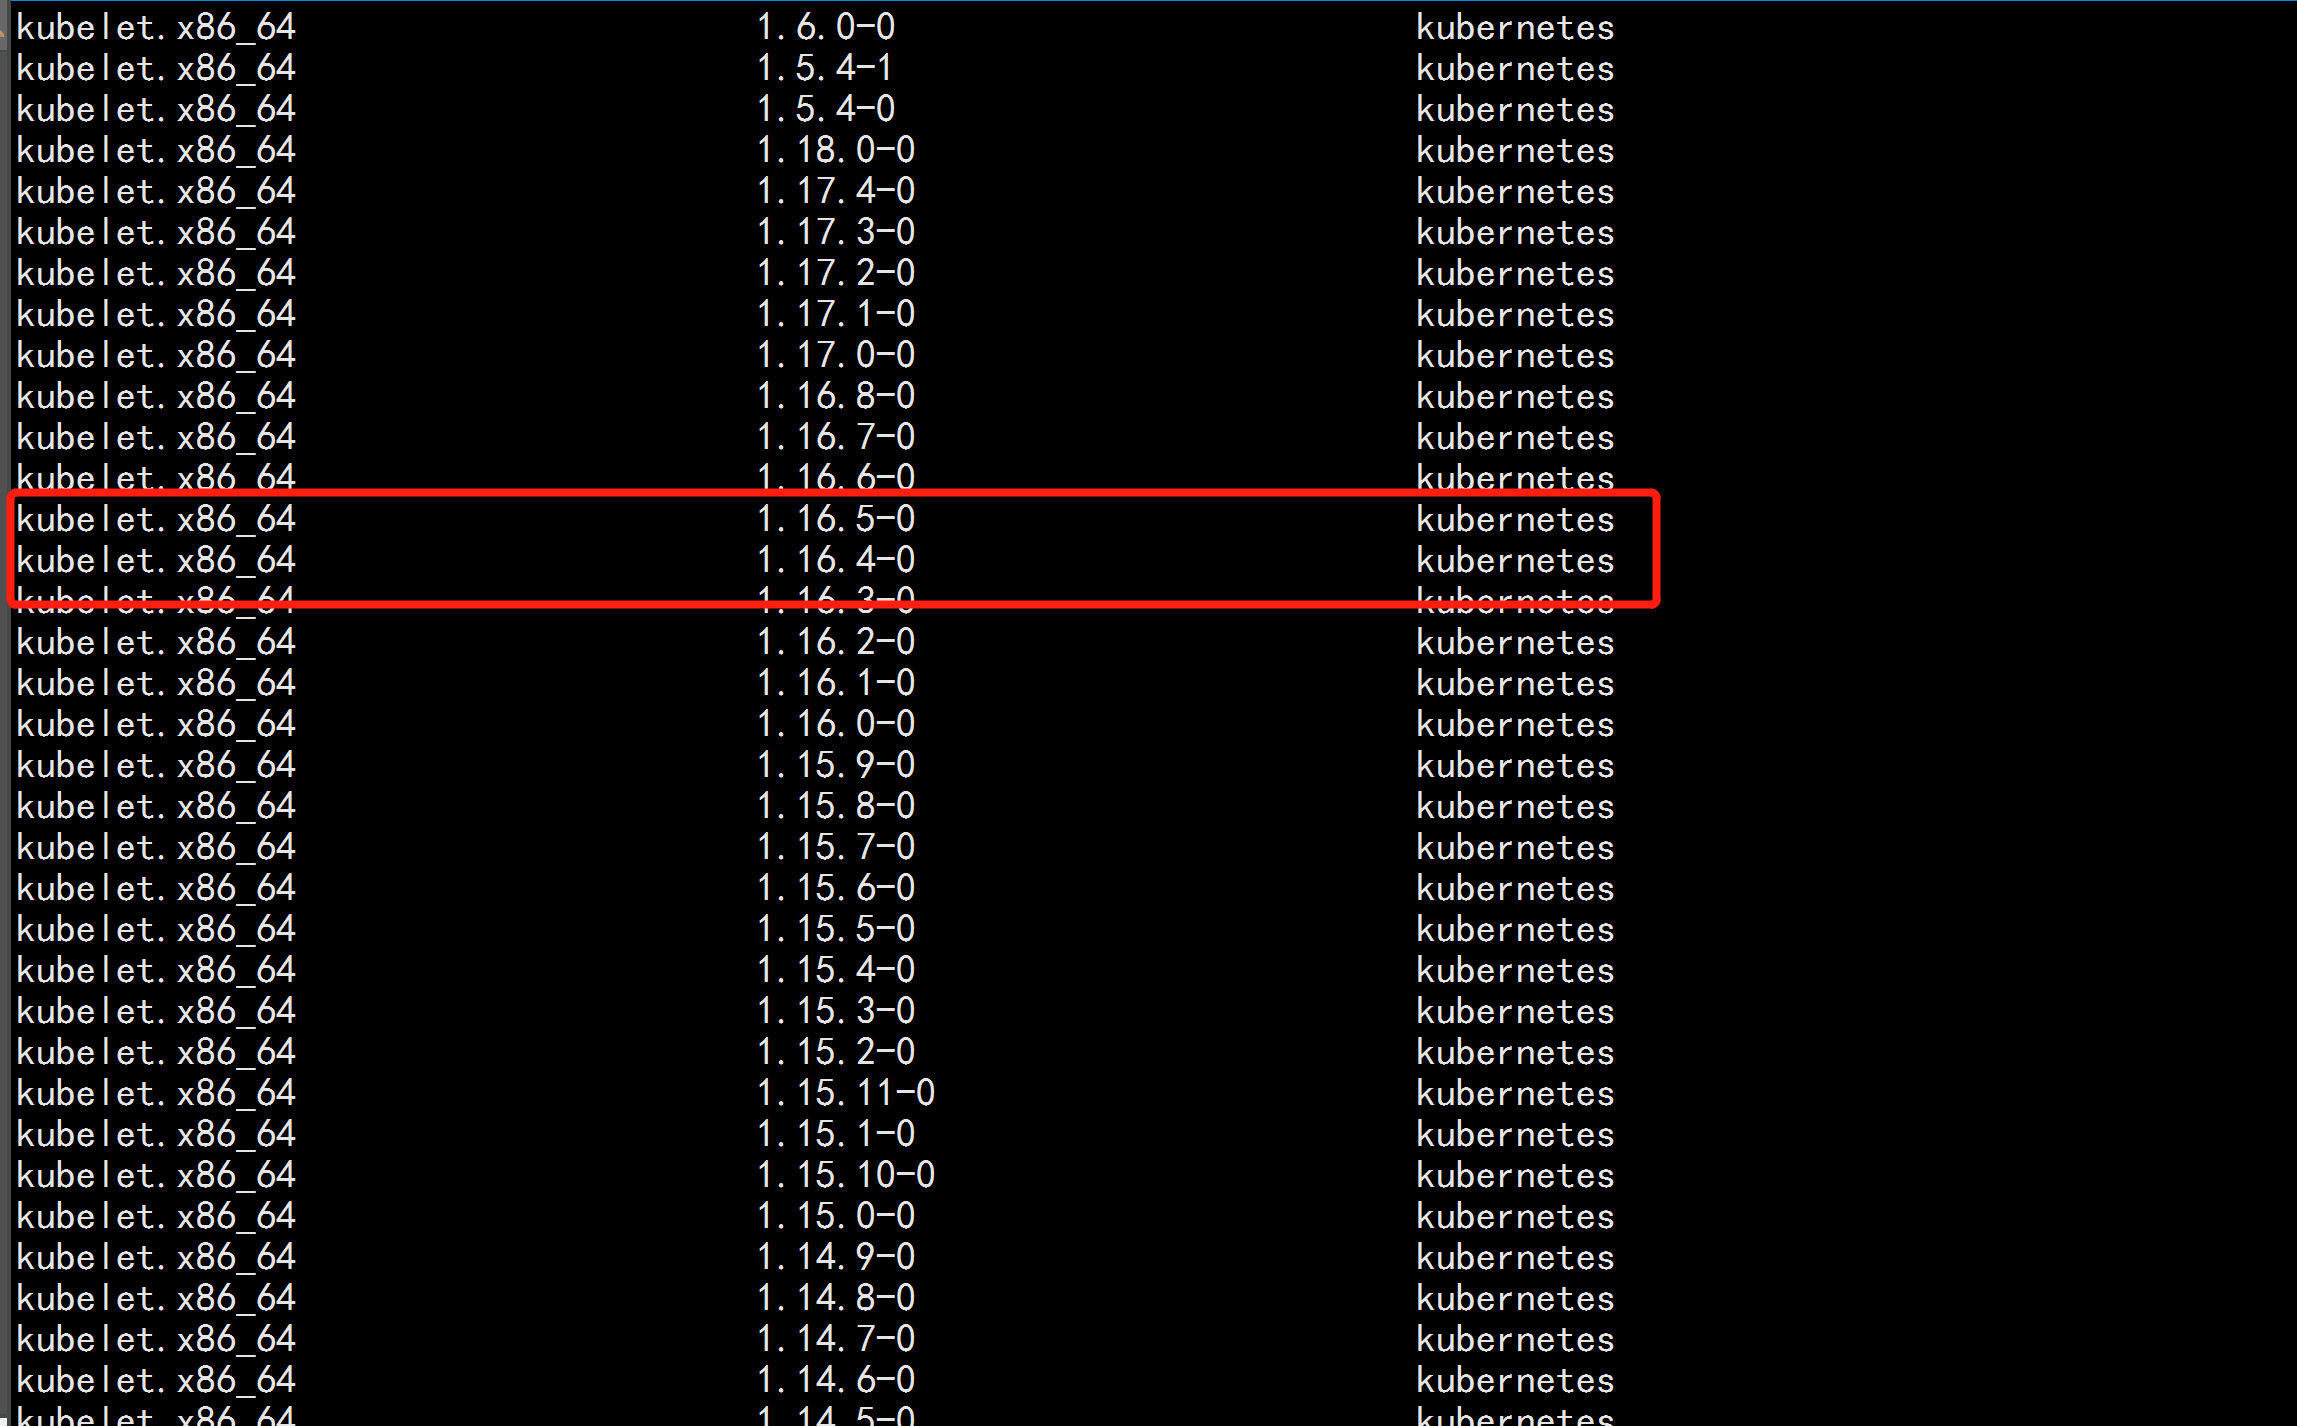
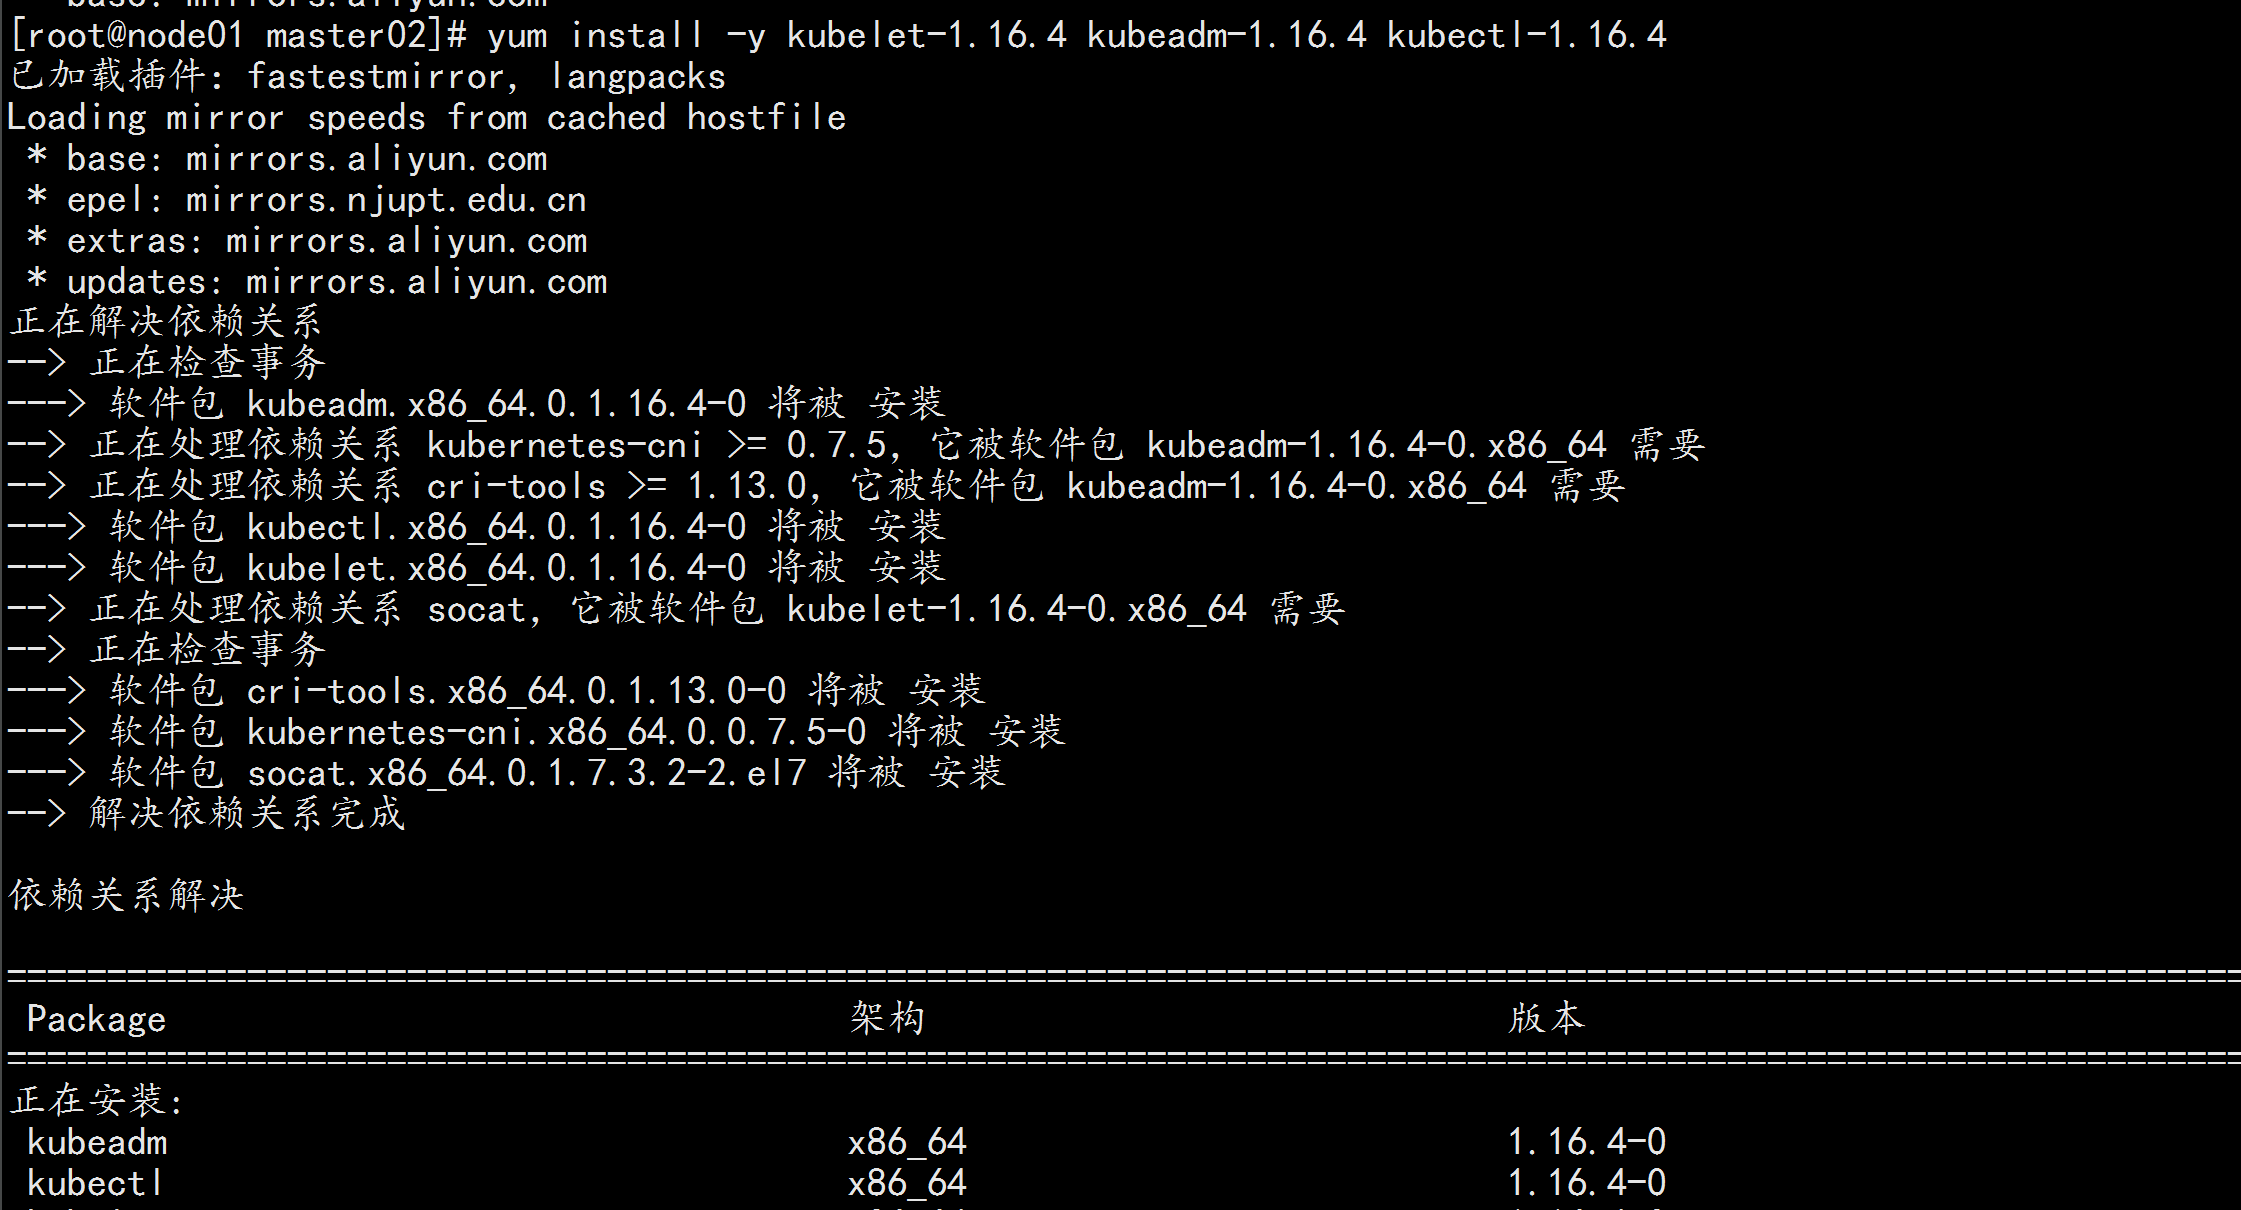
yum -y install kubeadm-1.16.4 kubectl-1.16.4 kubelet-1.16.4---kubelet 运行在集群所有节点上,用于启动Pod和容器等对象的工具kubeadm 用于初始化集群,启动集群的命令工具kubectl 用于和集群通信的命令行,通过kubectl可以部署和管理应用,查看各种资源,创建、删除和更新各种组件---启动kubelet:systemctl enable kubelet && systemctl start kubelet
kubectl命令补全echo "source <(kubectl completion bash)" >> ~/.bash_profilesource .bash_profile

5.2 下载镜像
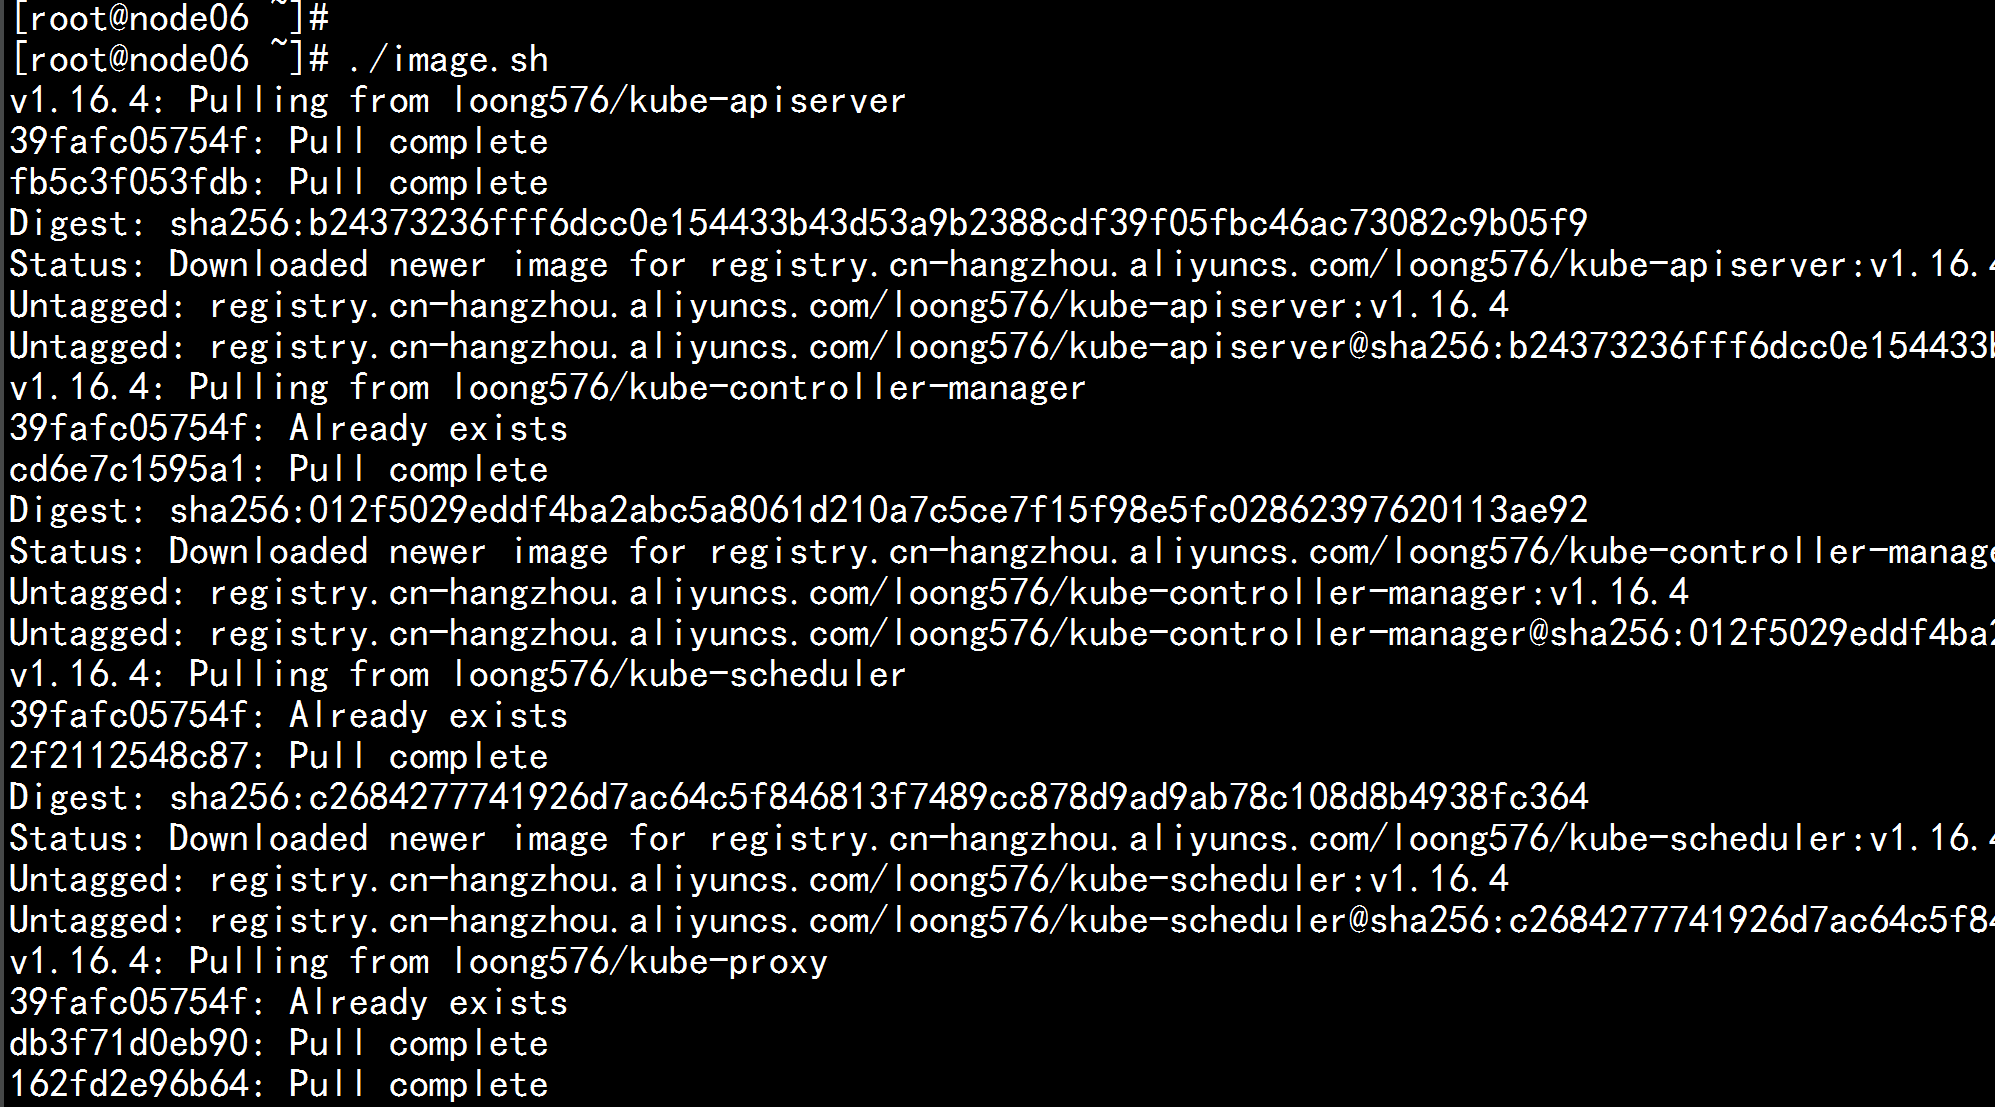
镜像下载的脚本:Kubernetes几乎所有的安装组件和Docker镜像都放在goolge自己的网站上,直接访问可能会有网络问题,这里的解决办法是从阿里云镜像仓库下载镜像,拉取到本地以后改回默认的镜像tag。本文通过运行image.sh脚本方式拉取镜像。
下载脚本vim image.sh---#!/bin/bashurl=registry.cn-hangzhou.aliyuncs.com/loong576version=v1.16.4images=(`kubeadm config images list --kubernetes-version=$version|awk -F '/' '{print $2}'`)for imagename in ${images[@]} ; dodocker pull $url/$imagenamedocker tag $url/$imagename k8s.gcr.io/$imagenamedocker rmi -f $url/$imagenamedone---./image.shdocker images

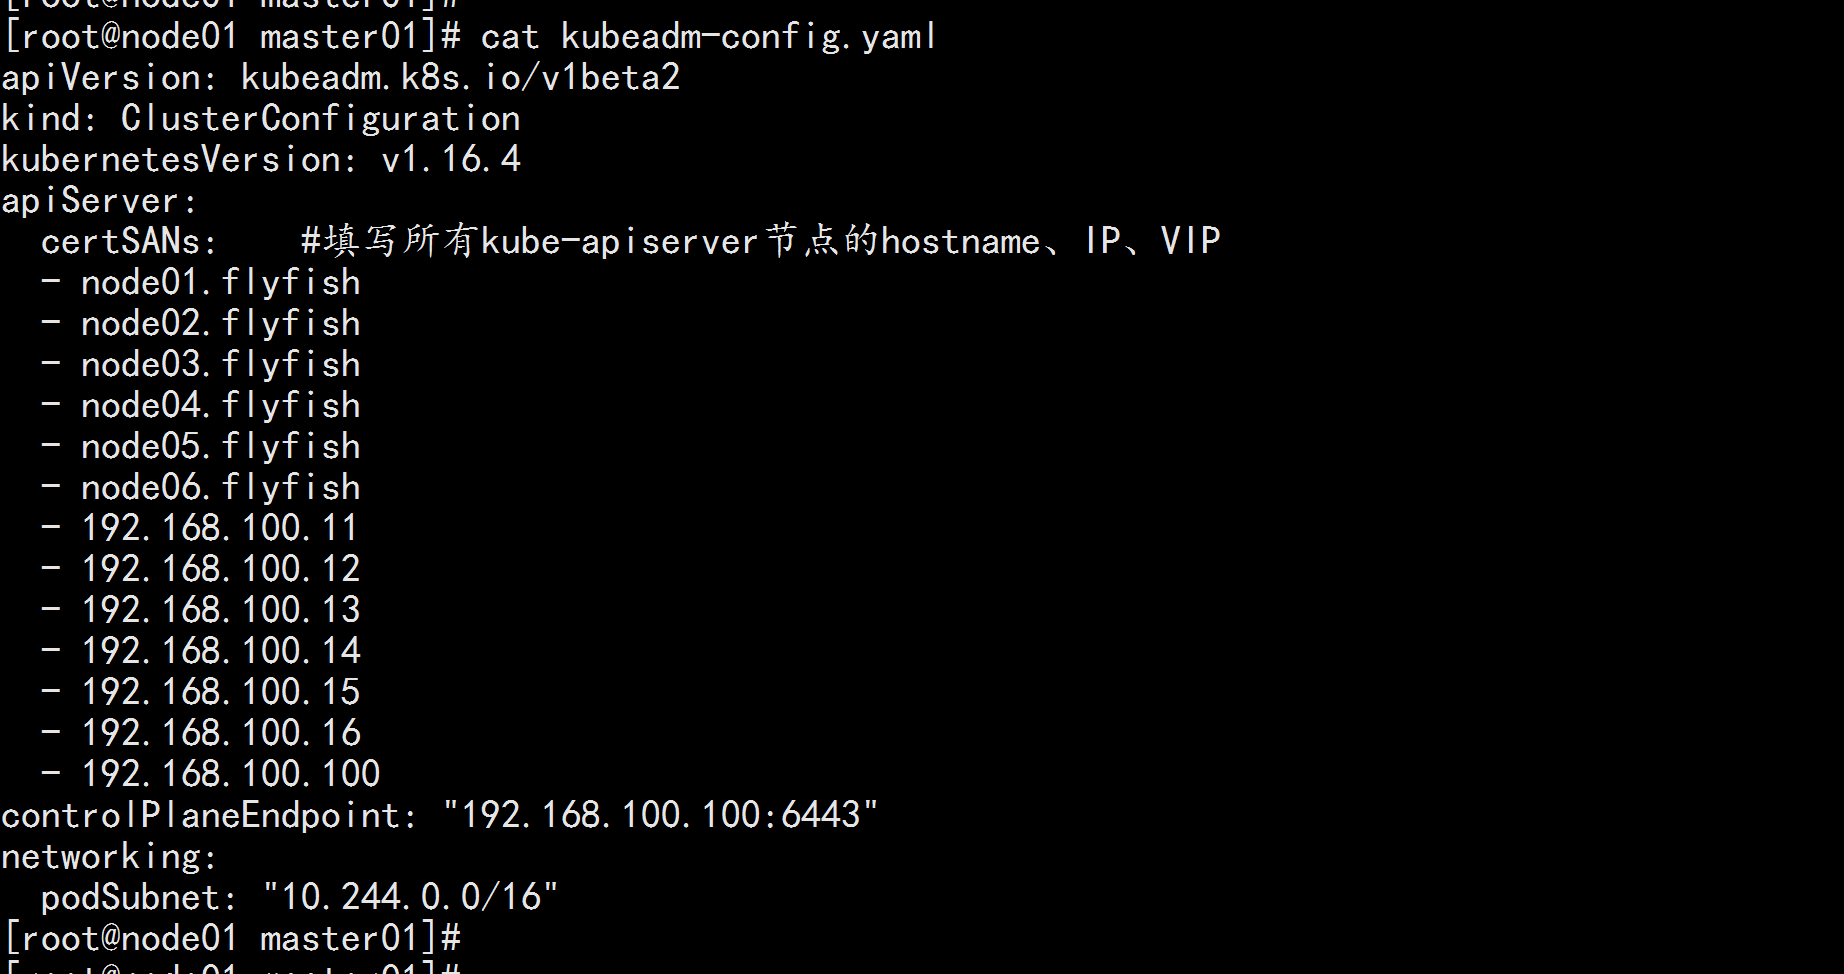
node01.flyfish 节点 初始化cat kubeadm-config.yaml---apiVersion: kubeadm.k8s.io/v1beta2kind: ClusterConfigurationkubernetesVersion: v1.16.4apiServer:certSANs: #填写所有kube-apiserver节点的hostname、IP、VIP- node01.flyfish- node02.flyfish- node03.flyfish- node04.flyfish- node05.flyfish- node06.flyfish- 192.168.100.11- 192.168.100.12- 192.168.100.13- 192.168.100.14- 192.168.100.15- 192.168.100.16- 192.168.100.100controlPlaneEndpoint: "192.168.100.100:6443"networking:podSubnet: "10.244.0.0/16"---
初始化主机节点:kubeadm init --config=kubeadm-config.yaml---Your Kubernetes control-plane has initialized successfully!To start using your cluster, you need to run the following as a regular user:mkdir -p $HOME/.kubesudo cp -i /etc/kubernetes/admin.conf $HOME/.kube/configsudo chown $(id -u):$(id -g) $HOME/.kube/configYou should now deploy a pod network to the cluster.Run "kubectl apply -f [podnetwork].yaml" with one of the options listed at:https://kubernetes.io/docs/concepts/cluster-administration/addons/You can now join any number of control-plane nodes by copying certificate authoritiesand service account keys on each node and then running the following as root:kubeadm join 192.168.100.100:6443 --token 3j4th7.4va6qsj7at7ky2qs \--discovery-token-ca-cert-hash sha256:13d17c476688e4e78837b9cac94efa7edf689bf530a2120e2b81bf13b588fff9 \--control-planeThen you can join any number of worker nodes by running the following on each as root:kubeadm join 192.168.100.100:6443 --token 3j4th7.4va6qsj7at7ky2qs \--discovery-token-ca-cert-hash sha256:13d17c476688e4e78837b9cac94efa7edf689bf530a2120e2b81bf13b588fff9---
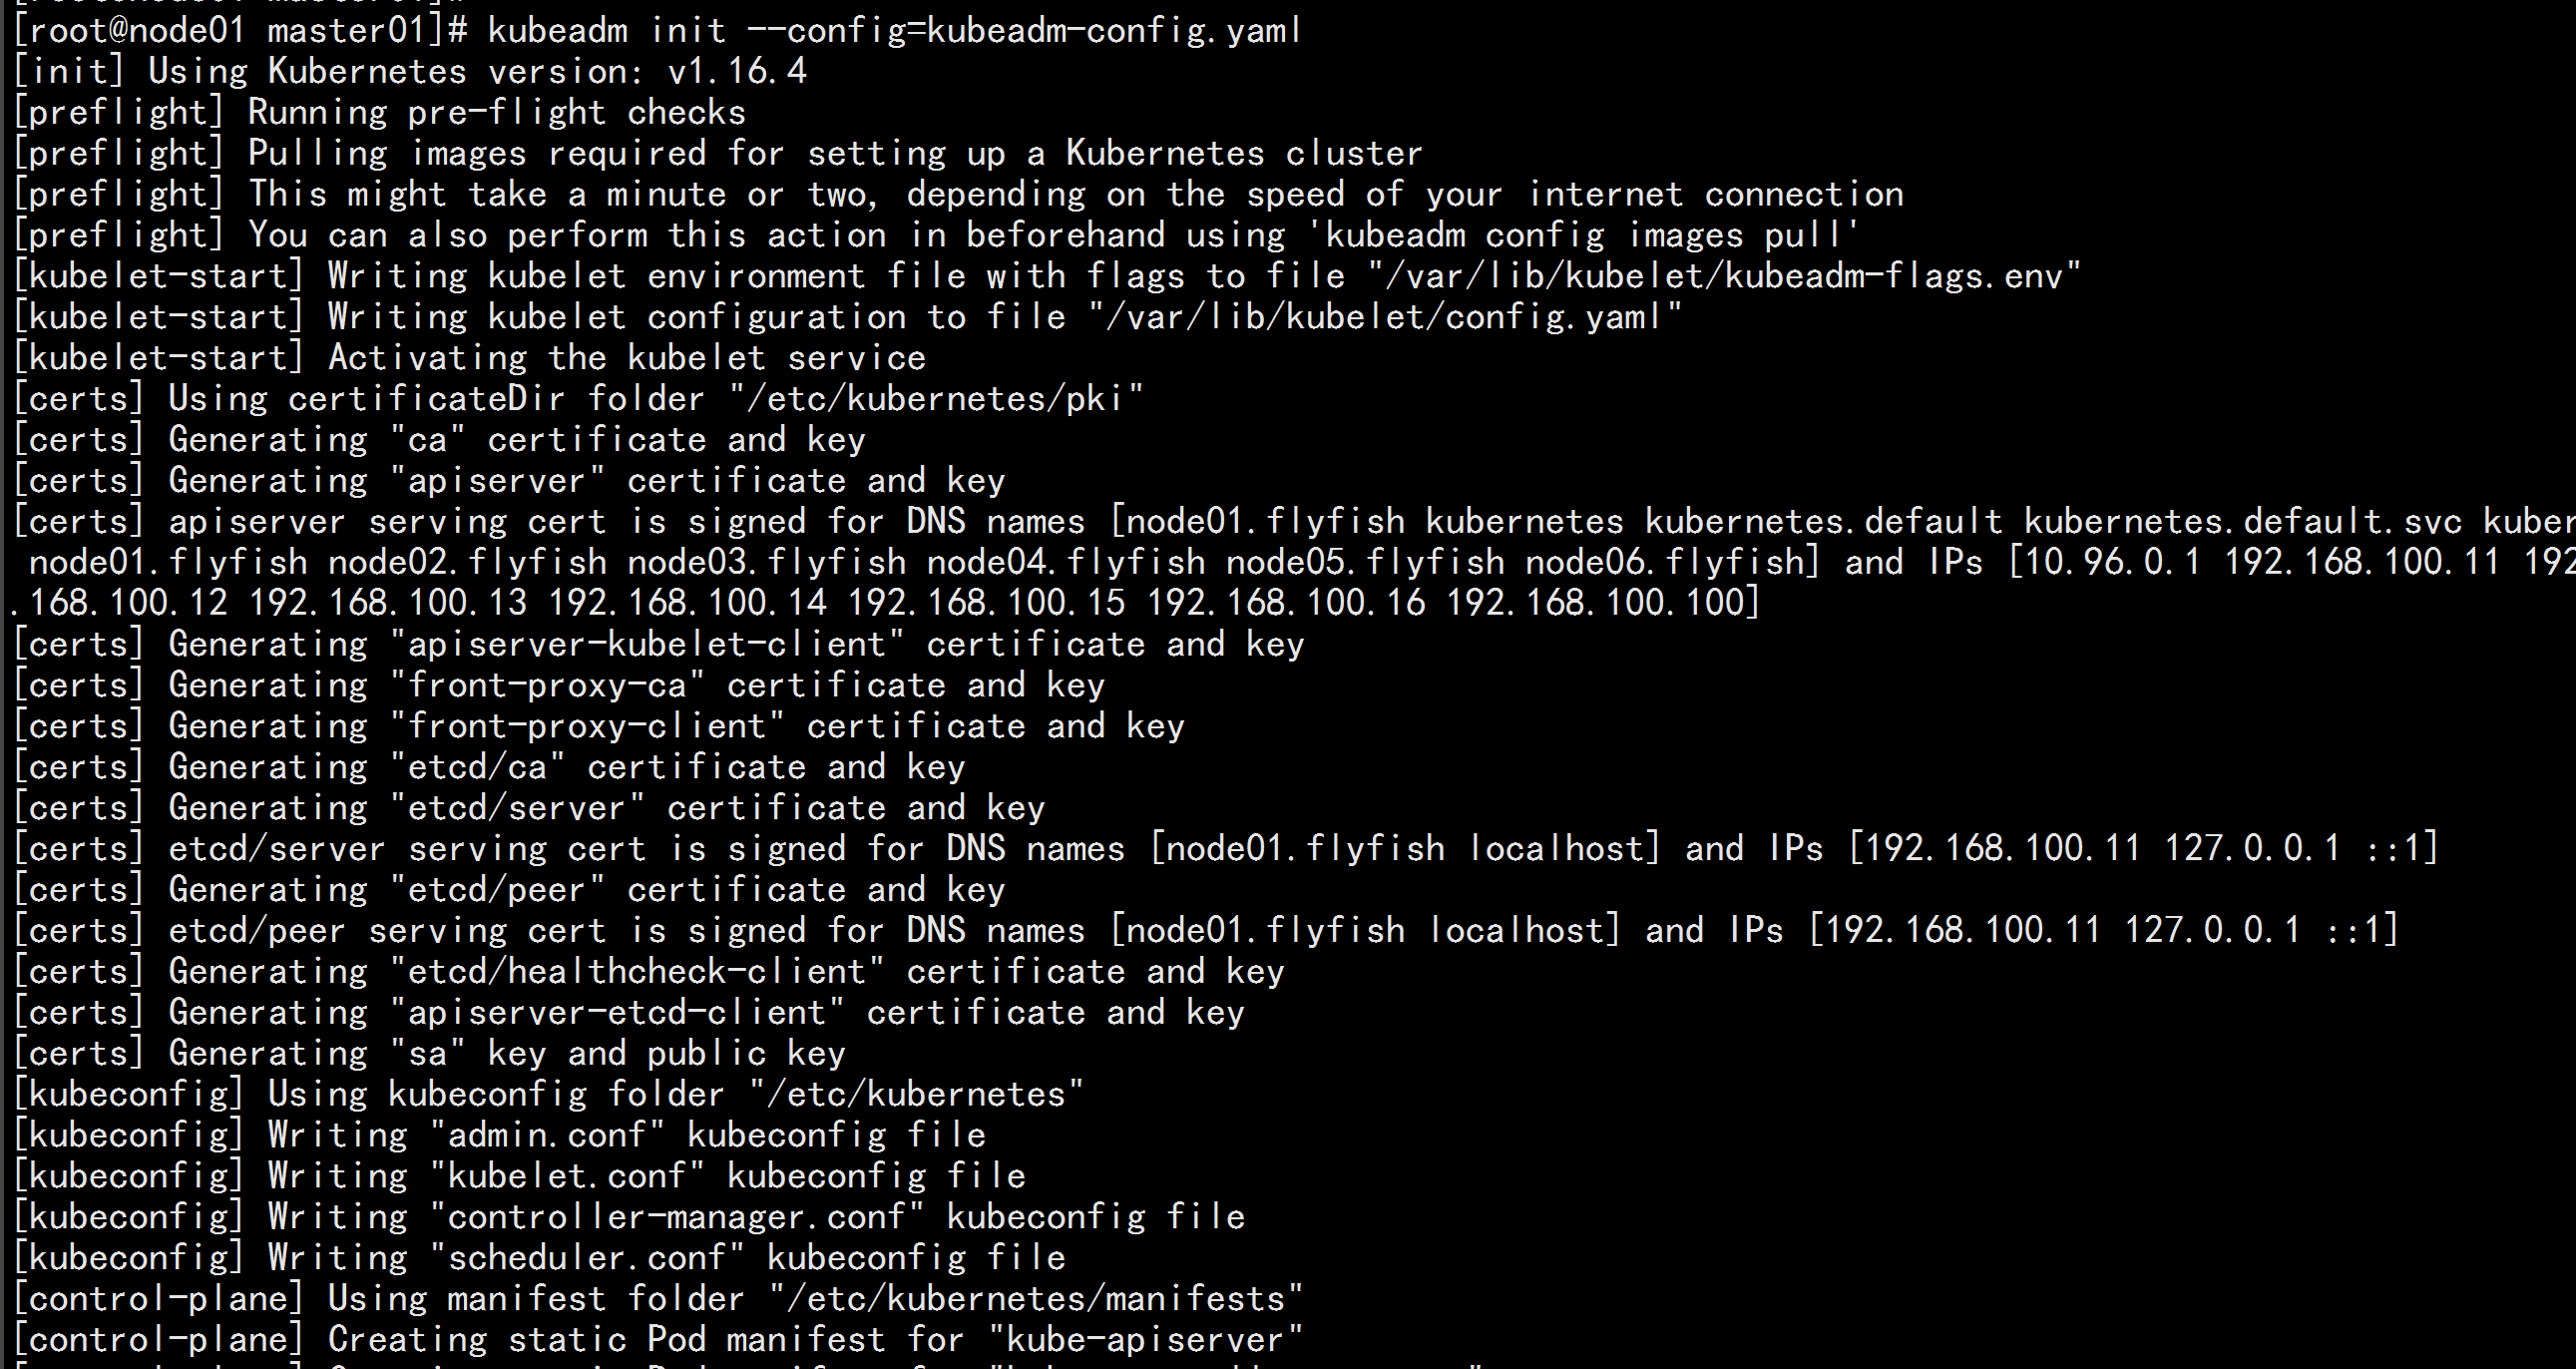
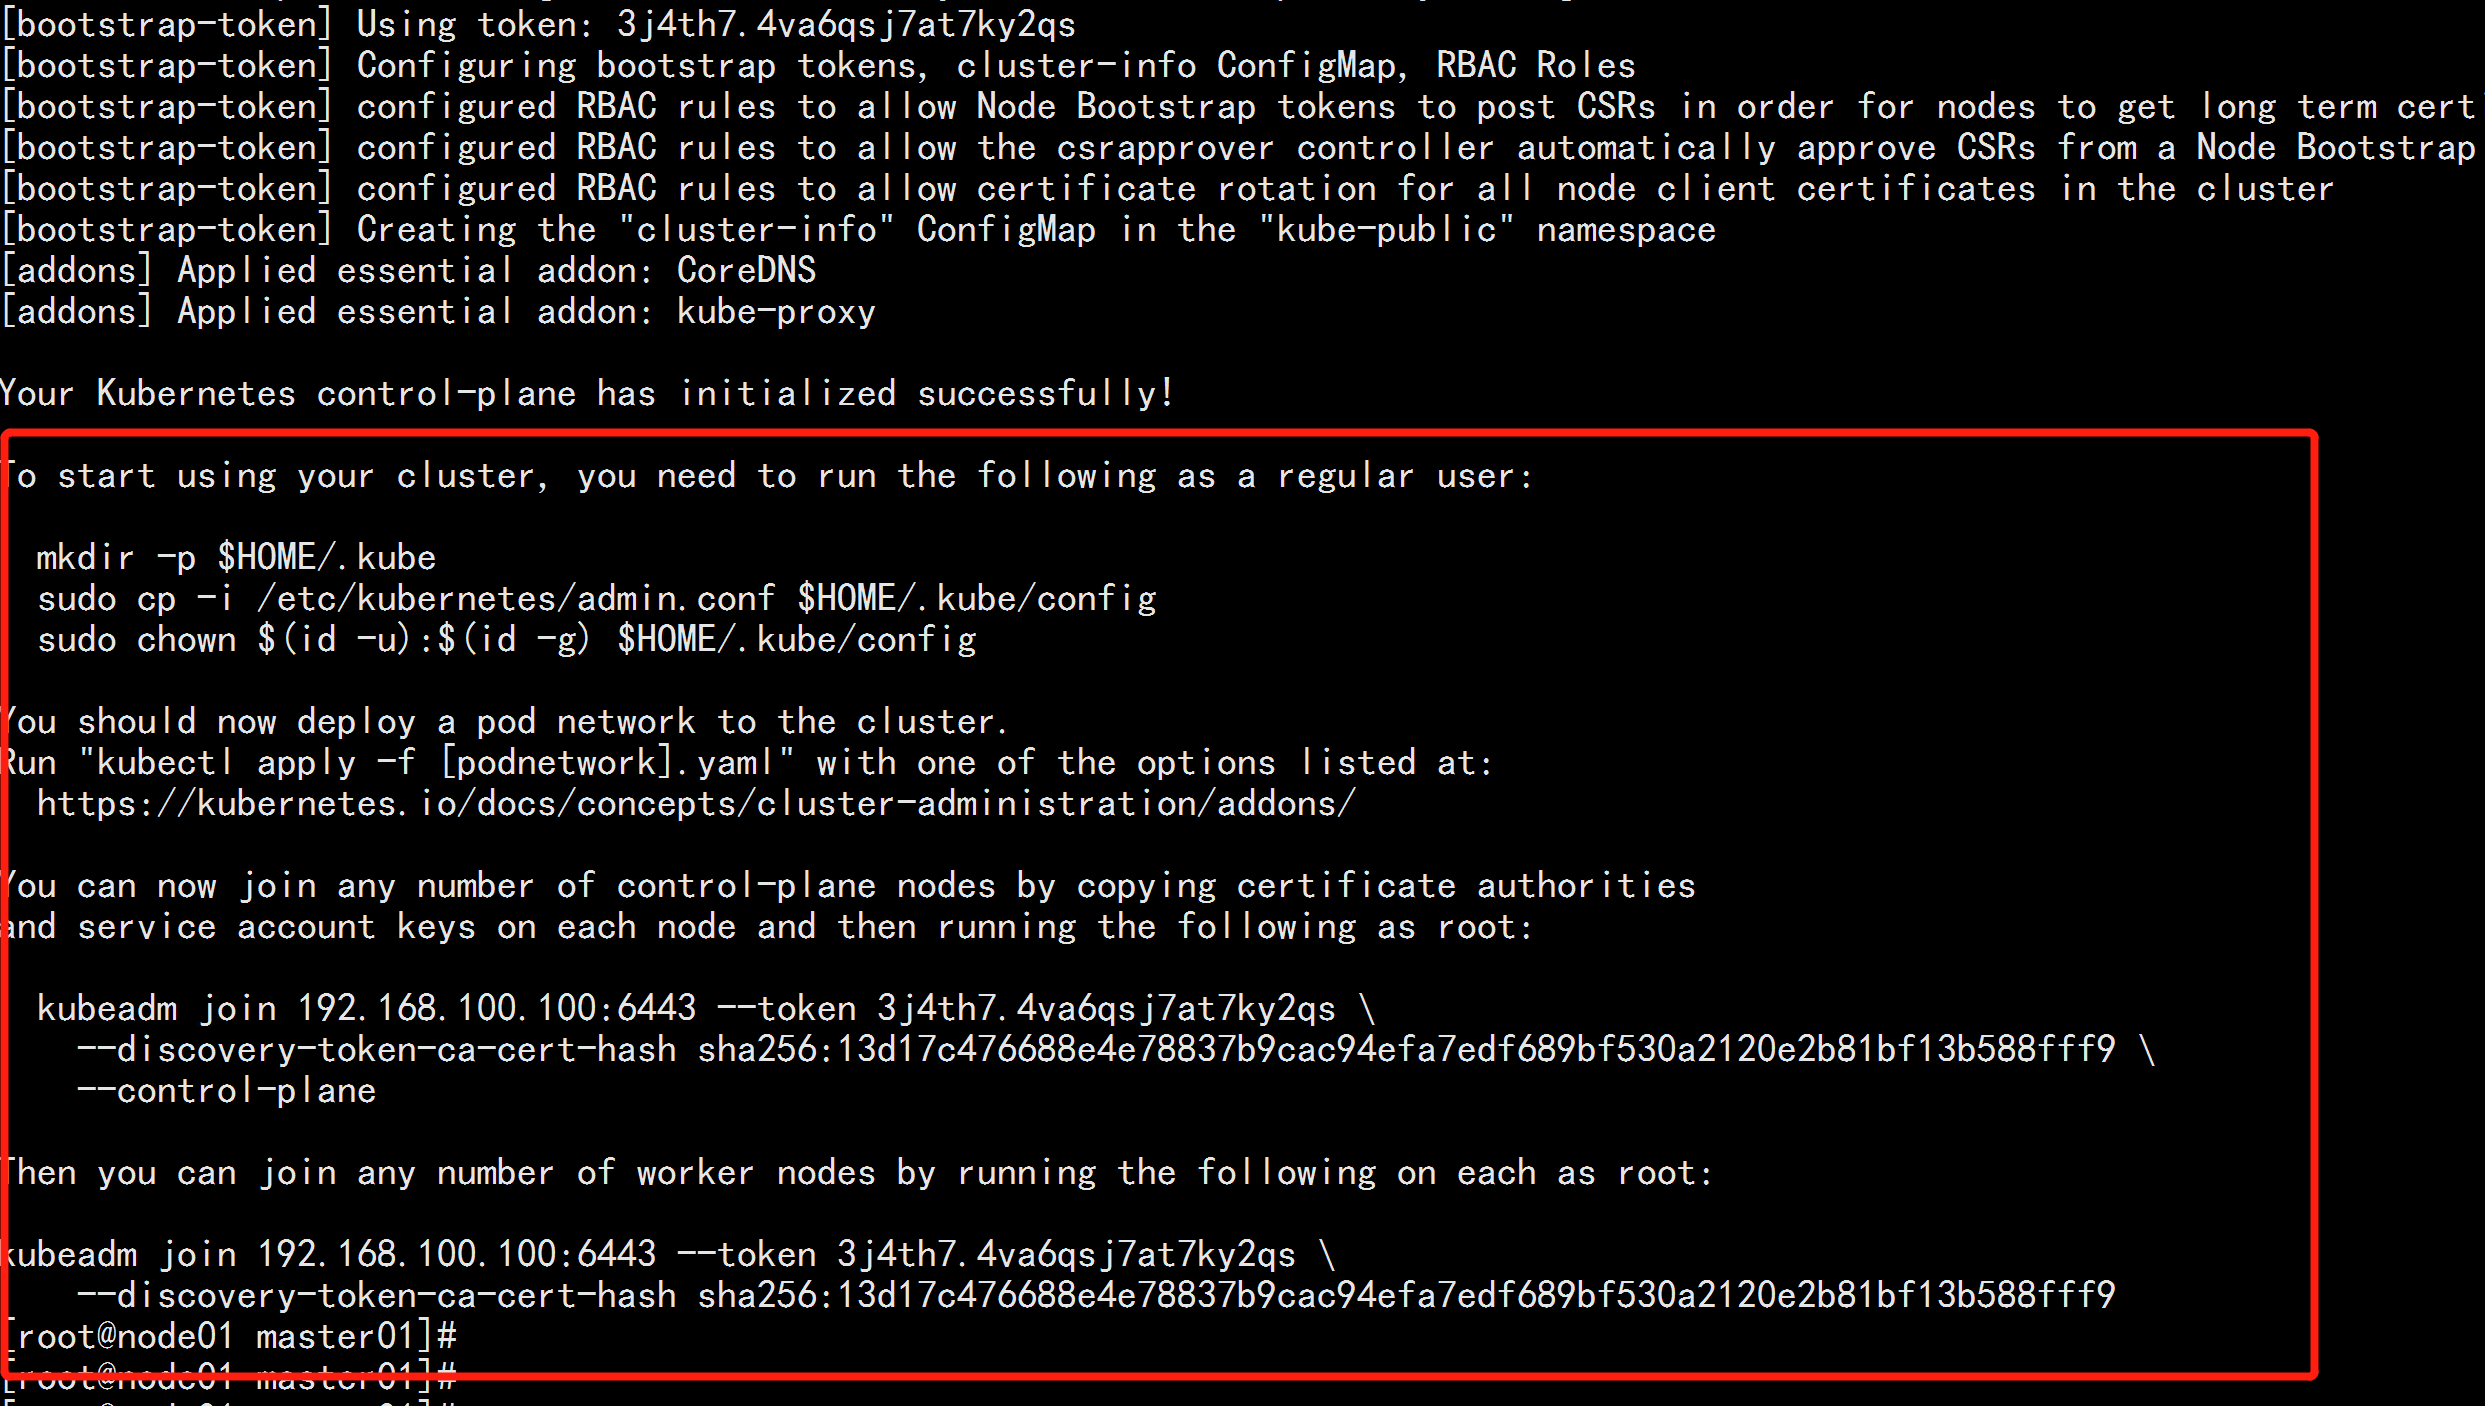
如果初始化失败,可执行kubeadm reset后重新初始化kubeadm resetrm -rf $HOME/.kube/config
加载环境变量echo "export KUBECONFIG=/etc/kubernetes/admin.conf" >> ~/.bash_profilesource .bash_profile

本文所有操作都在root用户下执行,若为非root用户,则执行如下操作:mkdir -p $HOME/.kubecp -i /etc/kubernetes/admin.conf $HOME/.kube/configchown $(id -u):$(id -g) $HOME/.kube/config
安装flannel网络kubectl apply -f https://raw.githubusercontent.com/coreos/flannel/2140ac876ef134e0ed5af15c65e414cf26827915/Documentation/kube-flannel.ymlkubectl apply -f kube-flannel.ymlkubectl get pod -n kube-system

5.3 control plane节点加入集群
证书分发在node01.flyfish 上面执行 脚本:cert-main-master.shvim cert-main-master.sh---#!/bin/bashUSER=root # customizableCONTROL_PLANE_IPS="192.168.100.12 192.168.100.13"for host in ${CONTROL_PLANE_IPS}; doscp /etc/kubernetes/pki/ca.crt "${USER}"@$host:scp /etc/kubernetes/pki/ca.key "${USER}"@$host:scp /etc/kubernetes/pki/sa.key "${USER}"@$host:scp /etc/kubernetes/pki/sa.pub "${USER}"@$host:scp /etc/kubernetes/pki/front-proxy-ca.crt "${USER}"@$host:scp /etc/kubernetes/pki/front-proxy-ca.key "${USER}"@$host:scp /etc/kubernetes/pki/etcd/ca.crt "${USER}"@$host:etcd-ca.crt# Quote this line if you are using external etcdscp /etc/kubernetes/pki/etcd/ca.key "${USER}"@$host:etcd-ca.keydone---./cert-main-master.sh

登录 node02.flyfishcd /rootmkdir -p /etc/kubernetes/pkimv *.crt *.key *.pub /etc/kubernetes/pki/cd /etc/kubernetes/pkimkdir etcdmv etcd-* etcdcd etcdmv etcd-ca.key ca.keymv etcd-ca.crt ca.crtnode02.flyfish 加入集群kubeadm join 192.168.100.100:6443 --token 3j4th7.4va6qsj7at7ky2qs \--discovery-token-ca-cert-hash sha256:13d17c476688e4e78837b9cac94efa7edf689bf530a2120e2b81bf13b588fff9 \--control-plane

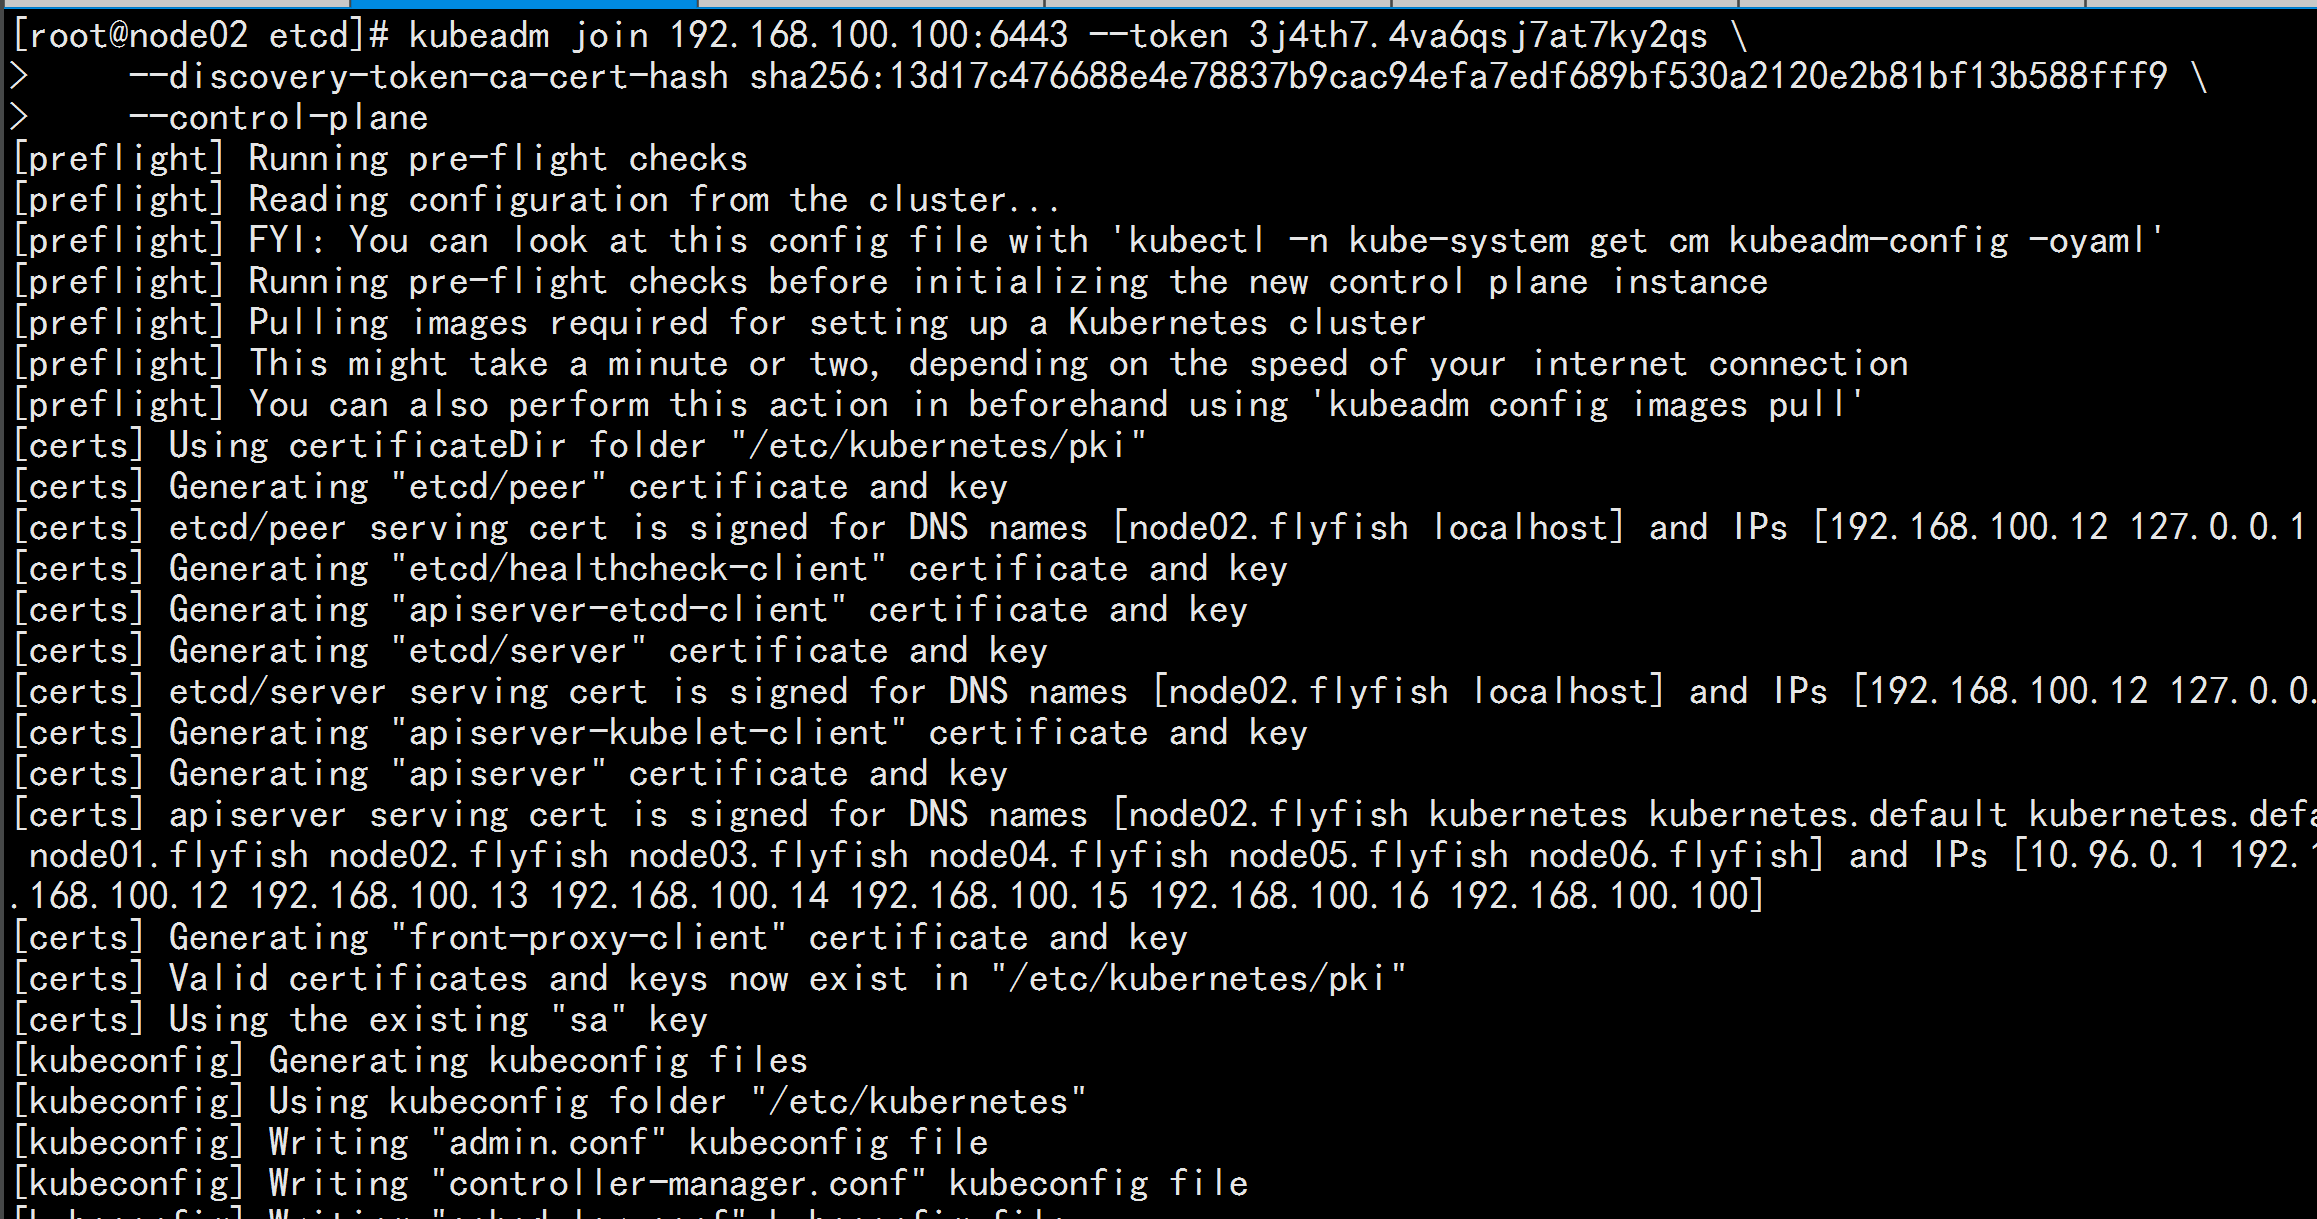
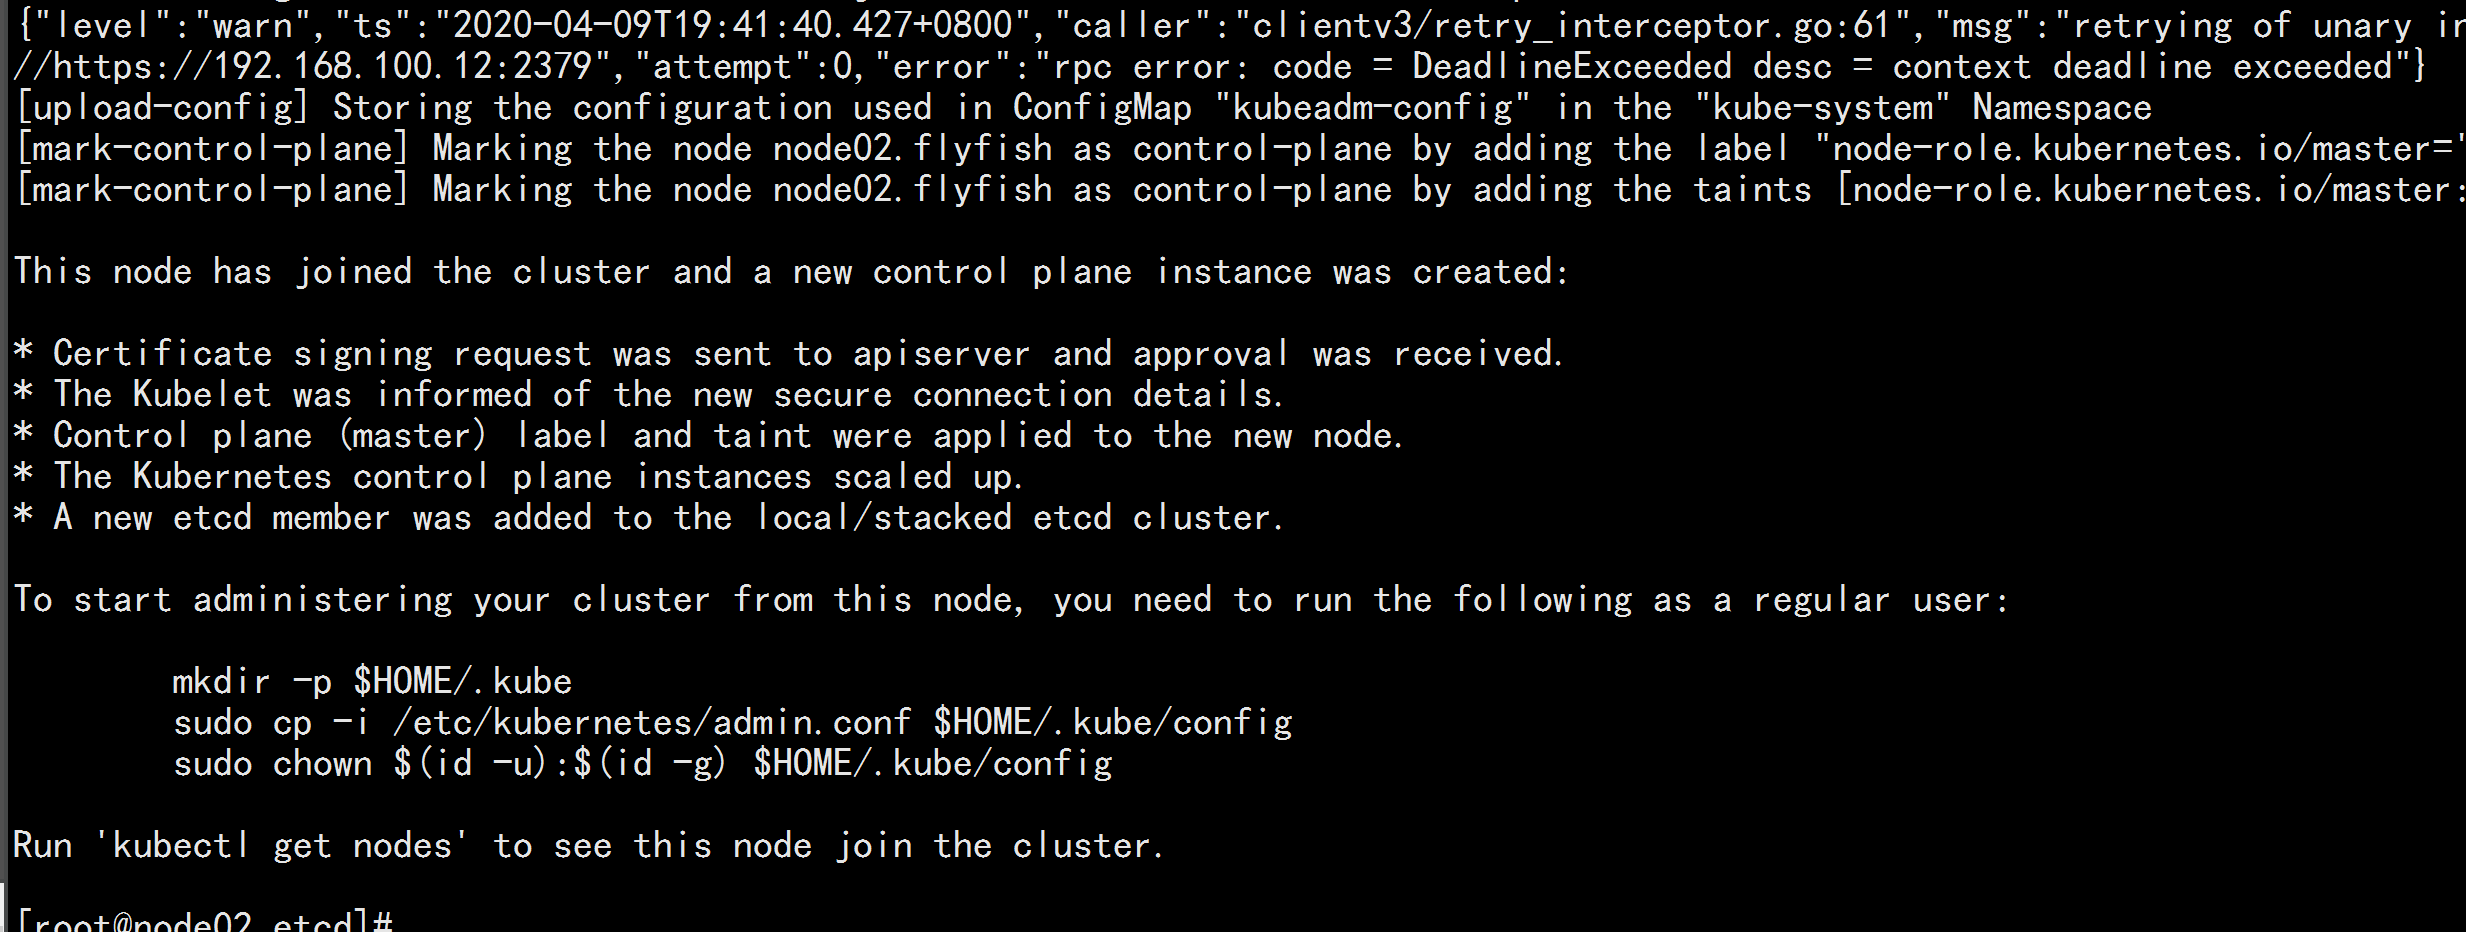
登录 node03.flyfishcd /rootmkdir -p /etc/kubernetes/pkimv *.crt *.key *.pub /etc/kubernetes/pki/cd /etc/kubernetes/pkimkdir etcdmv etcd-* etcdcd etcdmv etcd-ca.key ca.keymv etcd-ca.crt ca.crtnode03.flyfish 加入集群kubeadm join 192.168.100.100:6443 --token 3j4th7.4va6qsj7at7ky2qs \--discovery-token-ca-cert-hash sha256:13d17c476688e4e78837b9cac94efa7edf689bf530a2120e2b81bf13b588fff9 \--control-plane
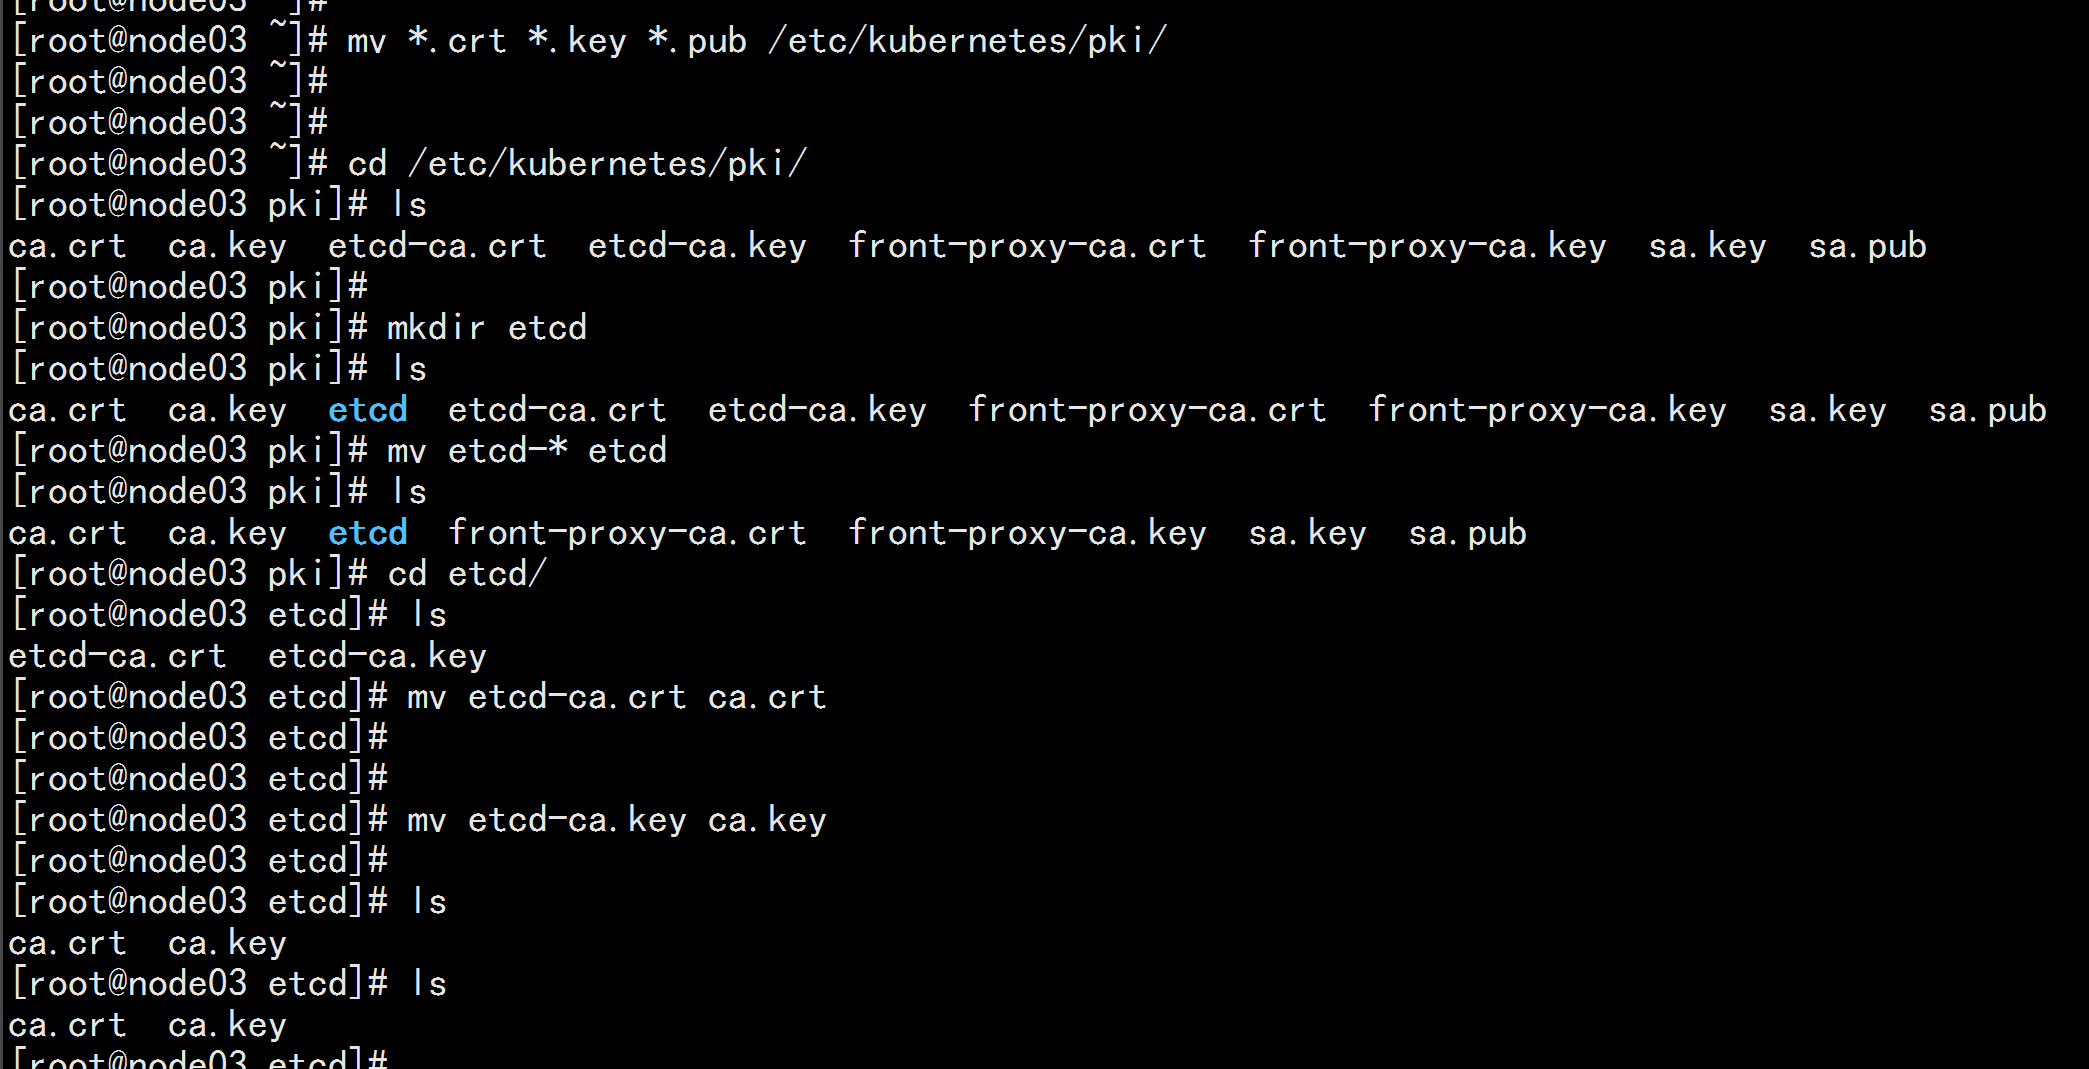
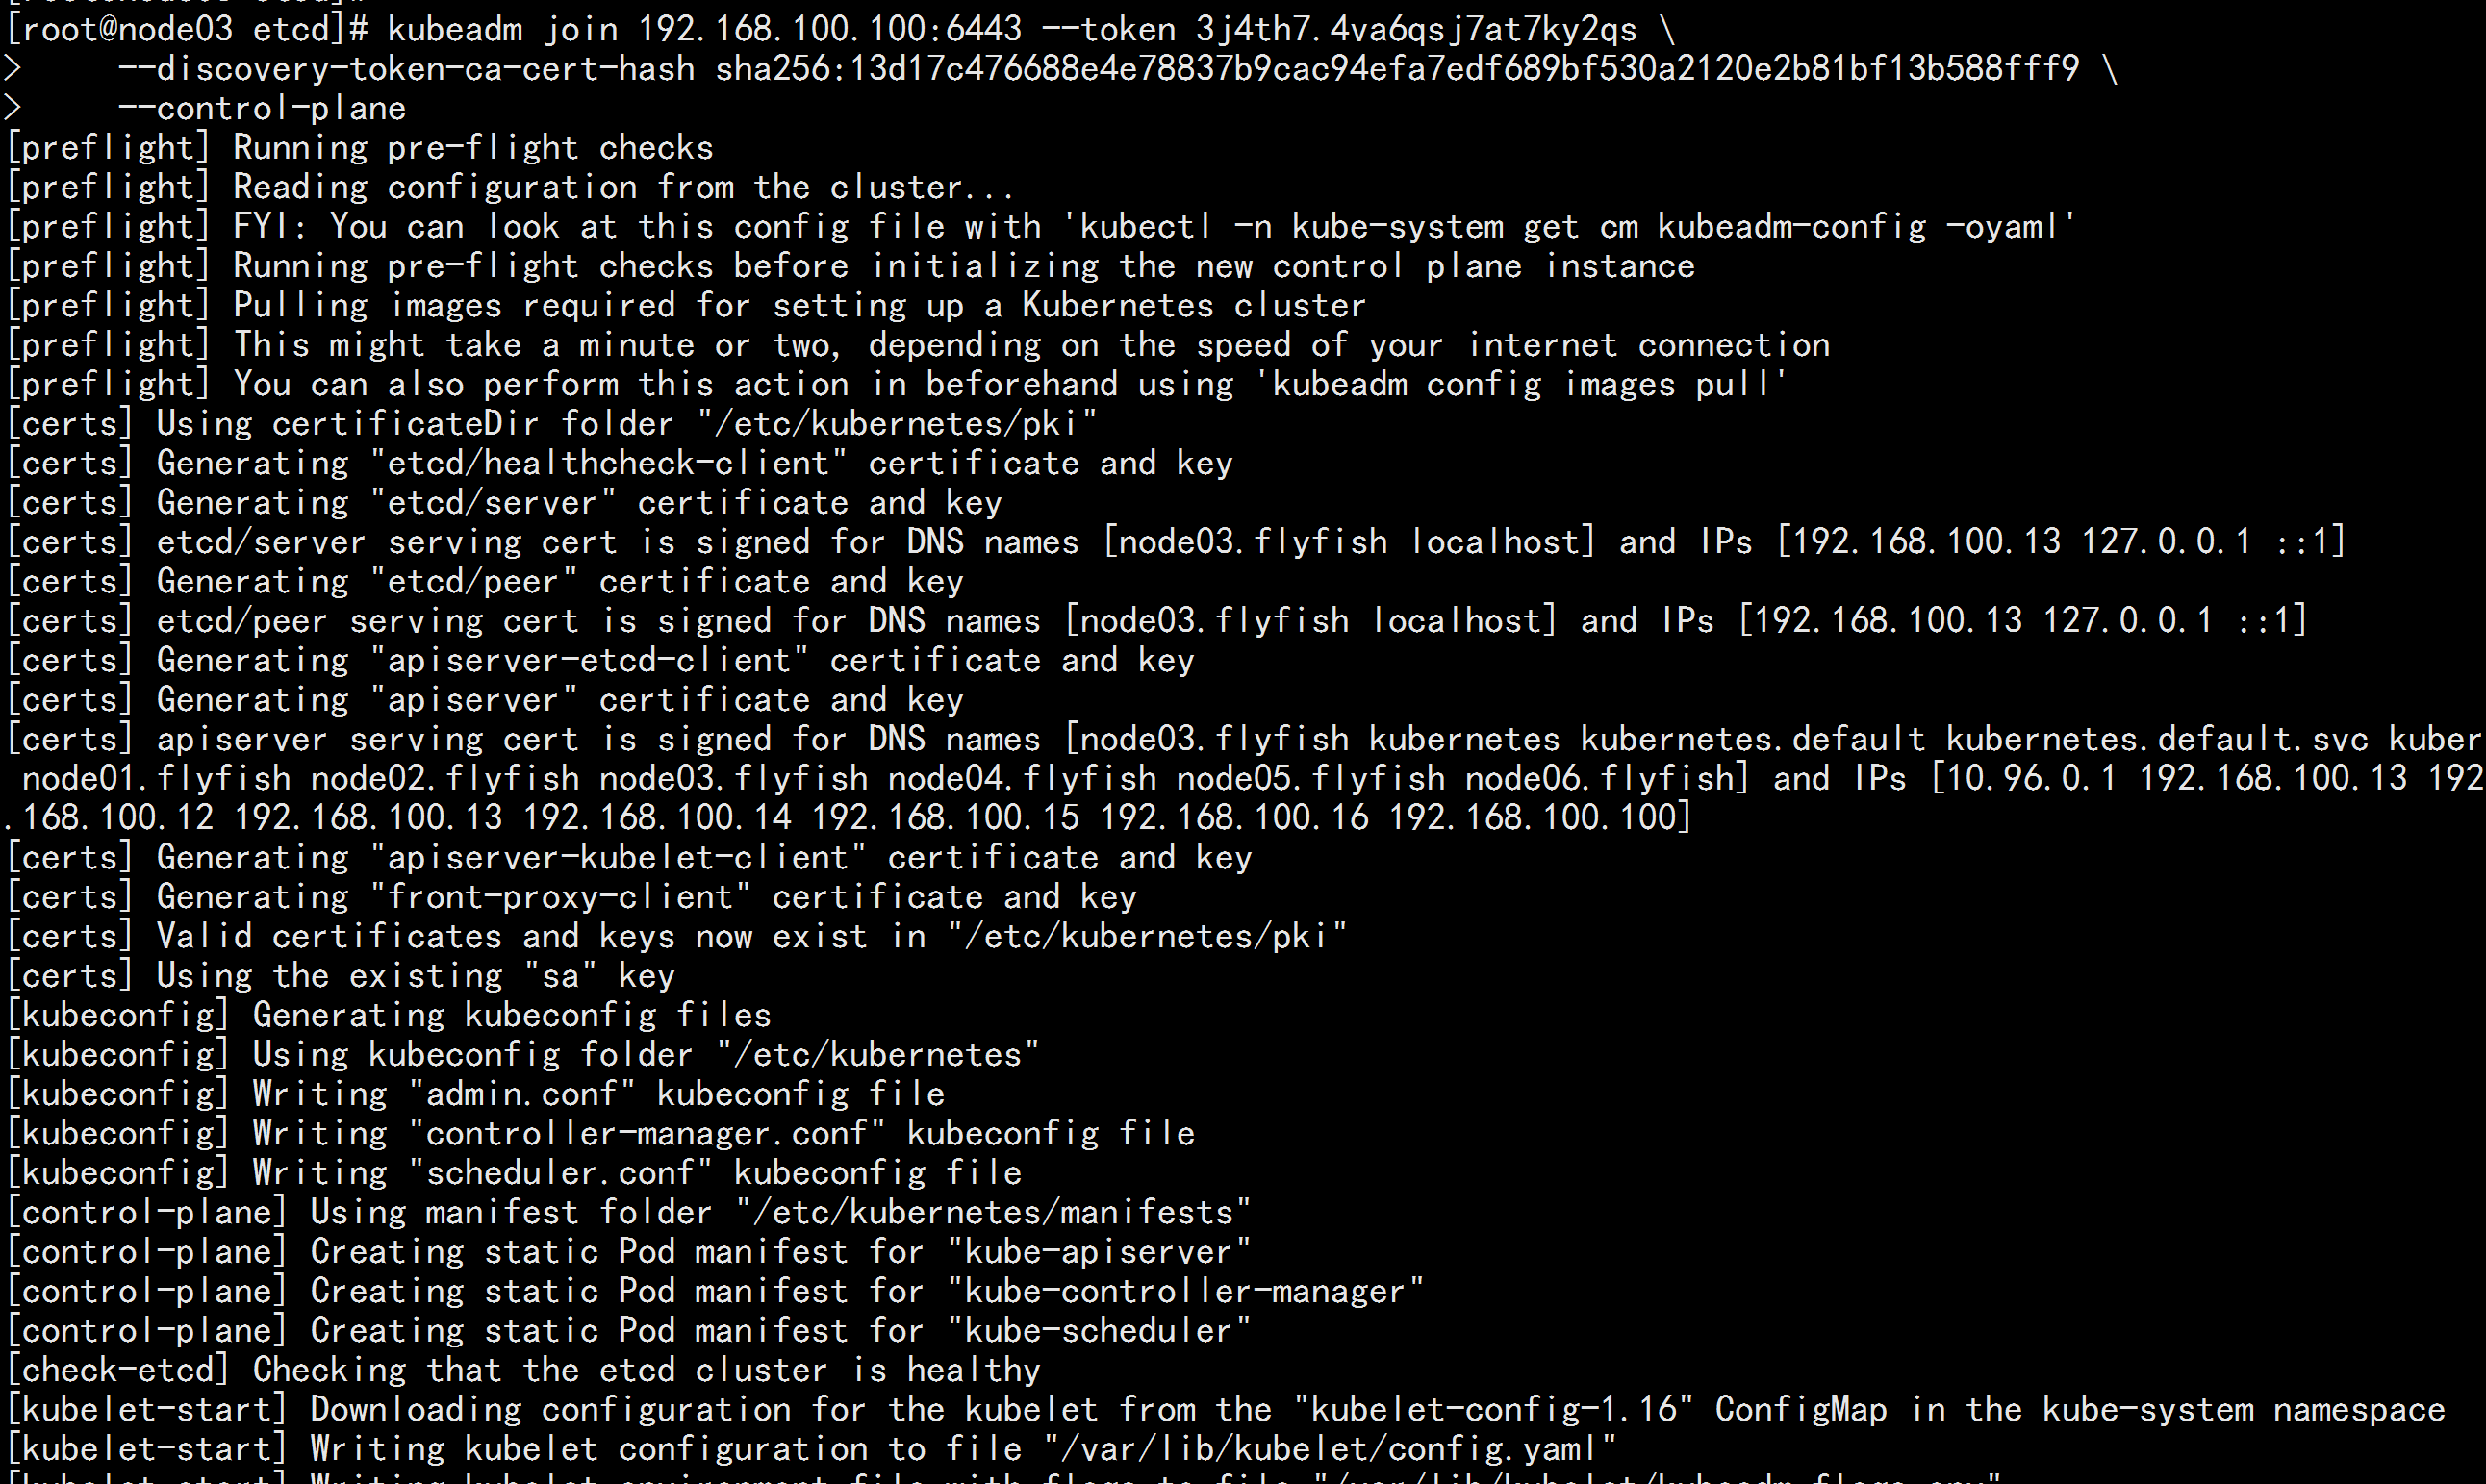
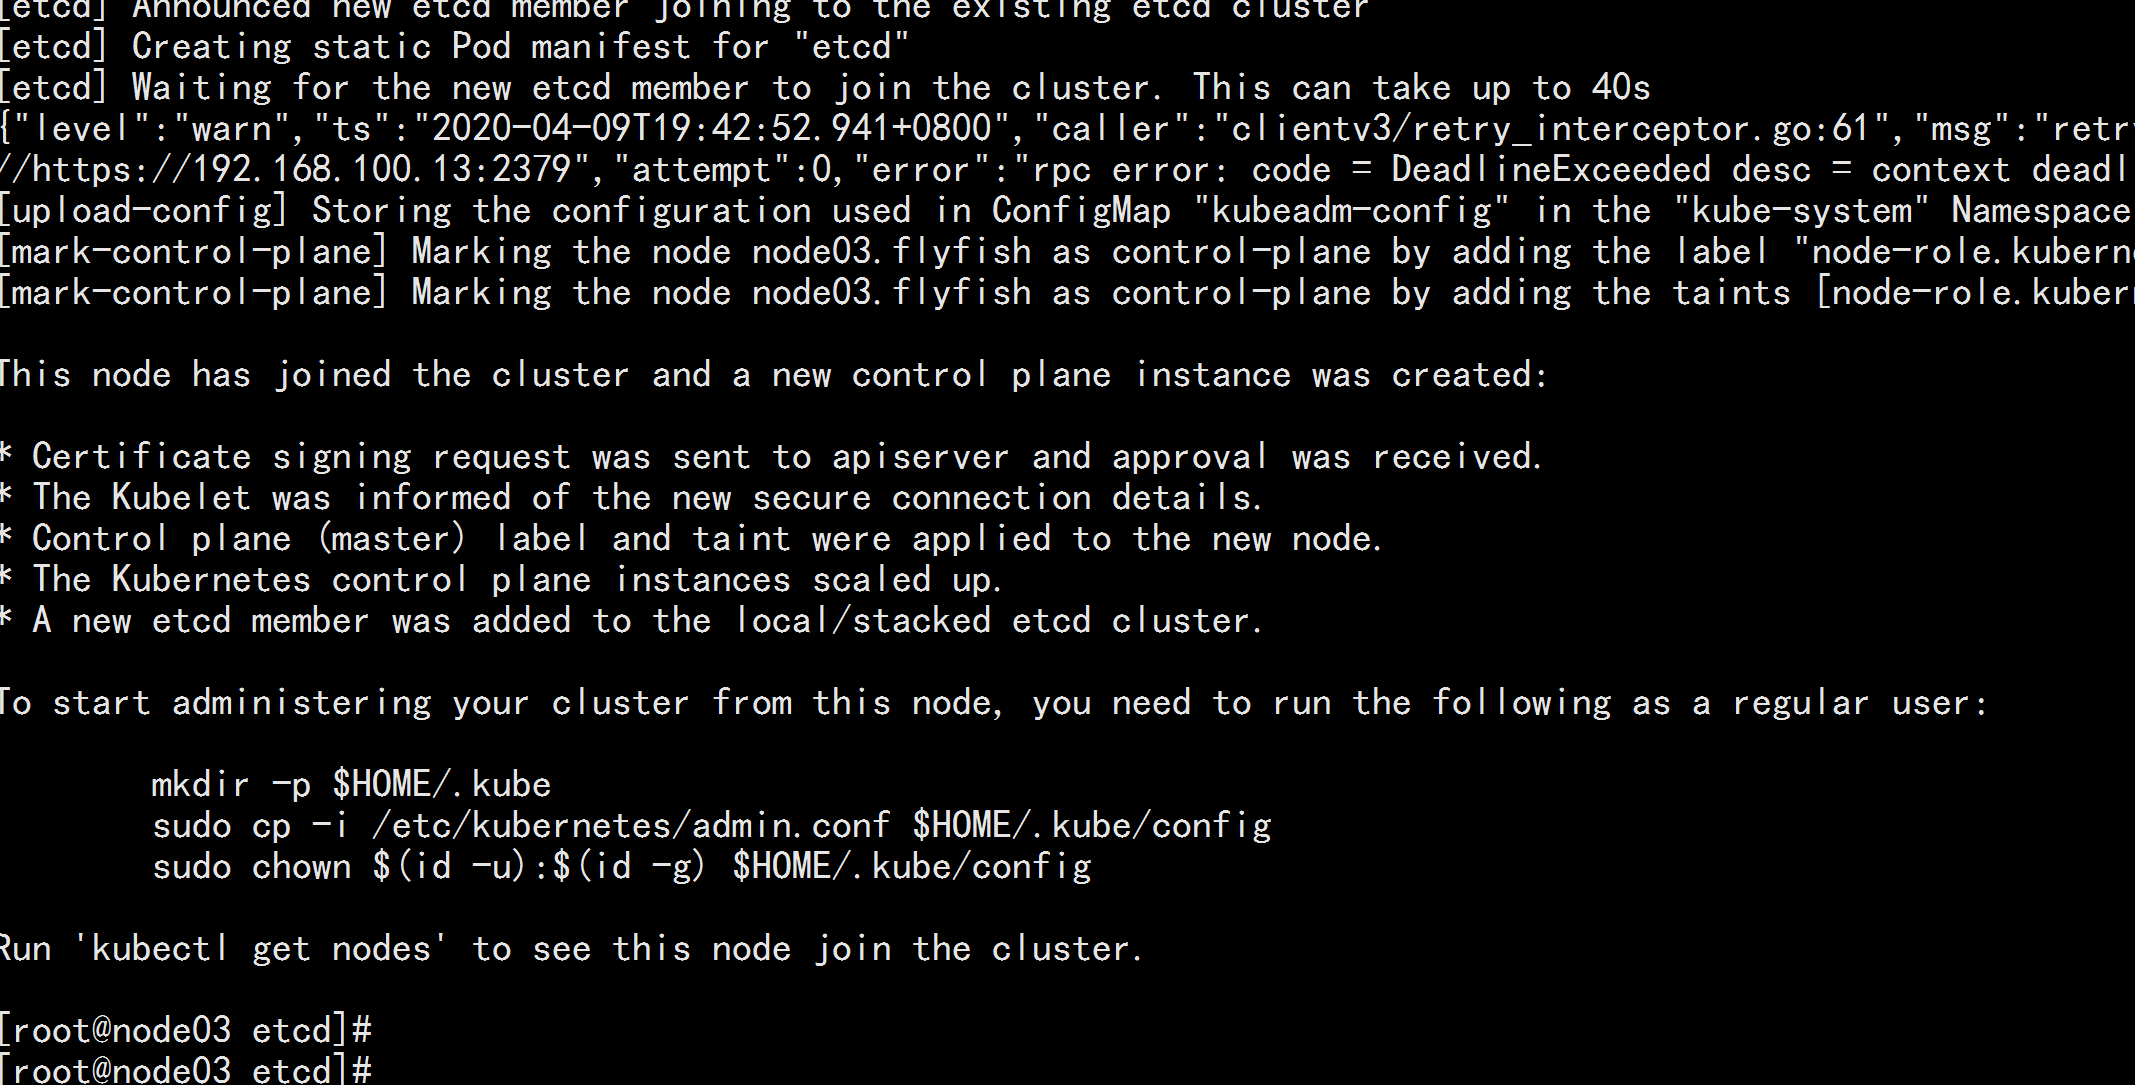
node02.flyfish 与node03.flyfis 加载 环境变量rsync -avrzP root@node01.flyfish:/etc/kubernetes/admin.conf /etc/kubernetes/echo "export KUBECONFIG=/etc/kubernetes/admin.conf" >> ~/.bash_profilesource .bash_profile

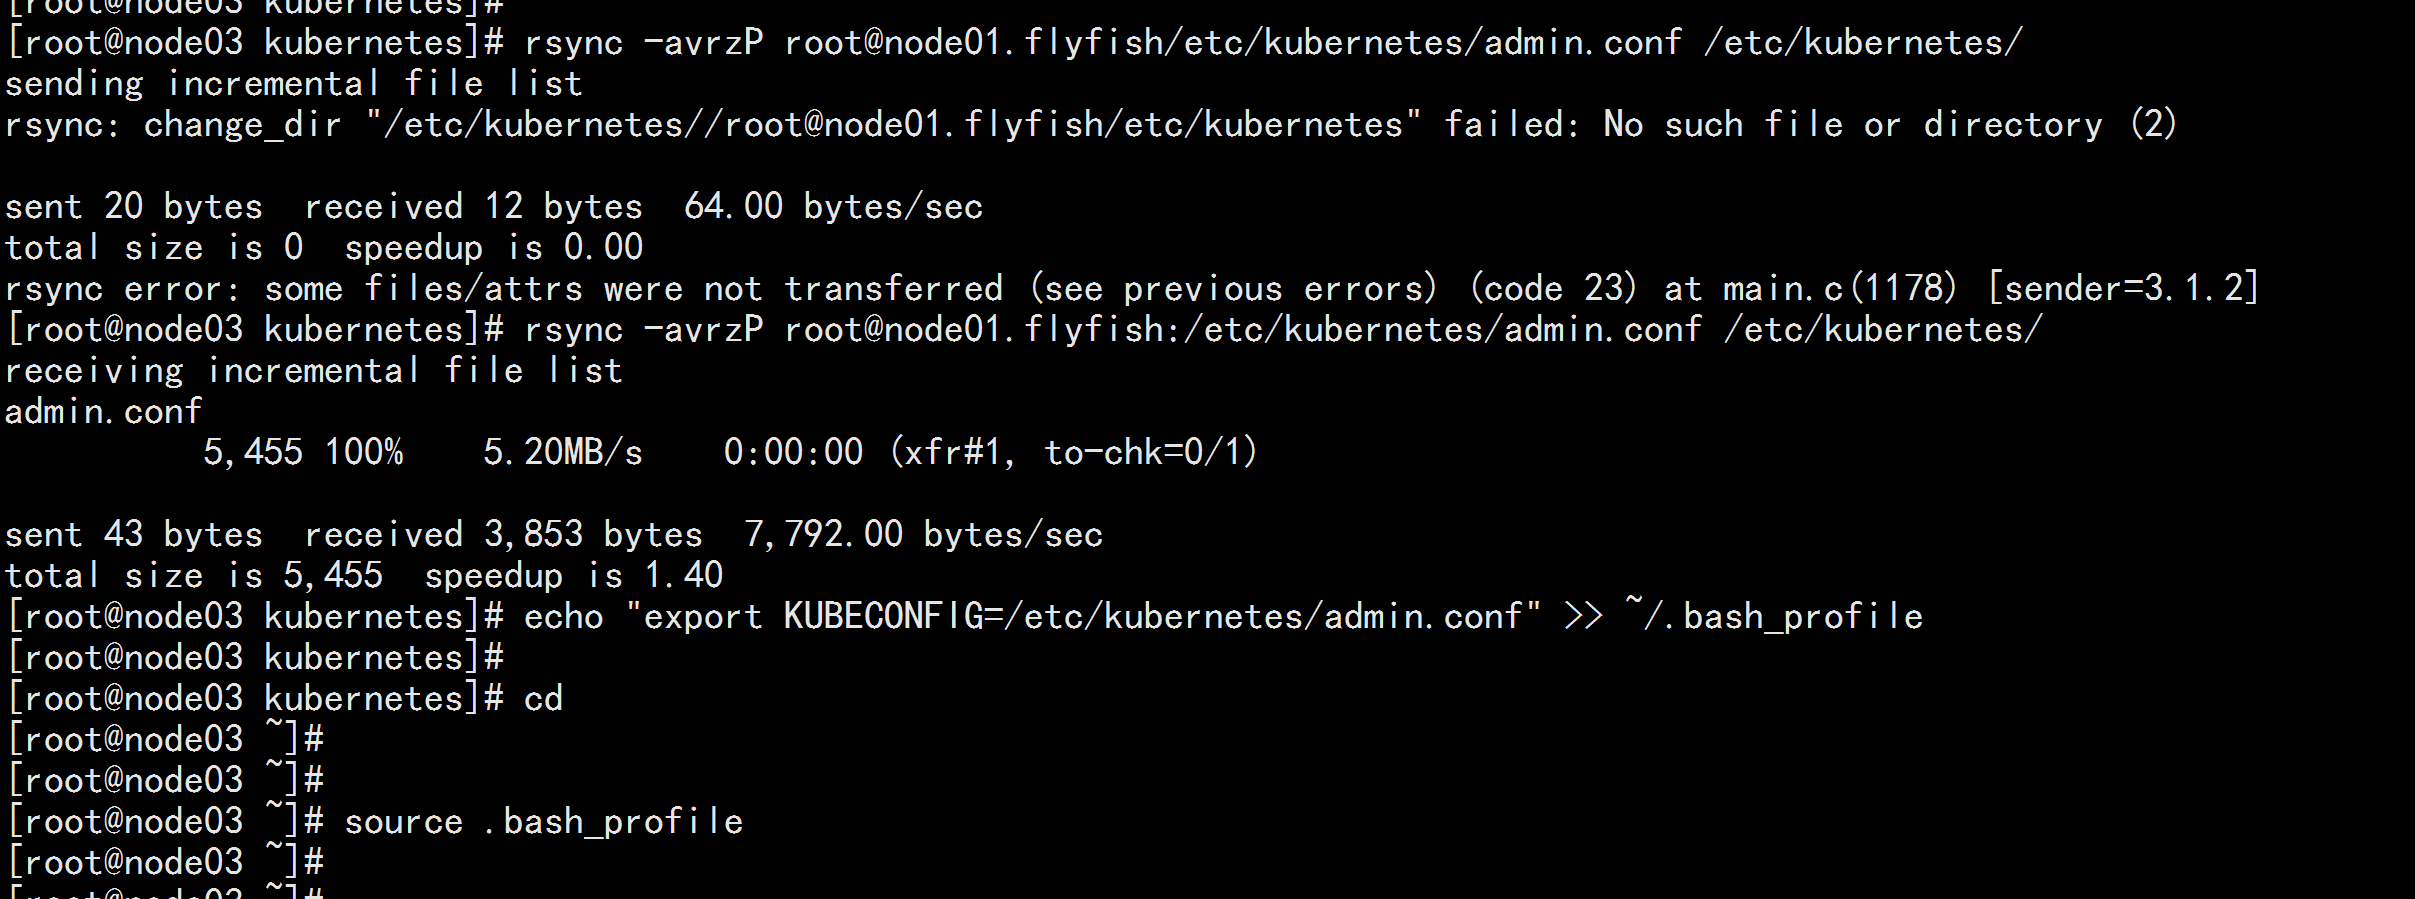
查看节点kubectl get nodekubectl get pod -o wide -n kube-system

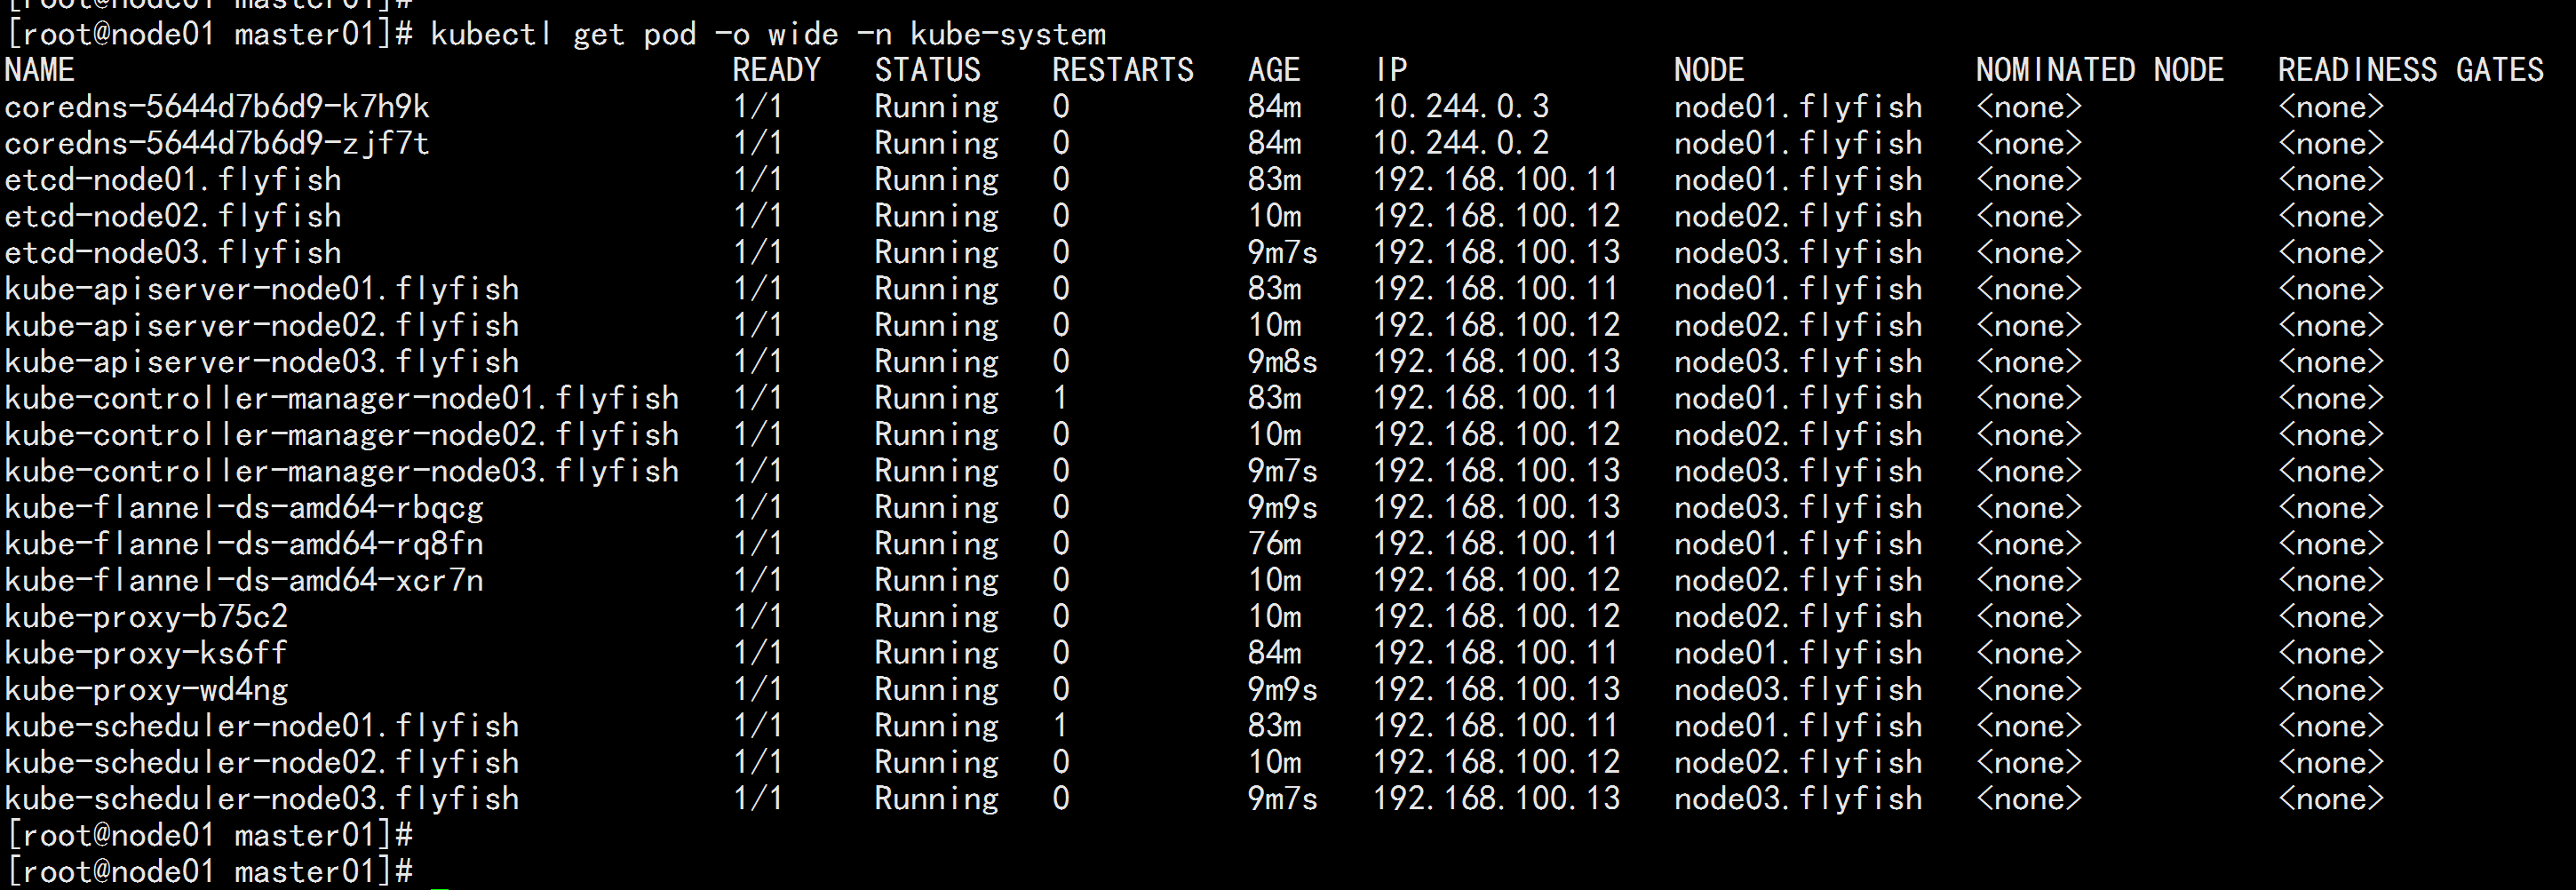
5.4 将从节点加入集群
node04.flyfish 加入 集群kubeadm join 192.168.100.100:6443 --token 3j4th7.4va6qsj7at7ky2qs \--discovery-token-ca-cert-hash sha256:13d17c476688e4e78837b9cac94efa7edf689bf530a2120e2b81bf13b588fff9

node05.flyfish 加入集群kubeadm join 192.168.100.100:6443 --token 3j4th7.4va6qsj7at7ky2qs \--discovery-token-ca-cert-hash sha256:13d17c476688e4e78837b9cac94efa7edf689bf530a2120e2b81bf13b588fff9

node06.flyfish 加入集群kubeadm join 192.168.100.100:6443 --token 3j4th7.4va6qsj7at7ky2qs \--discovery-token-ca-cert-hash sha256:13d17c476688e4e78837b9cac94efa7edf689bf530a2120e2b81bf13b588fff9

kubectl get nodekubectl get pods -o wide -n kube-system

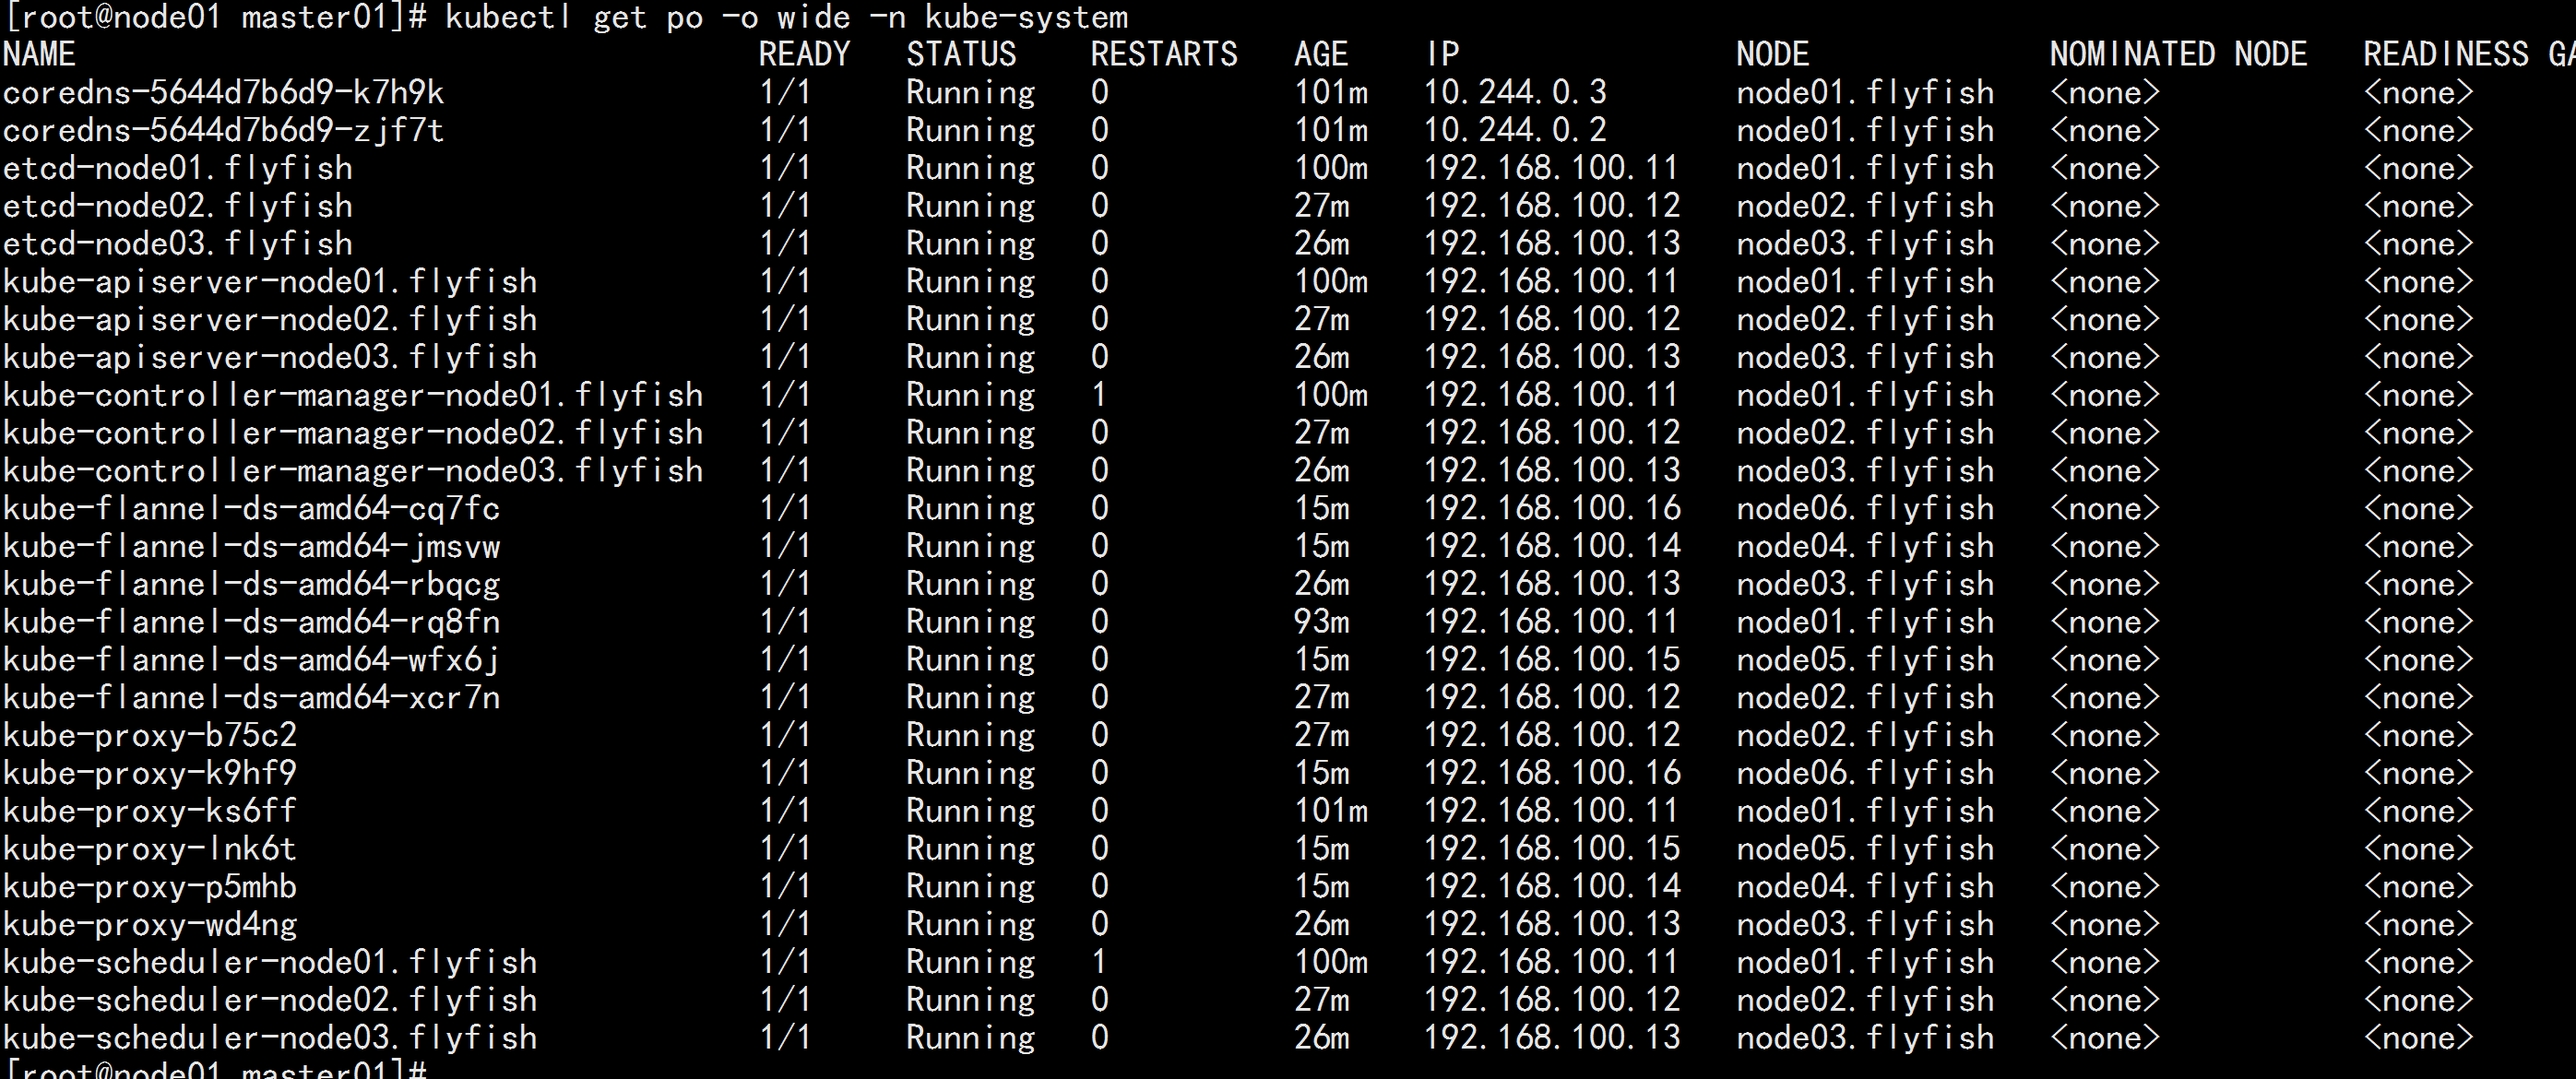
5.5 在node07.flyfish 上面进行测试
登录 node07.flyfish设置kubernetes源cat <<EOF > /etc/yum.repos.d/kubernetes.repo[kubernetes]name=Kubernetesbaseurl=https://mirrors.aliyun.com/kubernetes/yum/repos/kubernetes-el7-x86_64/enabled=1gpgcheck=1repo_gpgcheck=1gpgkey=https://mirrors.aliyun.com/kubernetes/yum/doc/yum-key.gpg https://mirrors.aliyun.com/kubernetes/yum/doc/rpm-package-key.gpgEOFyum install -y kubectl-1.16.4
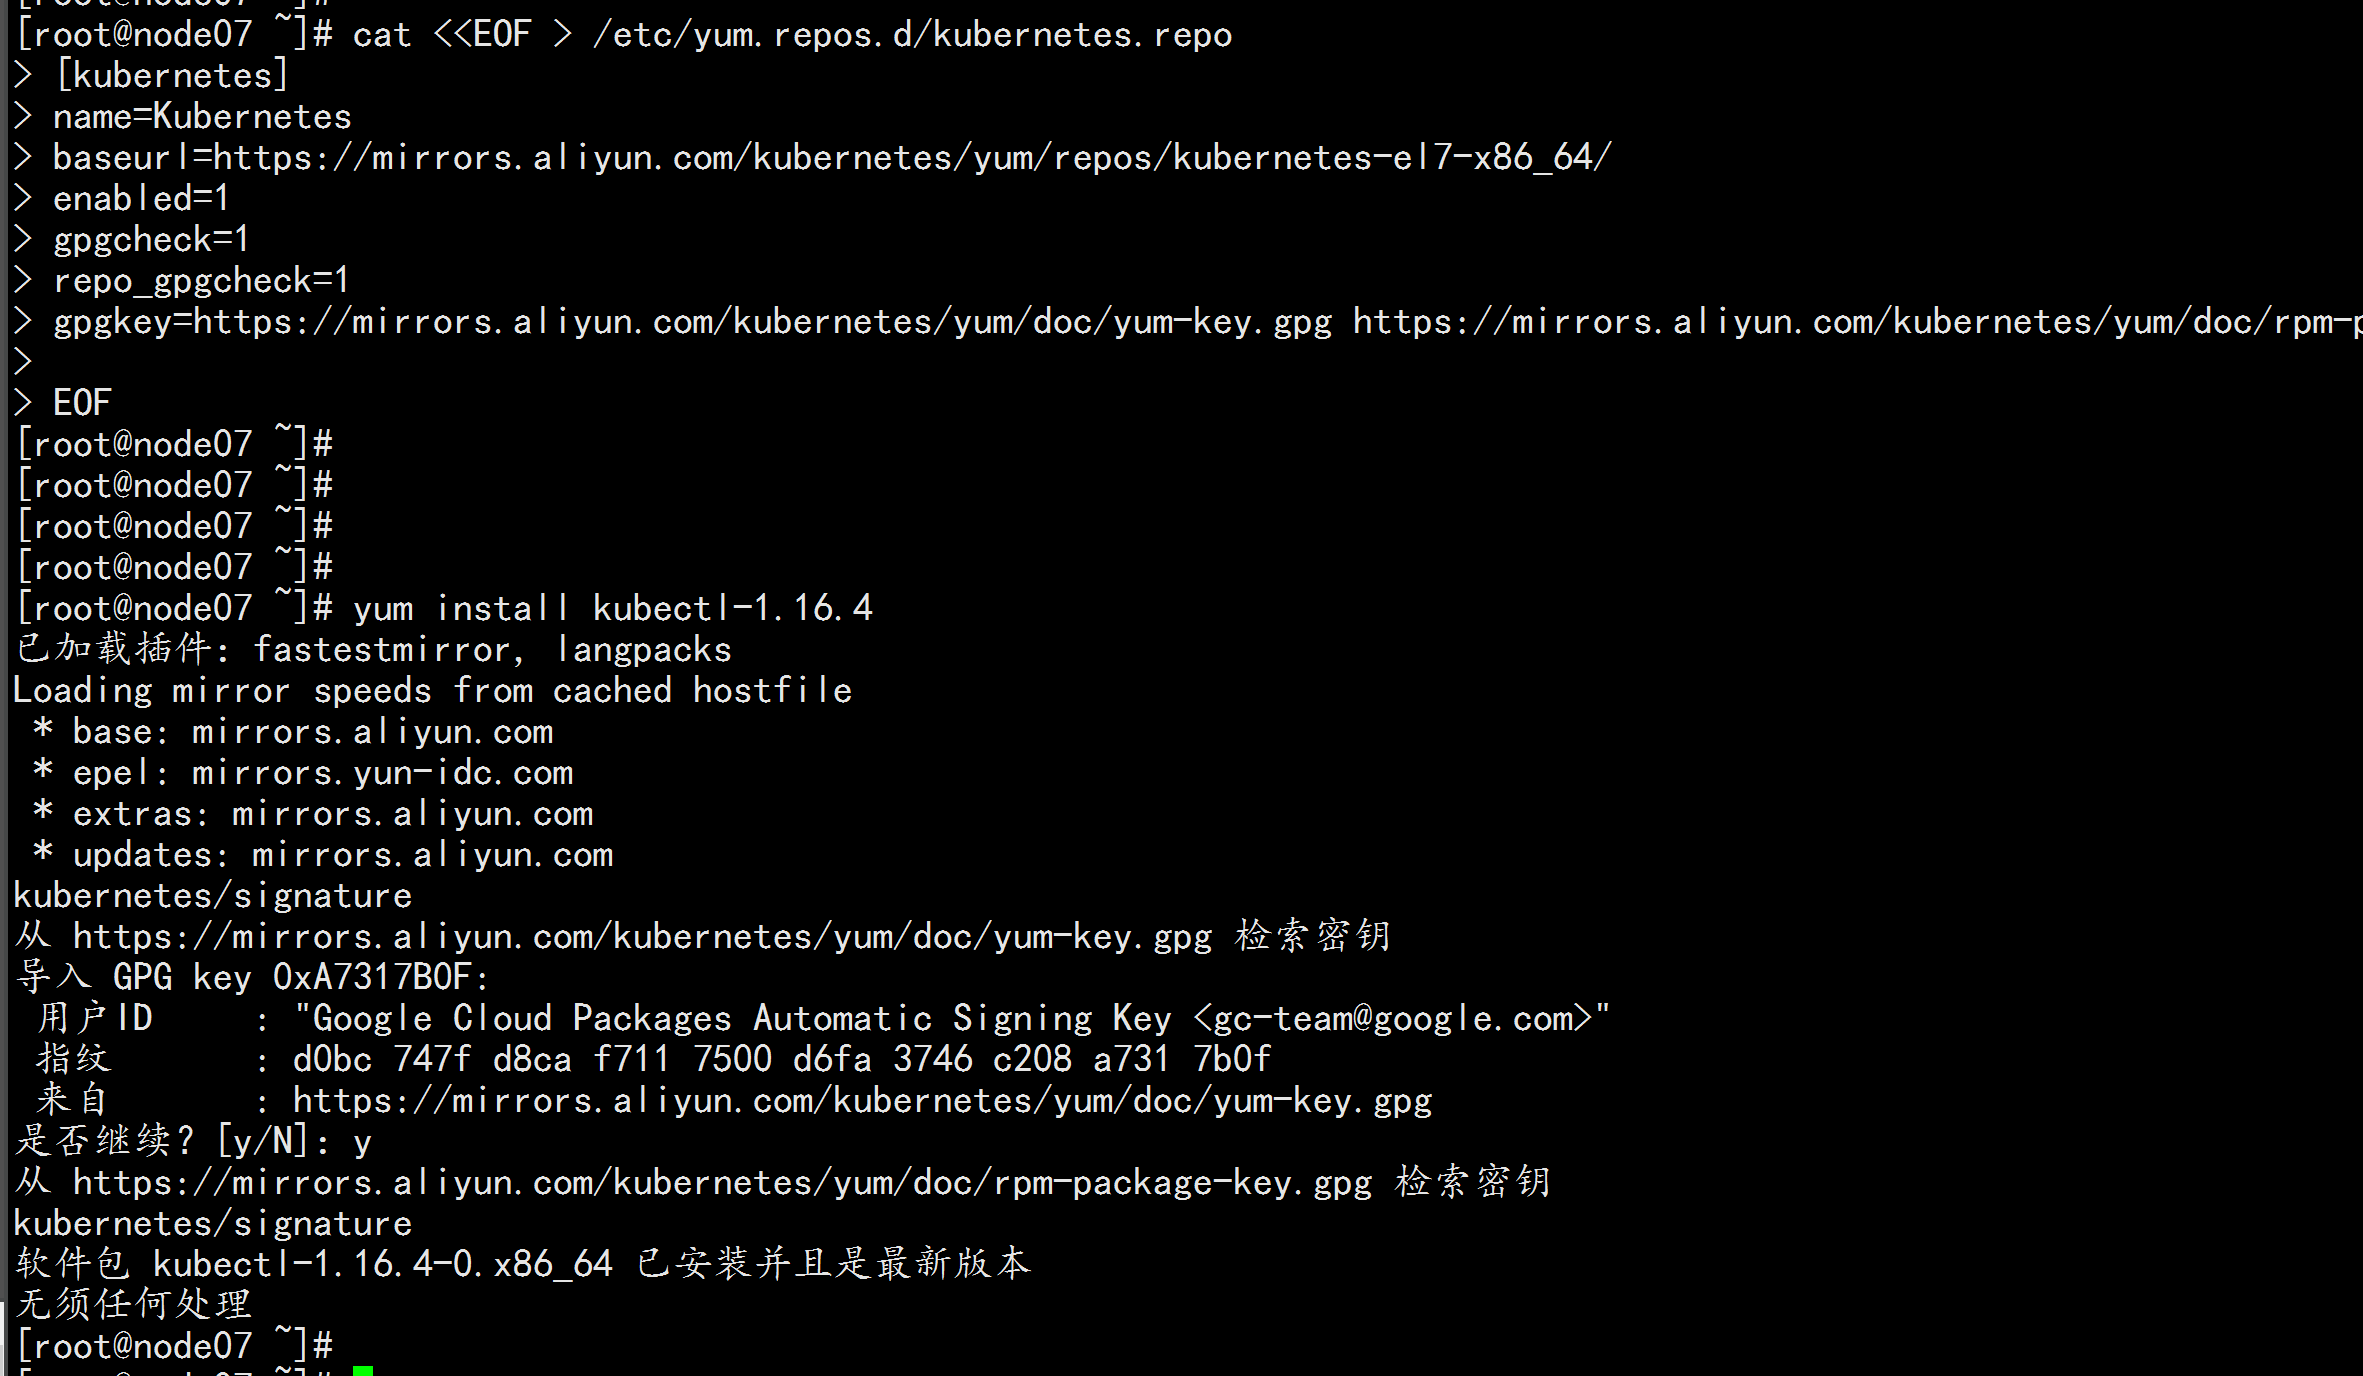
命令补全:yum install -y bash-completionsource /etc/profile.d/bash_completion.sh

拷贝admin.confmkdir -p /etc/kubernetesscp root@node01.flyfish:/etc/kubernetes/admin.conf /etc/kubernetes/echo "export KUBECONFIG=/etc/kubernetes/admin.conf" >> ~/.bash_profilesource .bash_profile

查看测试:kubectl get nodeskubectl get pod -n kube-system


5.6部署dashboard 界面
注:在node07.flyfish节点上进行如下操作1.创建Dashboard的yaml文件wget https://raw.githubusercontent.com/kubernetes/dashboard/v2.0.0-beta8/aio/deploy/recommended.yamlsed -i 's/kubernetesui/registry.cn-hangzhou.aliyuncs.com\/loong576/g' recommended.yamlsed -i '/targetPort: 8443/a\ \ \ \ \ \ nodePort: 30001\n\ \ type: NodePort' recommended.yaml新增管理员帐号vim recommended.yaml到最后加上:------apiVersion: v1kind: ServiceAccountmetadata:name: dashboard-adminnamespace: kubernetes-dashboard---apiVersion: rbac.authorization.k8s.io/v1beta1kind: ClusterRoleBindingmetadata:name: dashboard-adminsubjects:- kind: ServiceAccountname: dashboard-adminnamespace: kubernetes-dashboardroleRef:apiGroup: rbac.authorization.k8s.iokind: ClusterRolename: cluster-admin---
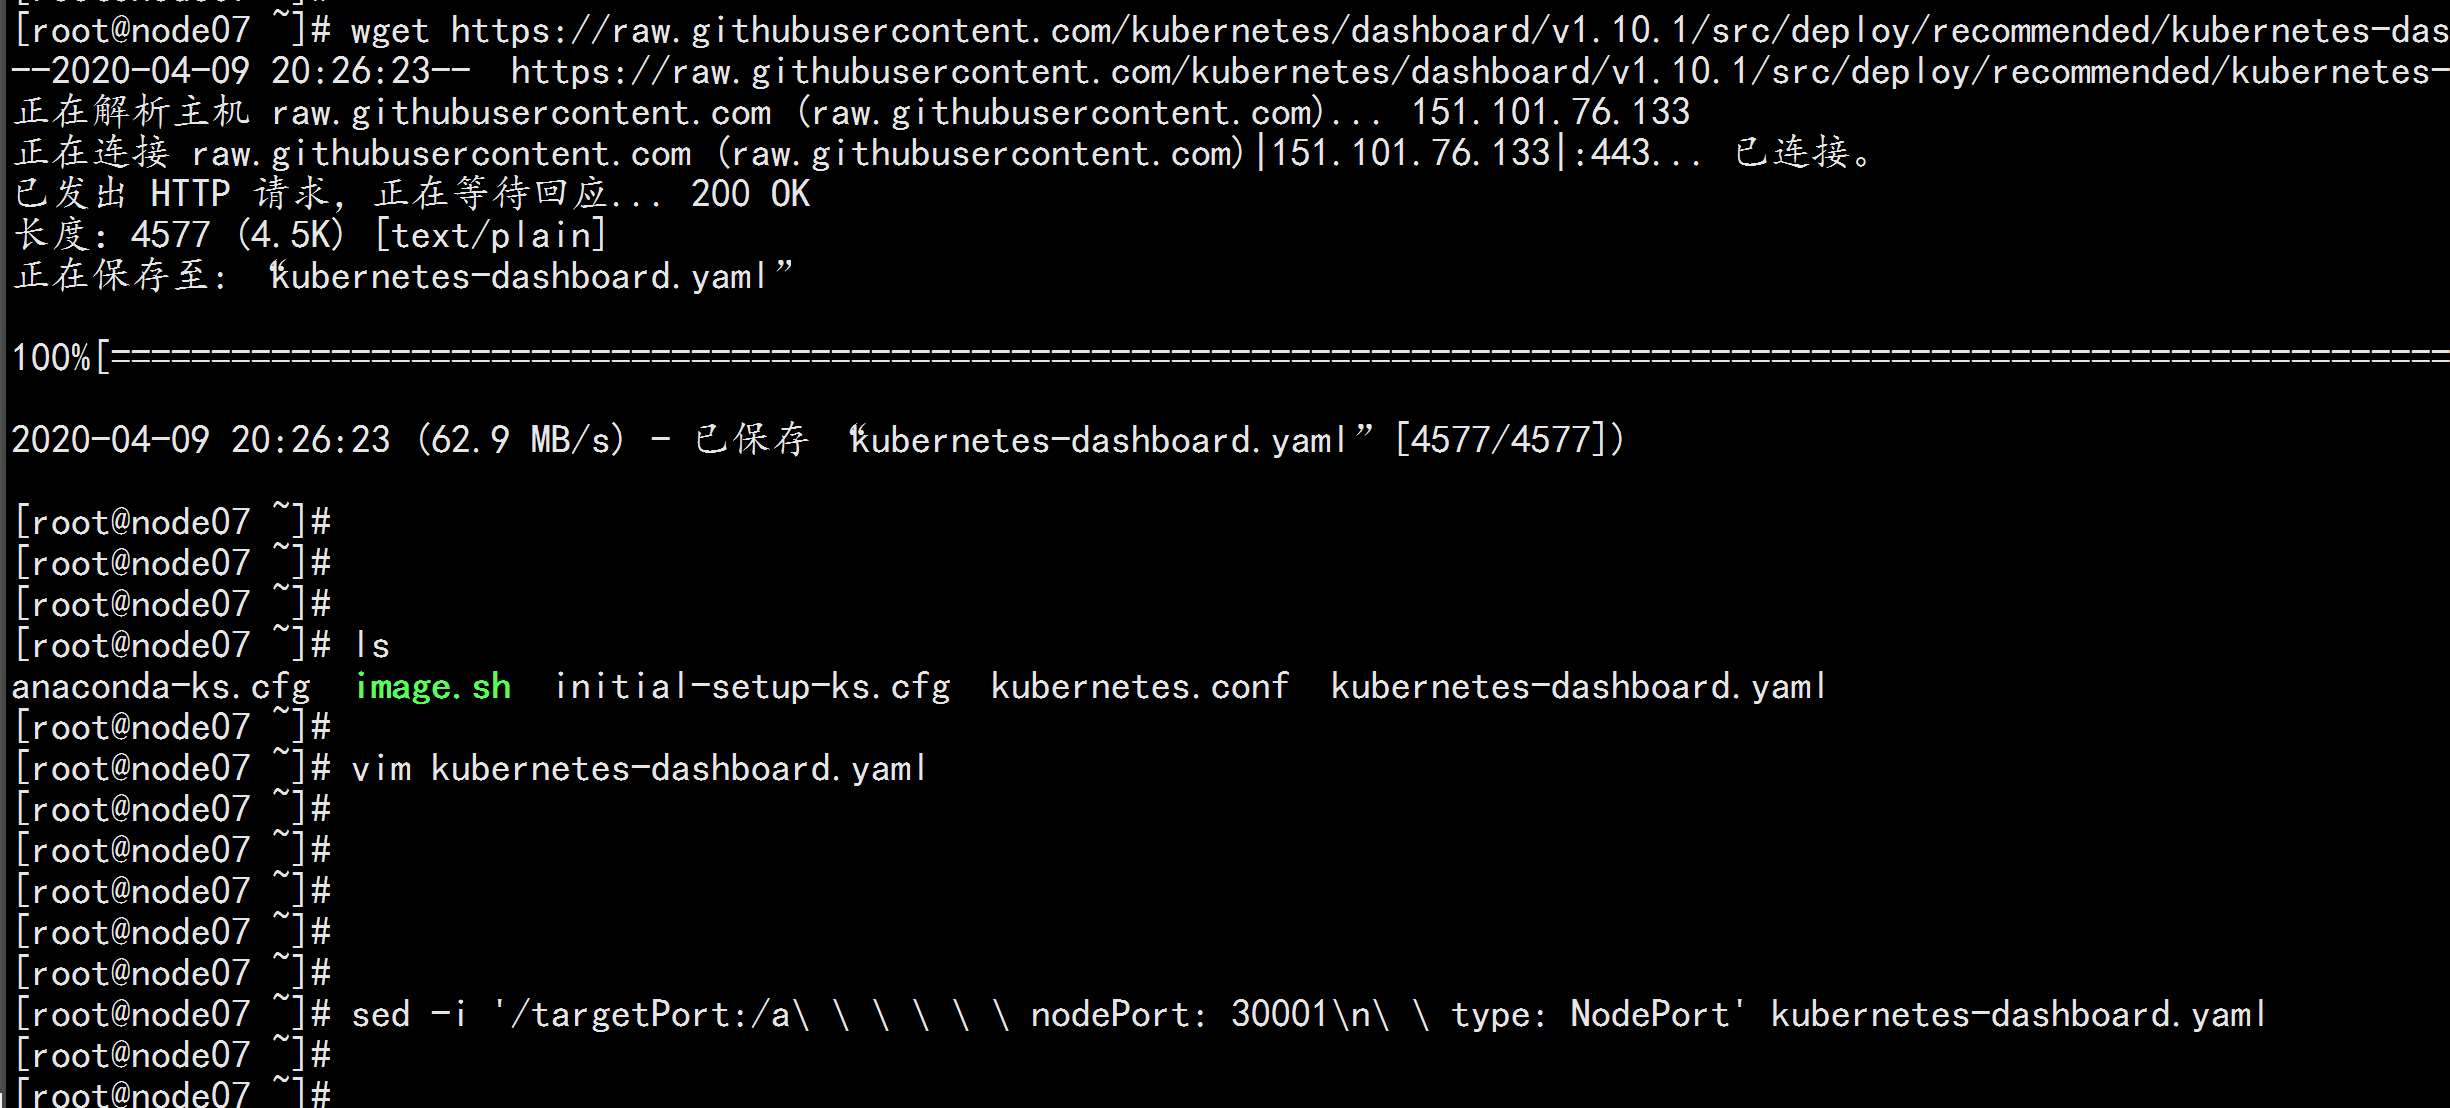
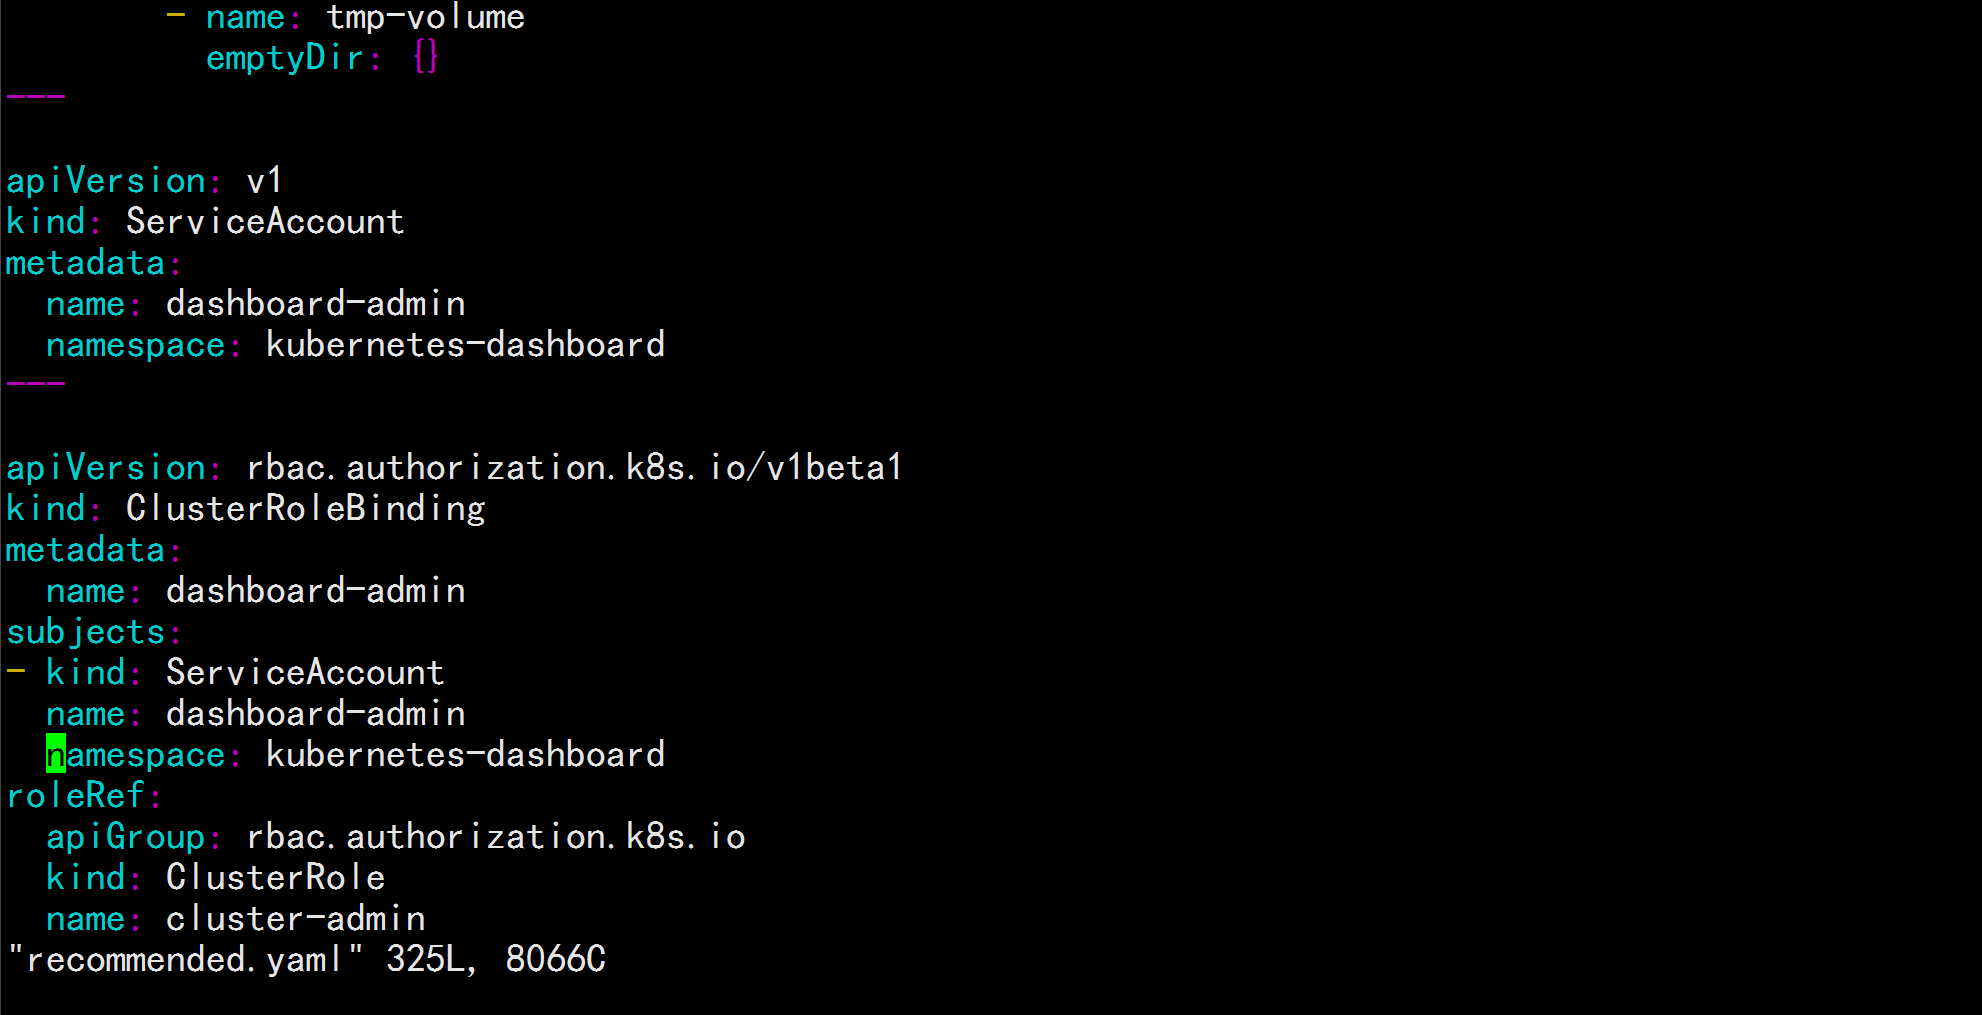
部署Dashboardkubectl apply -f recommended.yaml创建完成后,检查相关服务运行状态kubectl get all -n kubernetes-dashboardkubectl get svc -n kubernetes-dashboardnetstat -ntlp|grep 30001


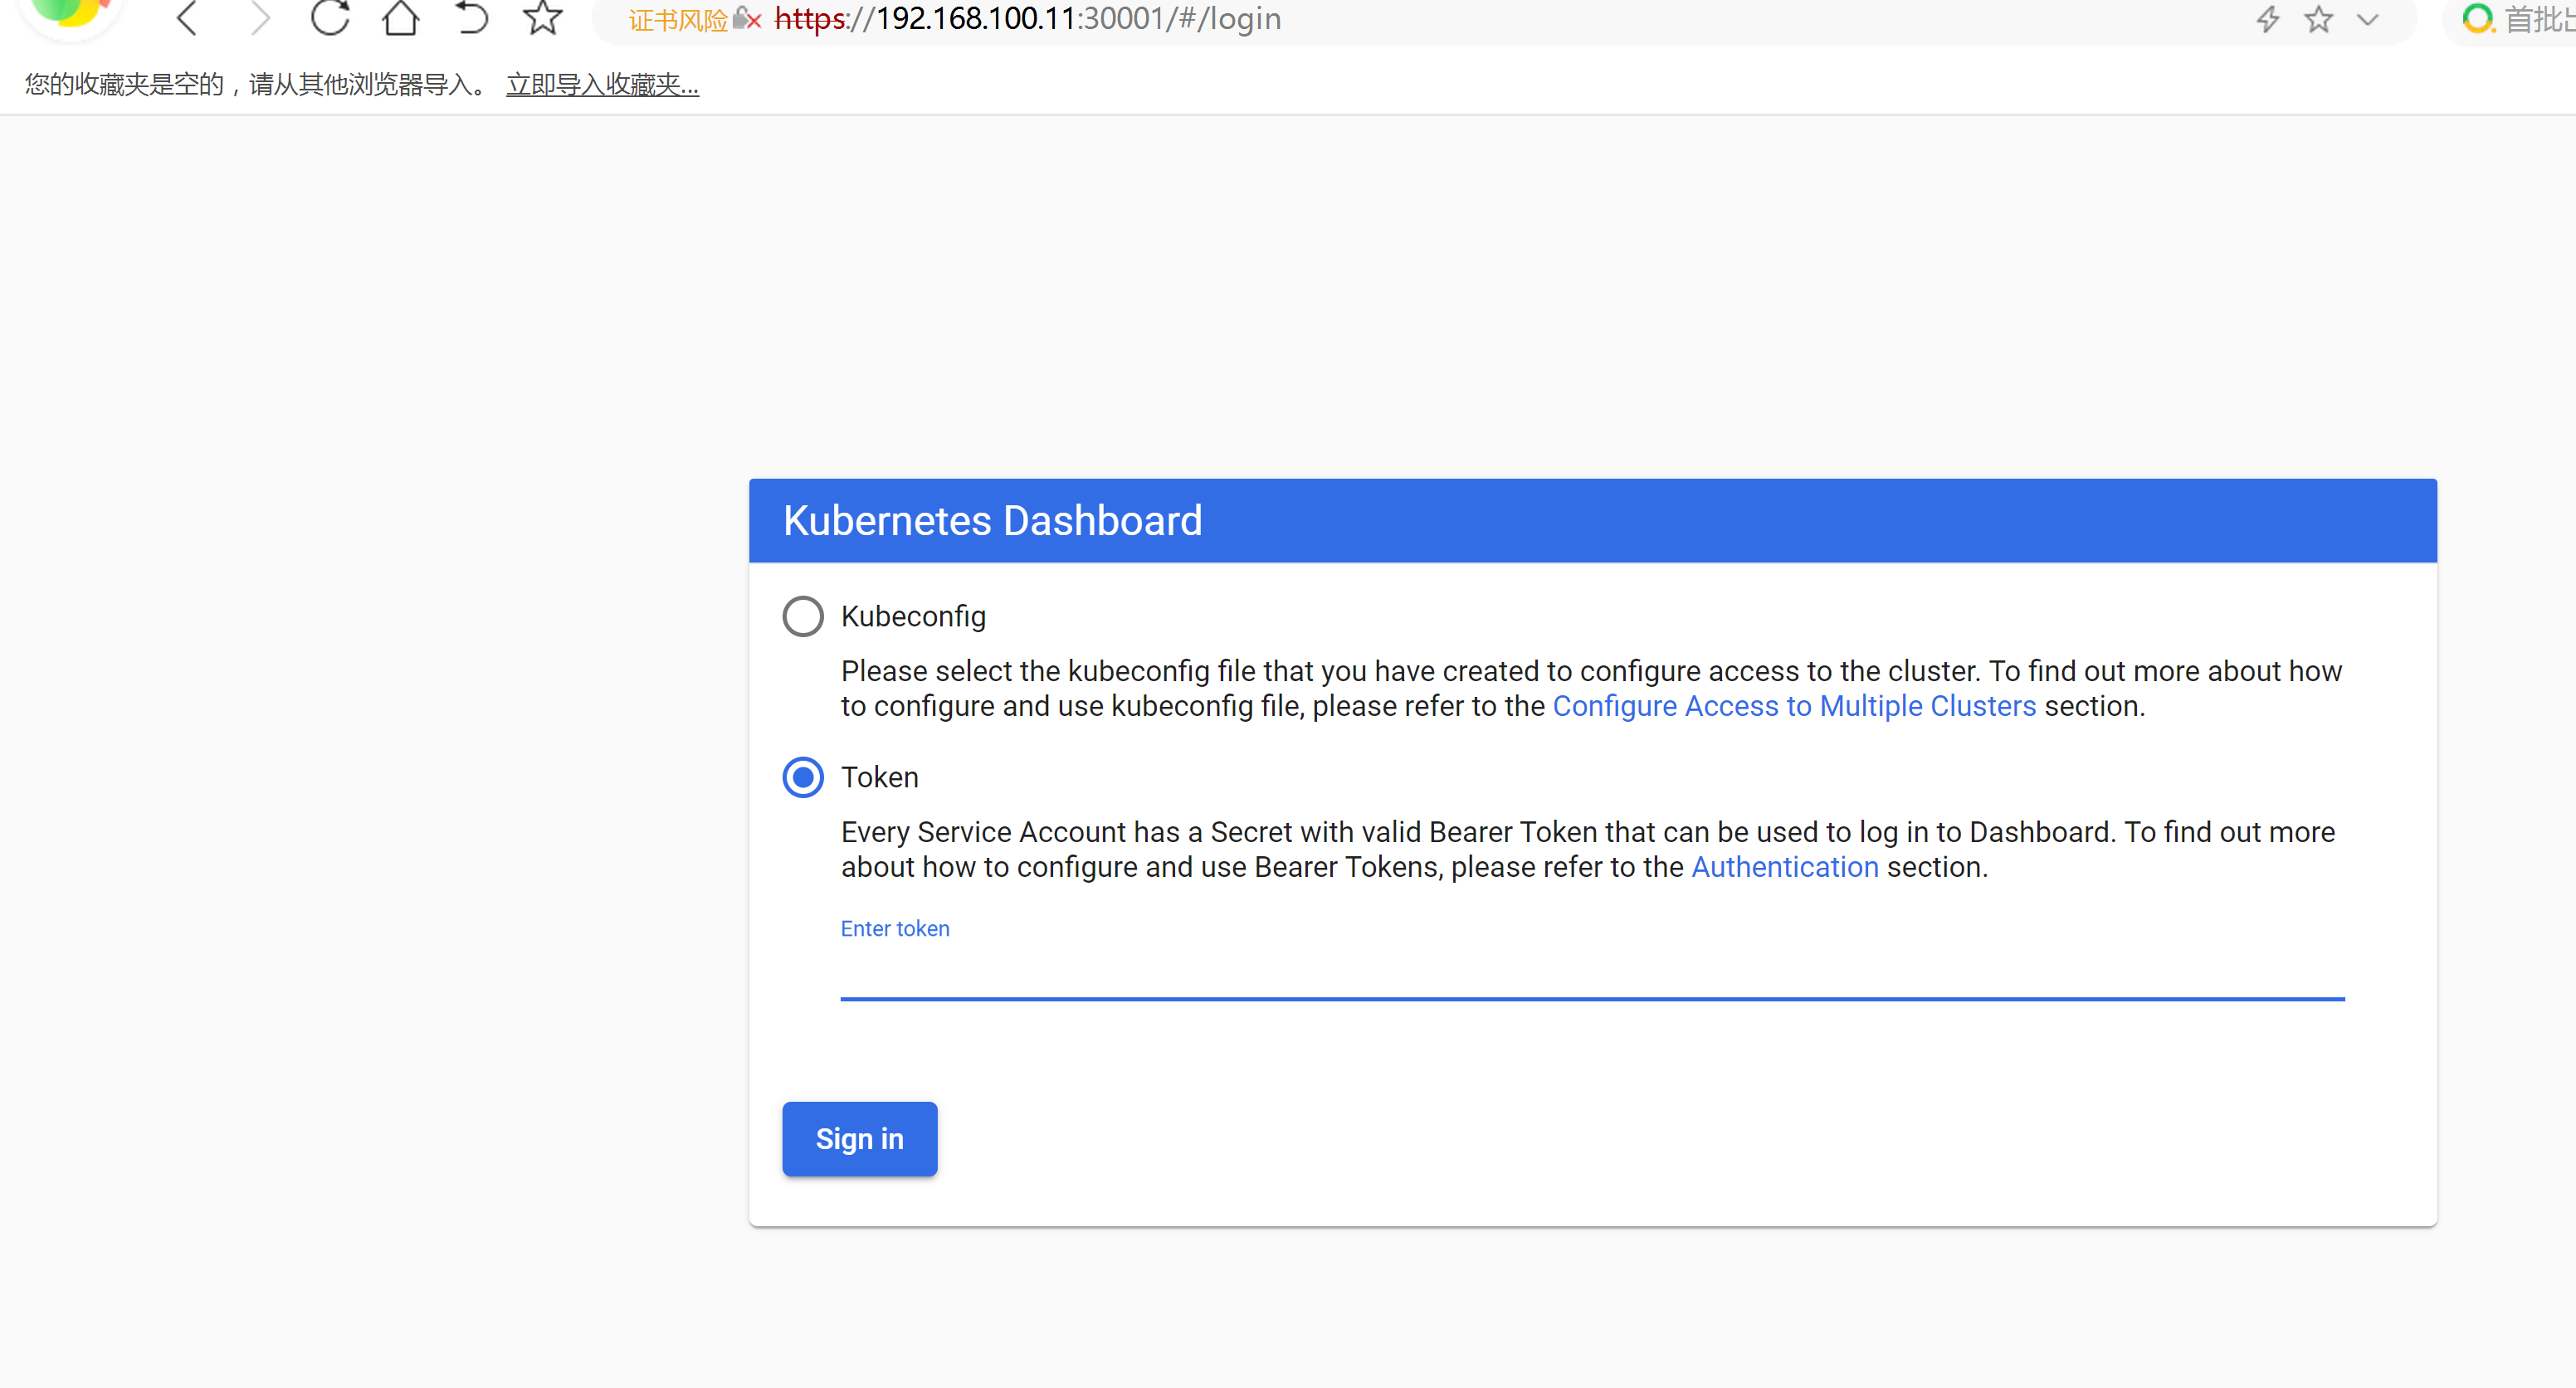
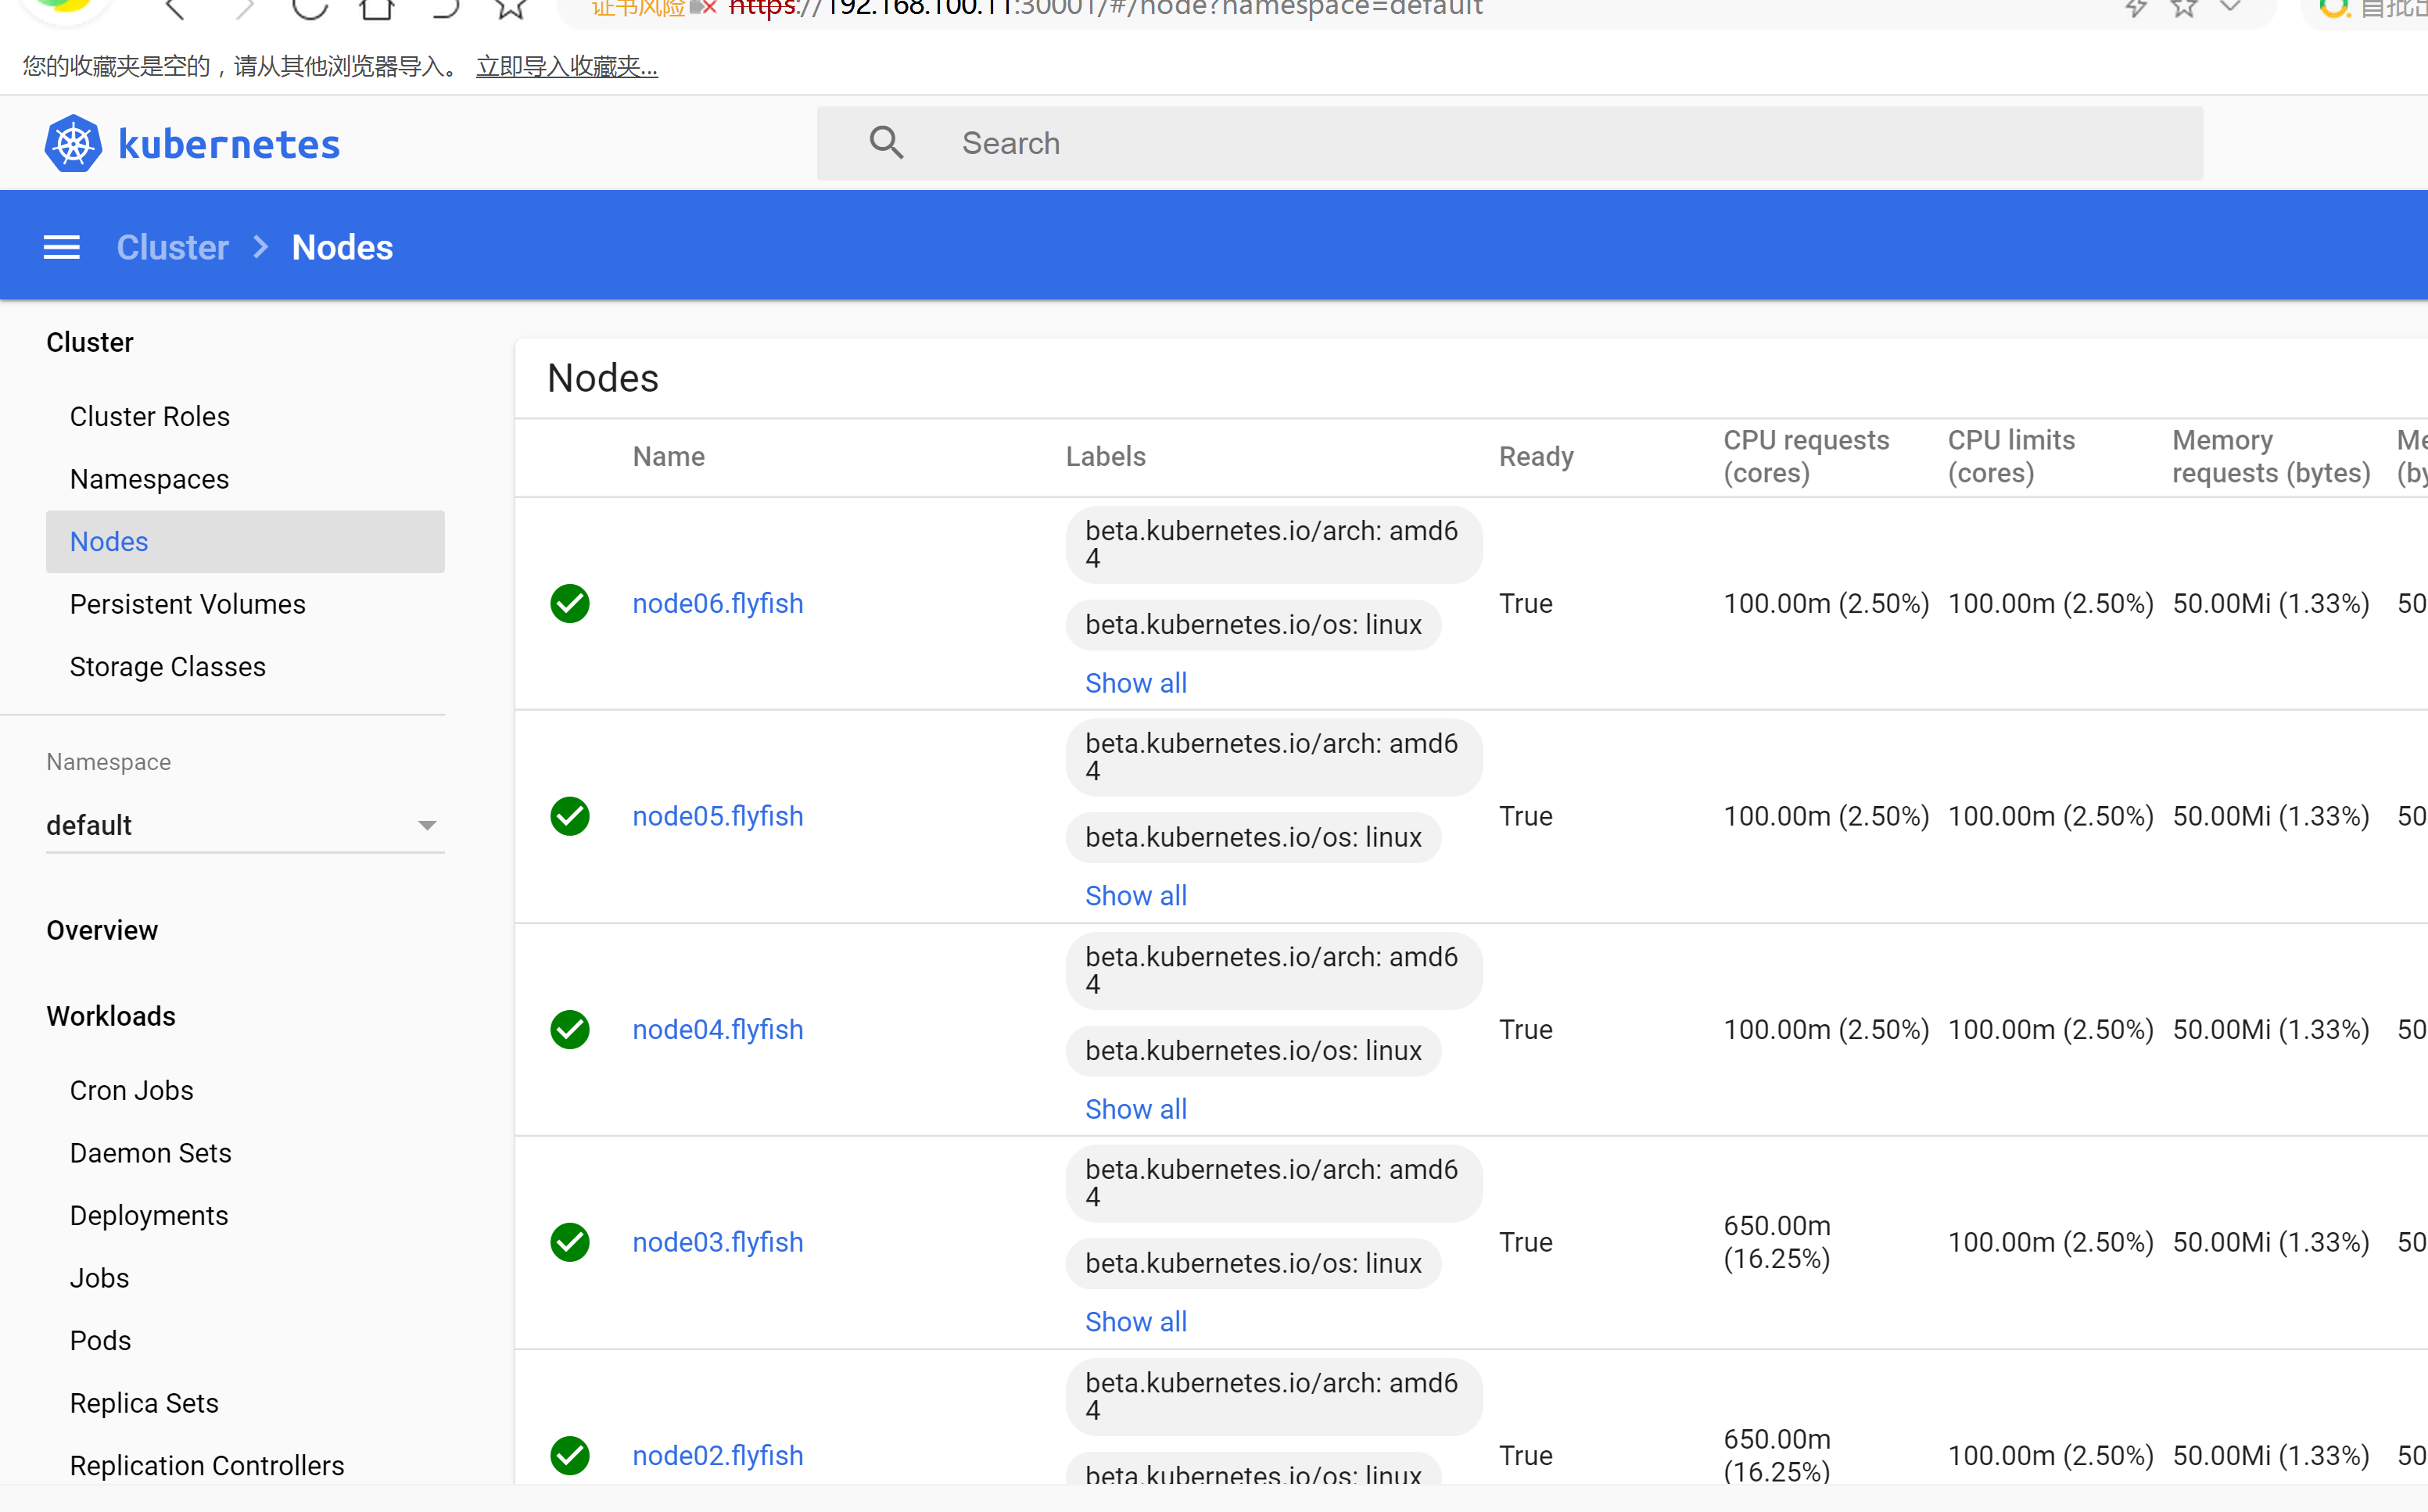
在浏览器输入Dashboard访问地址:https://192.168.100.11:30001
授权令牌kubectl describe secrets -n kubernetes-dashboard dashboard-admin----

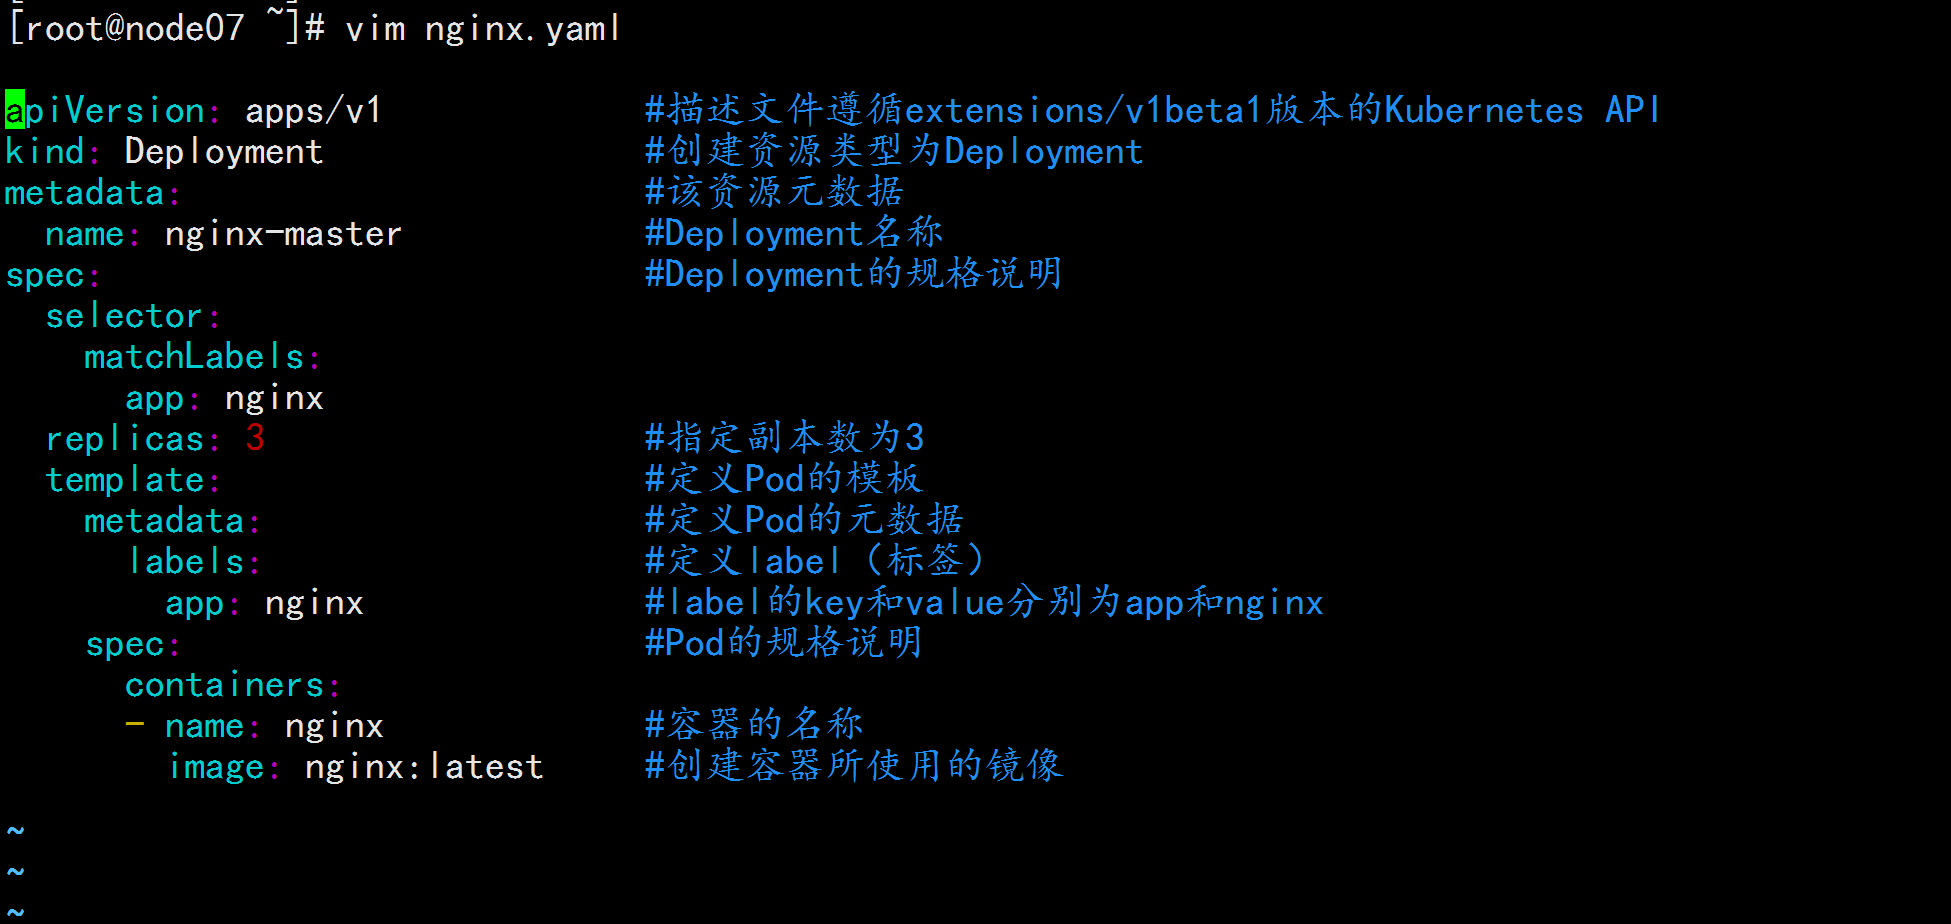
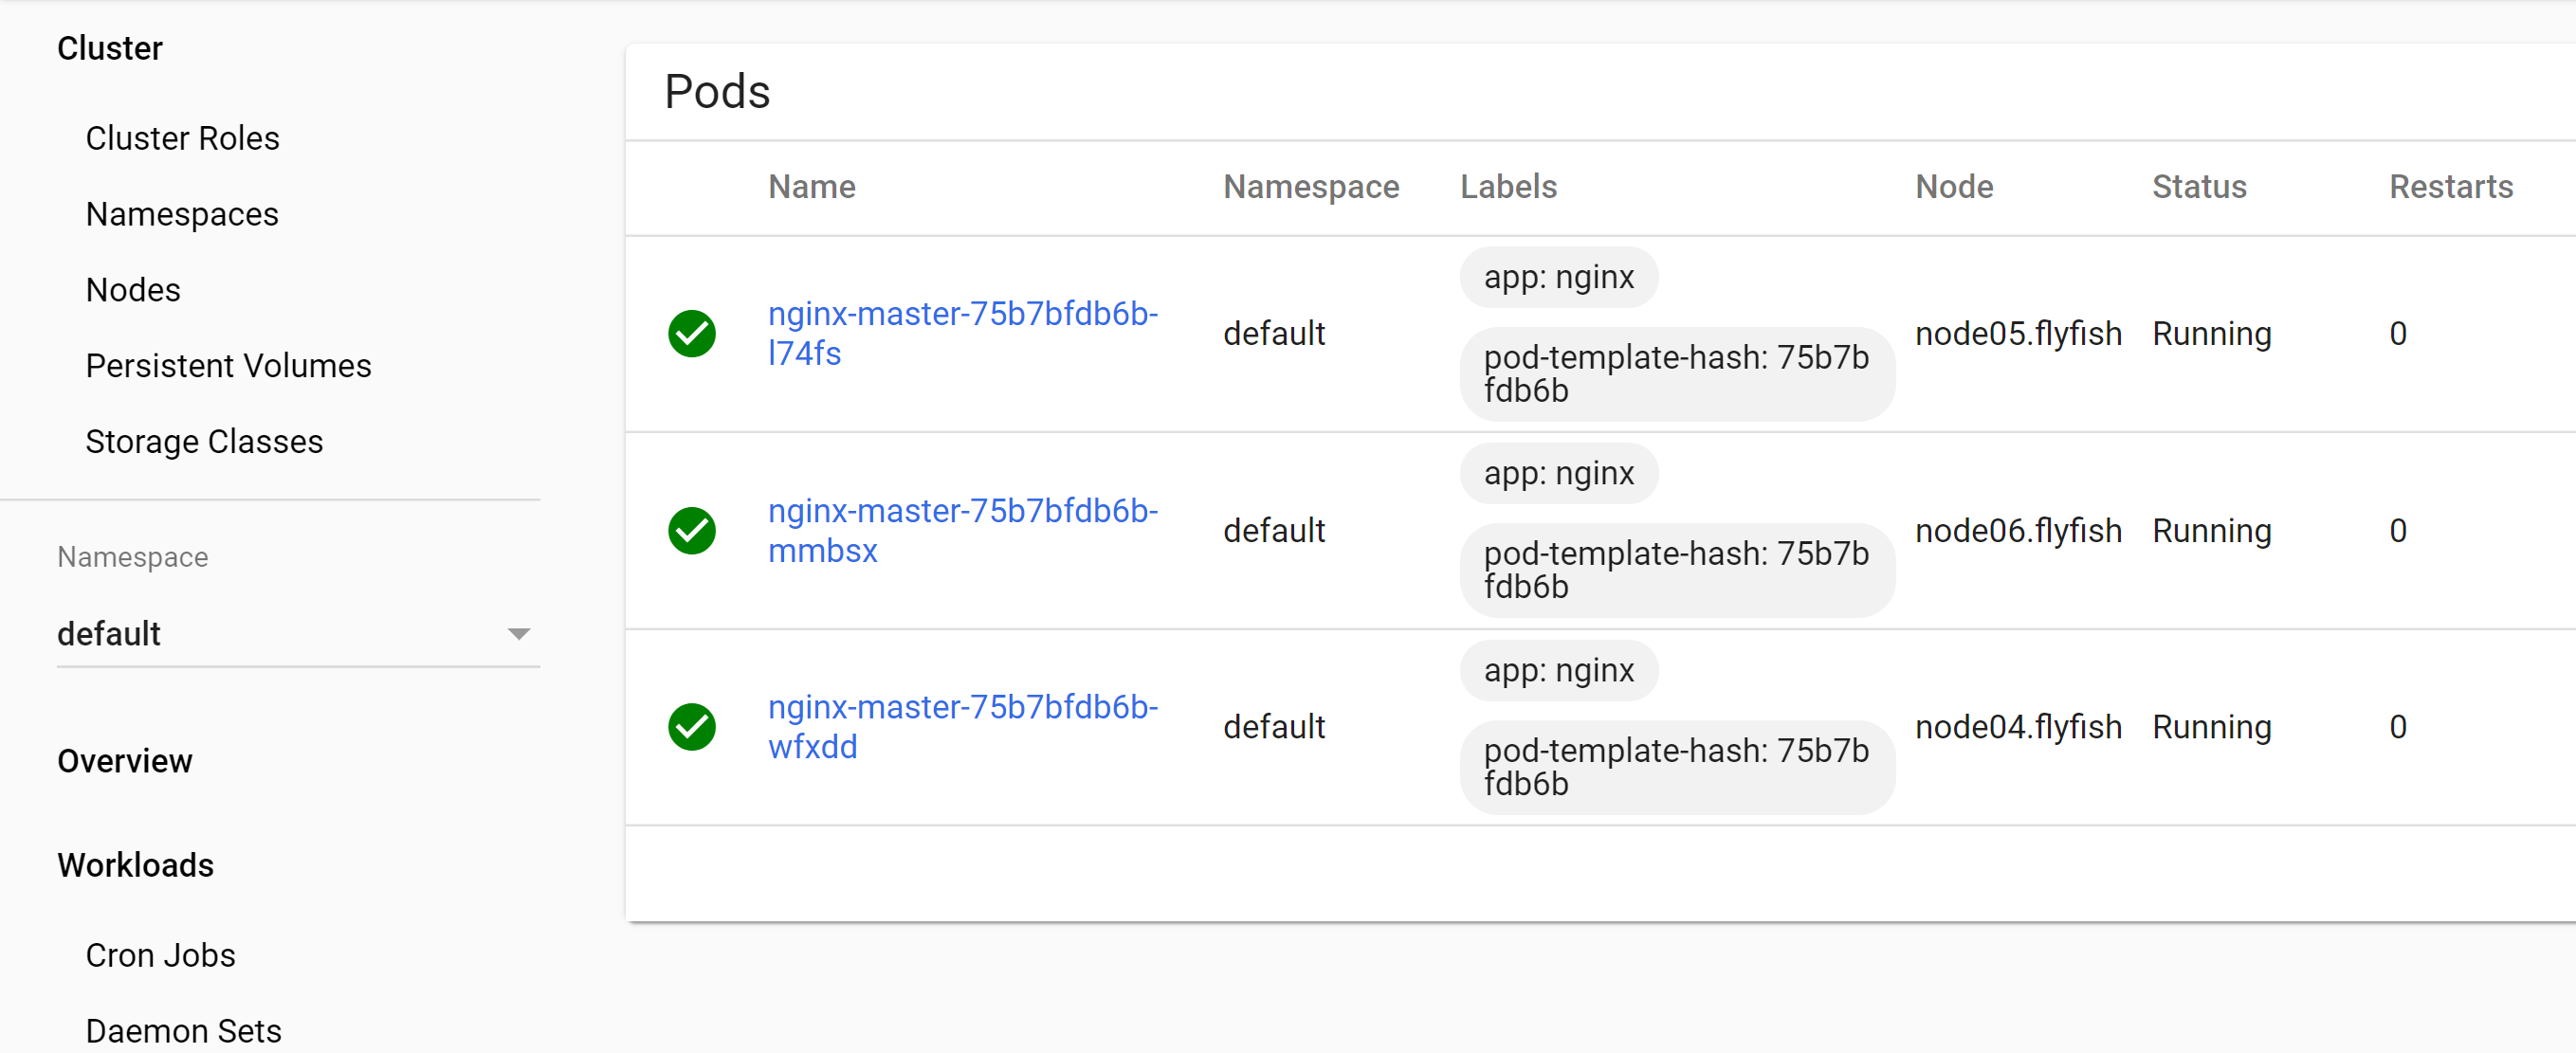
新建一个pod----vim nignx.yamlapiVersion: apps/v1 #描述文件遵循extensions/v1beta1版本的Kubernetes APIkind: Deployment #创建资源类型为Deploymentmetadata: #该资源元数据name: nginx-master #Deployment名称spec: #Deployment的规格说明selector:matchLabels:app: nginxreplicas: 3 #指定副本数为3template: #定义Pod的模板metadata: #定义Pod的元数据labels: #定义label(标签)app: nginx #label的key和value分别为app和nginxspec: #Pod的规格说明containers:- name: nginx #容器的名称image: nginx:latest #创建容器所使用的镜像----kubectl apply -f nginx.yamlkubectl get pod
