@qidiandasheng
2022-01-01T15:43:55.000000Z
字数 3577
阅读 2220
CocoaPods源码及插件调试
Cocoapods
插件
创建插件
pod plugins create githooks
修改cocoapods-githooks.gemspec文件:
spec.files = `git ls-files`.split($/)修改为spec.files = Dir['lib/**/*']
修改lib/cocoapods_plugin.rb
require 'cocoapods-githooks/command'module CocoapodsGitHooksPod::HooksManager.register('cocoapods-githooks', :post_install) do |context|p "hello world!"endPod::HooksManager.register('cocoapods-githooks', :post_update) do |context|p "hello world!"endend
编译安装
编译:
sudo gem build cocoapods-githooks.gemspec
安装:
sudo gem install cocoapods-githooks-0.0.1.gem
显示已安装插件:
pod plugins installed
调试
创建调试环境
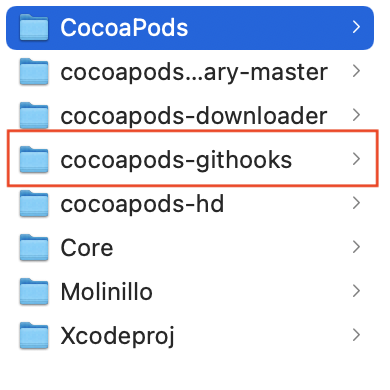
直接复制创建的插件源码目录cocoapods-githooks到CocoaPods源码同一级目录下
修改CocoaPods目录下的Gemfile文件:
gem 'cocoapods-githooks', path: '../cocoapods-githooks'
在CocoaPods目录下执行以下命令进行安装:
bundle install
bundle exec
我们bundle install之后其实是指定了一个ruby的运行环境,运行环境中就包含我们bundle install安装的一些gem。
正常我们运行pod install的时候,如果没安装过cocoapods-githooks插件,则会报以下错误,因为这样运行的时候其实是使用的系统的ruby环境。
[!] Your Podfile requires that the plugin `cocoapods-githooks` be installed. Please install it and try installation again.
所以我们使用bundle exec pod install就能使用bundle install安装的ruby环境了,我们之前指定过cocoapods-githooks的源码目录,这时候也会去调用对应的源码。
但是我们还是没办法断点调试,这时候我们就需要用到对应的IDE进行断点调试了。
VSCode调试准备
在之前的Gemfile文件里加入以下两个gem,用于debug调试:
gem "ruby-debug-ide"gem "debase"
运行bundle install。
最后我们的Gemfile文件如下所示:
SKIP_UNRELEASED_VERSIONS = false# 它是用于方便开发和调试,当 **SKIP_UNRELEASED_VERSIONS** 为 false && path 为 true 时会使用与本地的 CocoaPods 项目同级目录下的 git 仓库,否则会使用对应的项目直接通过 Gem 加载。def cp_gem(name, repo_name, branch = 'master', path: false)return gem name if SKIP_UNRELEASED_VERSIONSopts = if path{ :path => "../#{repo_name}" }elseurl = "https://github.com/CocoaPods/#{repo_name}.git"{ :git => url, :branch => branch }endgem name, optsendsource 'https://rubygems.org'gemspecgroup :development docp_gem 'claide', 'CLAide', path: '../CLAide'cp_gem 'cocoapods-core', 'Core', path: '../Core'cp_gem 'cocoapods-deintegrate', 'cocoapods-deintegrate'cp_gem 'cocoapods-downloader', 'cocoapods-downloader', path: '../cocoapods-downloader'cp_gem 'cocoapods-plugins', 'cocoapods-plugins'cp_gem 'cocoapods-search', 'cocoapods-search'cp_gem 'cocoapods-trunk', 'cocoapods-trunk'cp_gem 'cocoapods-try', 'cocoapods-try'cp_gem 'molinillo', 'Molinillo', path: '../Molinillo'cp_gem 'xcodeproj', 'Xcodeproj', path: '../Xcodeproj'gem 'cocoapods-dependencies', '~> 1.0.beta.1'gem 'nanaimo'gem 'activesupport', '> 5', '< 6' # Pinned < 6 because 6 requires Ruby 2.5.0gem 'bacon', :git => 'https://github.com/leahneukirchen/bacon.git'gem 'mocha', '< 1.5'gem 'mocha-on-bacon'gem 'netrc'gem 'prettybacon'gem 'typhoeus'gem 'webmock'# 依赖的插件gem 'cocoapods-githooks', path: '../cocoapods-githooks'# 用于debug的gemgem "ruby-debug-ide"gem "debase"gem 'xcpretty'gem 'bigdecimal', '~> 1.3.0'gem 'public_suffix'gem 'ruby-graphviz', '< 1.2.5'# Integration testsgem 'diffy'gem 'clintegracon', :git => 'https://github.com/mrackwitz/CLIntegracon.git'# Code Qualitygem 'inch_by_inch'gem 'rubocop', '0.50.0'gem 'simplecov', '< 0.18'gem 'danger', '~> 5.3'endgroup :debugging dogem 'cocoapods_debug'gem 'rb-fsevent'gem 'kicker'gem 'awesome_print'gem 'ruby-prof', :platforms => [:ruby]end
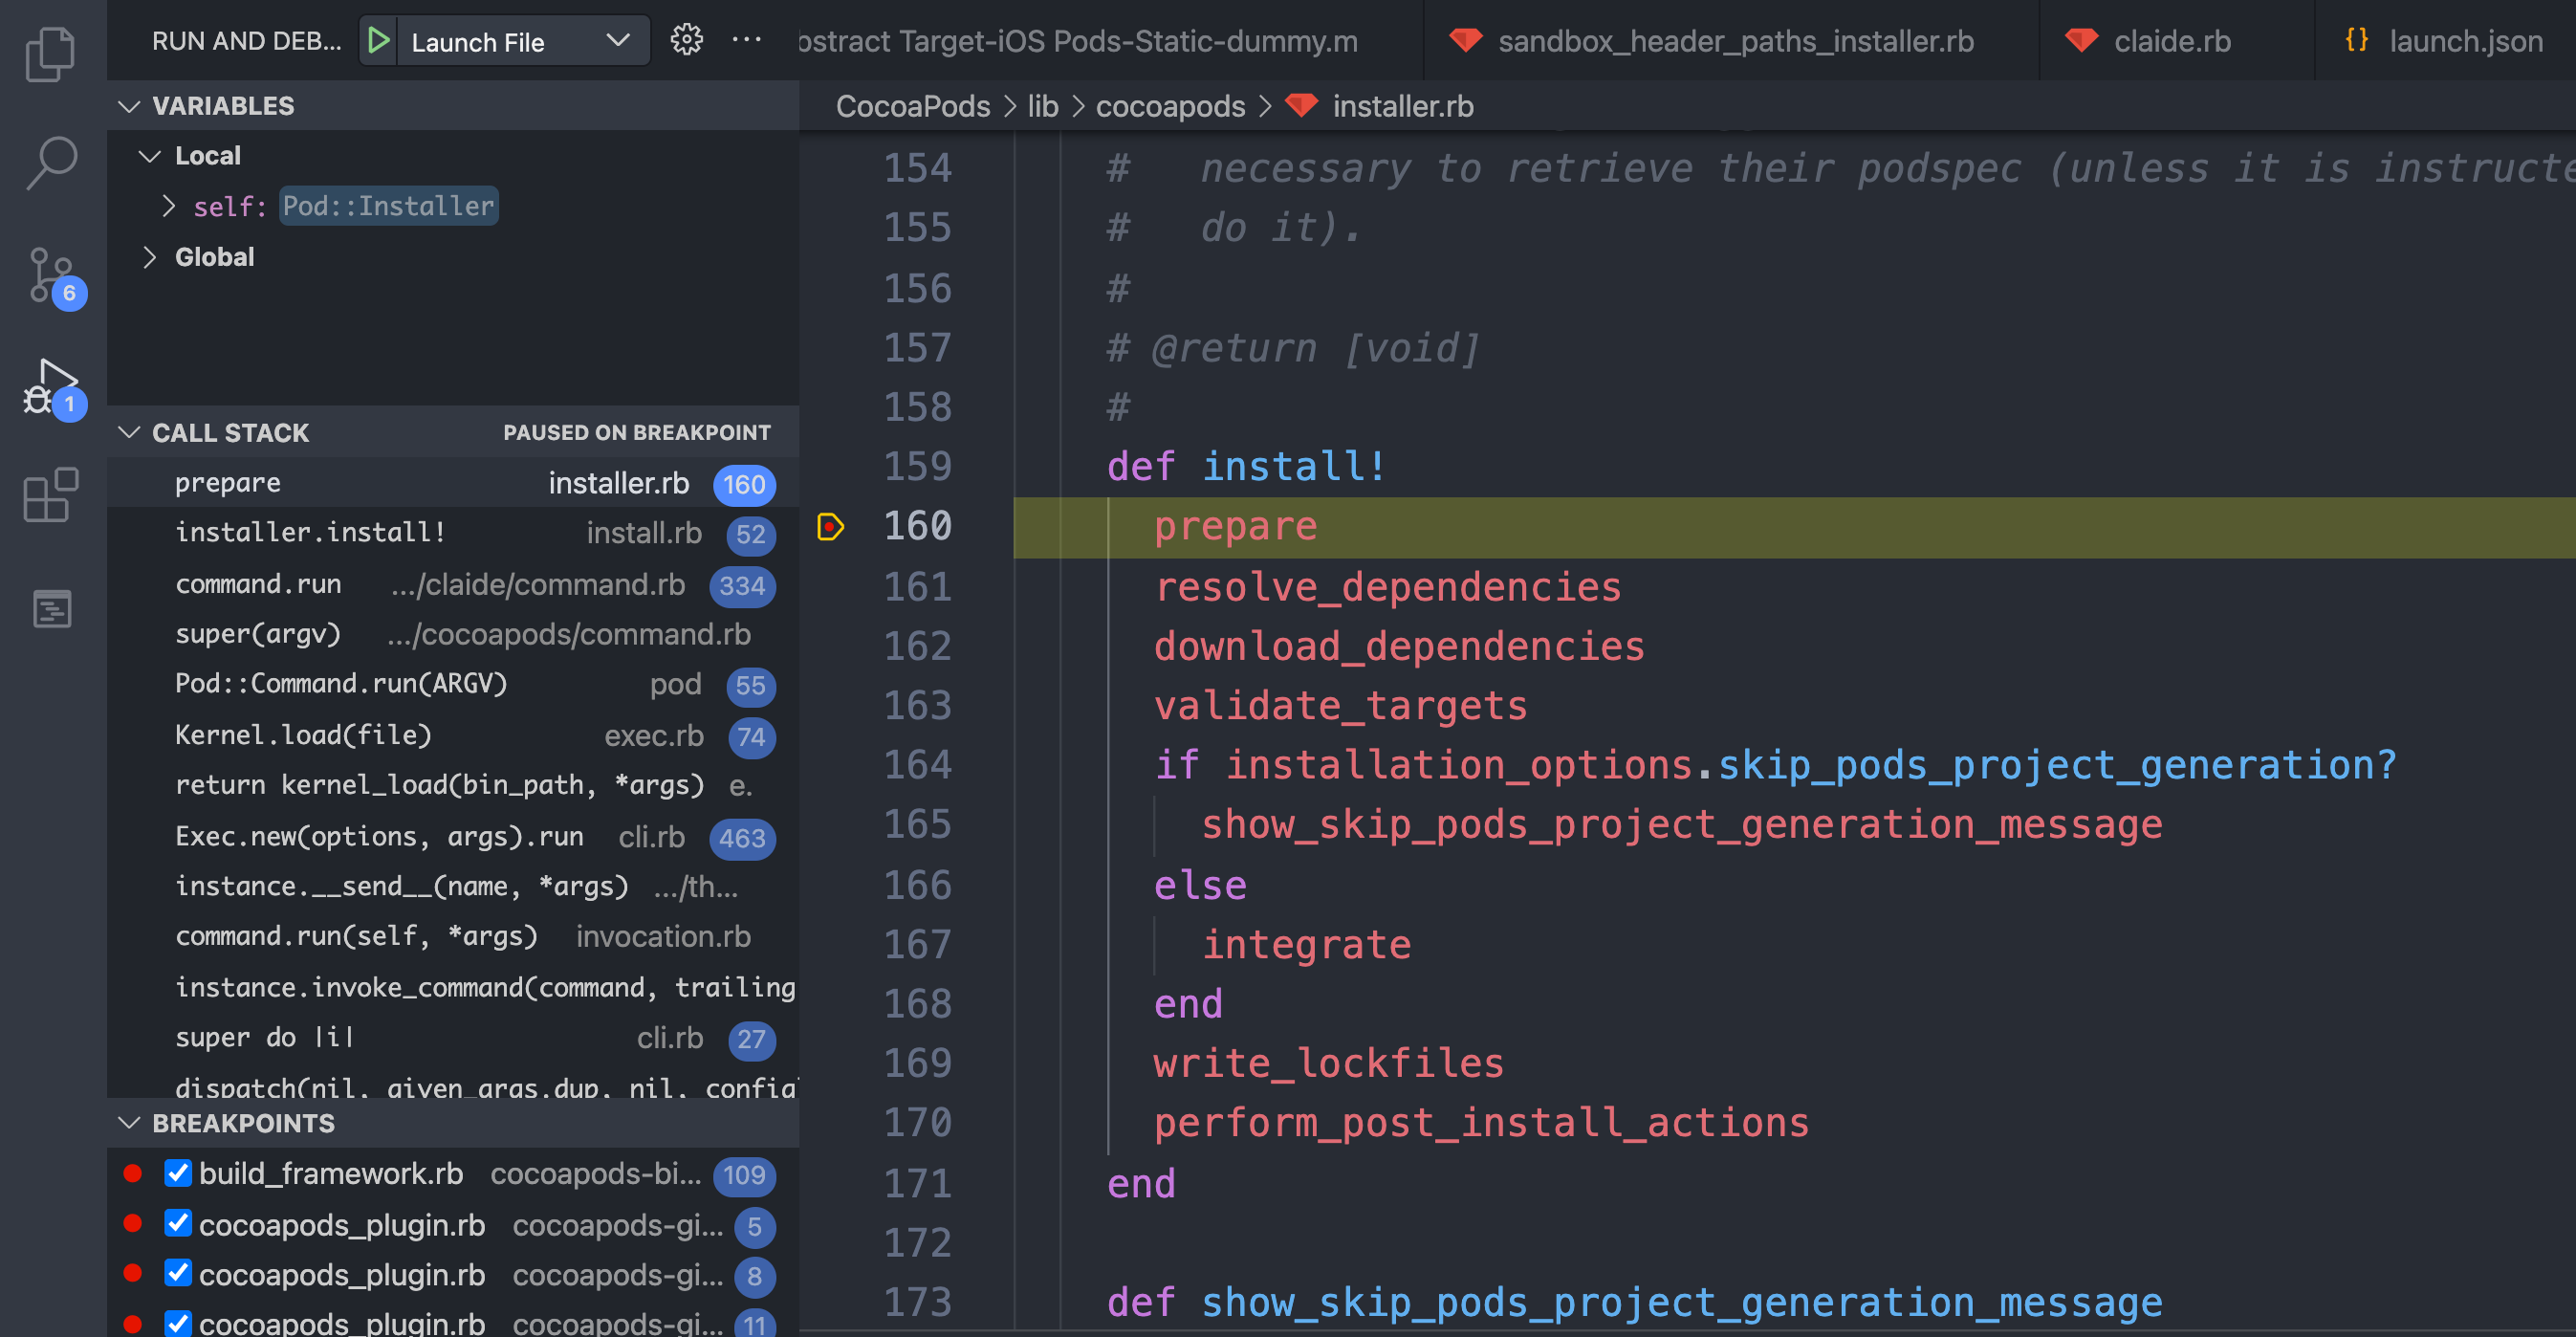
VSCode断点调试
新增 launch.json,并写入 debug 配置:
{// Use IntelliSense to learn about possible attributes.// Hover to view descriptions of existing attributes.// For more information, visit: https://go.microsoft.com/fwlink/?linkid=830387"version": "0.2.0","configurations": [{"type": "Ruby","request": "launch","name": "Launch File","cwd": "${workspaceFolder}/CocoaPods/examples/helloworld/Example","program": "${workspaceFolder}/CocoaPods/bin/pod","args": ["install"],"useBundler": true}]}
- ${workspaceFolder}:表示
.vscode文件夹所在的目录(.vscode/launch.json), - cwd:表示执行命令所在的目录(这里表示我们的iOS示例工程)
- program:表示将要执行的命令
- args:命令对应的参数
- useBundler:使用bundle安装的ruby环境,相当于
bundle exec
打开VSCode,这里我们在installer.rb的install!方法上面打上断点,点击运行程序,就可以看到如下的页面了: