@lisai1989
2024-07-17T02:01:26.000000Z
字数 4037
阅读 580
Vega 建模与仿真
建模与仿真
目录(点击右上角):
待办
Vega 虚拟场景仿真
Vega 3.6 is MultiGen-Paradigm's leading software environment. Vega Prime is MultiGen-Paradigm's Vega replacement software (Presagis products). Vega Prime Resources
教程:
LYNX主要负责在三维模型的基础上,根据实际仿真任务要求完成虚拟场景参数的配置。
LYNX将模型文件.flt调入场景,根据需求调整各模型属性和相互关系。完成参数配置后,以.adf格式保存文件,以供驱动程序函数调用。
通过Vega软件调用驱动程序对三维视景进行驱动渲染。
- windows选项
- texture file : $(PSI_DATA)\Vega\vega.rgb
Creator 建模
- default eyepoint 与建模原点、导入模型位置的关系?
- You can set the default eyepoint in the Info/Preferences/State/Graphic Viewing Defaults preferences and View/Viewing Volume parameters.
常用操作:
- If you also wish to see the Face node in the Hierarchy view, middle-mouse click within the Hierarchy view for the selected face.
SolidWorks 模型导入
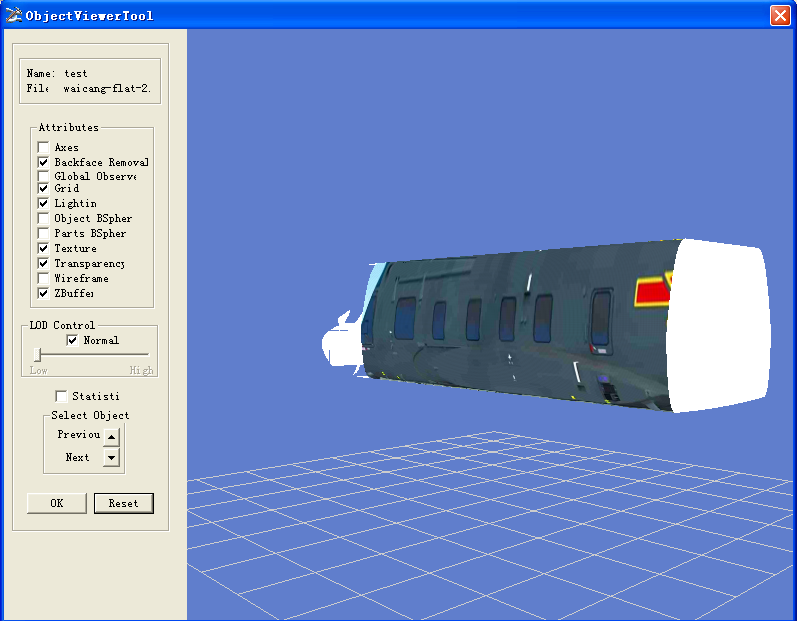
MultiGen Creator 支持STL、3DS、DXF、OBJ等类型文件。
- 使用SolidWorks软件打开
.stp文件。点击装配件,选择菜单栏:编辑-解除压缩-此配置,可以显示模型。 - 选中装配件,右键,打开零件,进入到
.sldprt文件。点击选择,选中需要导出的零件。 - 另存为
.SLDPRT文件。尝试考虑将STP文件转换为CAD文件.dwg,从而通过柱体工具法建模。 - 将
.SLDPRT文件转换为.obj文件(迪威模型)。
- 文件转换软件:Autocad 软件,VariCAD(导出stl/obj可用),FreeCAD(导出obj不可用),solidworks 软件。
- Move the FLT files P125
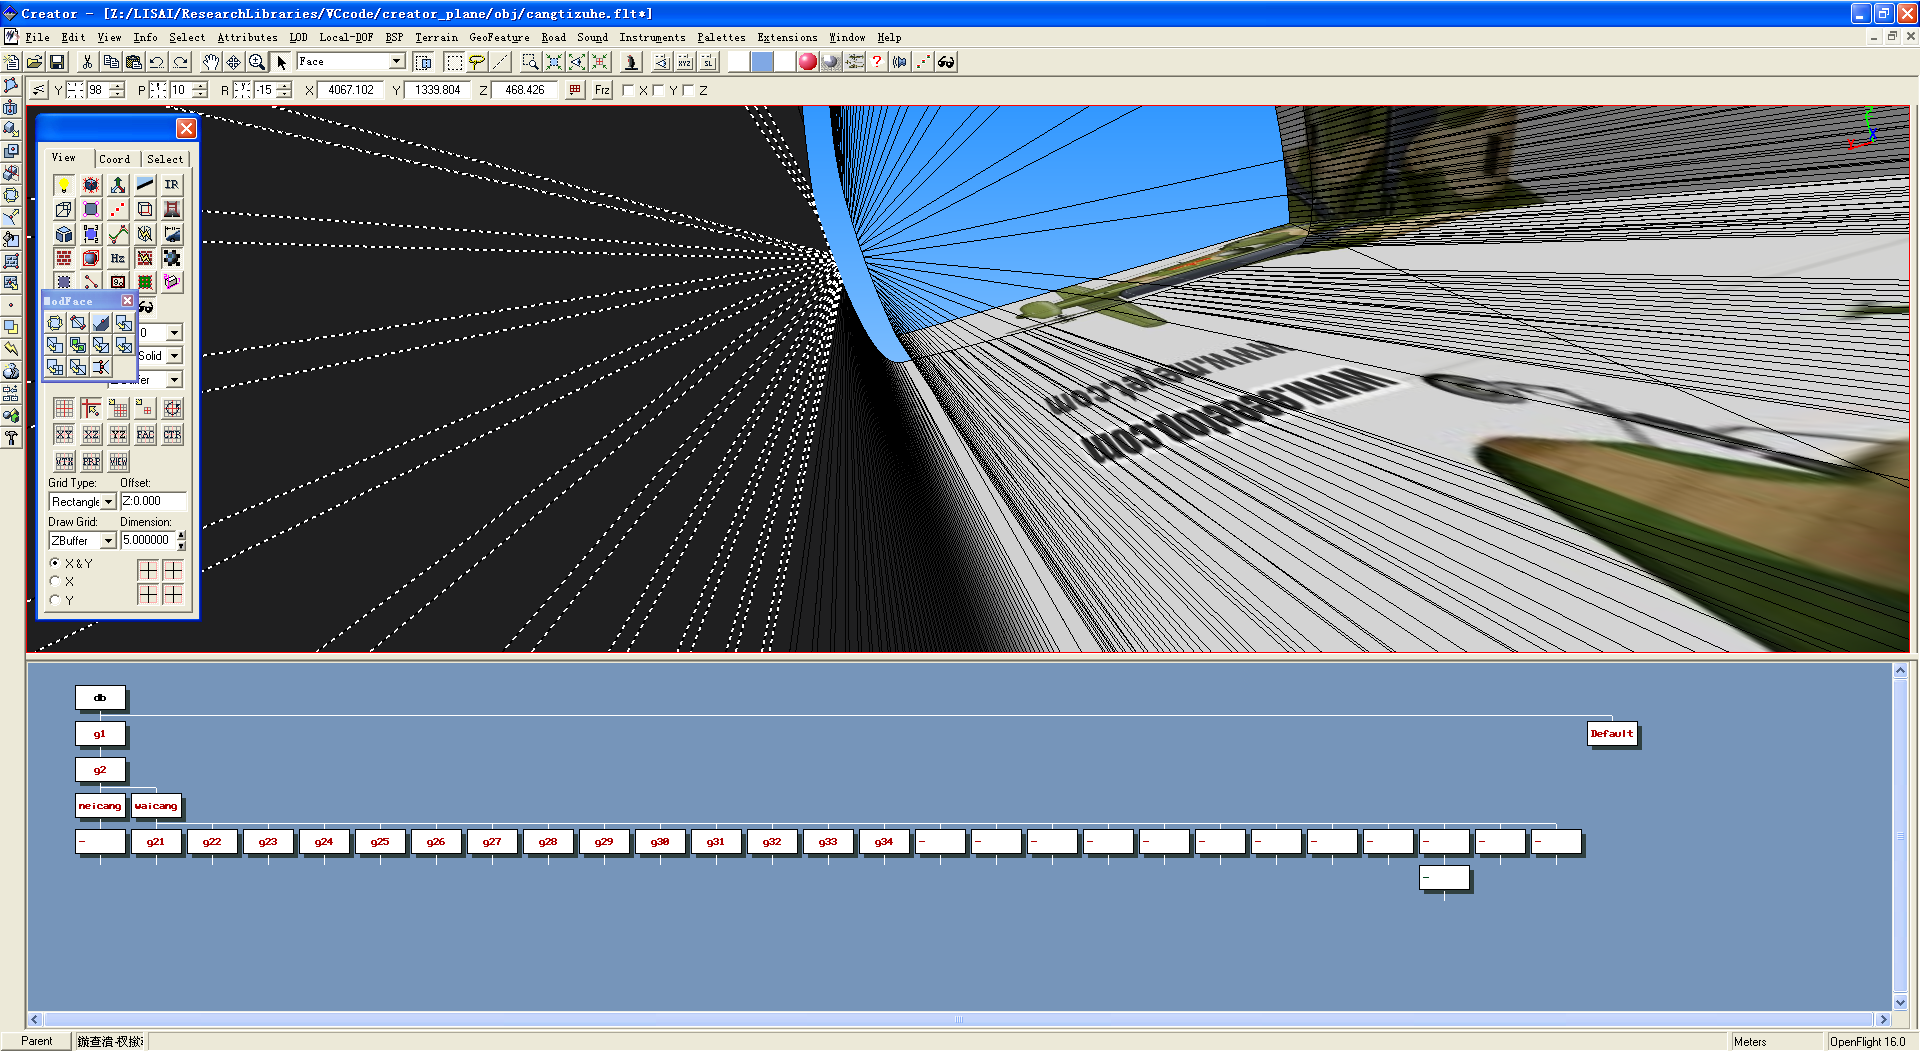
- 通过 PAN VIEW 和 PICK MODE,放大舱体模型后选中多个三角区域,点击 MODFACE 中 COMBINES FACE,减少 FACE 总数。
后舱门
Rotate the Chimney P78
点击菜单栏 SELECT,取消FENCE TOUCHING。设置Y=-90,P=0,R=0。
1. In the View panel, set grid Dimension to 100, and the grid to the
Y-Z plane. 点击 GRID ENLARGER,包含整个模型对象。切换 DRAW GIRD 为 OVER,方便绘制舱门。
1. Set the Grid X offset to 9180 与舱尾一致。 FAC 选中此平面,FACE 的 POLYGON 绘制舱门外轮廓,GEOMETRY 的 WALL 进行拉伸。
2. 选中舱门体, Ctrl+P To open the Color palette, To apply the Current Primary color, select the object to be colored and enter Ctrl+R, or choose Insert Color in the Edit menu.
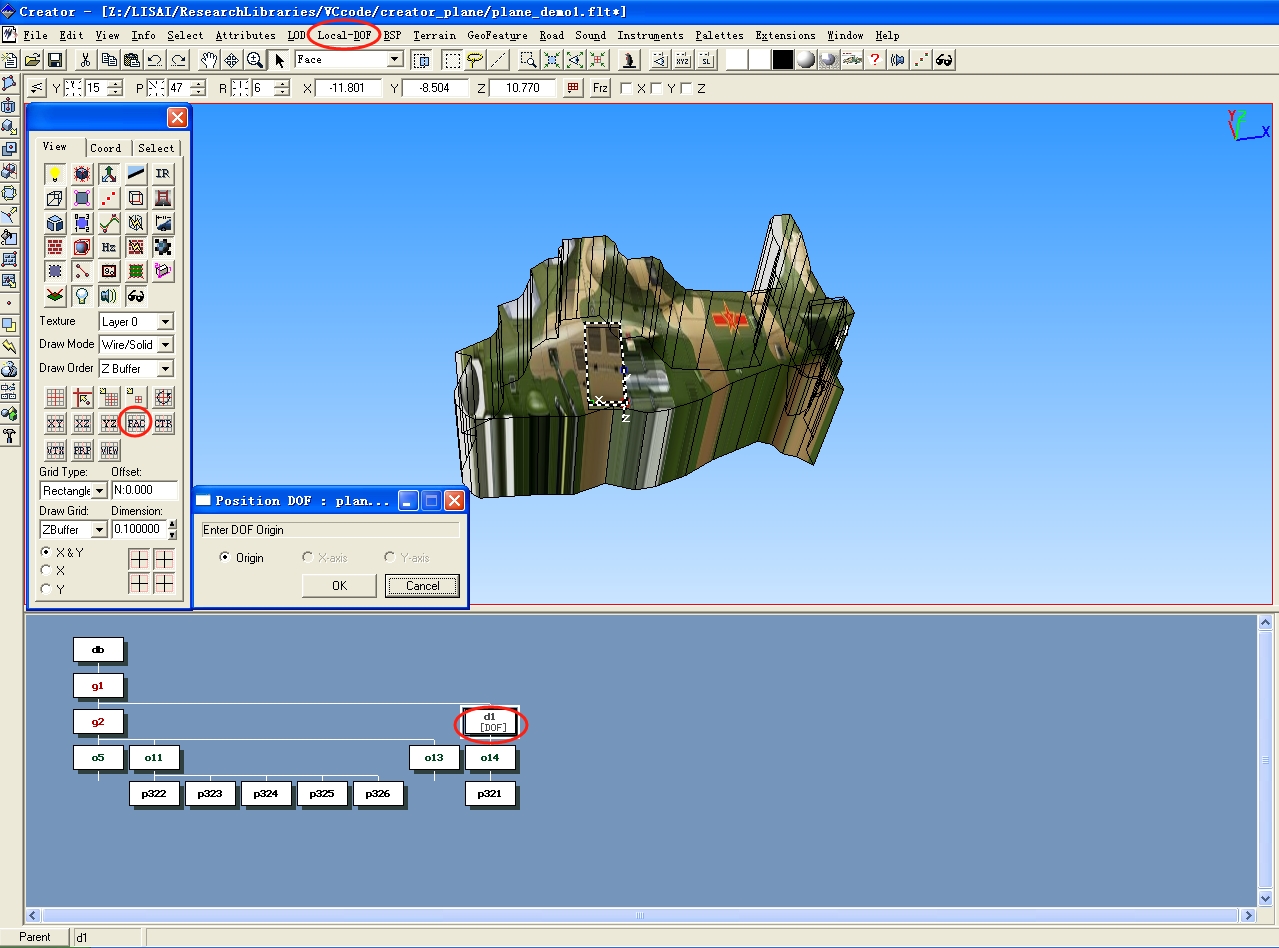
3. G1 设置主节点,Open the Create toolbox and Click Create DOF D1,新建 OBJECT。
4. 将舱门外轮廓节点移动到 OBJECT 下。
5. 选中D1,Choose Local-DOF/Position DOF,choose Local-DOF/Set DOF
Limits.
初始角度设置:
- In the View panel, click XZ,set grid Dimension to 100
- Make sure the 对象 is selected.
- Change into edge mode, Use the Rotate About Edge tool,选择需要旋转的轴线 to flip
- 或者 Choose Rotate About Point in the Maneuver toolbox. Set the
Rotation option, and then click OK.
- 或者 Choose Rotate About Point in the Maneuver toolbox. Set the
侧舱门
if you wish to make the subface window transparent, the subface must be cut-in. 参考 Doing Windows P69。
方法2:多平面cut in。
方法1:舱门非曲面。
- 添加原始背景图片,添加纹理细节:纹理工具箱之三点贴纹理工具。
- selecting a Face node, making it a parent(Alt+click). If you also wish to see the Face node in the Hierarchy view, middle-mouse click within the Hierarchy view for the selected face. (Making Subfaces P70)
- In the View panel, use FAC to snap the tracking plane to the front wall, and CTR to place the center on the lower left corner of the wall (use the middle mouse button).
- 设置Y=0,P=0,R=0。In the View panel, set grid Dimension to 100, and the grid to the
X-Z plane. 点击 GRID ENLARGER,包含整个模型对象。切换 DRAW GIRD 为 OVER,方便绘制舱门。 - With the front 曲面 selected and assigned as a parent, use the Rectangle tool to create a window face. Note the small rectangle within the Parent node.
- Select the parent face. Choose Edit/Cut Subfaces.
- Make it Transparent P124
- Cut the Window in P71
柱体工具法
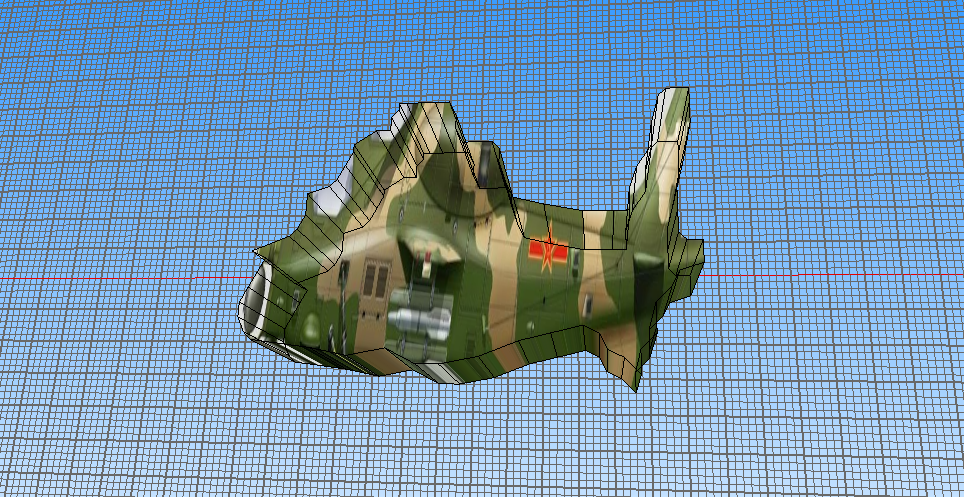
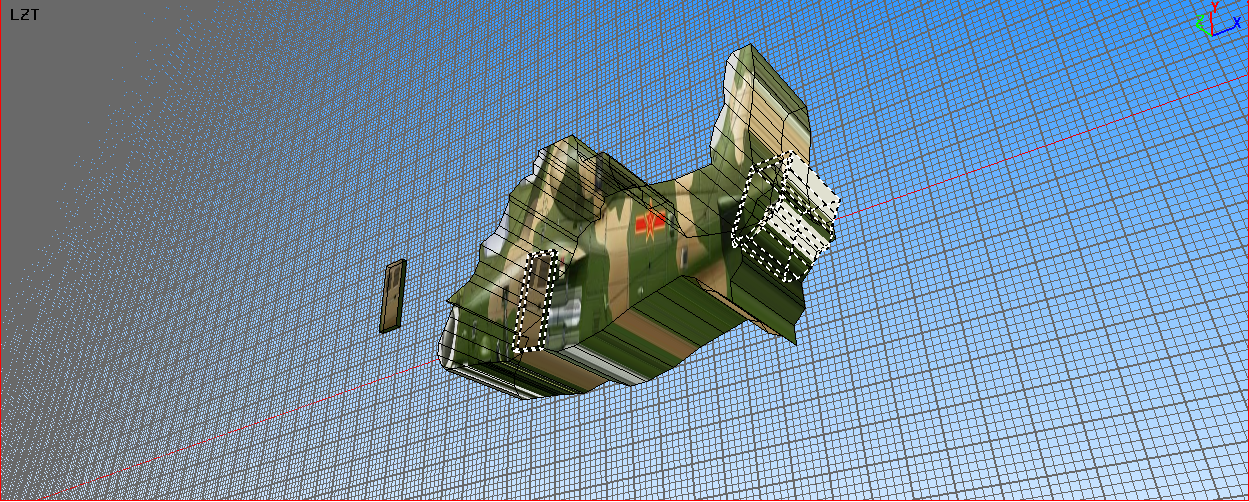
动态模型查阅“静态实体建模”。
动态模型使用柱体工具法建模(参阅8.2.2 使用柱体工具建模),获取各组件的 .flt 文件:
- 各组件分别建模
- 添加原始背景图片:使用选项板 Texture Palette 编辑纹理(各组件的多视角图片)
- 添加背景框图:面工具箱之矩形工具。
- 添加背景对比图,方便绘制各视角多边形:纹理工具箱之三点贴纹理工具
- 描绘轮廓:面工具箱之多边形工具。建议减小栅格间隔:View controls-dimension
- 创建三维结构:体工具箱之回转体
- 添加纹理细节:纹理工具箱之三点贴纹理工具
- 各组件组合。参考“创建一个三维模型”。
- 调整工具箱之模型组合工具。
- 视图面板之跟踪面定位(FAC)。
- 定义自由度。
- 创建DOF节点:新建DOF节点,新建体节点,切换面模式找到旋转面节点。
- 定位DOF节点:使用视图面板之跟踪面定位(FAC),将DOF移动到面节点的旋转点。
- 设置DOF的运动范围,并预览测试。

透明门窗玻璃
门框嵌入玻璃
参考 Making Subfaces P70: Cut-ins replace the larger ,single face with triangles surrounding the subface.
透明玻璃
- Select the Current Material icon on the Toolbar.
- Choose a light green material。Double-click the Greenhouse material to display the Modify Material window. Change the Alpha value to .4 to make the material more transparent (zero is completely translucent, one is completely
opaque). Change the shininess value to 5. This will affect the specular quality. - choose the node in the Hierarchy view
- Select Insert Materials from the Properties toolbox. In the Verify dialog box, choose No (do not follow subnodes).
- If the material is not immediately visible, choose Attributes/
Calculate Shading (Ctrl+G). Select Lit and click OK.
软件安装
MultiGen Creator 安装:
- 点击
MultiGen Creator 3.0.1\Creator Install\setup.exe安装creator3.0 - 安装完成后,继续安装升级补丁
cr-w-300-001.exe。 - 升级完成后,用文件夹patch中的全部文件覆盖安装目录中的文件。
- 完成。
Vega 安装:
- 进入 Vega3.7.1 文件夹,双击
SETUP.EXE进行安装。 - 在
C:\Program Files\Paradigm目录,新建 flexlm 文件夹,并将\crack\license.dat复制,即可安装完成。
